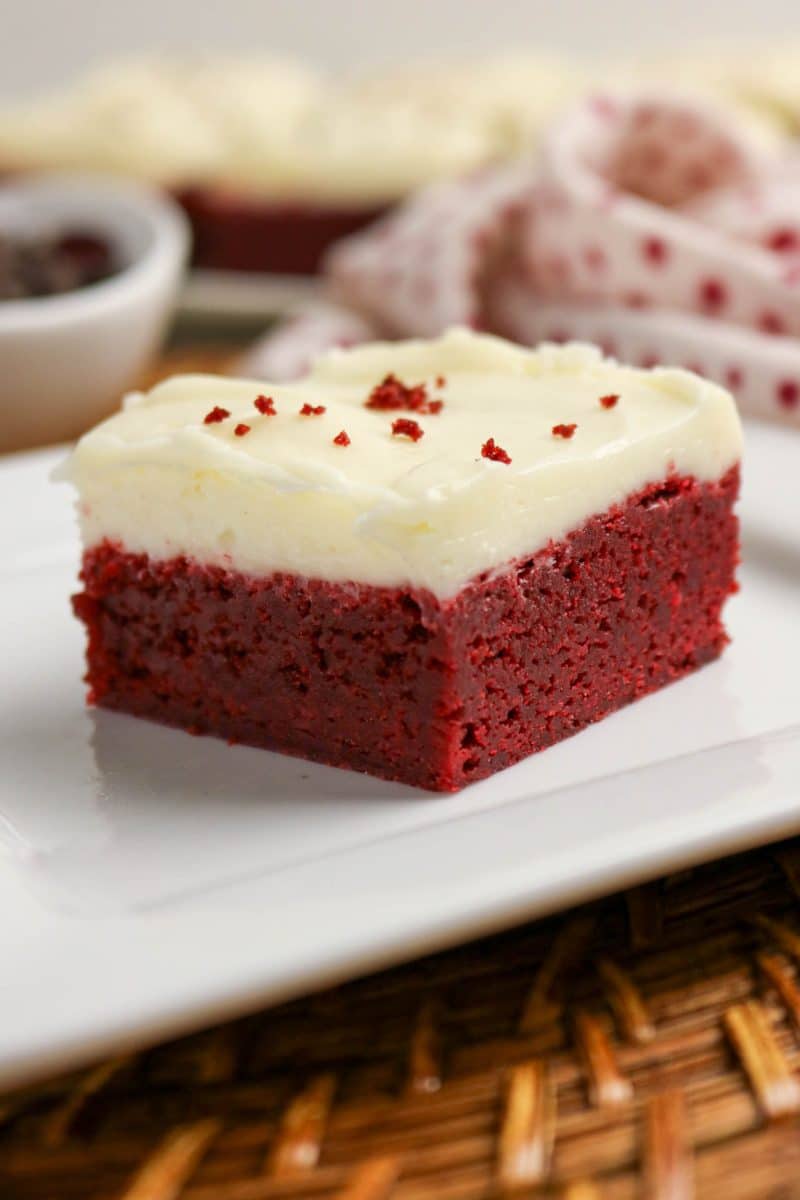
Red Velvet Brownies with Cream Cheese Frosting
This post may contain affiliate links. Please read our Disclosure Policy.

Have you ever wished you could enjoy all the flavor of red velvet cake without the fuss of making layers? These red velvet brownies are the answer! I created this red velvet brownie recipe when I wanted something easier than cake but just as special for Valentine’s Day. Now they’re a year-round favorite in my house.
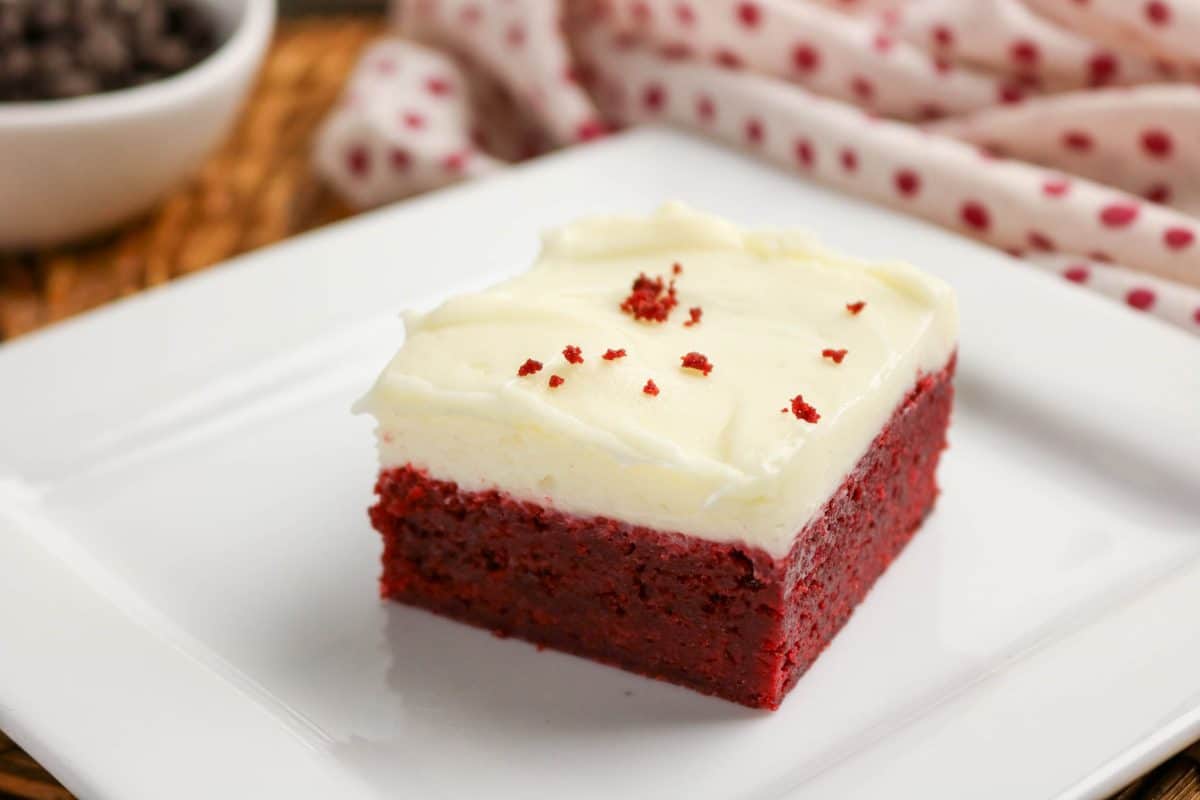
What makes these red velvet cake brownies so special is their fudgy texture combined with that classic cocoa-vanilla flavor we all love. The cream cheese frosting on top adds the perfect tangy sweetness that makes red velvet desserts irresistible. Plus, you can have these beauties ready in just 45 minutes from start to finish.
Ingredient Notes & Tips
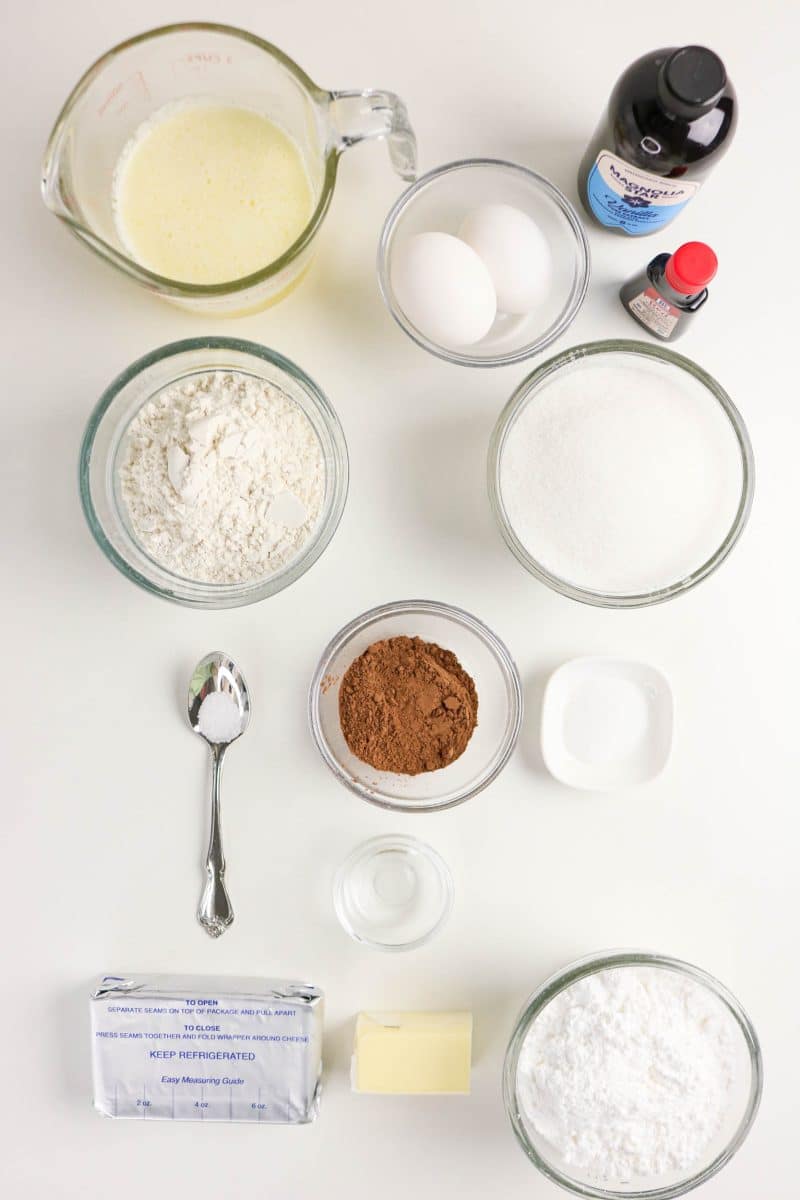
Let’s talk about what makes these red velvet brownies so amazing. The right ingredients make all the difference!
Unsalted Butter: I always use unsalted butter so I can control the salt level. Make sure it’s fully melted and slightly cooled before mixing. This creates that fudgy brownie texture we’re after.
Granulated Sugar: Regular white sugar gives these brownies the right sweetness and helps create a slightly crispy top while keeping the inside moist.
Unsweetened Cocoa Powder: Red velvet isn’t chocolate cake, so we only use a small amount of cocoa. This gives a subtle chocolate flavor without overpowering the vanilla. Dutch-process or natural cocoa both work fine.
Red Food Coloring: This is what gives red velvet its signature look! I use liquid red food coloring (about 2 tablespoons), but gel food coloring works too. You’ll need less gel coloring since it’s more concentrated.
White Vinegar: This might seem odd, but vinegar is traditional in red velvet recipes. It reacts with the cocoa and creates that unique red velvet taste. Don’t skip it!
Cream Cheese: Use full-fat, brick-style cream cheese for the frosting. Make sure it’s softened to room temperature so it beats smooth without lumps. Low-fat cream cheese won’t give you the same rich, tangy frosting.
Powdered Sugar: Also called confectioners’ sugar, this dissolves smoothly into the frosting. Sift it if it has lumps for the creamiest texture.
How to Make Red Velvet Brownies
Making these red velvet brownies is surprisingly easy. Let me walk you through it!
1. Prep Your Pan (2 minutes): Preheat your oven to 350°F. Line a 9×9-inch baking pan with parchment paper, leaving some hanging over the sides. This makes it super easy to lift the brownies out later. You can also grease the pan with butter or cooking spray if you prefer.

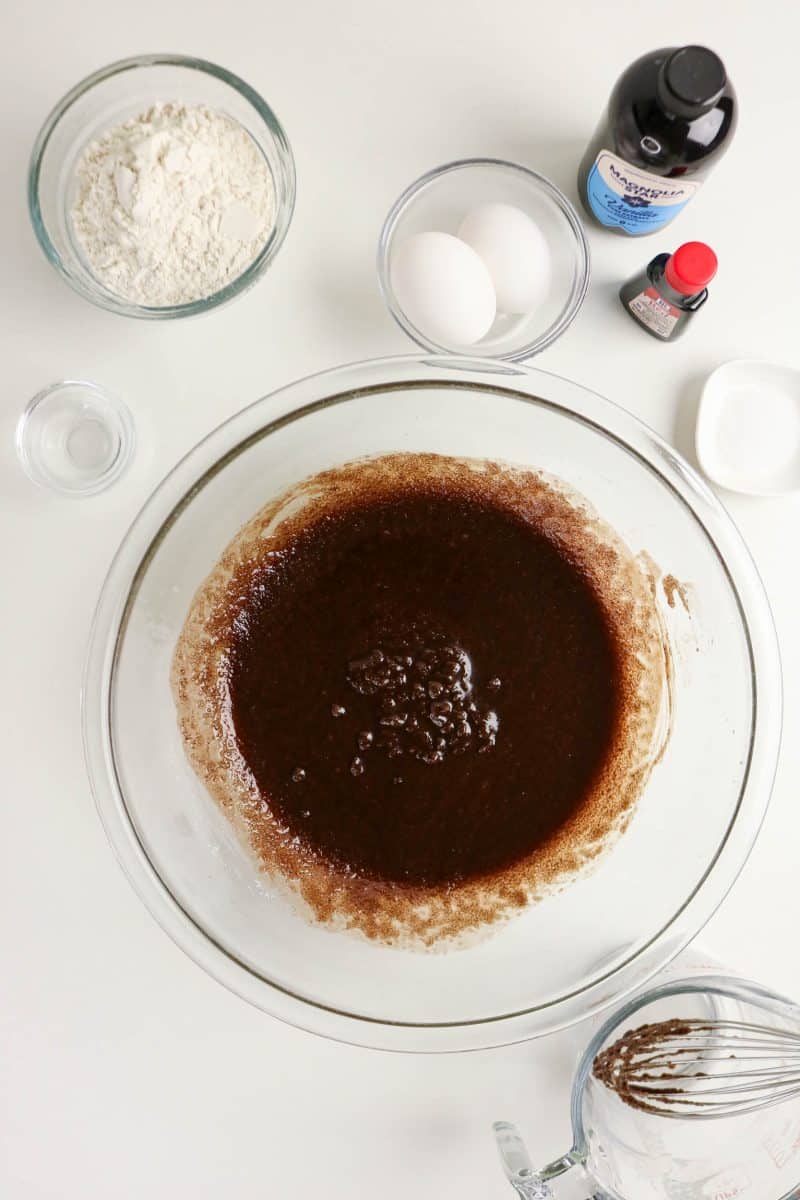
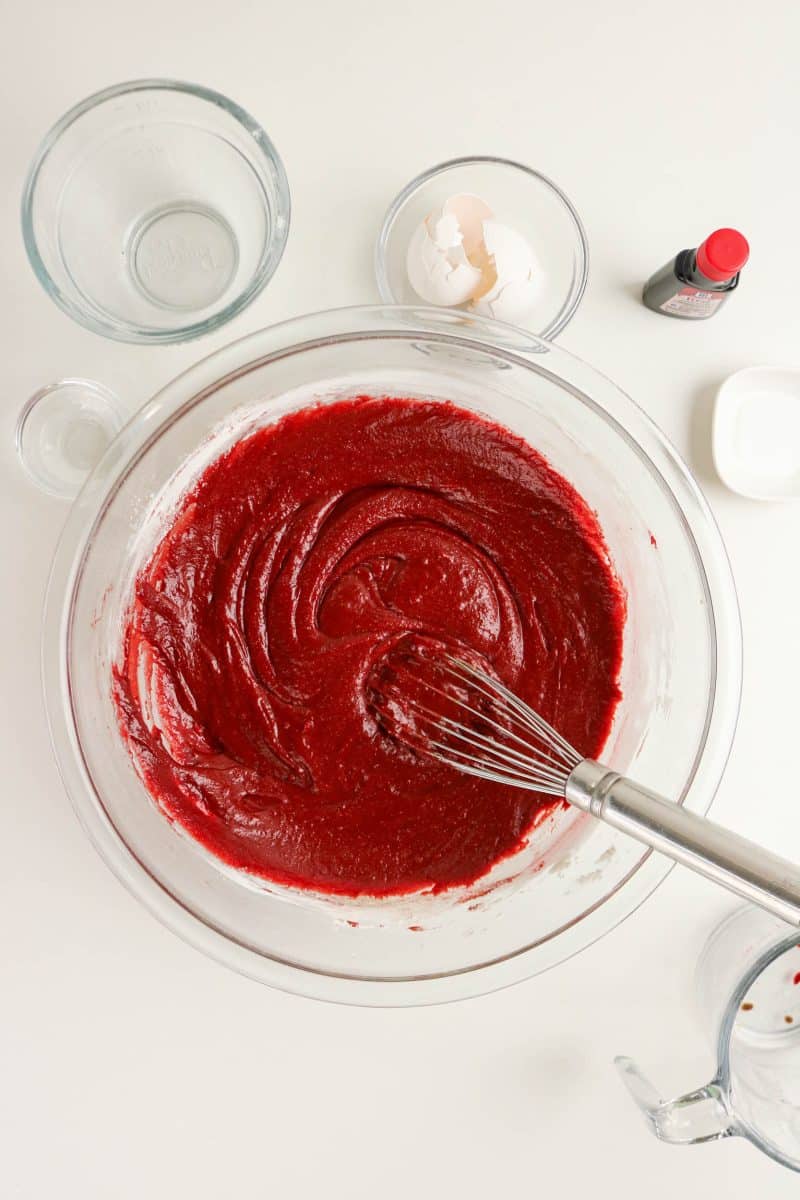
2. Mix the Wet Ingredients (3 minutes): In a large mixing bowl, whisk together the melted butter, sugar, cocoa powder, and vanilla extract. Mix it really well until everything is combined and smooth. The mixture should be glossy.
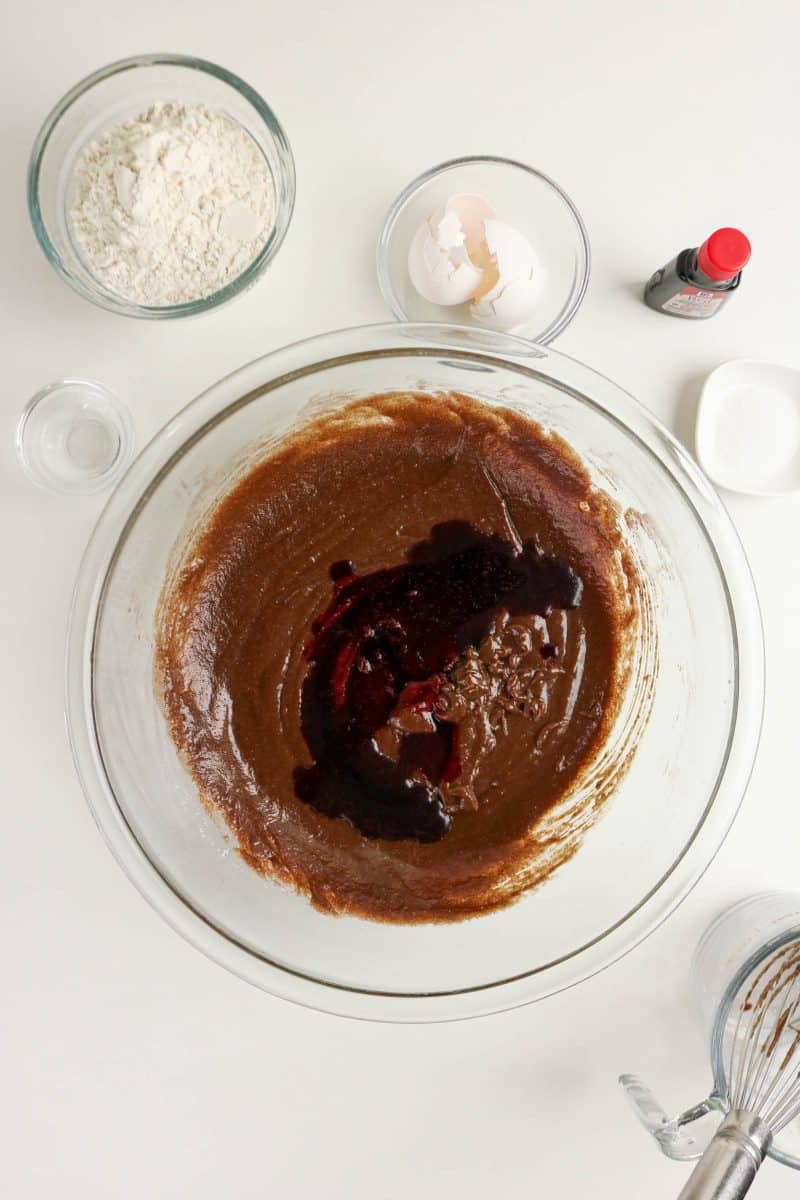
3. Add the Color (1 minute): Pour in that beautiful red food coloring and stir until the color is even throughout. This is when your batter starts looking like red velvet!
4. Add the Eggs (2 minutes): Crack in the eggs one at a time, whisking well after each one. This helps create a smooth, emulsified batter. The mixture should look thick and shiny.
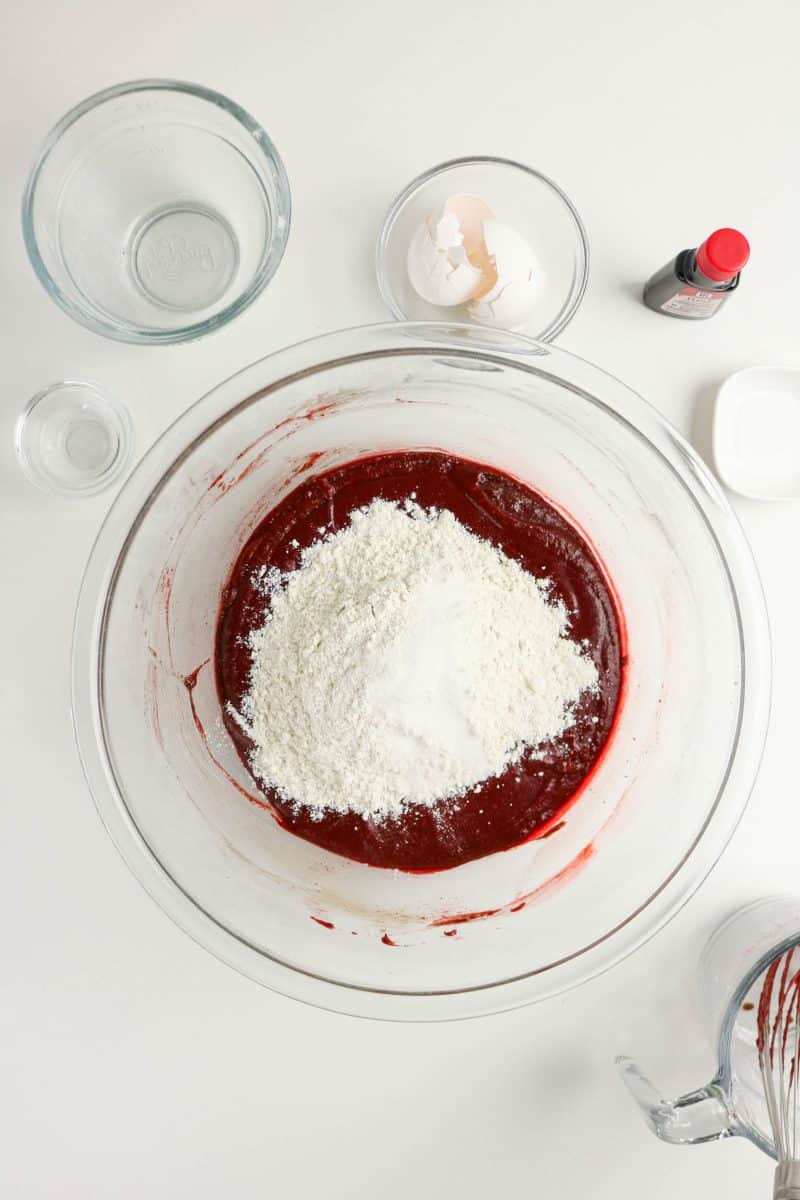
5. Fold in the Dry Ingredients (2 minutes): Add the flour and salt, stirring gently until just combined. Don’t overmix here or your brownies might turn out tough instead of fudgy. A few small lumps are fine.
6. Add the Vinegar (1 minute): Stir in the white vinegar last. This creates that classic red velvet flavor that makes these brownies special.

7. Bake (25-30 minutes): Pour the batter into your prepared pan and spread it evenly into the corners. Bake for 25 to 30 minutes. The brownies are done when the center is set and a toothpick comes out with just a few moist crumbs. Don’t overbake or they’ll be dry instead of fudgy!
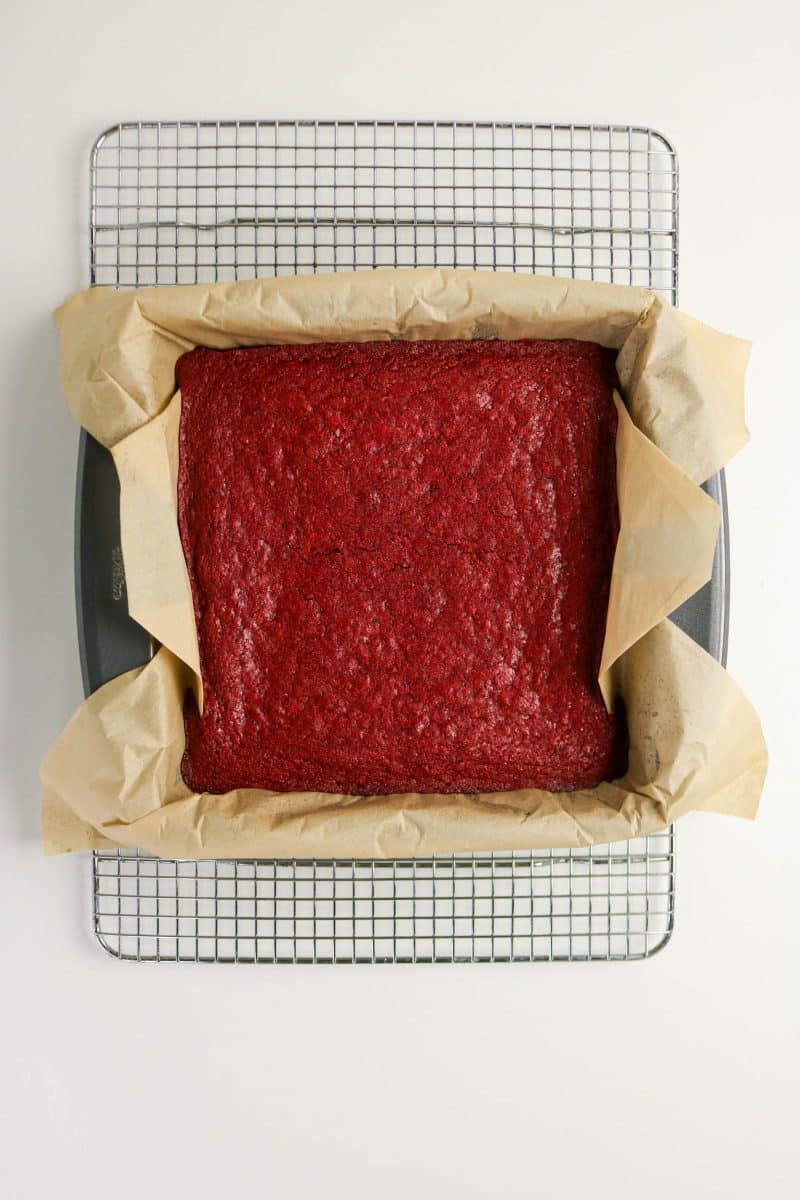
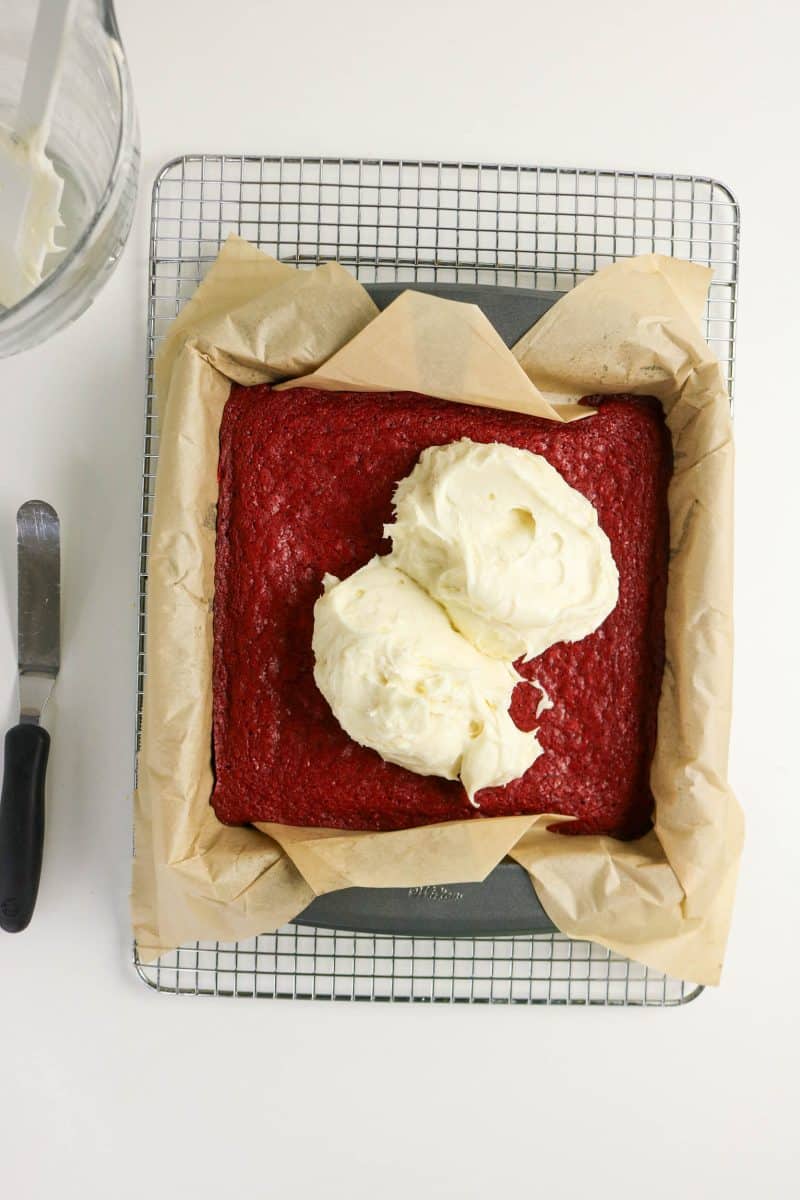
8. Cool Completely (30 minutes): This is important! Let the brownies cool completely in the pan before frosting. If you frost them while warm, the frosting will melt into a mess.
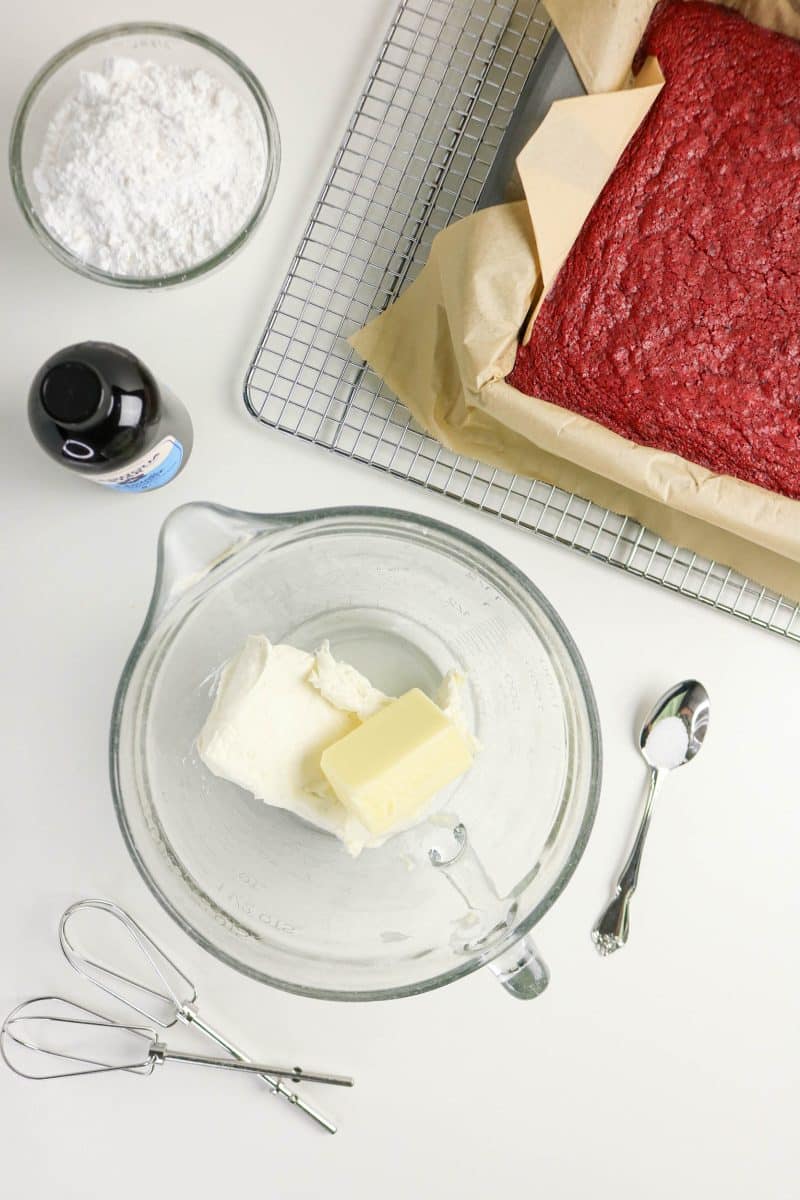
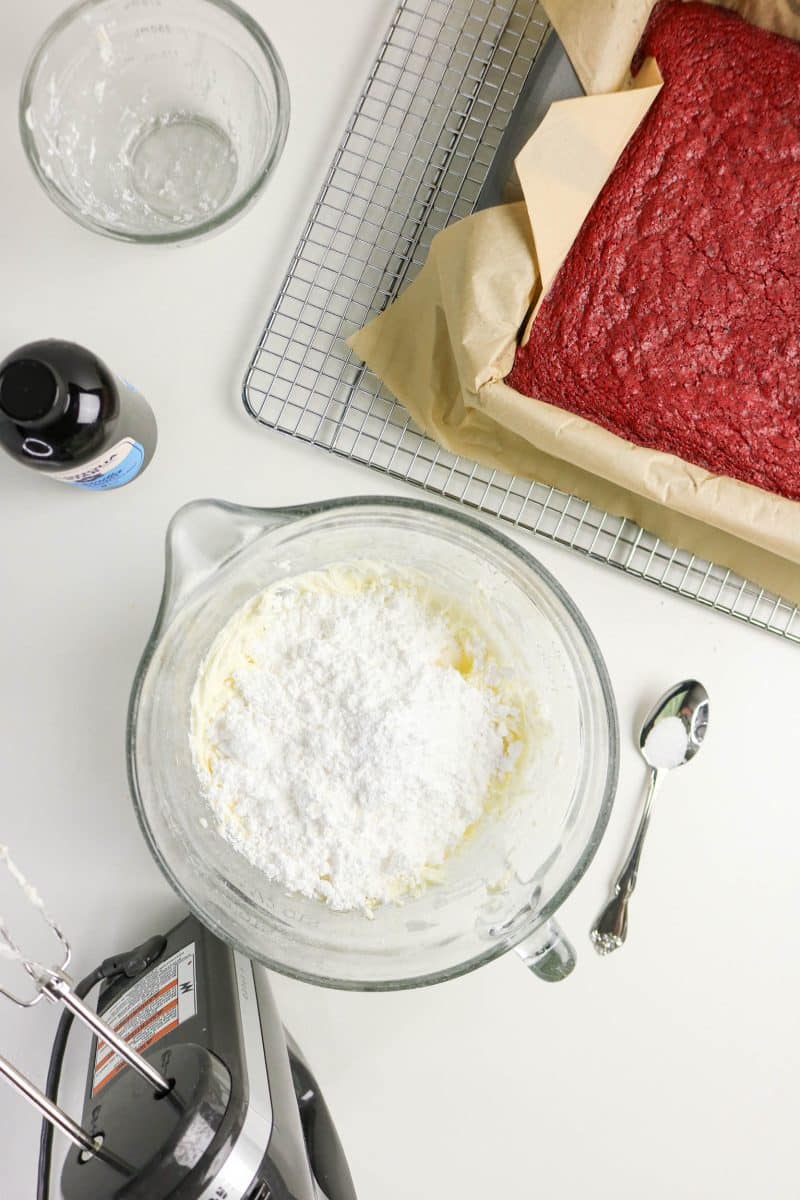
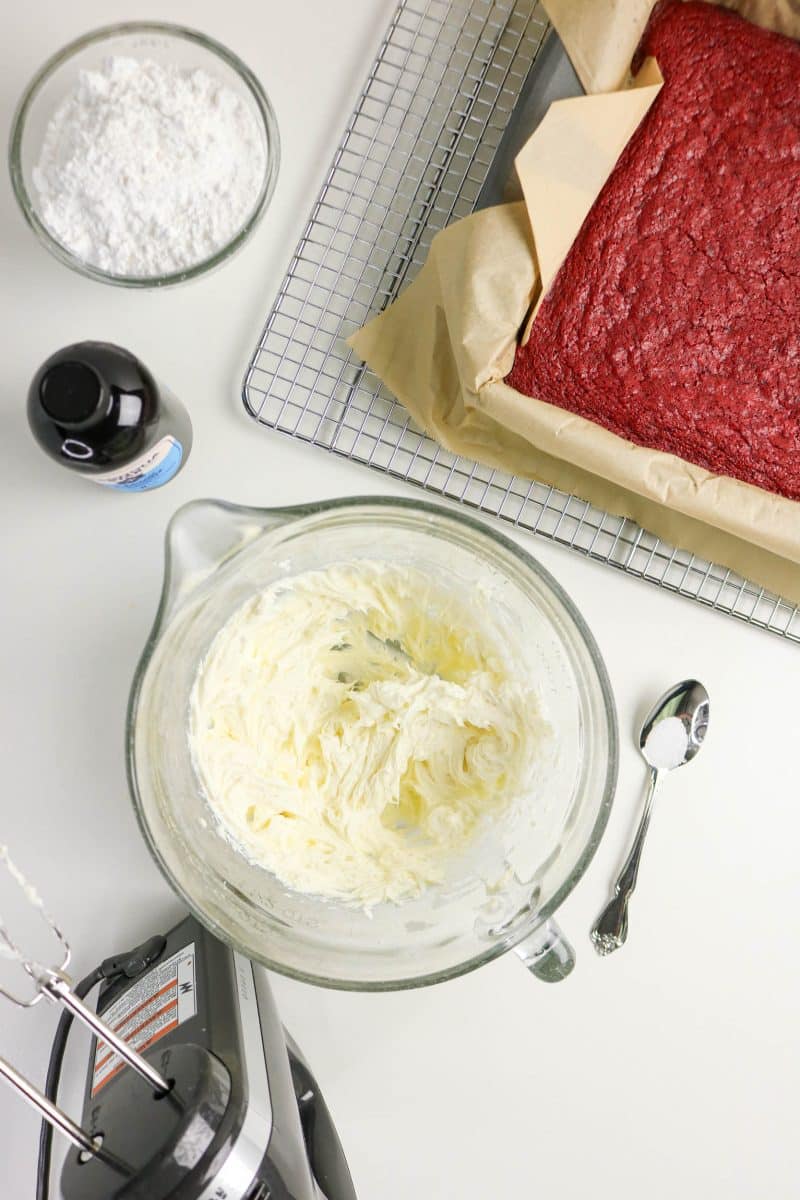
9. Make the Cream Cheese Frosting (5 minutes): While the brownies cool, beat the softened cream cheese and butter together with an electric mixer until smooth and fluffy. Add the vanilla, then gradually add the powdered sugar and pinch of salt. Beat until creamy and spreadable. If your frosting seems too thin, add a little more powdered sugar.
Want to save this recipe?
I'd like to receive more tips and recipes from Hostess At Heart!
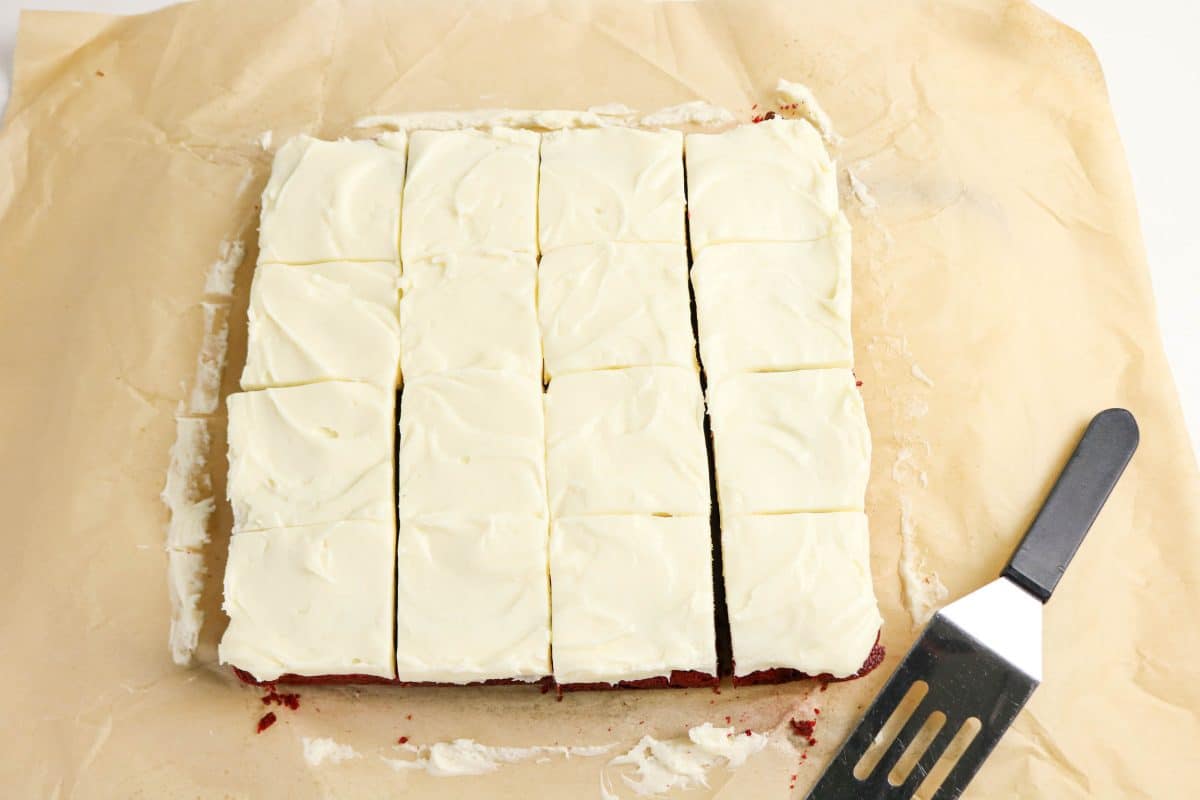
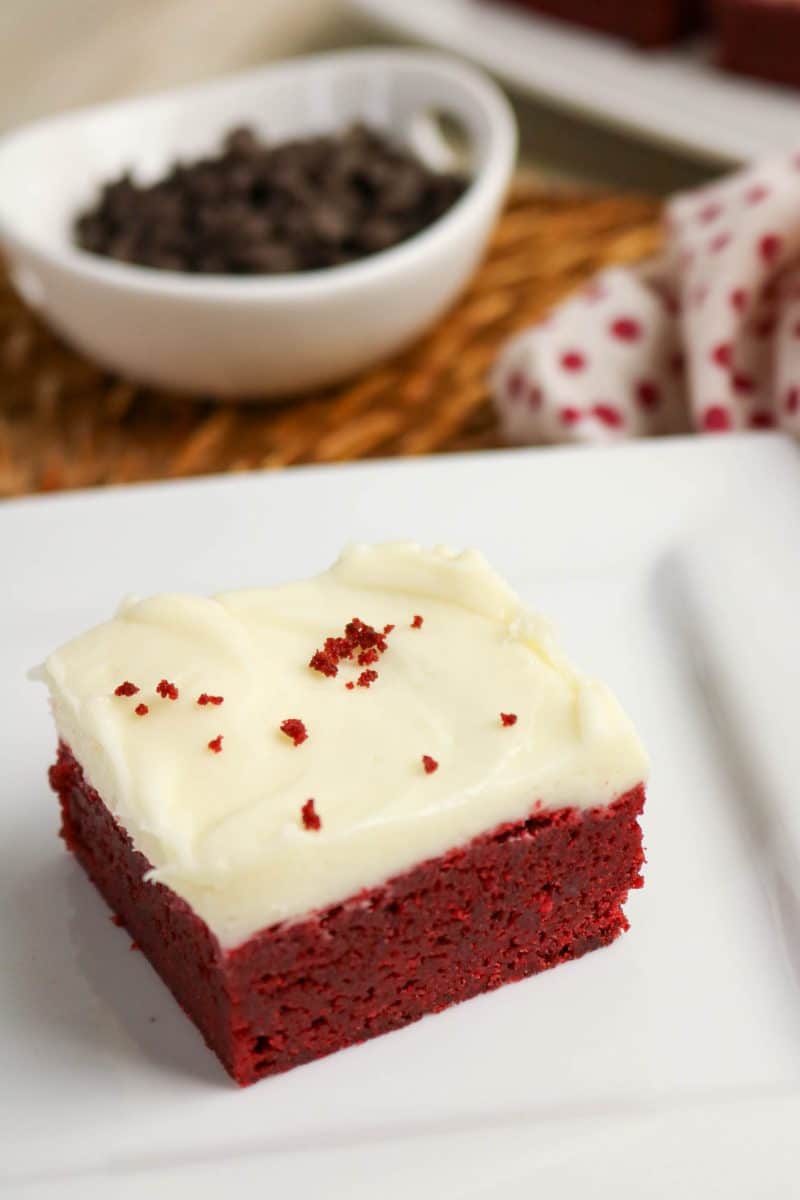
10. Frost and Slice (5 minutes): Spread the frosting evenly over the cooled brownies using a spatula. Cut into 16 squares using a sharp knife. Wipe the knife clean between cuts for neat edges.
Recipe Variations
These red velvet brownies are delicious as written, but here are some fun ways to change them up!
Red Velvet Cheesecake Brownies: Swirl some plain cheesecake batter into the red velvet batter before baking. Mix 4 oz softened cream cheese with 1/4 cup sugar and 1 egg, then dollop spoonfuls on top of the brownie batter and swirl with a knife.
Red Velvet Brownies with White Chocolate: Fold 1 cup of white chocolate chips into the batter before baking. The white chocolate complements the cream cheese frosting perfectly.
Mini Red Velvet Brownies: Bake these in a mini muffin tin for bite-sized treats. Reduce baking time to 12-15 minutes. These are perfect for parties!
Gluten-Free Red Velvet Brownies: Replace the all-purpose flour with a 1:1 gluten-free baking flour blend. The texture stays wonderfully fudgy.
Red Velvet Brownie Bites: Skip the frosting and cut into small squares. Dust with powdered sugar for a simpler presentation that’s still beautiful.
How to Store Red Velvet Brownies
Proper storage keeps these brownies fresh and delicious for days!
Room Temperature: Store frosted brownies in an airtight container at room temperature for up to 2 days. If your kitchen is warm, the frosting might soften, so refrigeration is better in hot weather.
Refrigerator: These keep beautifully in the fridge for up to 5 days. Store in an airtight container or cover the pan tightly with plastic wrap. The cold actually makes them extra fudgy! Let them sit at room temperature for 15 minutes before serving for the best texture.
Freezer: You can freeze these brownies for up to 3 months. I recommend freezing them unfrosted for the best results. Wrap individual brownies in plastic wrap, then place in a freezer bag. Thaw in the refrigerator overnight, then bring to room temperature and add fresh frosting. If you do freeze frosted brownies, place them on a baking sheet until frozen solid, then wrap well.
How to Serve Red Velvet Brownies
These red velvet brownies are stunning on their own, but here are some ideas to make them even more special!
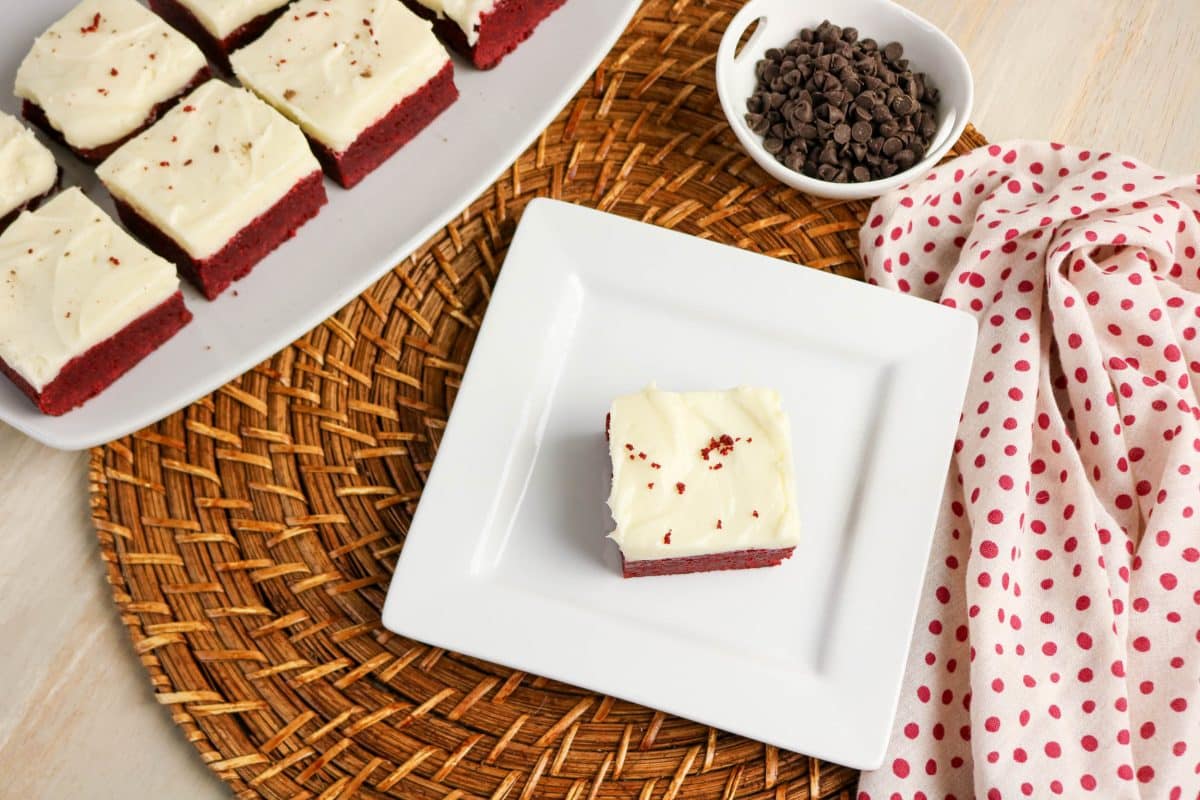
Classic Presentation: Serve these brownies at room temperature or slightly chilled. The frosting is creamy and perfect either way. Cut them into neat squares and arrange on a pretty platter.
With Ice Cream: Serve with a scoop of vanilla ice cream on top. Creamy and delicious.
Holiday Styling: These are perfect for Valentine’s Day, Christmas, or any celebration. Add red sprinkles, chocolate shavings, or heart-shaped candies on top of the frosting for festive flair.
Dessert Bar: Cut into smaller squares and serve as part of a dessert spread. They look beautiful next to other treats and the red color really stands out.
Ready to Bake?
I hope you love these red velvet brownies as much as my family does! They’re perfect for any special occasion or whenever you want to treat yourself to something special. The combination of fudgy brownies and tangy cream cheese frosting is simply irresistible.
Did you make this recipe? I’d love to hear how it turned out! Please leave a comment below and don’t forget to rate it ⭐⭐⭐⭐⭐ stars. Your feedback helps other readers and makes my day!
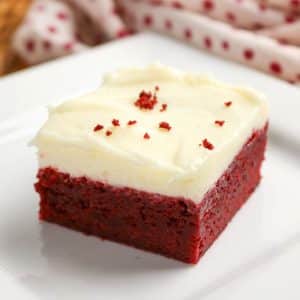
Red Velvet Brownies with Cream Cheese Frosting
Ingredients
For the Brownies:
- 1 cup unsalted butter melted (2 sticks)
- 1 ½ cups granulated sugar
- ¼ cup unsweetened cocoa powder
- 2 tsp vanilla extract
- 2 tbsp red food coloring
- 2 large eggs
- 1 ¼ cups all-purpose flour
- ½ tsp salt
- 1 tsp white vinegar
For the Cream Cheese Frosting:
- 8 oz cream cheese softened
- 4 tbsp unsalted butter softened
- 1 tsp vanilla extract
- 1 ½ cups powdered sugar add a little more if you prefer a thicker frosting
- ⅛ tsp salt (pinch)
Instructions
- Preheat oven to 350 °F and line a 9×9-inch pan with parchment paper or grease lightly.
- In a large bowl, whisk melted butter, sugar, cocoa powder, and vanilla until combined.
- Mix in the red food coloring. Add the eggs one at a time, whisking well after each addition.
- Stir in the flour and salt until just combined, then mix in the vinegar.
- Spread the batter evenly into the prepared pan.
- Bake 25–30 minutes, or until the center is set and a toothpick comes out with a few moist crumbs.
- Cool the brownies completely before frosting.
- For the frosting, beat cream cheese and butter together until smooth. Add vanilla and powdered sugar, then a pinch of salt, and mix until creamy.
- Spread frosting evenly over the cooled brownies. Cut into squares and serve.
Notes
Nutrition
Nutritional Disclaimer
This recipe was calculated using the exact brands and measurements I used to make this recipe. If you are following a strict diet please note changing anything will cause the nutritional info to change. My calculations are intended as a guide only.
Related Recipes
If you love these red velvet brownies, you’ll want to try these other delicious treats from my kitchen!
Looking for more brownie recipes? My Fudgy Chocolate Brownies are a classic that never disappoints. For another twist on traditional brownies, try my Cream Cheese Swirl Brownies that combine fudgy chocolate with tangy cheesecake.
Want to explore more red recipes? Make breakfast special with our easy cake mix Red Velvet Donuts recipe. Enjoy pie without the fuss with our Strawberry Slab Pie, and don’t miss these Raspberry Bars. My family loves them.
Did you enjoy this recipe? Don’t forget to pin it for later and follow me on Pinterest for more delicious recipes like this one!


C an this recipe be made in a 13×9 pan?
Yes, Cheryl it can. As is, the brownies would be thin and bake quickly. Therefore, I would recommend doubling the recipe and you may have to add 5 to 10 minutes to the baking time. I hope you’ll stop by and share what you did and if you enjoyed the recipe.
These look so delicious!! I only have salted butter right now. Could I use it and just cut back on the salt in the recipe??