Dried Cherry Scones Recipe (with Vanilla Glaze)
This post may contain affiliate links. Please read our Disclosure Policy.
This easy-to-make dried cherry scones recipe is irresistible with a soft and tender texture and a delicious sweet cherry flavor. They’re perfect for an easy grab-and-go breakfast, an elegant brunch, or a quick after-school snack.

Even though some believe that scones are hard and dry, our step-by-step recipe instructions will have you making homemade scones from scratch that no one can resist. For that reason, you will wonder what the big deal is and start making this delicious recipe all the time.
Why You’ll Love Dried Cherry Scones
Fast and easy – Did you know that scones are a quick bread? No yeast or kneading is necessary to make flaky and tender scones that don’t fall apart when you pick them up. The crumb is beautiful, and our scones recipe is perfection.
Elegant – When you bring scones to a special brunch occasion, everyone is impressed and imagines far more work than what they actually take. Scones have the reputation of being such a rare and decadent pleasure, but in fact, they are simply an amped-up version of the classic biscuit.
Versatile – During cherry season, this is a great recipe to use fresh juicy cherries. When winter hits, you can have delicious homemade scones using dried cherries. We even rely on frozen cherries for our gluten-free almond flour cherry muffins and this frozen cherry muffin recipe.
Ingredients for Cherry Scones
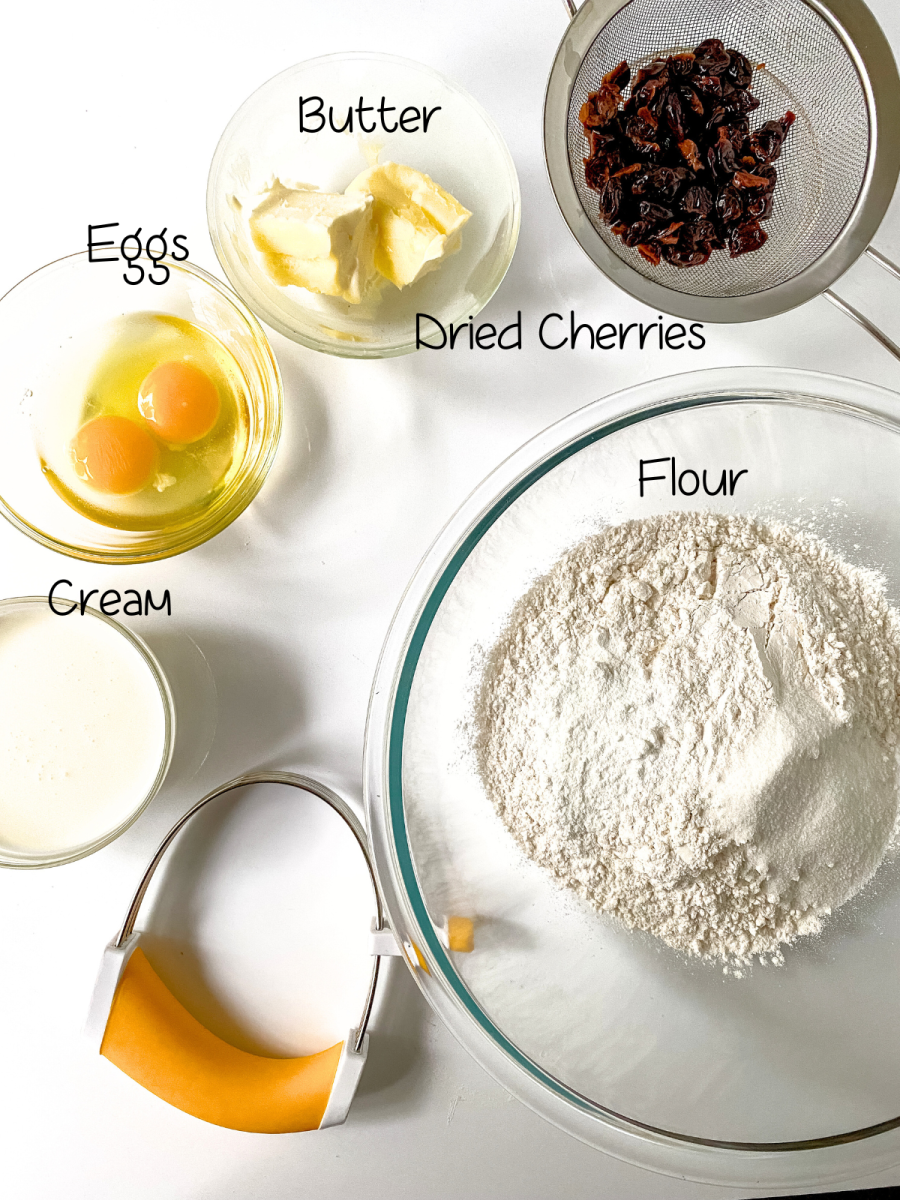
Chopped Dried Cherries – These are not to be confused with freeze-dried cherries, which are becoming more popular but will not work with this recipe.
All-Purpose Flour – Bleached or unbleached all-purpose flour is what we use for this recipe. We don’t recommend bread flour for our scone recipes. The higher protein will result in dense tough scones.
Baking Powder – This is the leavener that helps your dough rise making soft flaky scones. If you haven’t used it in a while, you’ll want to make sure it’s still active. Test it by putting 1/4 cup of boiling water into a small bowl and add about 1/2 teaspoon of baking powder. If it bubbles, it’s still good.
Salt – Kosher, fine sea salt, or table salt all work in this recipe.
Granulated Sugar – White sugar is what we use to make our slightly sweet scones. We don’t recommend brown sugar.
Cold Unsalted Butter – Keep your butter cold. We’ll be dicing it and you can do that ahead of time. Just put it back into the refrigerator until you’re ready to use it. If you use salted butter, reduce the amount of salt to 1/4 teaspoon.
Eggs – Grade A, large eggs are what we use for consistency in our baking.
Heavy Whipping Cream – Cream aids in tender delicious scones.
Vanilla Extract – We use pure vanilla extract in our baking. You can use imitation if that’s what you prefer.
Turbinado Sugar – We brush cream over our dough which helps our scones get a light golden brown while baking. Optionally, you can garnish the tops with turbinado sugar to give the scones a delightfully sweet crunch.
Sweet Vanilla Glaze
Combining a little powdered sugar with sweet cream creates a sweet vanilla glaze that takes a basic scone recipe and makes it decadent. Feel free to add flavor to the glaze with a teaspoon of extract, lemon zest, or orange zest.
How To Make Cherry Scones
Step One. Get everything ready. We’re making scones!
Preheat the oven, set out your ingredients, and prepare your pans. Chop the cherries.
Step Two. Plump up those cherries.
You’ll need to place the dried cherries in a small bowl with just enough boiling water to cover them and let them soak for 5 minutes. This plumps them up and brings out their fresh flavor.
Step Three. Mix the dry ingredients for your Cherry Scone Batter.
In a large bowl combine flour, sugar, baking powder, and salt.
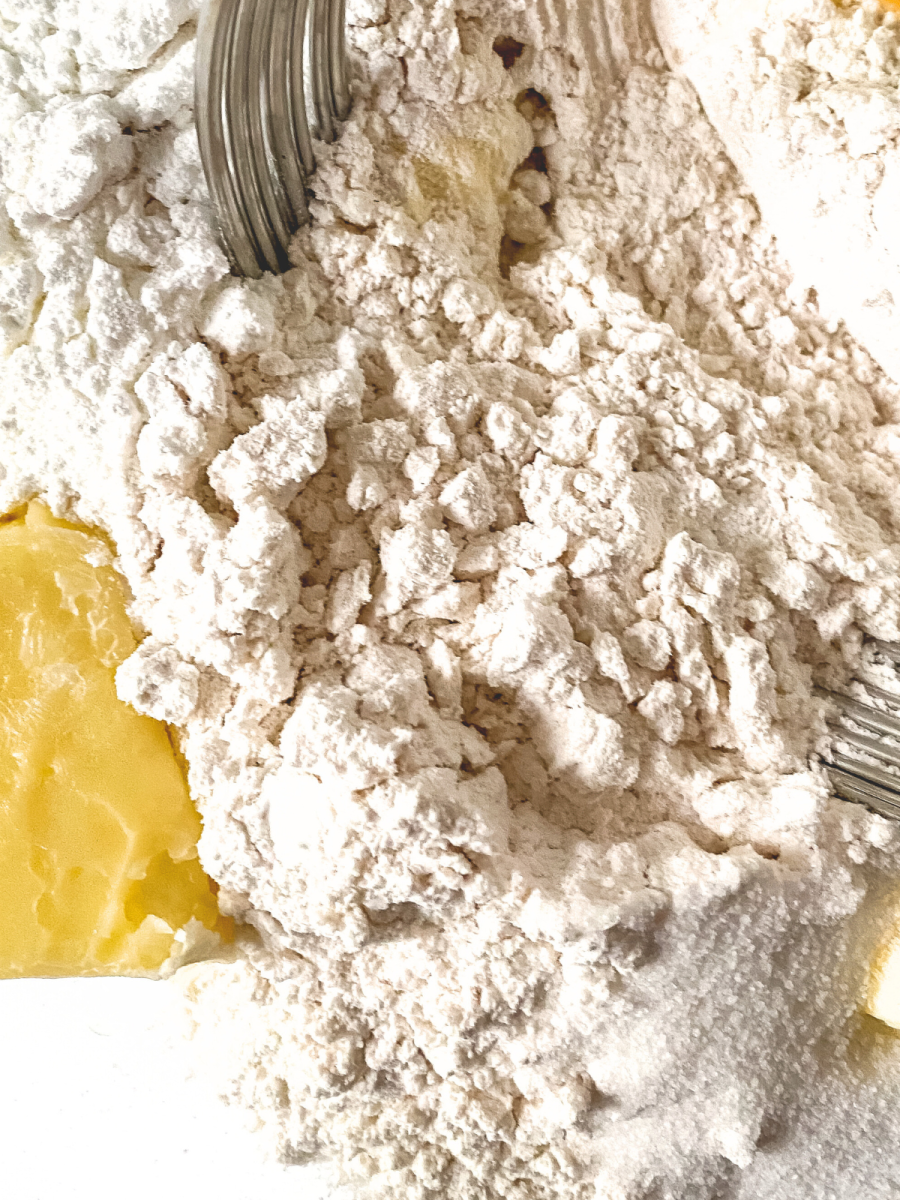
Step Four. Cut the butter into the dry ingredients.
Use a pastry blender to work the cold butter into the flour mixture. You are looking for coarse crumbs.
Step Five. Mix the wet ingredients
In a medium bowl, combine eggs, 3/4 cup whipping cream, vanilla, and drained cherries. Add the mixture to the well of the dry ingredients.
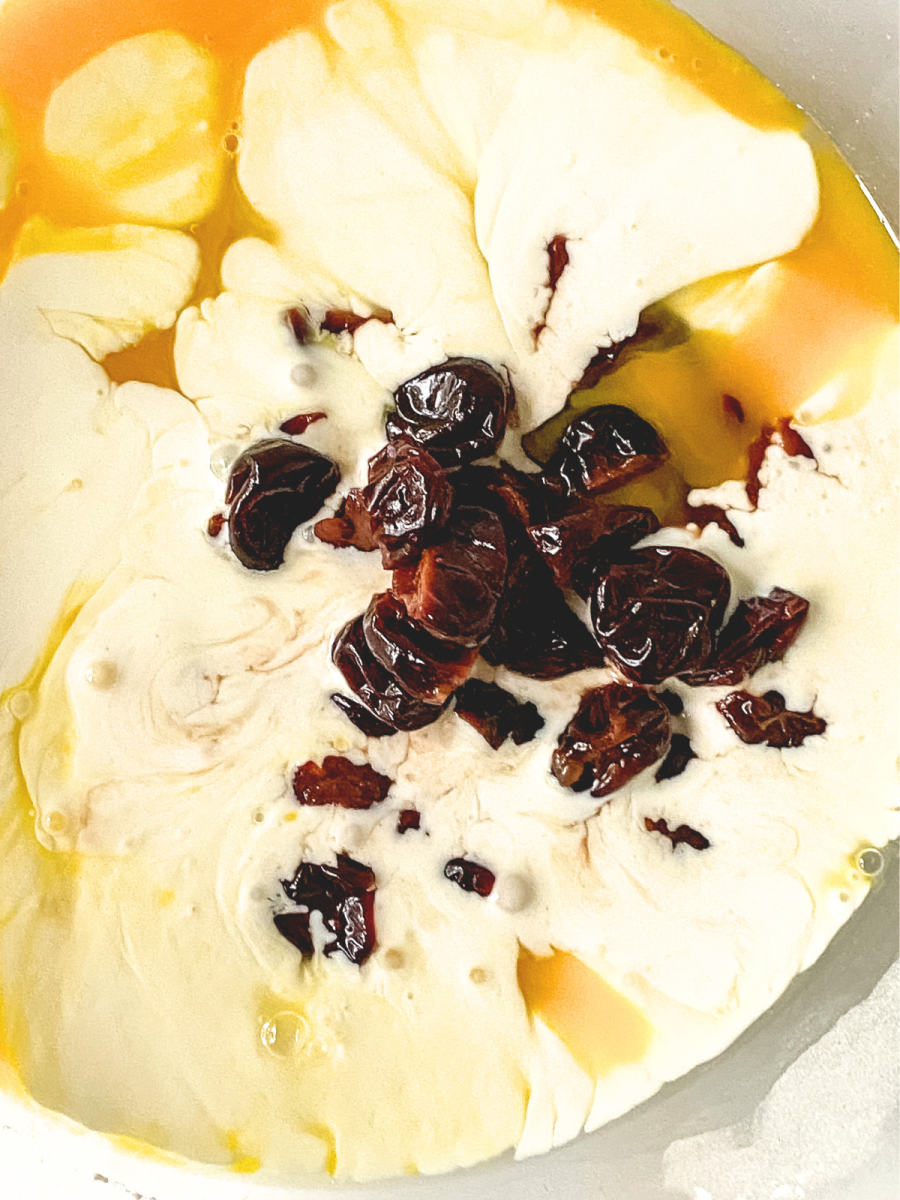
Step Six. Combine the two mixtures to make dried cherry scones batter.
Fold it all together gently. Do not overwork the dough.
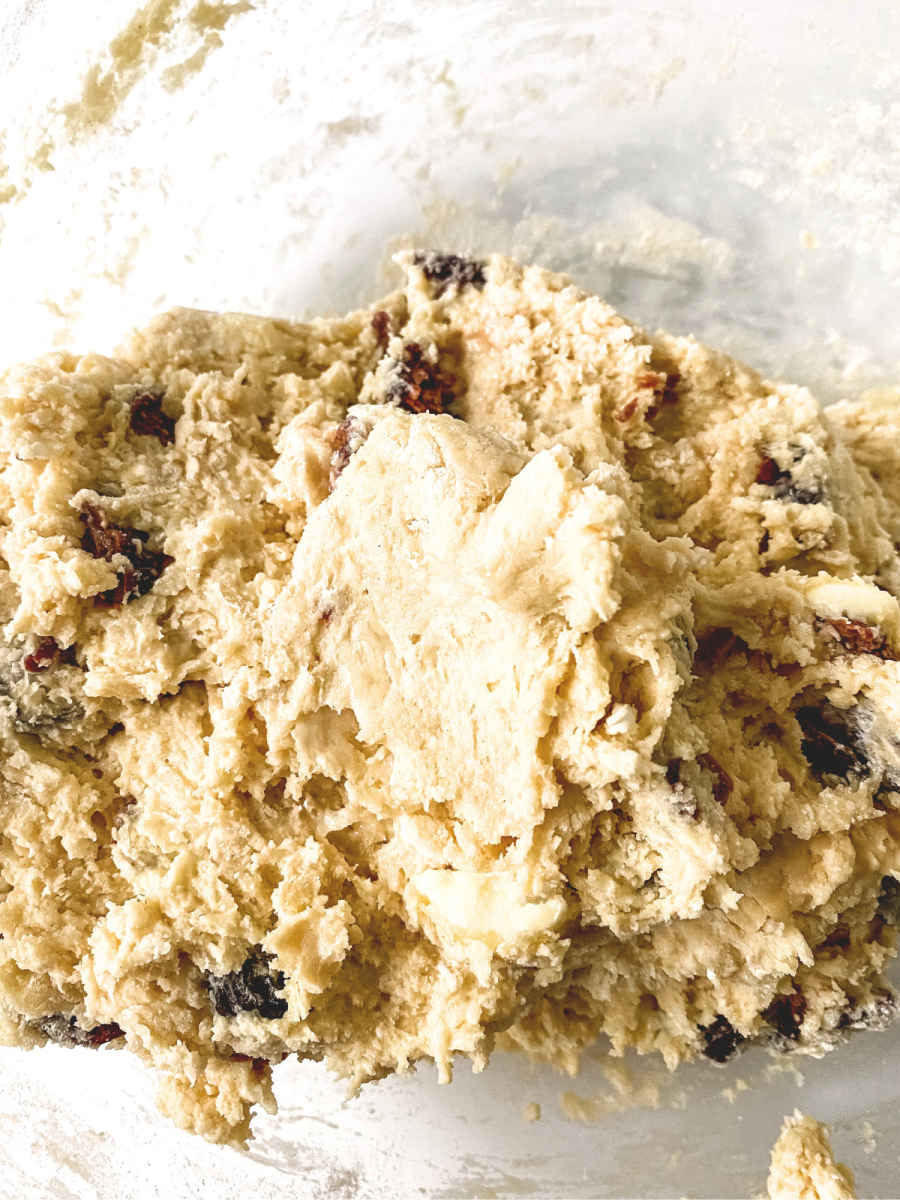
Step Seven. Form the scones.
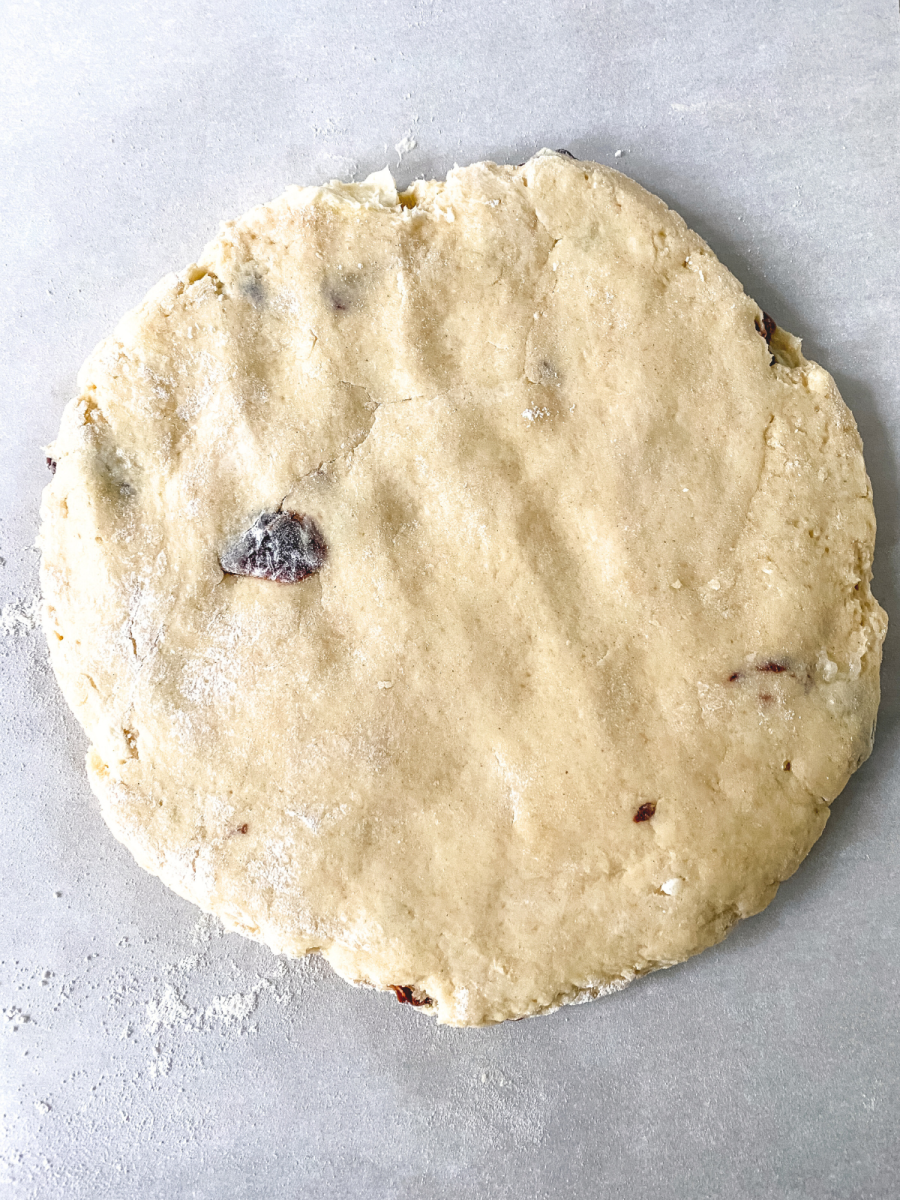
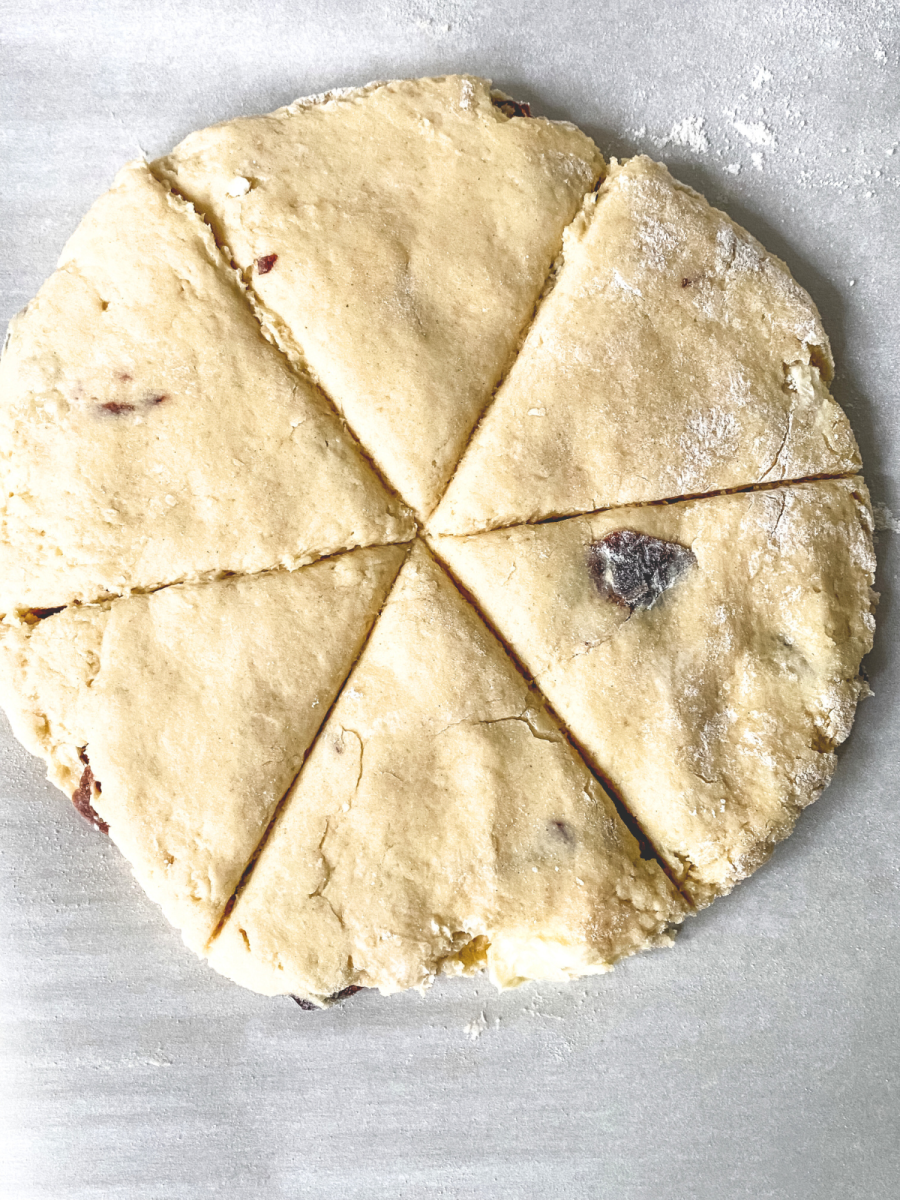
On a lightly floured surface using lightly floured hands, form and press the dough into a square or rectangle that’s approximately 3/4-inch thick. Cut in half. Shape each piece into approximately 3/4-inch thick circles; be sure to pat them down evenly. Using a sharp knife or bench scraper, cut each circle into 6 equal wedges for a total of 12.
 Shape into a circle
 Cut into equal-sized wedges
Want to save this recipe?
I'd like to receive more tips and recipes from Hostess At Heart!
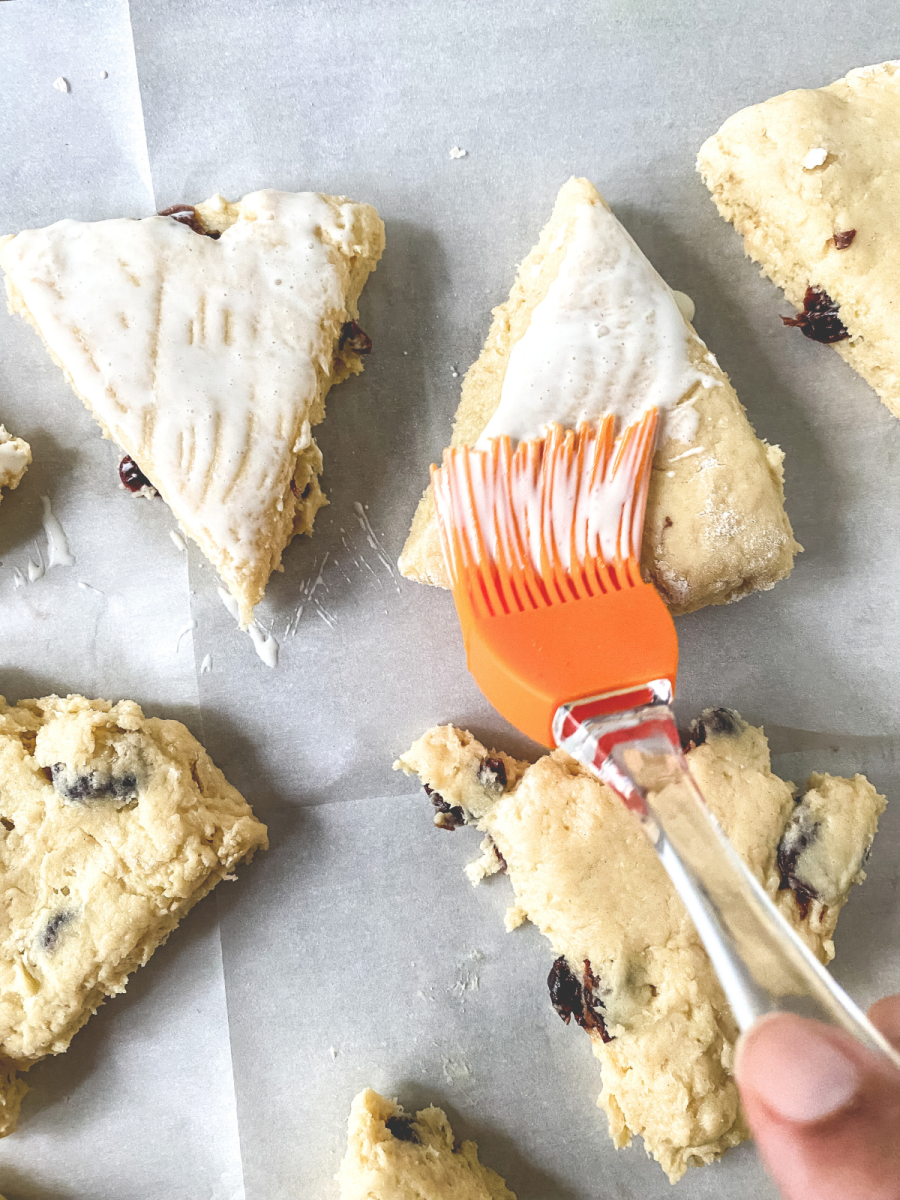
Place scones on a parchment-lined baking sheet and brush each wedge with heavy cream using a pastry brush. Top with a sprinkling of granulated or turbinado sugar. Refrigerate if desired (See tips).
Step Eight. Bake your cherry scones.
Bake, cool on a wire rack and glaze as soon as they’re cool. Above all, enjoy your freshly baked scones.
What to Serve with Scones?
These scones add just the right amount of sweetness to a savory breakfast such as our Italian Sausage and Potatoes, or just a good cup of coffee, beautiful brunch, or, a simple grab-and-go snack. You’ll feel like the Queen serving these scones with afternoon tea.
Popular Variations & Additions
- Any dried berries such as blueberries or raisins can be used in place of the dried cherries.
- You can also experiment with the flavor by trying different extracts such as orange, lemon, or almond extract.
- Add shaved almonds for a cherry almond scone.
- Sprinkle with decorating sugar for a Holiday brunch or birthday just like we did with our Mardi Gras Scones.
- All in all, you can skip the glaze altogether and serve them with a little jam or a dusting of powdered sugar. Regardless, they’ll be delicious.
- Make the scones savory with cheese or herbs.
- Add chocolate chips.
- Shape into circles or roll out a rectangle and cut into squares.

Frequently Asked Questions
Can I use fresh cherries in scones?
Yes, you can use fresh cherries or even frozen cherries just like we did in our Cherry Almond Muffins. We let them thaw, chopped them, and then let them drain over a paper towel while we mixed the other ingredients.
How to store scones.
Scones are best eaten fresh but can be stored at room temperature in an airtight container for 2 or 3 days
Can you freeze scone dough?
Yes, mix and form the scones; place the shaped scones on a baking sheet in the freezer until the scones are frozen solid. Transfer to freezer bags. Freeze for up to 2 months.
Scones can be baked from frozen, thus, having freshly baked scones whenever you want them. You may have to add a couple of minutes to the baking time.
Can you make scones ahead of time?
You can refrigerate the dough and bake the scones right before serving them, but we don’t recommend storing baked scones before you want them because they are best fresh.
How to reheat scones.
I think scones are lovely when they are warm and fresh. To mimic this with leftover scones, reheat them in the oven at 325ºF for just a few minutes, or microwave one at a time for about ten seconds. Add a little more time as needed.
As a result of reheating them, if they were previously glazed, your glaze will melt away. Even though they retain the flavor. For this reason, you may want to make extra glaze and refrigerate it for when you want to serve your reheated scones.

Why are my scones dry?
Scones are dry most of the time because they are baked for too long. In short, you can fix this by always preheating your oven and checking on the scones for the shortest amount of bake time given in the recipe.
Hostess Tips
Keep the ingredients and the dough cold which will keep the scones from spreading out too much while baking and will keep them flaky and moist.
When you cut the butter into the flour mixture as instructed in Step 4, use a pastry cutter or two forks, not your hands. The heat from the oven causes the butter to burst, as a result creating light fluffy scones. The heat from your hands will warm the butter consequently making dense scones.
Lightly flouring your hands will help you work with the dough preventing you from incorporating extra flour or overmixing the dough. You want to handle the dough as little as possible.
Chilling the shaped scones for 15 minutes or overnight will help them keep their shape while baking by preventing them from spreading out too much. Also, chilling them overnight is a great way to serve hot scones at breakfast.
Brushing the tops of the scones with heavy cream works like an egg wash adding color as they bake. It also allows a sprinkling of sugar to stick.
In addition to the glaze, sprinkling with coarse sugar gives them a sweet delightful crunch. Turbinado or Sugar in the Raw will work, or you can purchase coarse sanding sugar wherever you buy cake decorating supplies.
Don’t overbake. Scones will be soft out of the oven but firm up as they cool.

I hope you enjoyed this delicious recipe as much as we do. Drop me a comment below, and don’t forget to give it a star rating. ⭐⭐⭐⭐⭐. Your comments and ratings help others decide if this recipe is for them too.
Did you enjoy this recipe? Don’t forget to pin it for later and follow me on Pinterest for more delicious recipes like this one!






They came out delicious! Going to experiment with a few other flavors next.
These were absolutely delicious!! We had them for brunch, and my family wants them again!
Thank you, Laura!
How thick should the dough be after patting it down to be cut into scones?
3/4-inches thick.
@Julie Menghini, Thanks!
You bet! Anytime.
These were SO GOOD! Made them yesterday for a church brunch! Everyone loved them!
Thank you, Kathleen!
@Kathleen, How thick should the dough be after patting it down to be cut into scones?