Halloween Hershey’s Kiss Cookies (No Peanut Butter)
This post may contain affiliate links. Please read our Disclosure Policy.

Tradition is important, but a little twist on tradition can be a very good thing. My Hersheys Kiss Cookie Recipe brings a unique spin to this classic blossom or thumbprint cookie. Nostalgia aside, these peanut butter-free cookies taste amazing and make us all feel like kids again.

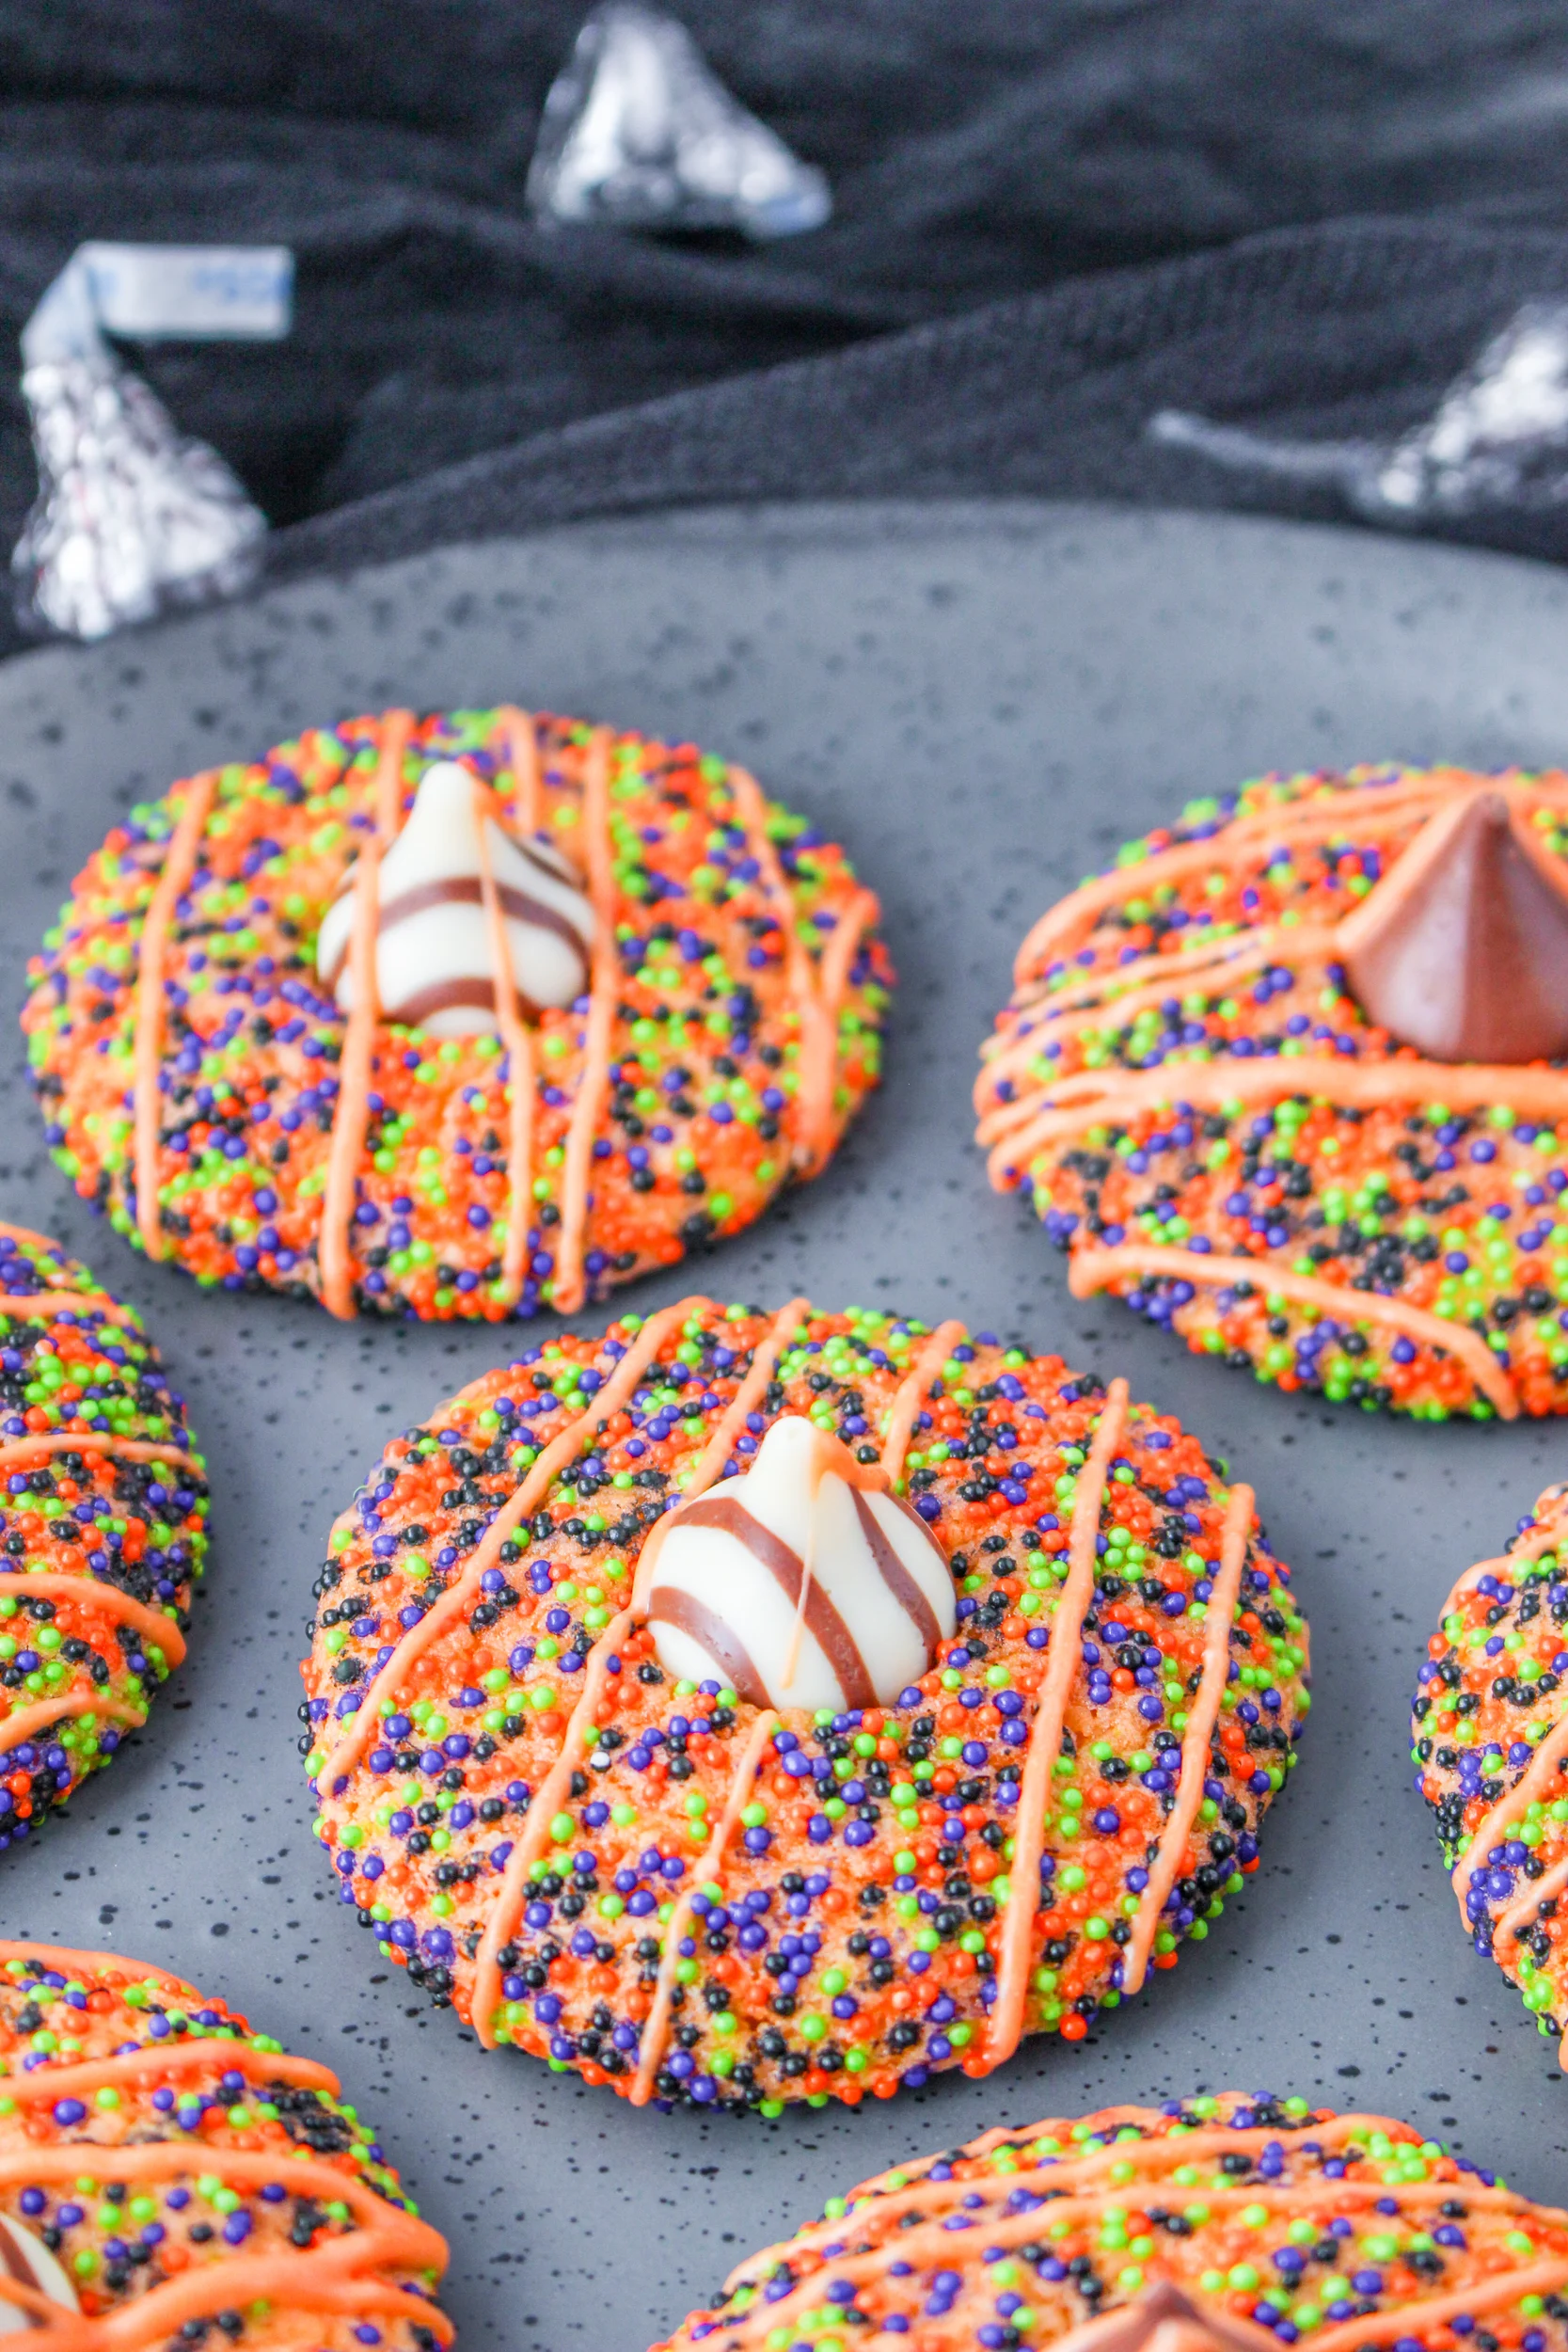
Gorgeous Halloween sprinkles and a touch of melted candy drizzle make this cookie a treat for the eyes as well as the mouth. Make these Hershey’s Kisses Cookies for your next class party, grandbabies, company meeting, or the group of teens crashing your house to hang out.
Why You’ll Love These Hershey’s Kisses Cookies
- Allergy Friendly. Unlike peanut butter blossom cookie recipes, this recipe doesn’t contain nuts, so it is safe for people with nut allergies. Note: At the time this post is being written, Milk Chocolate Hershey’s Kisses are produced in a factory that is peanut-free and tree-nut free. However, that can change at any time. If you plan to serve these to someone with a peanut allergy you should read the label on your package just to be sure and look for an AIS Statement for possible cross-contamination.
- Customizable. Change up the thumbprint cookie by changing up the type of Hershey’s Kiss you use.
- Kid-Friendly Recipe. Get your little ones involved with unwrapping the candies and placing a chocolate onto each cookie. It’s such a wonderful bonding experience to bake with your children.
Ingredients For Your Hershey Kiss Cookie Recipe

- All-Purpose Flour. Use a one-for-one gluten-free flour for this recipe to make it even more allergy-friendly.
- Baking Soda. Make sure you don’t have old baking soda or your cookies won’t rise. Your box needs replaced every six months or any time it absorbs moisture or odors.
- Salt. You just need a bit for the chemistry of this cookie to work.
- Unsalted Butter Softened. If you don’t keep unsalted butter in your refrigerator, don’t add salt to the cookies.
- Sugar. White granulated sugar.
- Egg. We buy large Grade A eggs.
- Vanilla Extract. I always try to keep an extra jar of this on hand because we go through it so quickly! Especially near the holidays, make sure you have it in the house.
- Milk. An unsweetened dairy-free substitute will work.
- Brightly Colored Sprinkles. In your theme of choice. Customize these for any holiday or party!
- Hershey’s Kisses. You can pick your favorites!
- Orange Food Coloring. This cookie is so covered in sprinkles your guests might not even notice the bright orange color until they take their first delightful bite.
- Orange Candy Melts. For the drizzled effect.
Tools You’ll Need For The Hershey Kiss Cookie Recipe
Hostess At Heart participates in affiliate programs. As an Amazon Associate, I earn a commission from qualifying purchases. Please refer to my disclosure page for more information.
Please note, that the printable recipe card has the full list of ingredients, quantities, complete instructions, and nutritional information. The following is a quick overview of the recipe.
How To Make Hersheys Kiss Cookies
You’ll love how easy it is to make cookies from scratch. For me, it’s almost therapeutic. Getting in the kitchen and making goodies for the people you enjoy is worth the extra effort.
Step 1: Get everything ready.
Preheat your oven and either line the baking pans with parchment paper or spray them with non-stick spray.
Step 2: Mix the dry ingredients.
Set aside.
Step 3: Cream the butter and sugar.
First, beat the butter to get it nice and fluffy. Then cream the butter and sugar.

Step 4: Put it all together.
Add the eggs and vanilla and beat again. Then add the flour mixture a little at a time until fully incorporated.
Step 5: Finish by adding the milk.
Add just a little at a time until you get the right consistency.
Step 6. Prep the cookies.
 Roll in sprinkles
-
Place on baking sheet


Scoop the dough to portion it. Roll the cookies into balls. Roll the balls in sprinkles. Place them one inch apart on a baking sheet.
Step 7. Bake the cookies.
Do not overbake.
Step 8. Add the chocolates.
Press a Hershey’s kiss onto the center of each cookie gently.
Step 9: Cool.
Set the cookies on a cooling rack and leave them until the chocolates are fully set.
Step 10: Drizzle

Melt the candy melts in a piping bag or reclosable zip bag. Drizzle the cookies after they’ve completely cool.
Hershey Kiss Cookie Variations & Additions
- Use another variety of Hershey’s Kiss which include: caramel, Special Dark, hazelnut
(deluxe), birthday cake, cookies’n’cream, milk chocolate almond, and white chocolate
(Hugs). - Leave or change out the sprinkles for another festivity or holiday.
- Roll in nuts or coconut.
How To Store Hershey’s Kiss Cookies
Best Way To Store Hershey Kisses Cookies Leftover
If you have extra cookies, you can place them in a plastic storage bag or airtight container to keep them fresh for up to five days at room temperature.
Can I Freeze Hersheys Kiss Cookies?
Yes. Freeze cookies in an airtight container for up to three months or more. Easy after-school snacks!
How To Reheat Hershey Kisses Cookies without Peanut Butter
If the cookies are a tiny bit stale or you just want to soften the chocolate a little, try ten or fifteen seconds in the microwave to soften the cookie and the chocolate.

Hershey’s Kiss Cookies FAQs
No. They will flatten on their own.
Yes. Like most chocolate, there is a best buy date on the package and after this date the chocolate will start to separate, harden, or taste “off.”
Tips for the perfect Hershey Kiss Cookie Recipe
If desired, place candy melts or chocolate chips in a microwave-safe bowl. Microwave for 1 minute and stir well so the chocolate continues to melt with the residual heat. If needed, add to the microwave again, stirring vigorously every 15 seconds until melted.
If the candy melts are too thick, add coconut oil or vegetable shortening a little at a time until you reach your desired consistency. Transfer the melted chocolate into a piping bag and drizzle over the cookies or use a fork by dipping in the times and shaking it over the cookies. Allow to set completely before storing.
Other Easy Halloween Recipes You’ll Love
- Chocolate Halloween Mummy Pretzels
- How to make Monster Cupcakes
- How to make Monster Rice Krispie Treats
Don’t Forget To Come Back And Let Me Know How the Hershey Kiss Cookie Recipe Turned Out!

Halloween Hershey’s Kiss Cookie Recipe
Ingredients
- 2 cups flour
- ¼ tsp baking soda
- ¼ tsp salt
- ½ cup unsalted butter softened
- 1 cup sugar
- 1 egg
- 1½ tsp vanilla extract
- 2 tbsp milk
- ⅓ cup brightly colored sprinkles
- 44 Hershey's Kisses unwrapped
Optional: Orange food coloring
Instructions
- Preheat the oven to 350 °F Prepare a large baking sheet(s) with parchment paper.
- In a medium-sized bowl, whisk the flour, baking soda, and salt together. Set aside.
- Beat the softened butter at medium speed for 5 minutes. Scrape down the sides. Add the sugar and continue beating for 5 to 7 minutes or until fluffy.
- Add the egg and vanilla extract, beating until evenly combined. Add the flour mixture and beat until mixed.
- Slowly add the milk to the dough as the mixer runs, adding just enough to soften the dough.
- Using a small (1 tablespoon) cookie scoop, portion the cookie dough and shape in to balls. Roll each ball in the colored sugar or sprinkles, if desired. Place on the baking sheet about 1 inch apart.
- Bake for 8 to 10 minutes or until the cookies are puffed and the edges are set.
- Put the baking sheet on a cooling rack and carefully press a Chocolate Kiss into the center of each cookie. Allow the cookies to cool on the baking sheet for 2 to 3.
- Transfer the cookies from the baking sheet to a wire rack and allow the cookies to cool completely. The candies will look like they are melting but do not disturb them and they will resolidify in the correct shape.
- Store at room temperature once completely cool in an air-tight container for up to 5 days. Hershey's Kiss Cookies can also be frozen for up to 3 months.
Notes
Nutrition
Nutritional Disclaimer
This recipe was calculated using the exact brands and measurements I used to make this recipe. If you are following a strict diet please note changing anything will cause the nutritional info to change. My calculations are intended as a guide only.
Did you enjoy this recipe? Don’t forget to pin it for later and follow me on Pinterest for more delicious recipes like this one!

Want to save this recipe?
I'd like to receive more tips and recipes from Hostess At Heart!


This recipe did not make 48 cookies as it says. I only got 24 and I used the 1 TBLS. cookie scoop as the recipe states. I rolled them in orange and purple sanding sugars and will place one of each in a cute bag to hand out at a party on Thursday. I will only have 12 bags. Oh well. Live and learn. I’m hoping they taste as good as all the other reviews say they do. No test cookie for me! 🙁
Hi, Kay, thank you for your comment and an excuse to bake this delicious cookie recipe again. I got 44 cookies this time. There are several reasons why you could get a different amount of cookies with the same recipe such as temperature, measuring, and mixing but I don’t know why you would only get half? I always verify that I have the right scoop by taking a measuring spoon on water and putting it into my scoop. Even though I’m pretty sure which one I need, I’ve been wrong. I hope you’ll stop back and leave us a review on any taste feedback that you get. So I’m jumping into the post and indicating that the yield could vary and am sure our comments will help other readers.
Oh my goodness!! We LOVED these cookies!!
Thank you, Michaela! They’re a lot of fun.
SO delicious and fun! 10/10!
Thank you, Mindy!
These turned out so well! I love that they are peanut-butter-free.
Thank you, Susannah! I’m glad that you enjoyed them.
Adorable! Making them with my kids this weekend to get in the Halloween mood!
That sounds like a fun activity, Tristin! Love getting the kiddos in the kitchen. Thank you for stopping by.
I was looking for a no peanut fun recipe and found yours! Another winner Julie and loved your tips for freshening up stale cookies!
Thank you, Kathleen! I’m so glad this worked for you and thanks for stopping by!
My husband’s request every year…for Halloween and for Christmas! So delicious and easy to make.
Thank you, Lynn! That’s a great tradition!
Perfect! Making these for my son’s school party– no peanuts is a giant plus!
They’re definitely ready for a party. Thank you!
I’m all about the Halloween recipes this year, and this one was not only easy to make, but so delicious!
Thank you, Debi! Glad you enjoyed them!
I absolutely love the look AND the taste of these Halloween cookies. Making them again for a party!
So fun! Thanks, Sue!