Conchas Recipe (Mexican Sweet Bread)
This post may contain affiliate links. Please read our Disclosure Policy.
Learn how to make authentic Conchas, a popular Mexican sweet bread, with our easy-to-follow conchas recipe. With a crunchy sugar topping and soft, fluffy dough, these Conchas are perfect for any occasion.
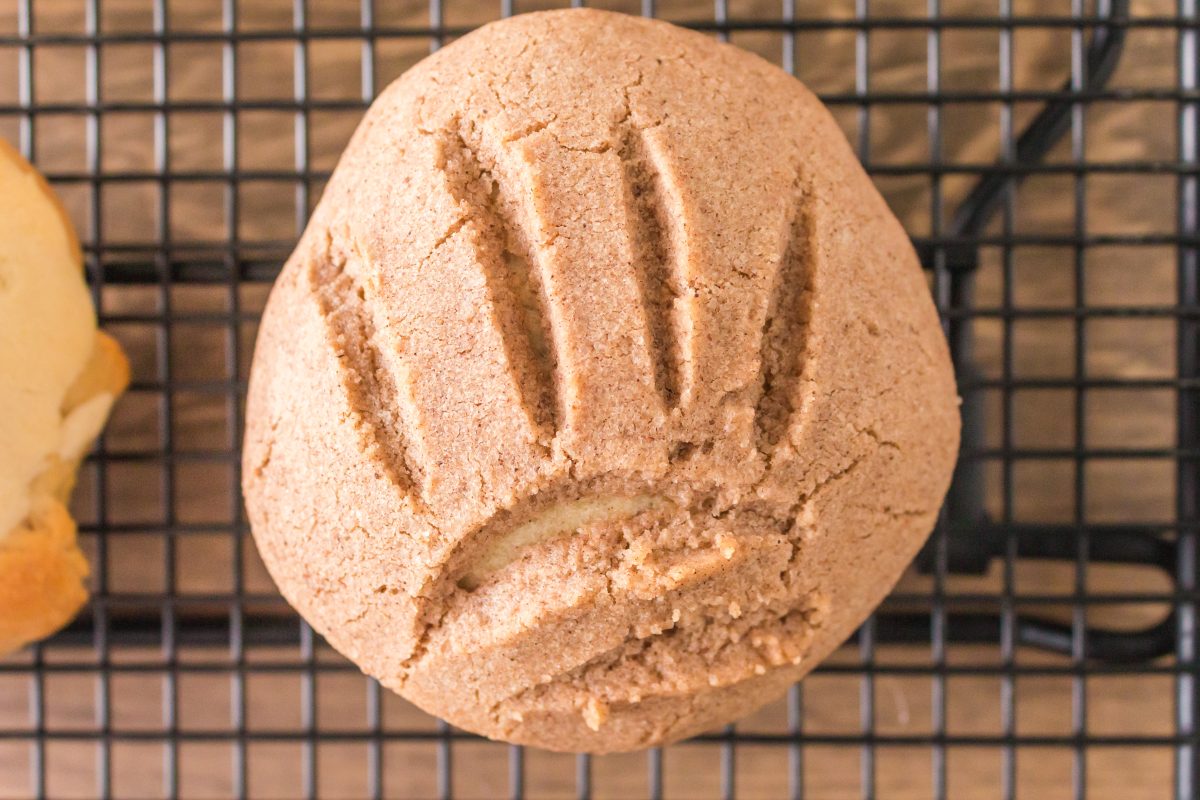
Have you ever been in a bakery or passed by a food truck filled with beautifully crafted Mexican Sweet Breads called conchas and wondered if they could be made at home? I did and am sharing this step-by-step guide to making this classic Mexican sweet bread.
With just a few simple ingredients and some careful crafting, you’ll be able to create your own visually stunning and scrumptious Mexican pastry.
What I love about Mexican Concha Bread
- Explore a new bread recipe – Making bread that’s common to another country gives a perspective on their culture and cuisine.
- Simple ingredients that are common in any kitchen.
- Versatile – I’ll be sharing flavor and color options so you can make them your own.
- Want a delicious recipe for your Mexican-inspired feast? Look no further!
What are Conchas?
My husband John and I love going to Mexico. One of the places we enjoy has a quaint main street that is lined with local restaurants and vendors. On our way down the main street, we pass a gentleman with a truck of homemade pastries. It is evident that he loves sitting there, visiting with people as they pass by.
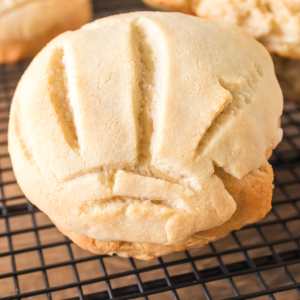
Conchas are a traditional Mexican pastry also called Pan Dulce, found in Mexican bakeries (panaderias) or street vendors. They’re most popular in Mexico City and are made with enriched dough. They can be sweet or savory. The word Concha translates to “shell” which is why they have a fun seashell pattern.
Ingredients you’ll need for this recipe
Concha Dough Ingredients
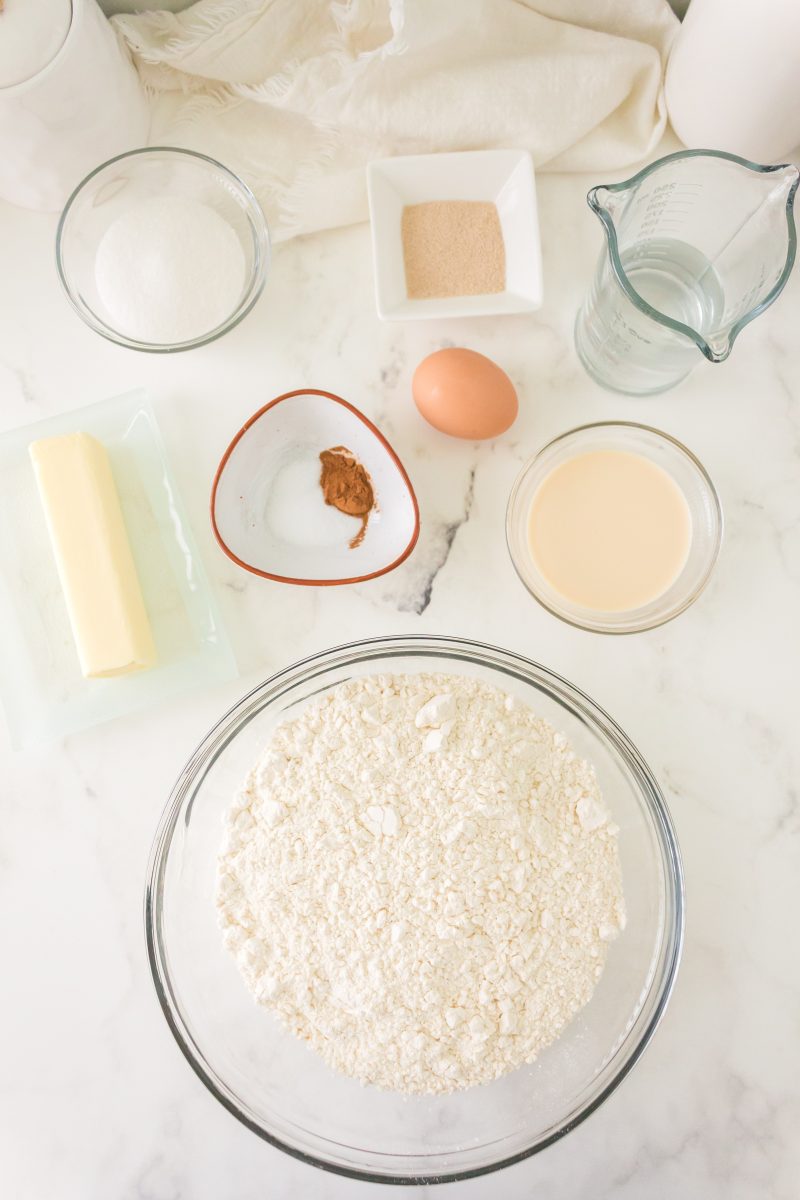
Before we dive into the step-by-step guide for making conchas, let’s take a closer look at the ingredients needed to make this classic Mexican sweet bread.
- Active dry yeast. If the variations of yeast varieties confuse you, you can read more about them in my Basic Baking article.
- Sugar. White granulated sugar.
- Unsalted Butter. Melted and cooled.
- Evaporated milk
- Egg. I use large eggs for consistency in my baking.
- Flour. All-purpose flour, bleached or unbleached.
- Ground Cinnamon.
- Vanilla extract. I prefer pure extract but imitation will work.
Topping Ingredients
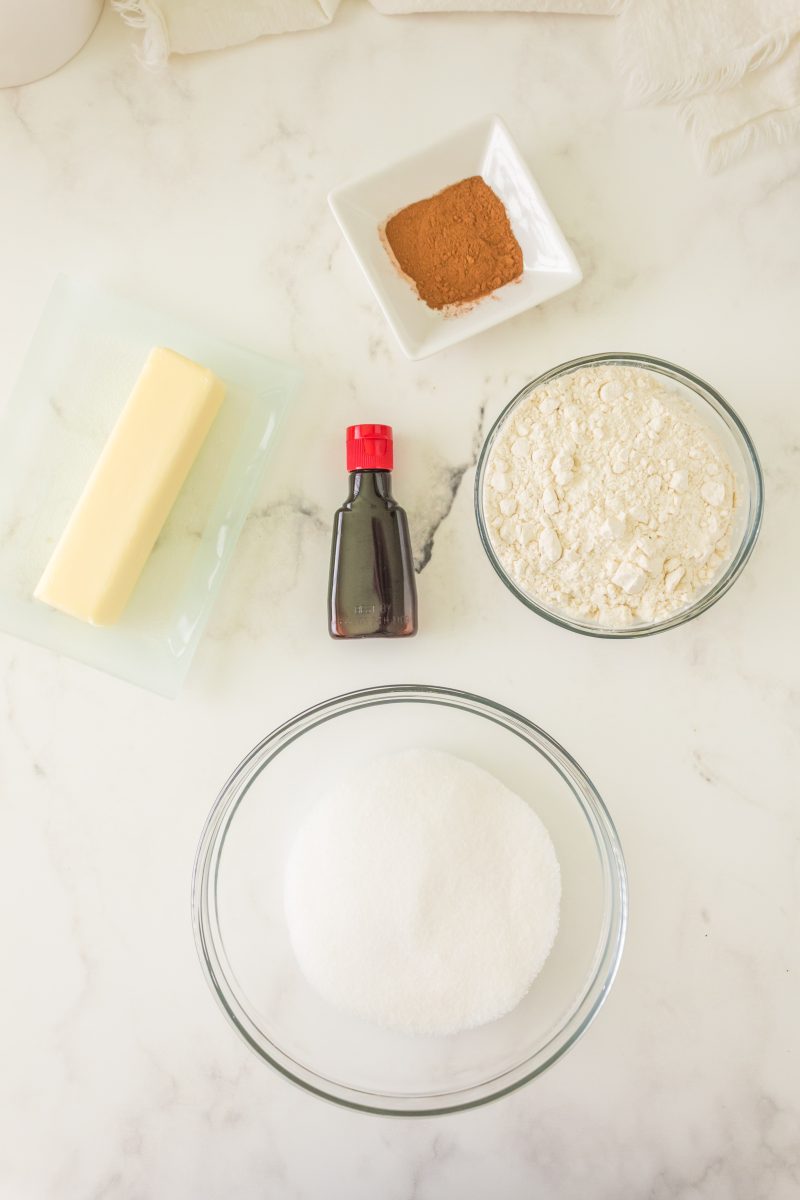
- Sugar. White granulated sugar.
- Butter. Unsalted and softened to room temperature.
- Flour. Bleached for white topping is recommended.
- Vanilla Extract. Pure is recommended but imitation can be substituted.
- Ground Cinnamon.
Kitchen Tools
Hostess At Heart participates in affiliate programs. As an Amazon Associate, I earn a commission from qualifying purchases. Please refer to my disclosure page for more information.
In addition to these main ingredients, you’ll also need a few tools such as mixing bowls, measuring cups and spoons, a mixer or wooden spoon, and baking sheets. There is actually a concha cutter, but I use a sharp knife instead of buying a specialty tool.
How To Make Conchas
Preparing the concha dough
By having all your ingredients and tools prepped and ready, you’ll be able to streamline the process and ensure the perfect outcome.
Let your ingredients come to room temperature. Prepare a mixing bowl by greasing it or spraying it with non-stick cooking spray. Grease the baking sheets or line them with parchment paper.
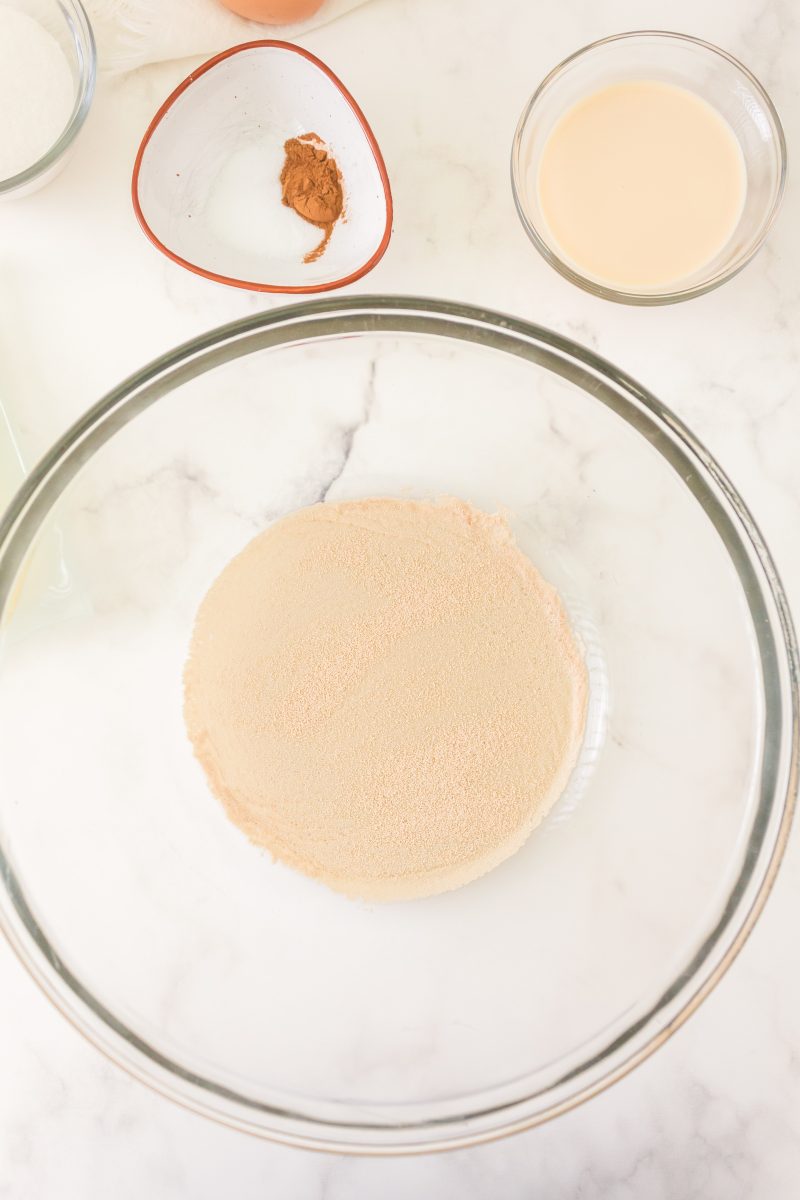
- Always start by testing your yeast to make sure it’s active. In a large bowl, add the yeast, warm water, and 2 teaspoons of the sugar. Let it sit for 5 or 10 minutes or until it becomes foamy. If this doesn’t happen, you need new yeast.
 Combine ingredients
 Slowly add flour
 Add flour until dough comes together
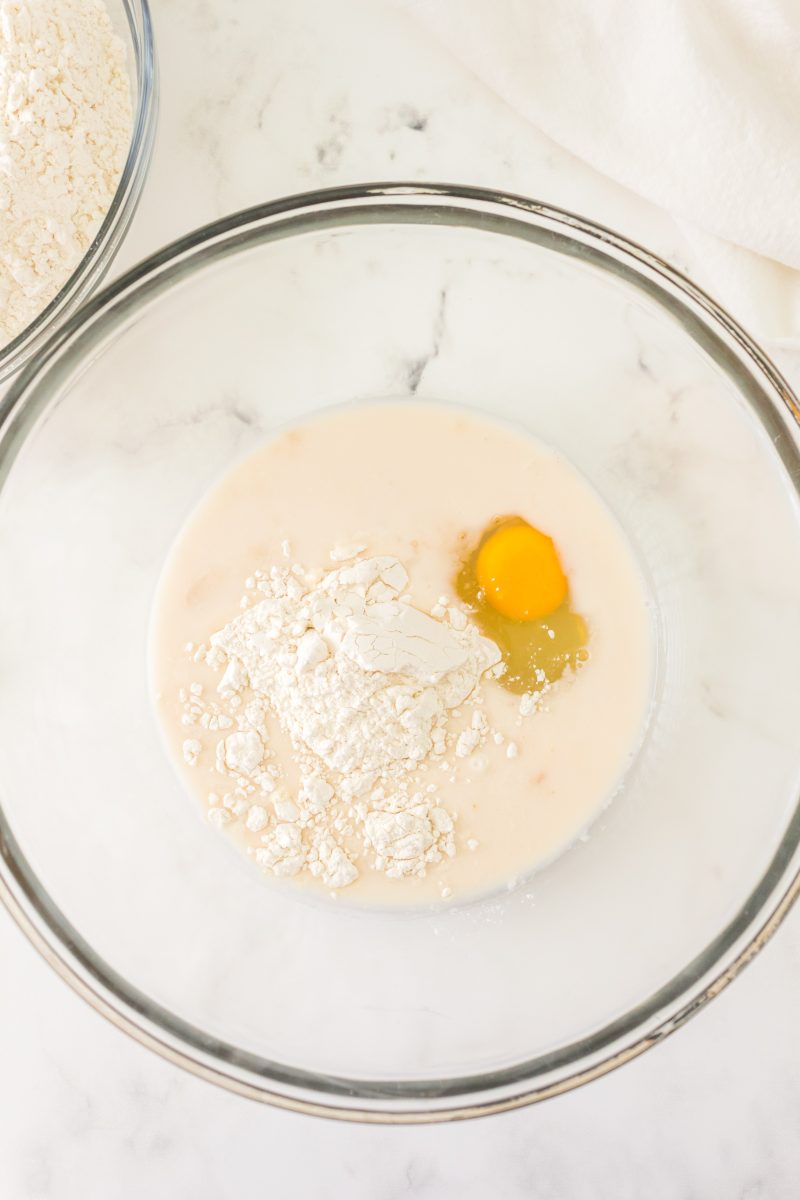
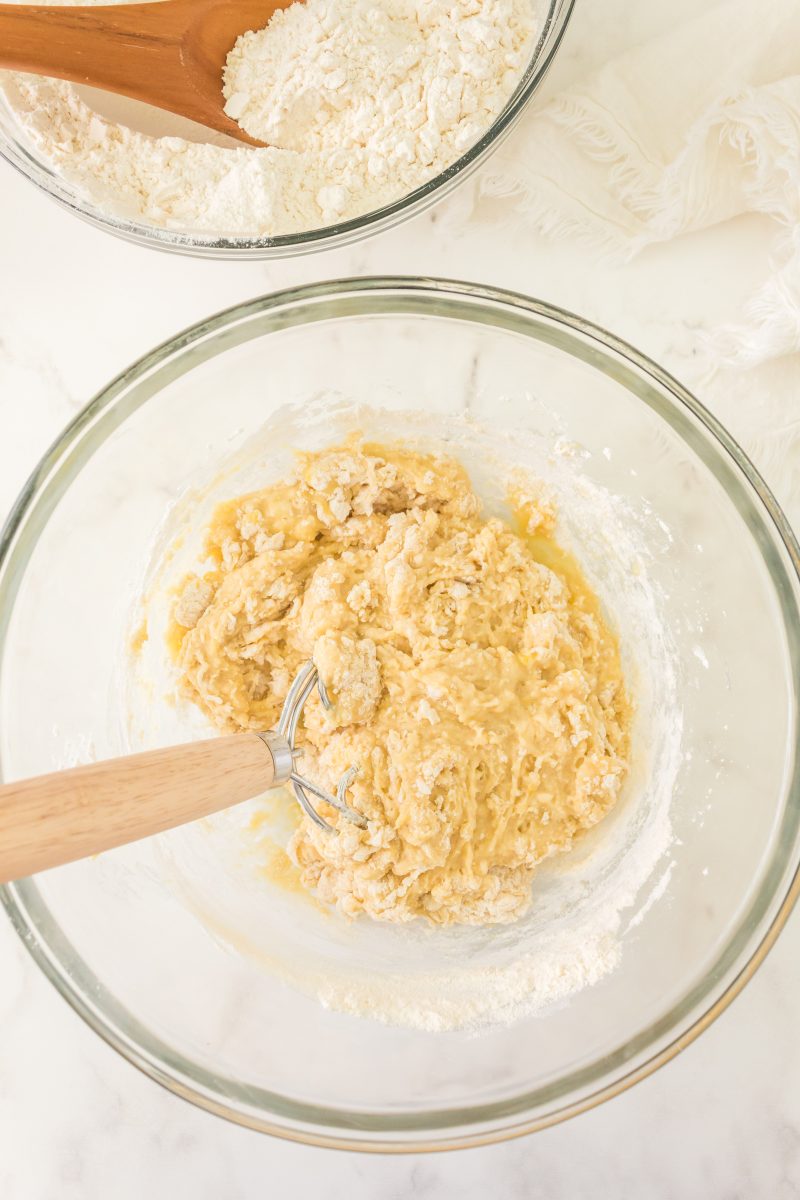
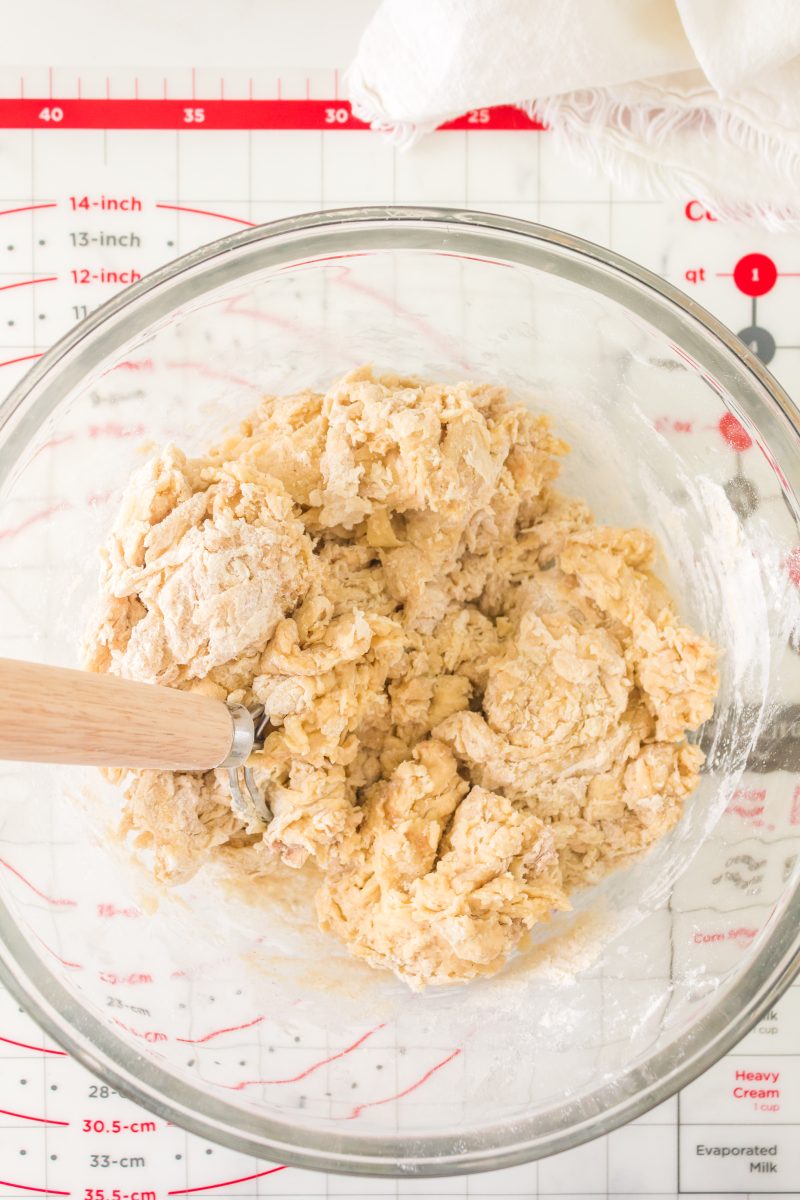
- Add the evaporated milk, remaining sugar, melted butter, salt, egg, and half of the flour together in a mixer bowl. If you’re using an electric mixer, fit it with the dough hook attachment and mix until combined. Gradually add the remaining flour and the cinnamon. Turn the mixer on low and allow the bread dough to knead for 3 to 4 minutes. If you’re mixing by hand, knead the dough on a lightly floured counter for 8 to 10 minutes or until the dough is smooth and elastic.
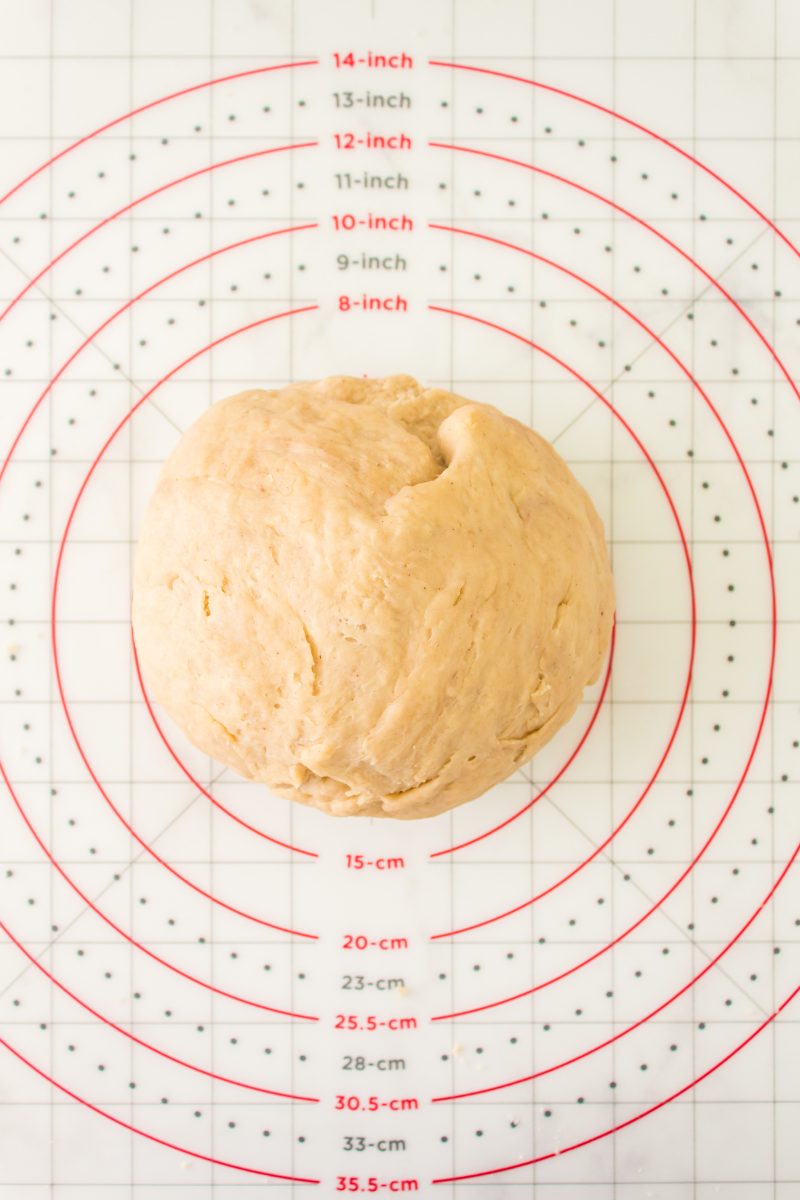
- Shape the dough into a ball and place it in the large greased bowl, turning it a few times until coated with oil. Cover the bowl with a kitchen towel or lightly with plastic wrap and allow the dough to rise for 1-1/2 to 2 hours or until it doubles in size.
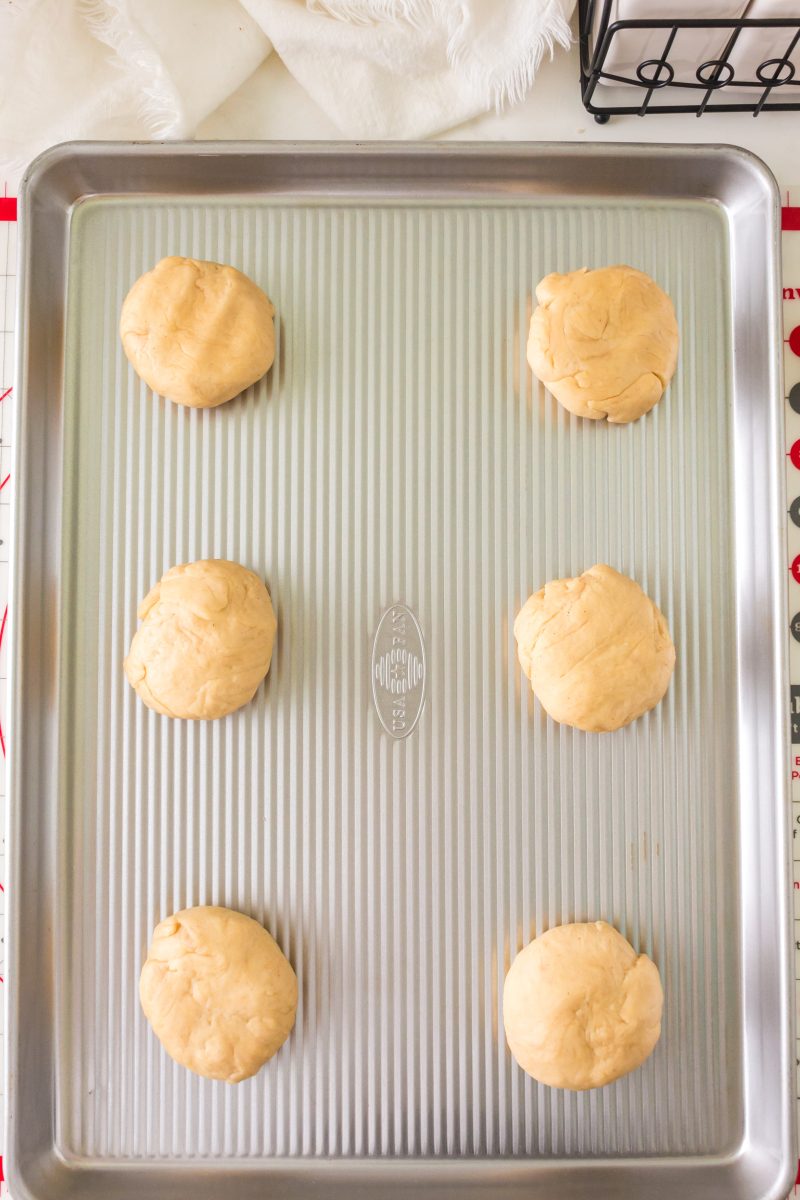
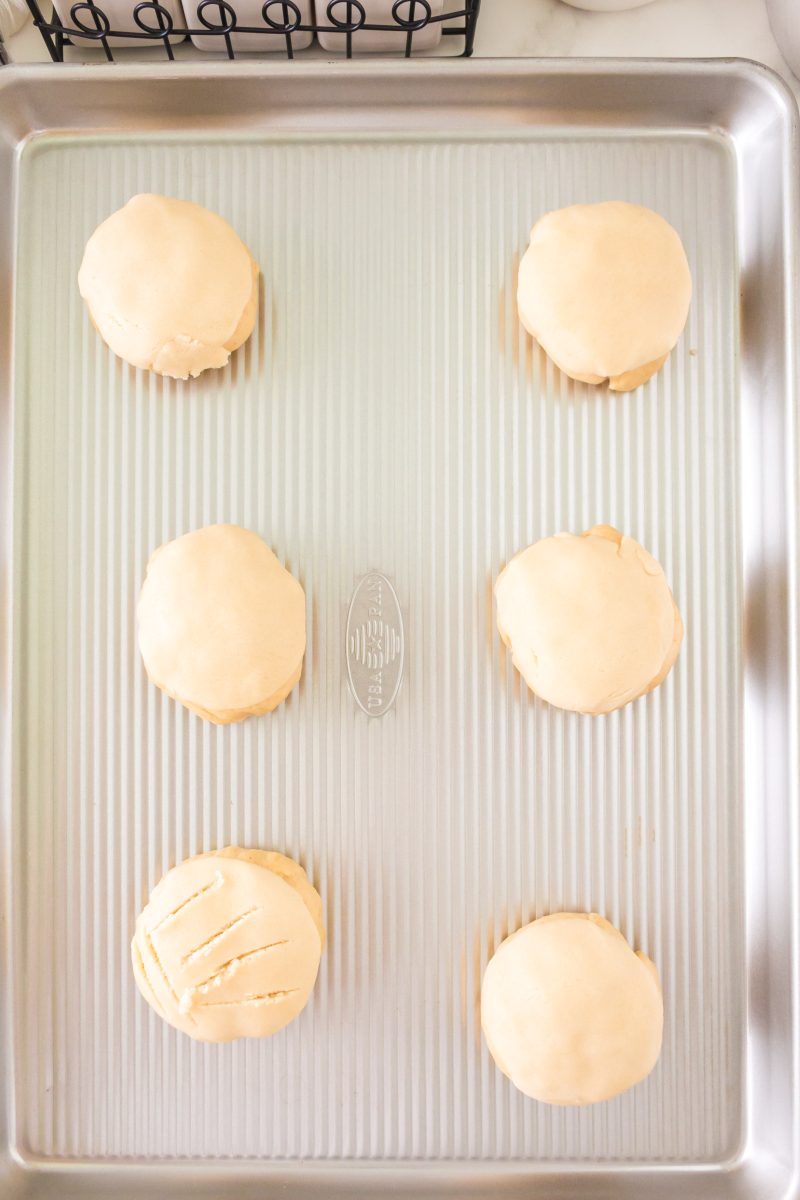
- Once the dough has risen, cut it into 12 even-sized dough pieces. You can use a kitchen scale or just approximate their size. Shape them into balls and place them on greased cookie sheets or parchment paper-lined baking sheets. Lightly flatten the dough balls and place the topping over the top, pressing it lightly.
Concha Topping
Want to save this recipe?
I'd like to receive more tips and recipes from Hostess At Heart!
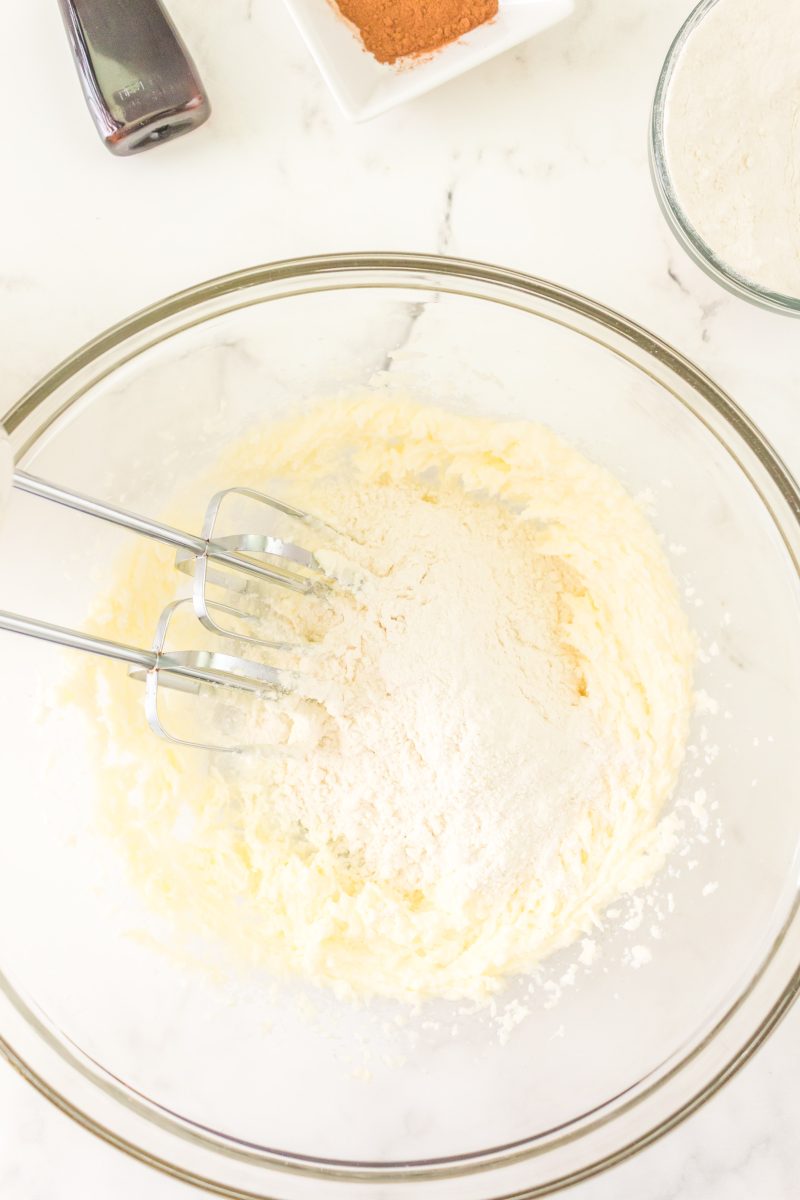
- Using an electric mixer, beat the sugar and the softened butter together until light in color and fluffy. Stir in the flour until the topping mixture resembles a thick paste but isn’t crumbly.
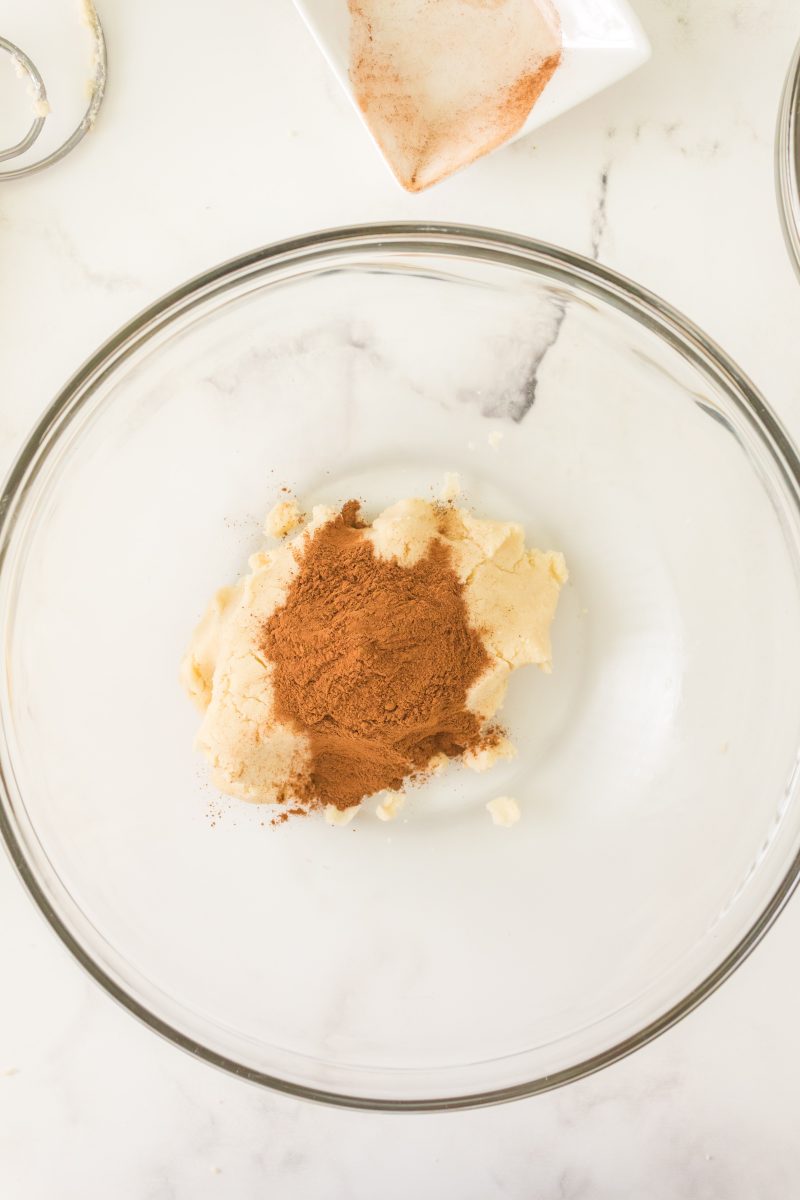
- We are making two flavors, so divide the topping into two bowls. Mix the cinnamon topping into 1 bowl and the vanilla topping in the other. Set aside.
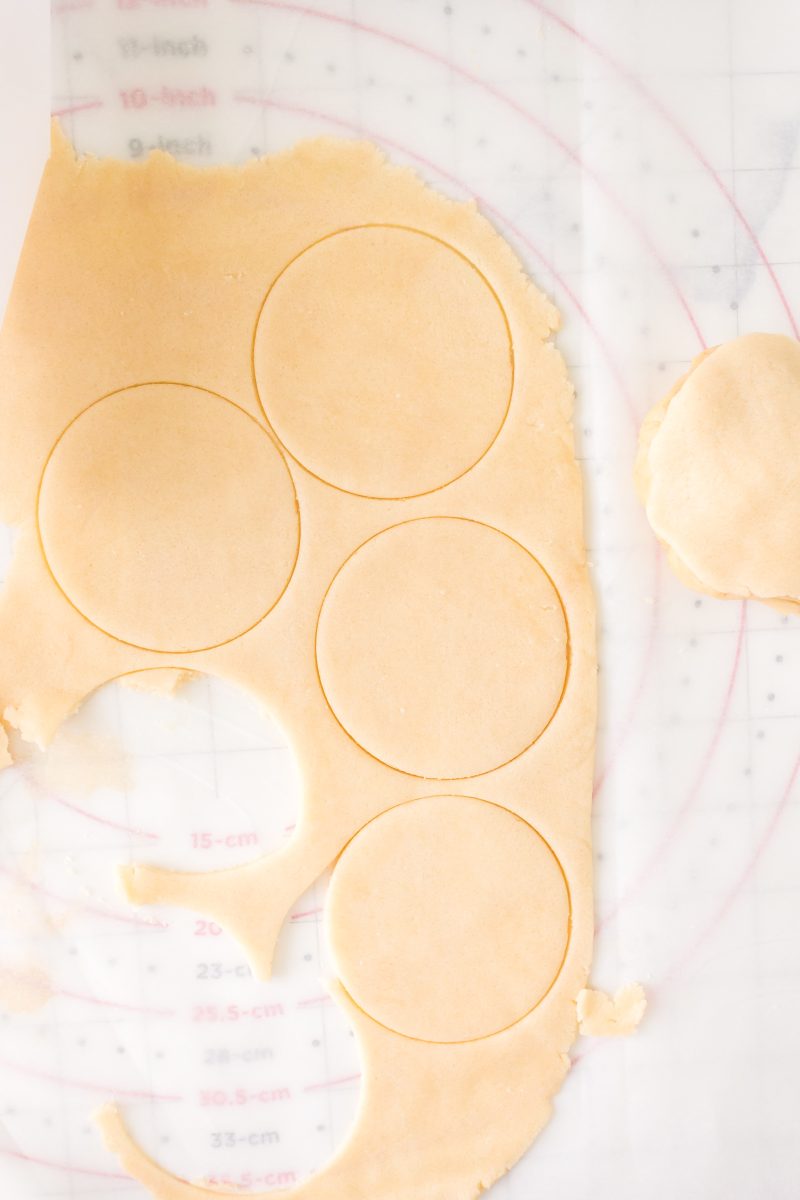
- Once the dough is about ready to go, roll the topping out and cut it into 12 circles. I use a biscuit cutter but any round shape will work.
Shape and Bake
- Once the dough has risen, cut it into 12 even-sized pieces. Shape them into balls and place them onto the parchment paper-lined baking sheets. Lightly flatten the balls and place the topping over the top, pressing it lightly.
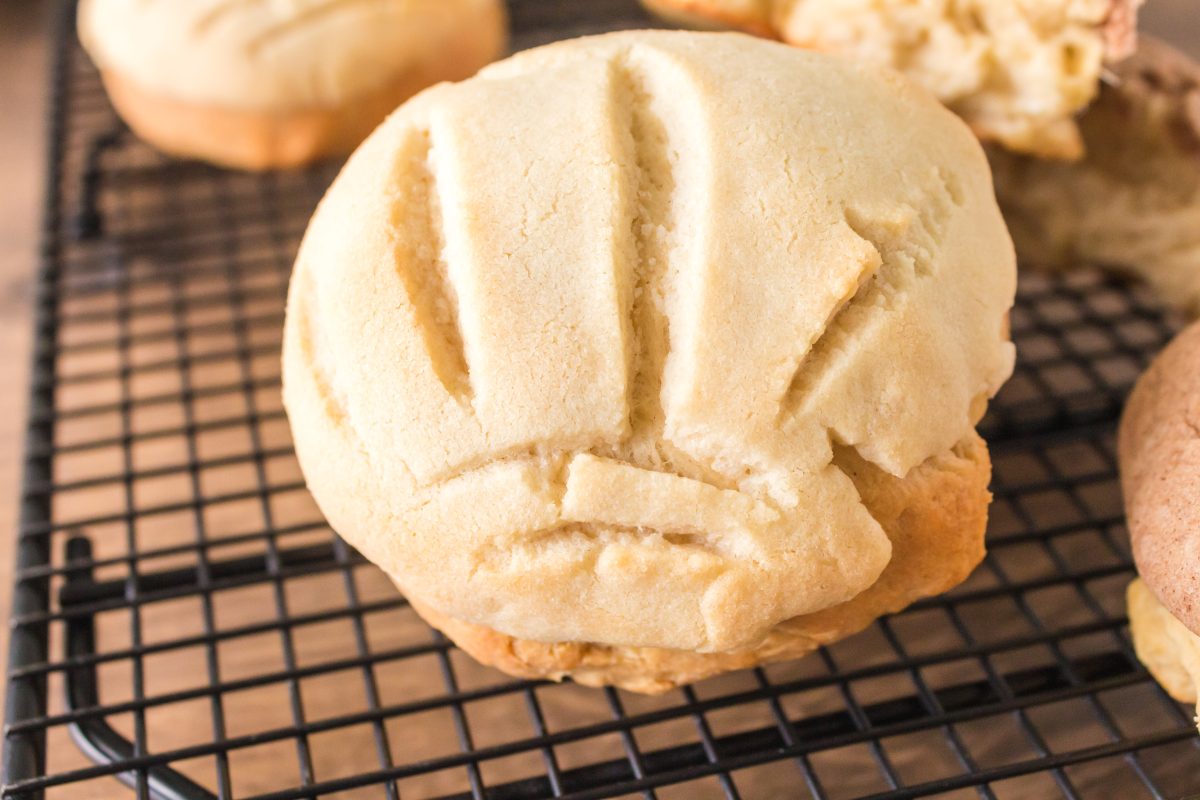
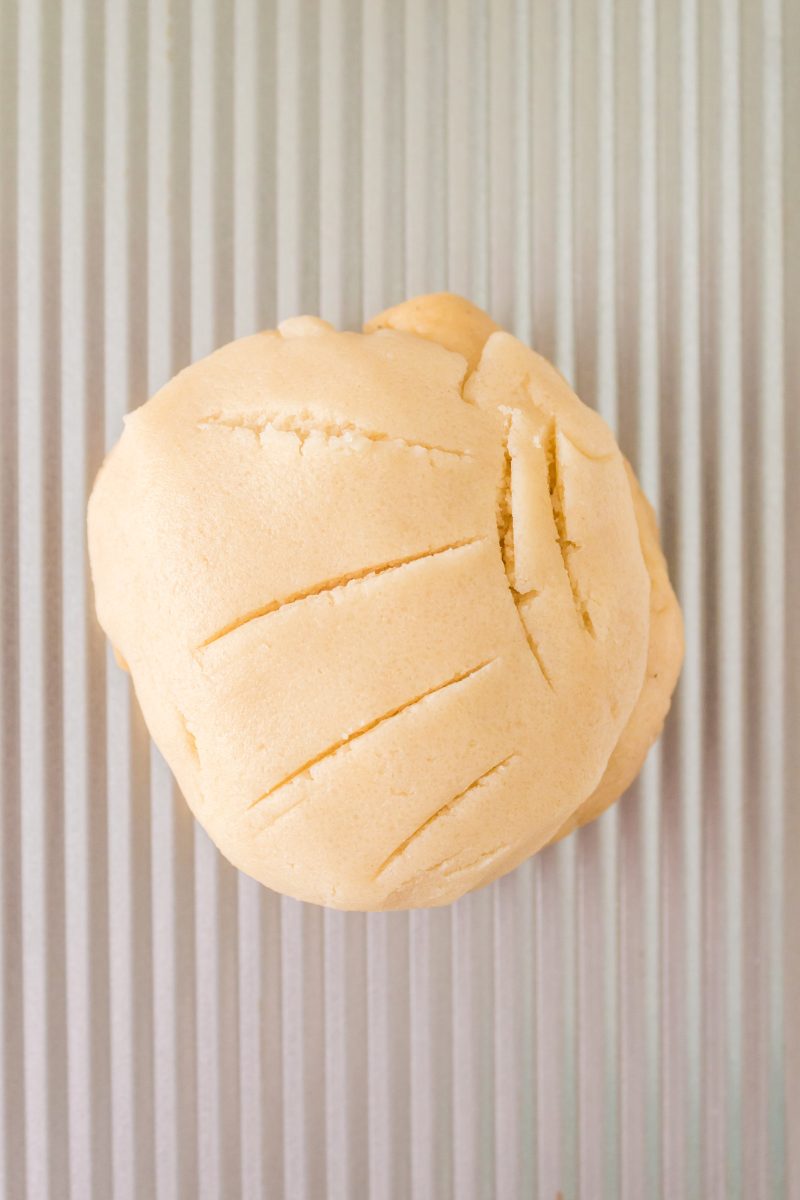
- Using a sharp knife, cut grooves into the topping to make a traditional shell pattern.
- Cover and let the bread rise again, approximately 45 to 90 minutes, or until doubled.
- Preheat the oven and bake for 16 to 20 minutes until lightly golden brown.
Commonly asked questions
What are popular Concha flavors?
We are making a vanilla and cinnamon conchas recipe. Chocolate is a popular flavor but you can also use strawberry, coffee, cinnamon, and orange flavors. Personally, a brown concha with a chocolate topping is on my list to make.
Coloring conchas is also popular. Classic coloring includes yellow, pink, white, or brown. You can add food coloring gel to the dough. Shortening usually replaces the butter for white vanilla conchas and unsweetened cocoa is used for brown. You can also dust them with powdered sugar instead of making a topping.
Does this Mexican Conchas Recipe have filling?
This recipe doesn’t have filling, but it can be filled with whipped cream, custard, or even savory fillings such as refried beans.
Can Conchas Mexican Bread be made ahead of time?
Yes, the dough can be mixed a day in advance and refrigerated. The next day, let it rise in a warm area until doubled, and proceed as instructed.
How To Store Conchas Mexican Sweet Bread
The best way to store Mexican conchas is at room temperature for 3 to 5 days in an airtight container or resealable bag.
You can freeze Conchas bread by placing them on a baking sheet in the freezer. Once frozen, put them in an airtight container in the freezer.
Thaw bread at room temperature.
Tips for the Best Conchas
- Conchas Mexican Bread isn’t as light as many other bread recipes. However, to prevent them from becoming too dense, don’t be tempted to add more flour. Just mix until they come together.
- The topping is more of a sugar crust than a streusel, and it’s normal for it to crack upon baking.
- Buy fresh yeast packets or test existing yeast to make sure it’s active before adding your other ingredients.
- The topping can be rolled flat between two sheets of waxed paper or even pressed flat using a tortilla press. If it sticks to your counter when rolling it, dust the counter with powdered sugar instead of flour.
How is this Mexican Pastry served?
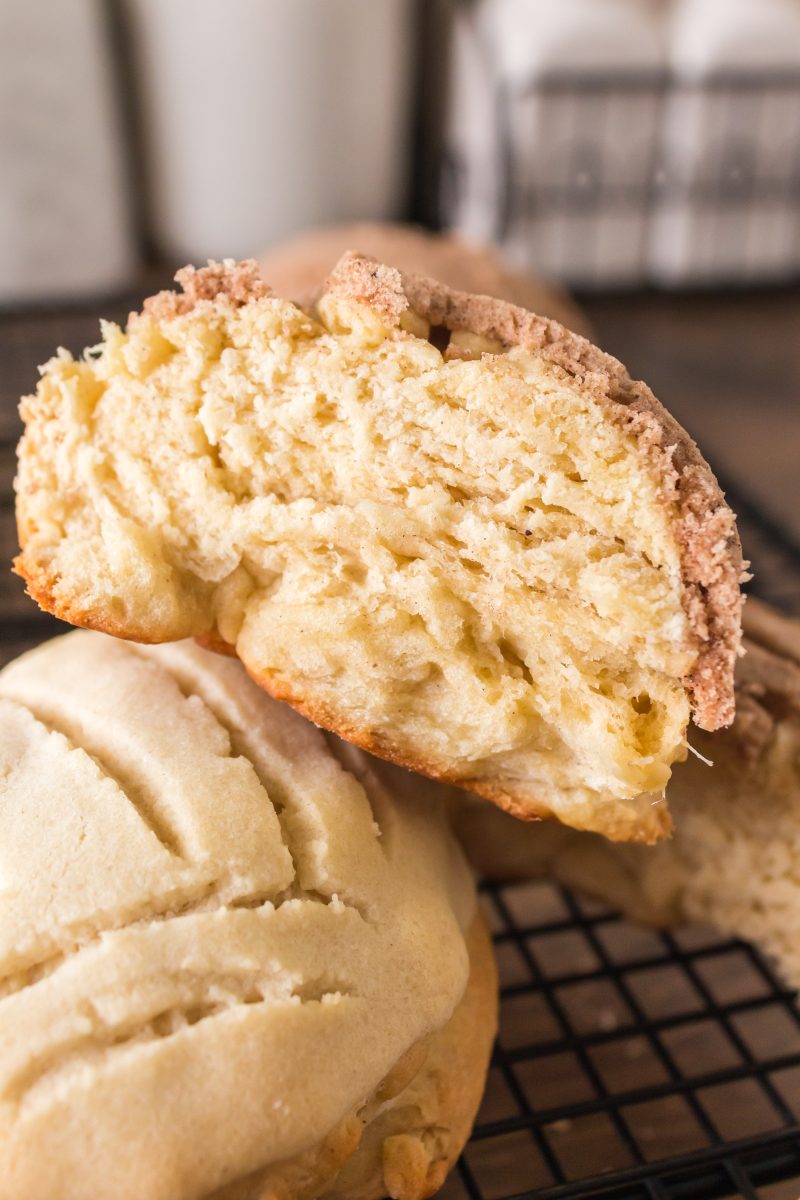
They’re often eaten at breakfast with hot chocolate, coffee, or milk. They can also be enjoyed as a snack or even split in half to make sandwiches.
I’d serve this delicious Mexican bread with a Chipotle Grilled Chicken Salad, a steaming bowl of Pork Green Chile, or Fajita Stuffed Chicken!
I hope you enjoyed this delicious recipe as much as we do. Drop me a comment below, and don’t forget to give it a star rating. ⭐⭐⭐⭐⭐. Your comments and ratings help others decide if this recipe is for them too.
Making concha bread might seem daunting at first, but with our step-by-step guide, it’s easier than ever to create this delicious, iconic Mexican sweet bread from scratch. Remember to experiment with flavors and colors to truly make the conchas your own.
Whether sharing with friends and family or enjoying them on your own, the satisfaction of baking them yourself is truly rewarding.
This Conchas recipe was originally published on 05/05/2015. Photos and recipe notes were updated on 4/16/2023 to improve reader experience. No changes were made to the recipe.
Did you enjoy this recipe? Don’t forget to pin it for later and follow me on Pinterest for more delicious recipes like this one!
Don’t forget to pin this Amazing Conchas Recipe. Every day is Cinco de Mayo in our house.


Tried these from grocery store and like them, not too sweet.
Has anyone tried this recipe using Almond Flour and Stevia Baking Sugar? Need to make more diabetic friendly.
This bread looks delicious,and I want to give it a try. Can I use a pizza stone instead of the sheets? I just got a nice one from pampered chef, have used it for biscuits, and they came out great.
Thank you for sharing your recipes.
You certainly can, Mary. Baking with a stone may make the crust a little crispier and crunchy but is great for even heat which isn’t always the case with an aluminum baking sheet.
I’d never had this bread before but I was intrigued and I’m so glad I gave it a try! DELISH!
I’m glad you enjoyed it. Thank you!
I stumbled upon this concha recipe a while back, bookmarked it and finally tried it this past weekend. GREAT recipe! Everyone loved it.
I’m glad you enjoyed it! Thank you!
Growing up in Southern California we enjoyed many conchas and Mexican pastry, I had to bring something from Mexico to a party party the other day and these were perfect! A little sweet, and just the right texture and flavors!! Took me back to my youth!
What a great memory, Kathi! These were new to me and we really had fun with them.
These loaves are so beautiful that at first sight I thought they were cakes!
Thank you! They were delicious and fun to make!