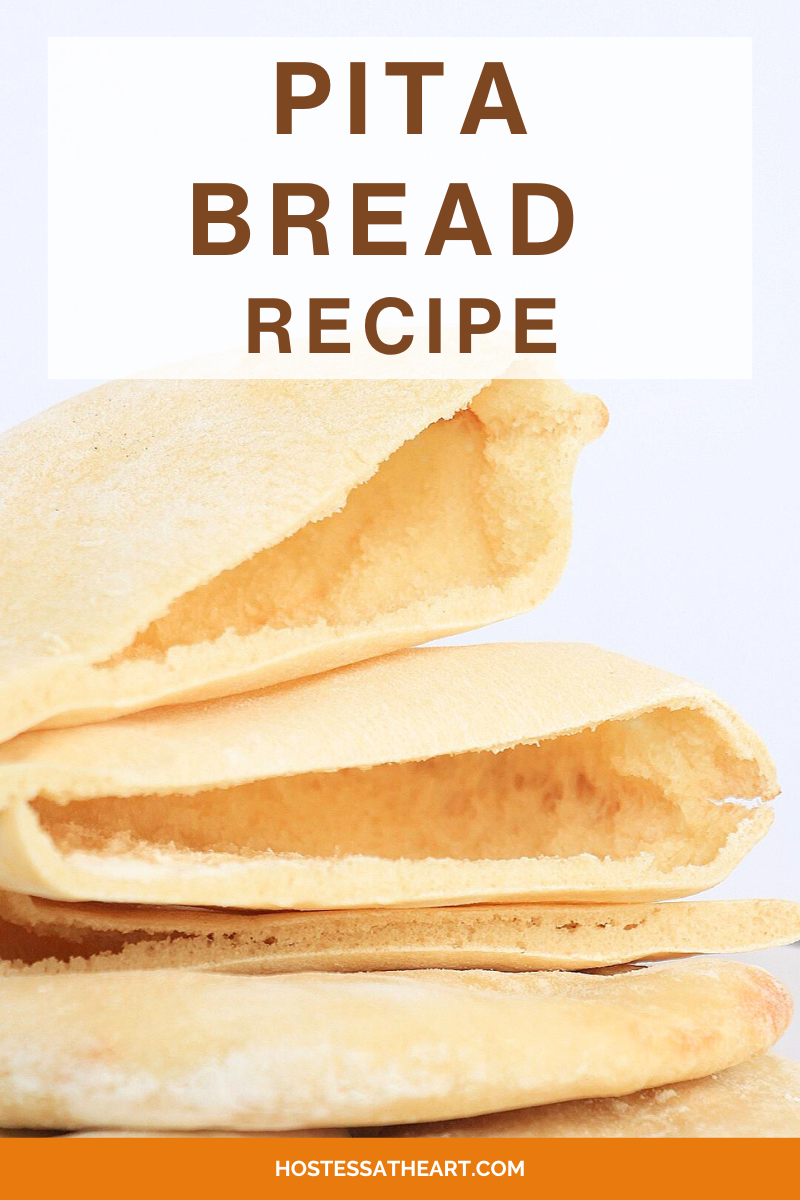
Easy Pita Bread Recipe (Homemade Pocket Bread)
This post may contain affiliate links. Please read our Disclosure Policy.
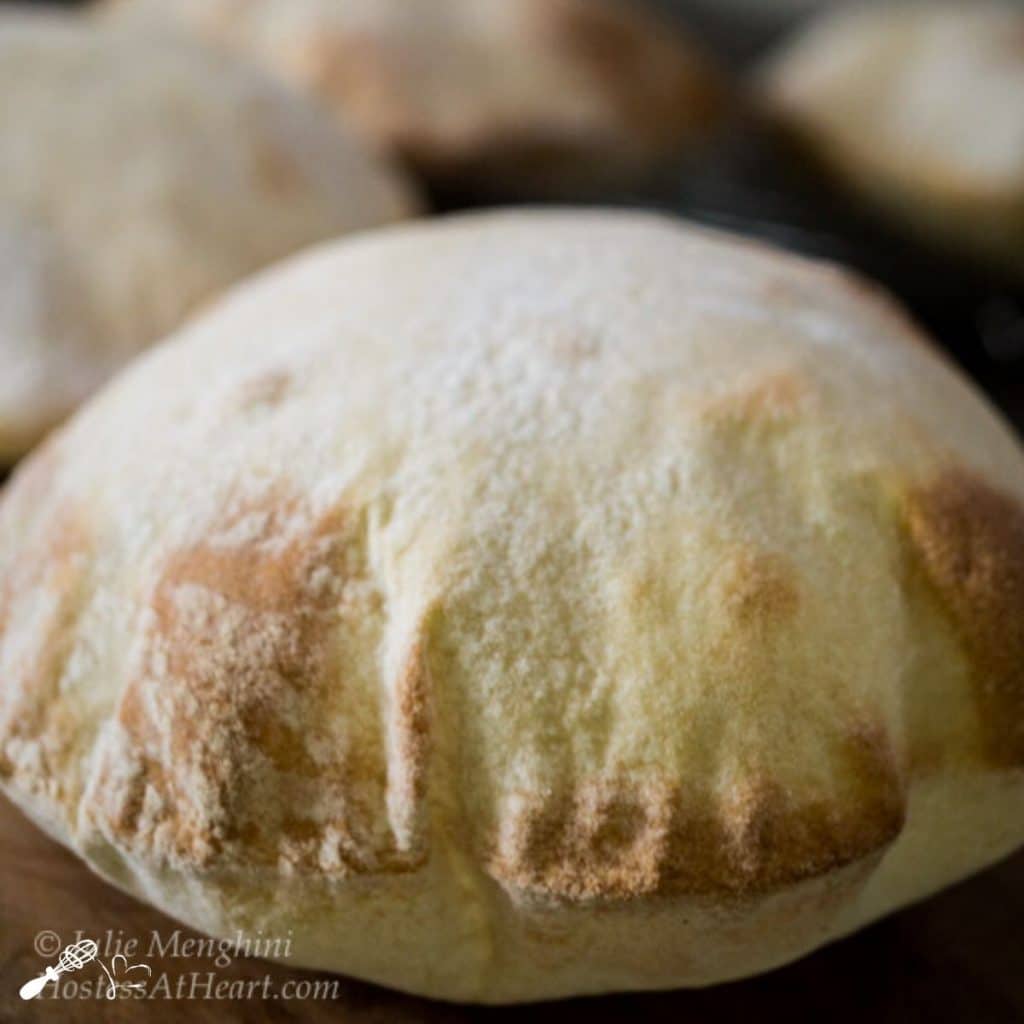
Fresh from the oven, this Easy Pita Bread recipe delivers deliciousness whether paired with your favorite curry or stuffed with gyro meat. Soft yet robust, these homemade pitas hit the spot perfectly.
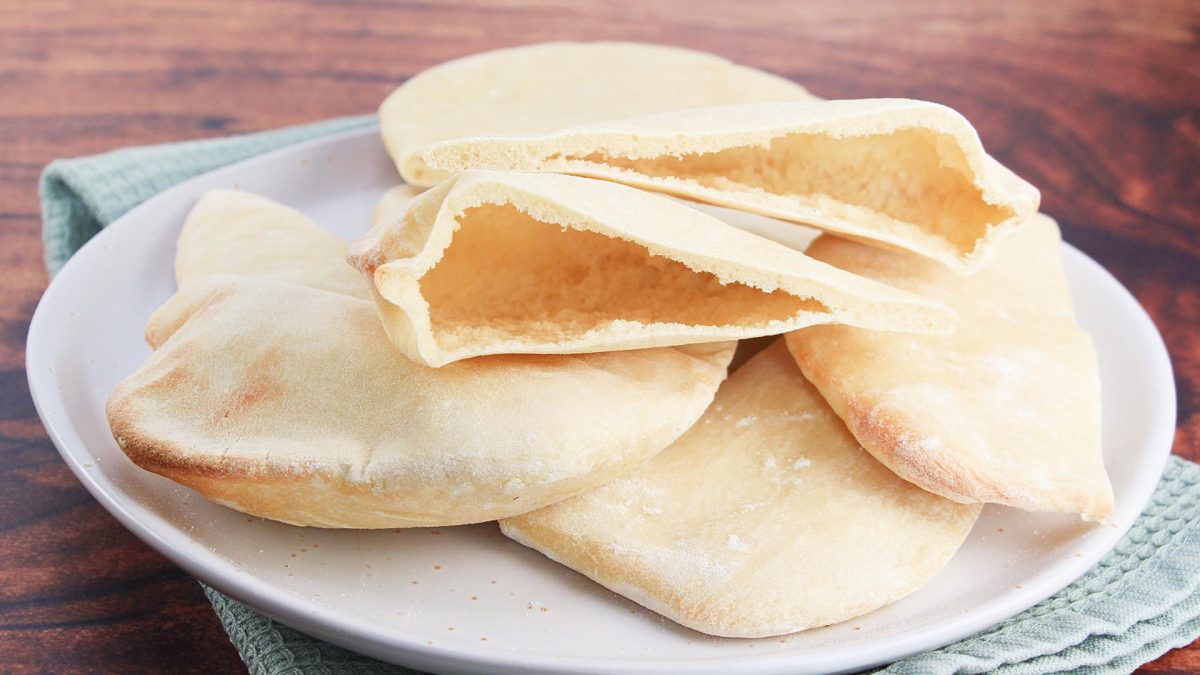
Grocery store-bought pita bread can be, tough, dry, and tasteless. This recipe for pita bread has become a family favorite whether served with our favorite Chicken Gyro recipe, Greek Salad recipe, or munching on them as a snack. They’re soft and puff up perfectly just begging to be stuffed.
We’ll walk you through this simple recipe which guarantees you’ll be enjoying your own fluffy pitas by dinner tonight.
What is pita bread?
This Mediterranean pocket bread can be filled with all kinds of ingredients to make a pocket sandwich. It is the most popular vessel for a Gyro, whether filled or folded taco style.

What is the difference between Pita Bread and Flatbread?
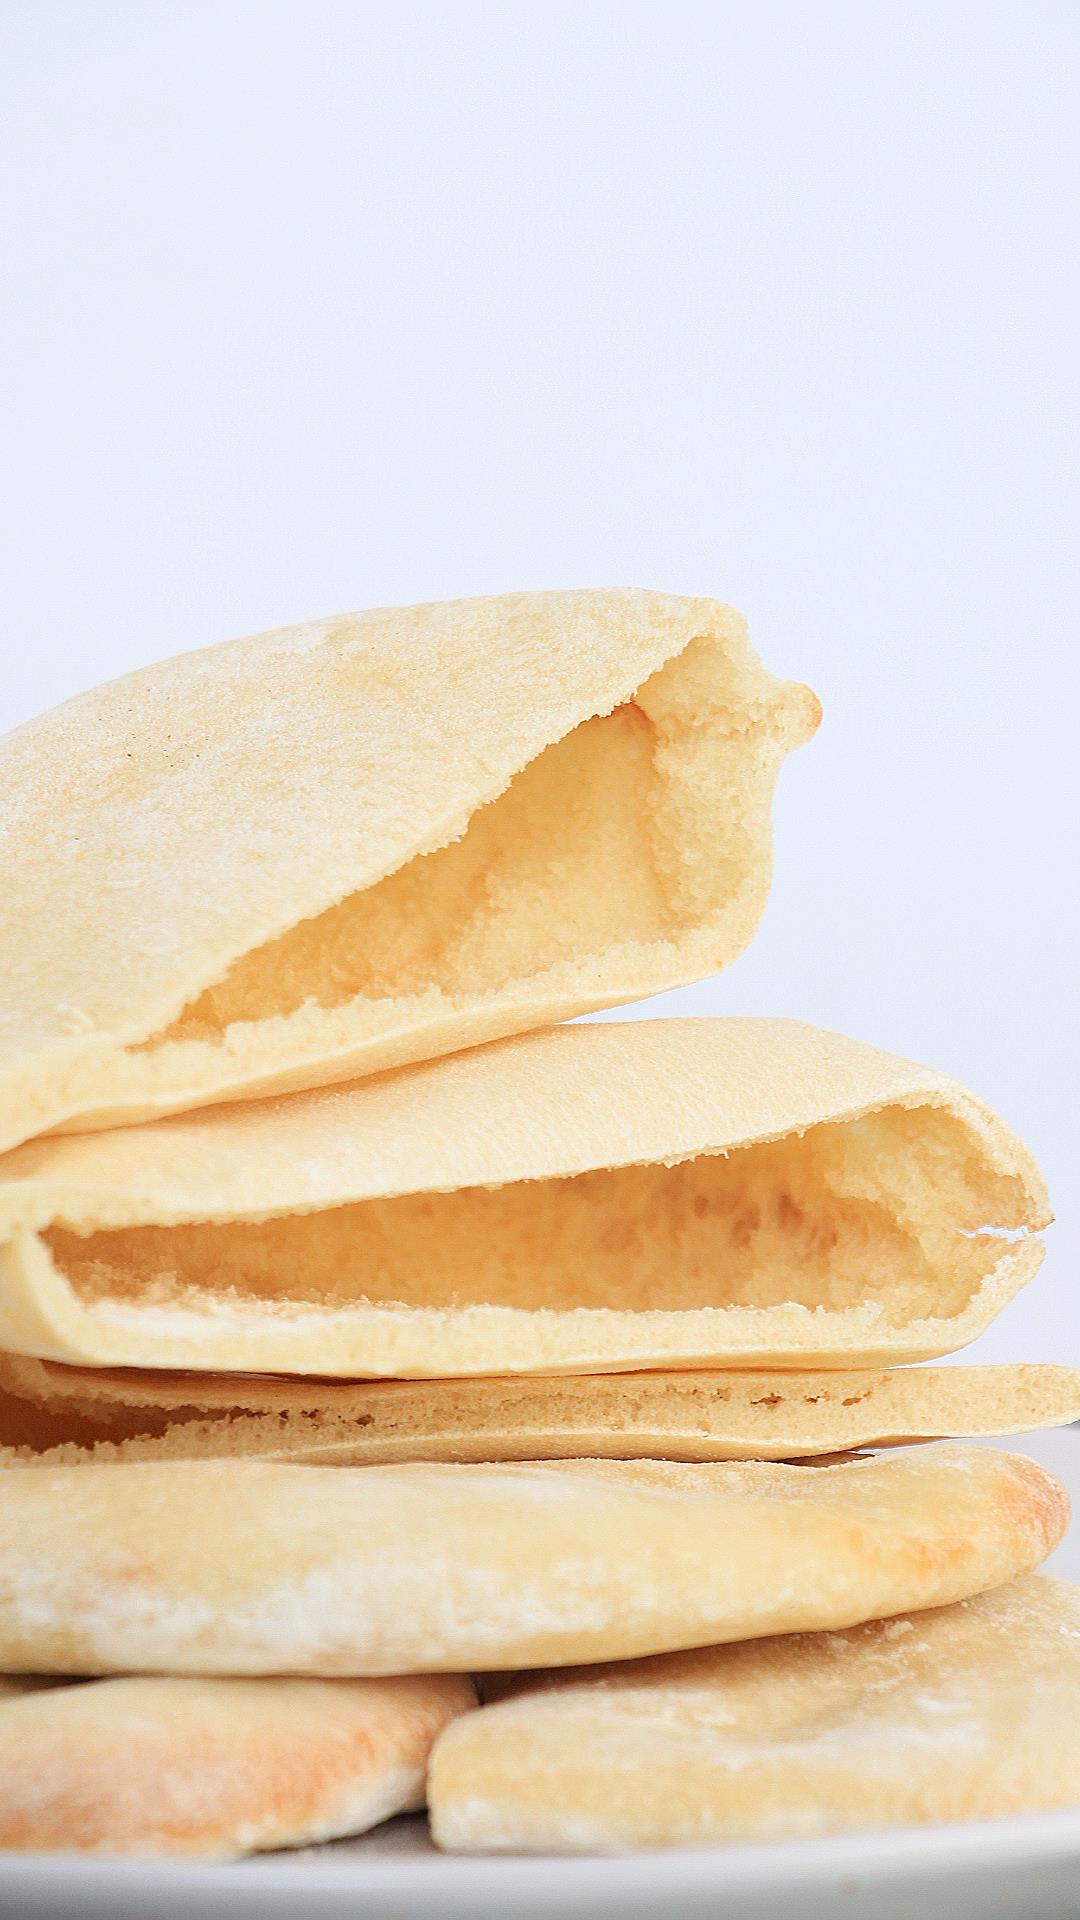
While very similar, pita bread puffs up and forms a pocket so that it is hollow on the inside. Our easy Flatbread recipe, perfect for a margherita flatbread pizza is soft and tender but can’t be opened up into a pocket or filled in the same way.
Why You’ll Love Homemade Pita Bread
Just a handful of simple ingredients. Five ingredients from your pantry and a cup of warm water are all you need to have hot homemade bread for your meal. It’s worth it to keep these things on hand!
A simple bread recipe. While some bread recipes can be super complicated with lots of steps, making our easy pita bread recipe isn’t tough.
Keep it fun! Let the kids make their own pita. There is no reason that they all need to be equal pieces just give them a piece of dough to roll. I’ve found the best way to get them to eat is if they can help. They can make their own small pockets for lunch or eat plain as a snack.
Ingredients for our Pita Bread Recipe

- Instant or Active Dry Yeast. You can purchase packets or the jar. Either will work. The recipe calls for two teaspoons, which is equal to one packet.
- Warm Water. Use an instant-read thermometer and your microwave for water that is between 100º to 105º F.
- Granulated Sugar or Honey. The bread itself isn’t sweet, but you need a little sugar to feed the yeast and add flavor.
- Olive Oil. This particular oil has such a nice flavor – and that’s what sets homemade pita apart from store-bought.
- All-Purpose Flour – You can use bleached or unbleached flour. One doesn’t act or taste any differently from the other. Unbleached flour is just less processed since it doesn’t go through the step of bleaching.
- Salt – You can use any salt. Our preferences are Kosher salt or Fine sea salt, which we feel dissolve better with a less likely chance of salt pockets in our baked goods.
How to Make Homemade Pita Bread
Step One. Prepare for the easiest pita bread recipe ever.
Grease your boil with olive oil. If you have a proofing oven, get it started. Find your baking stone and clean it up. I only say that because mine is usually buried in a basement room between uses since it doesn’t fit in the cabinet drawers.
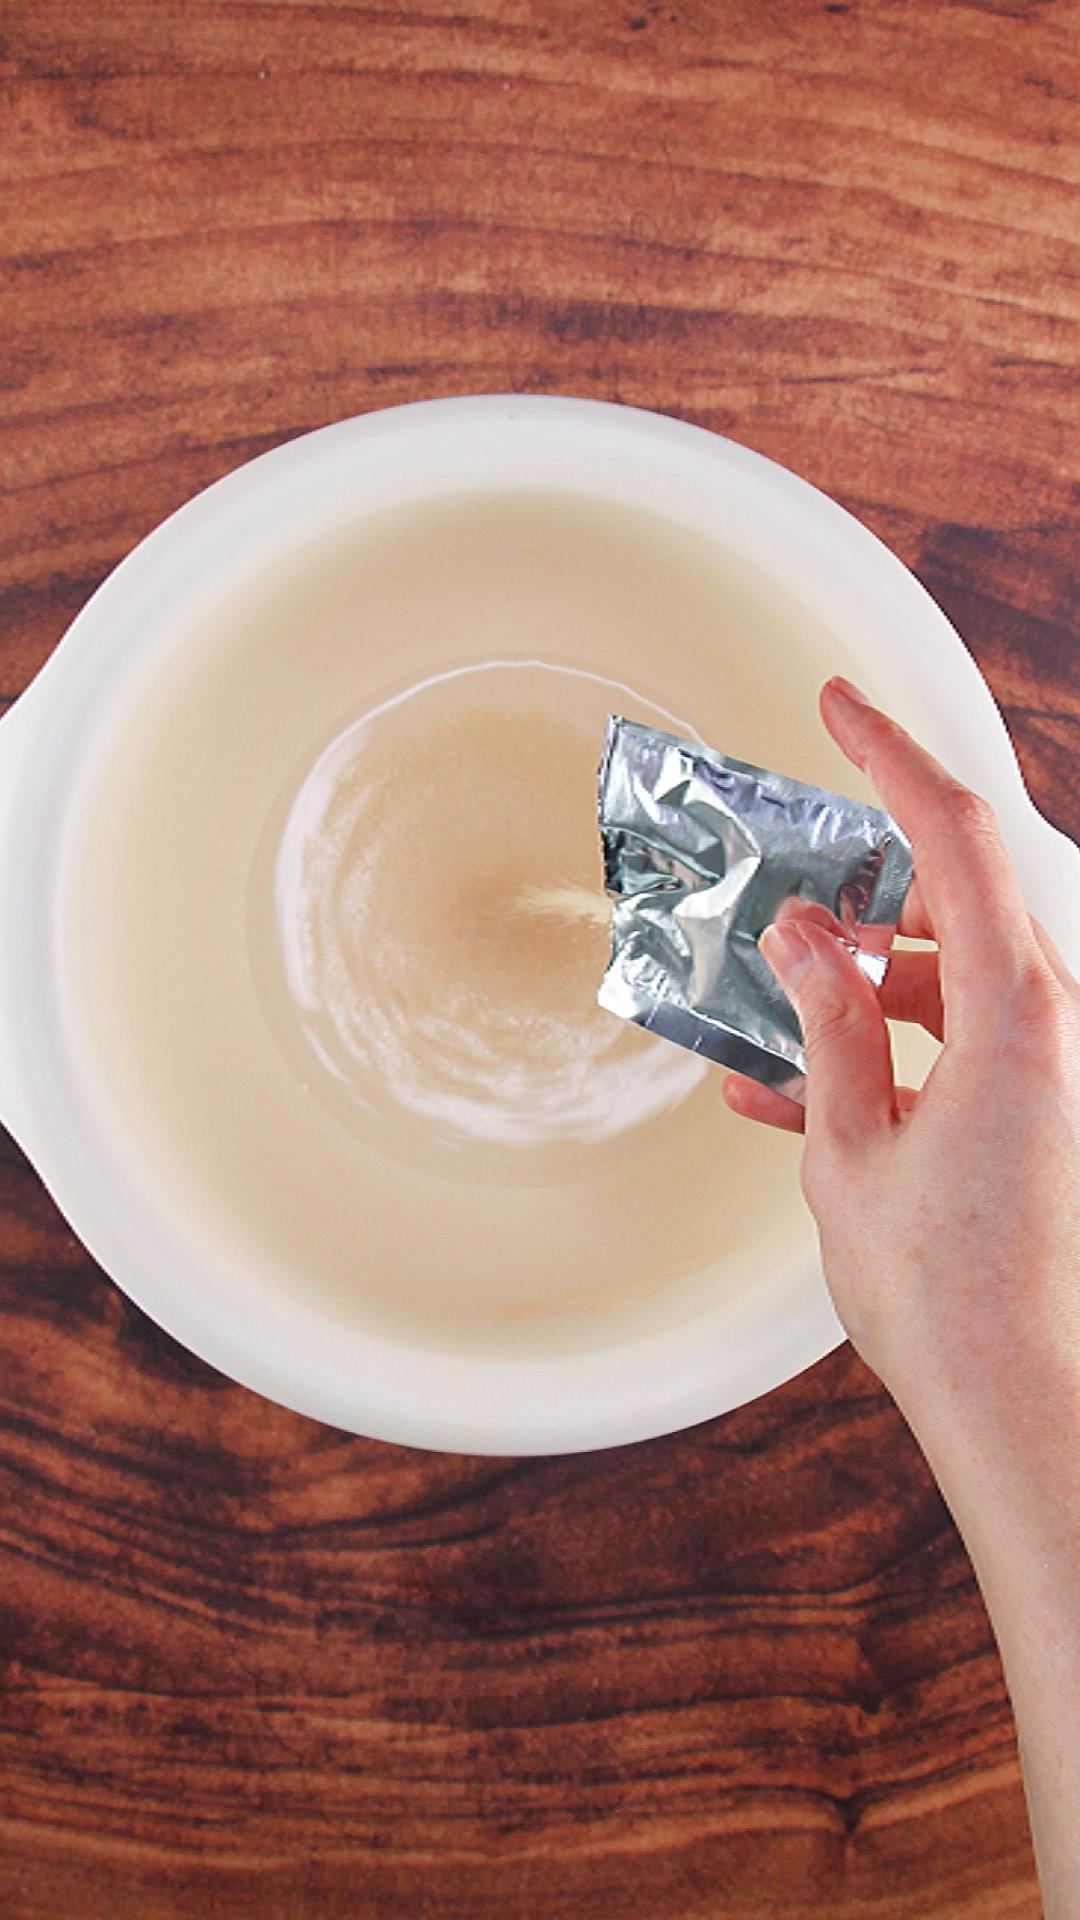
Step Two. Proof the Yeast.
In a separate large bowl, stir together water, sugar (or honey), and yeast. Let stand for 5 minutes or until bubbly. Then stir the oil in. Note: If you use instant yeast you don’t have to wait for it to become bubbly. You can skip to Step Three and mix everything all together at once.
Step Three. Mix the remaining ingredients as described.
In a medium bowl, stir flour and salt together. Stir the flour mixture into the water yeast mixture bowl, and stir until a shaggy dough forms.
 Turn the dough out
- Knead until smooth
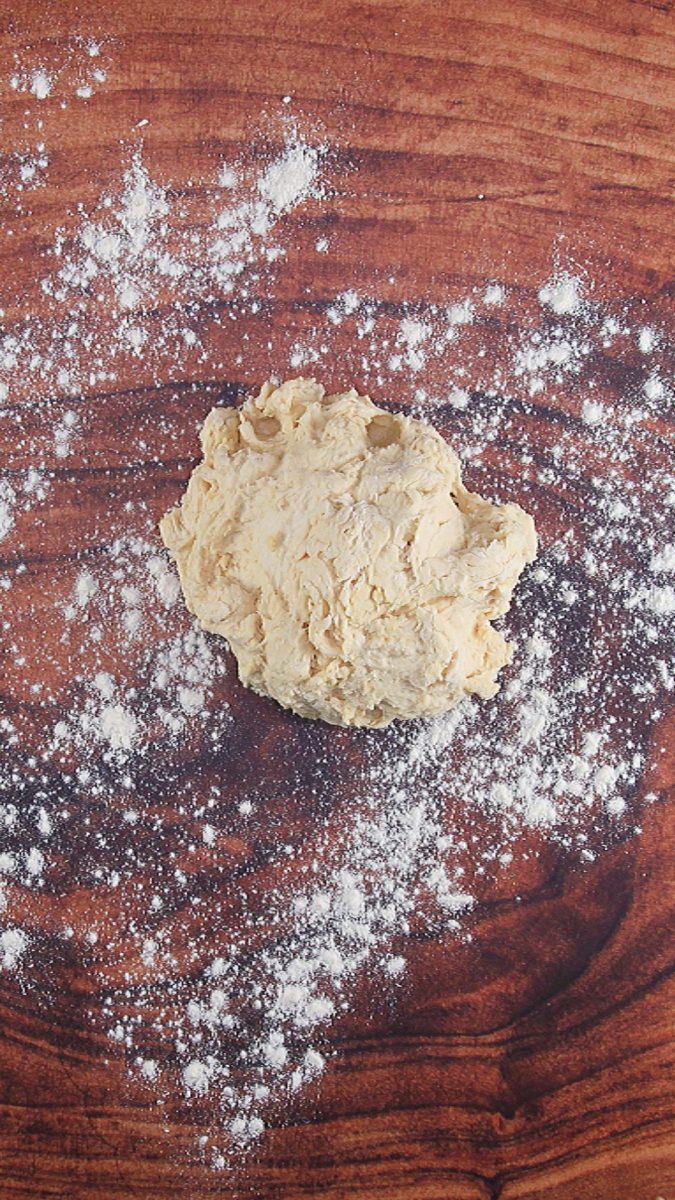
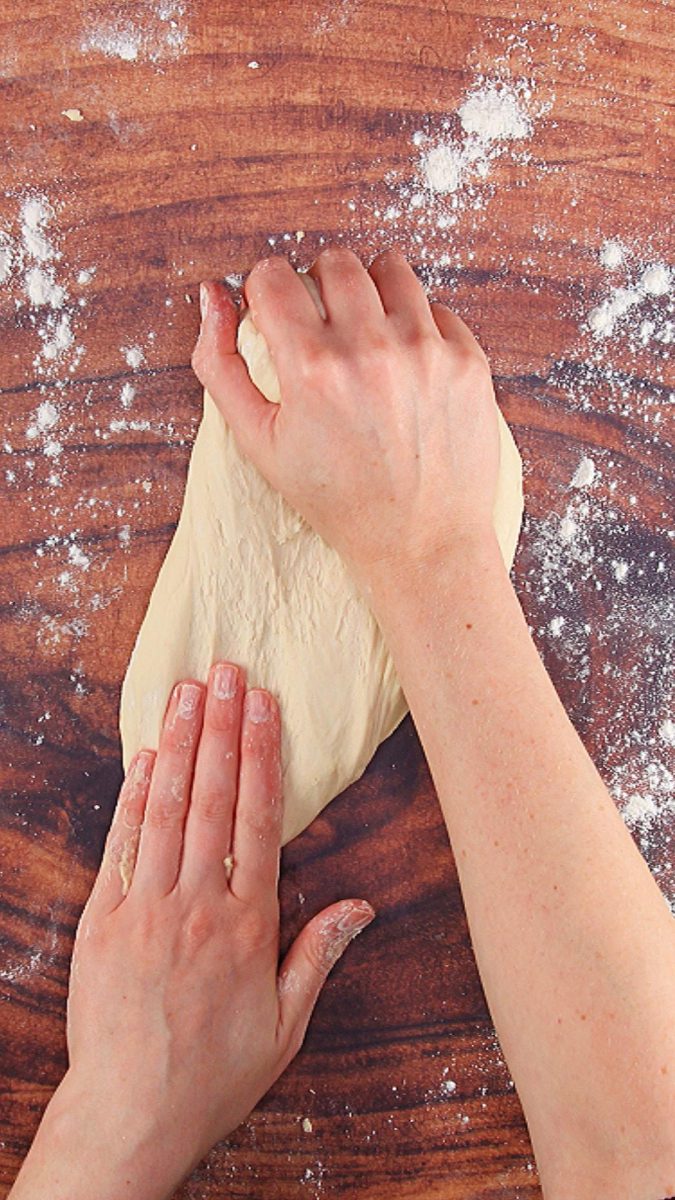
Turn the dough out onto the lightly floured surface and knead until smooth and elastic, about 10 minutes. Place the dough in the greased bowl. Cover with plastic wrap, and let the dough rise in a warm place until doubled in size.

Step Four. Create equally sized pieces.
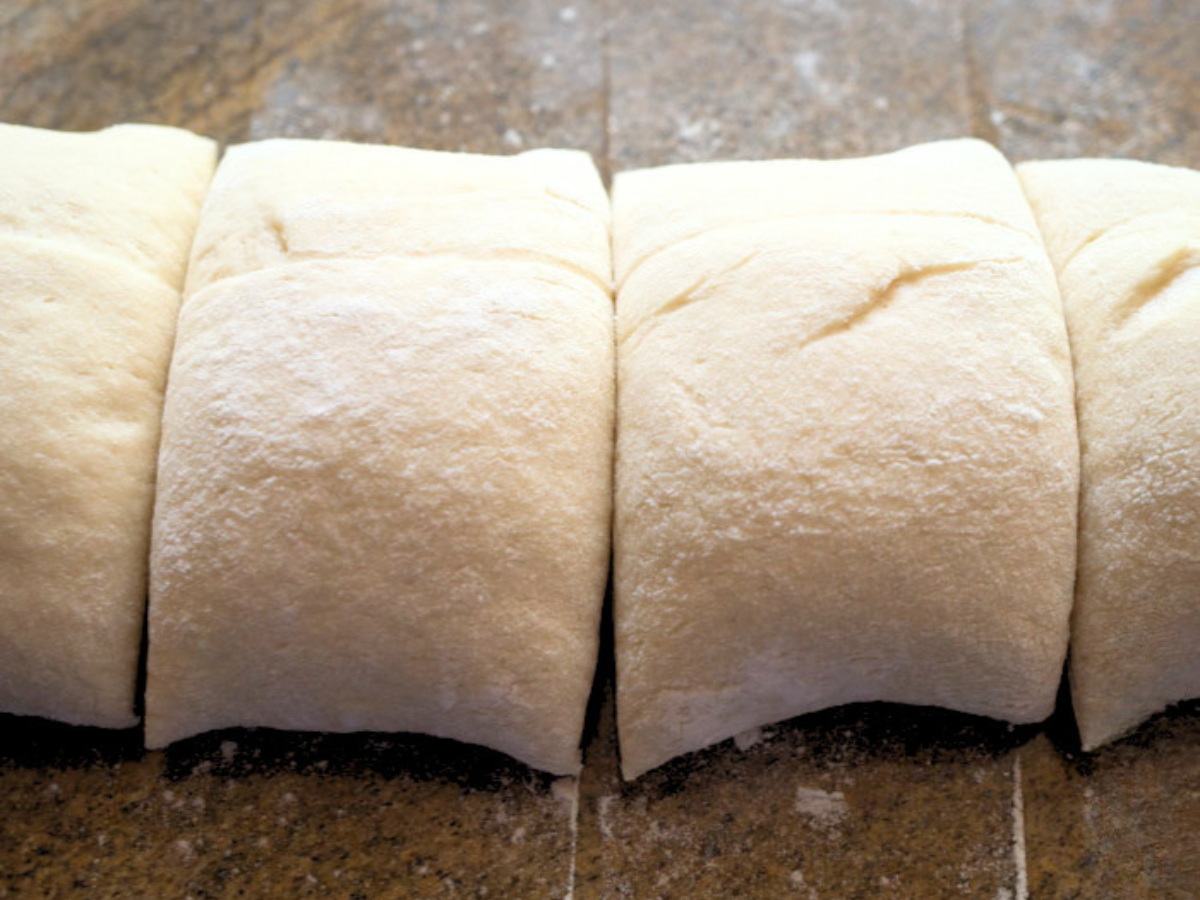
Before rolling out the dough, preheat the oven to 500º F with a baking stone placed on the middle rack. Then, turn the dough out onto a lightly floured surface and deflate. Roll into a 16-inch roll approximately 2 inches thick. Cut 8 equal-sized pieces of dough.
Want to save this recipe?
I'd like to receive more tips and recipes from Hostess At Heart!
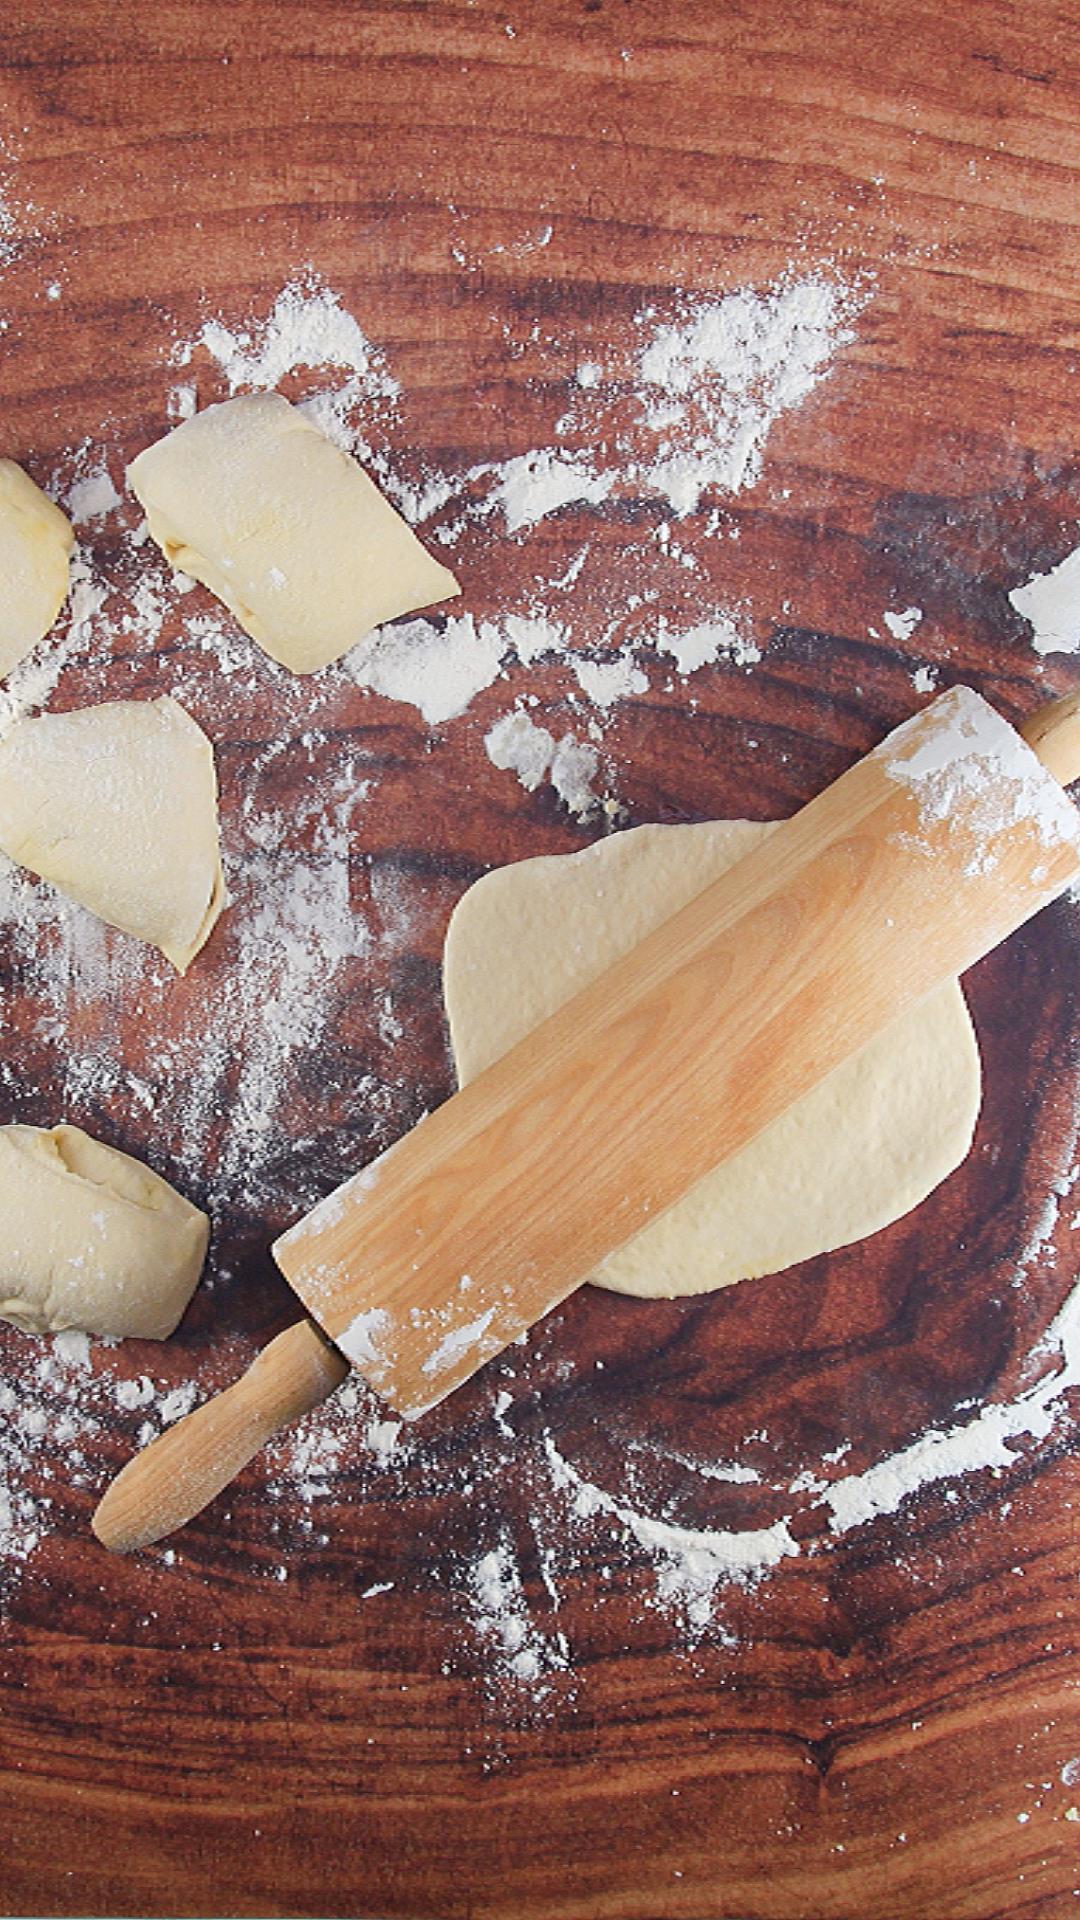
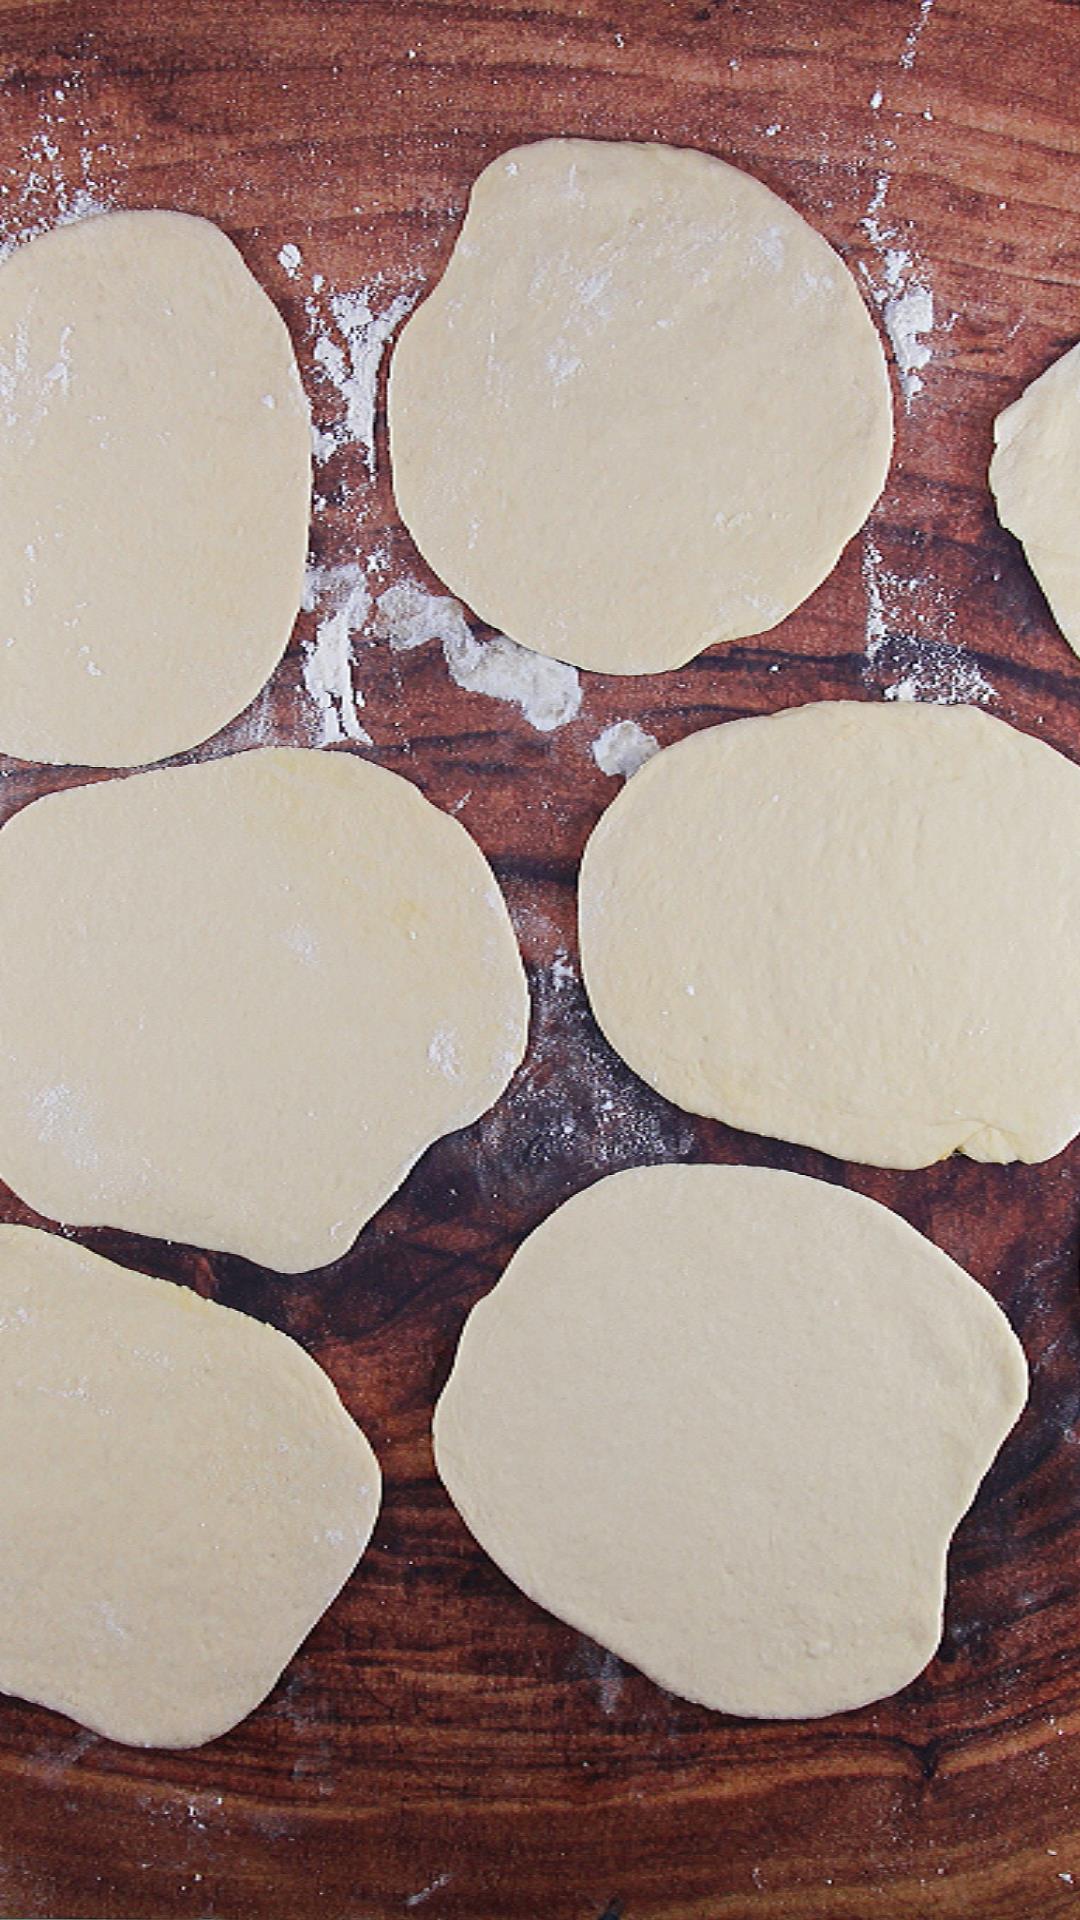
Step Five. Roll out your Homemade Pita Bread Dough.
Roll each piece into a ball. With a lightly floured rolling pin, roll into 6-inch circles, about 1/4 inch thick. Let rest covered with a clean dish towel for 30 minutes.
Step Six. Bake your Pita Breads.
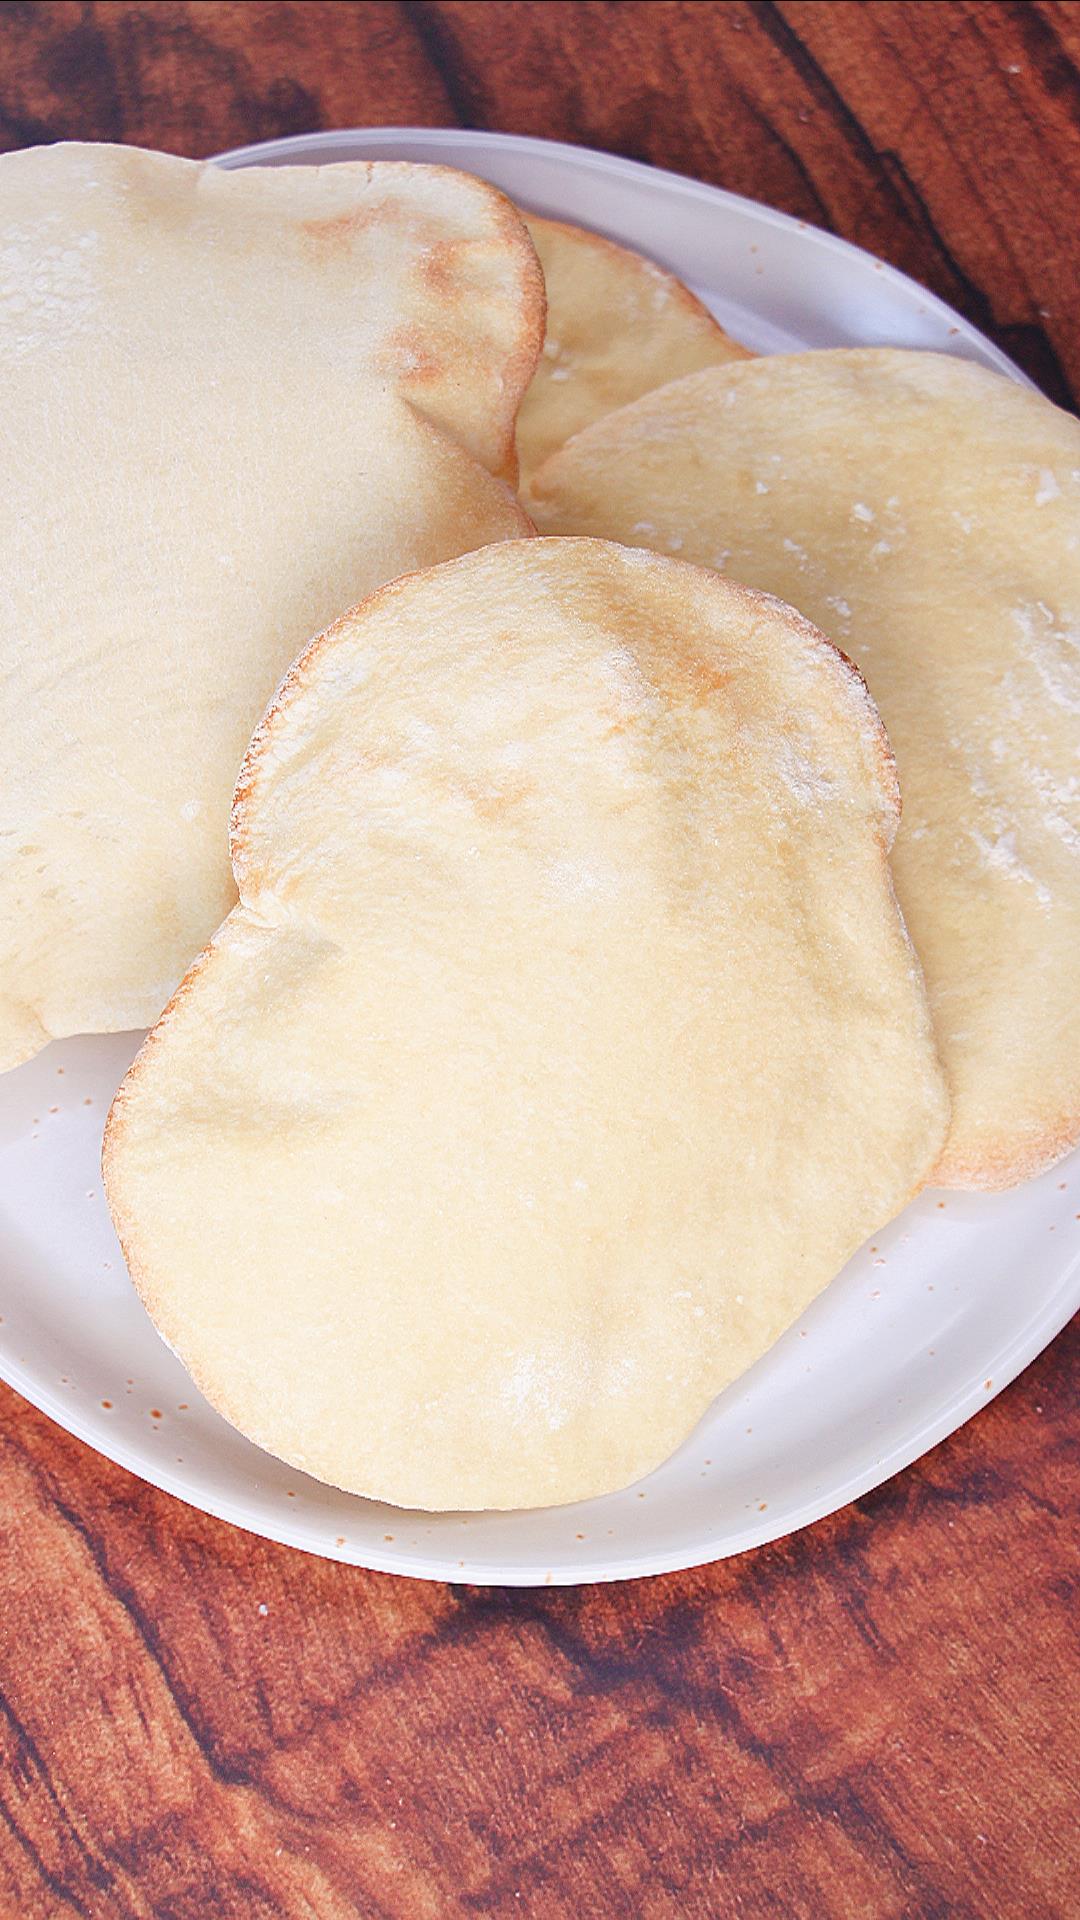
Working in batches, transfer each rolled-out pita dough circle to the hot stone using a pizza peel or large metal spatula. Bake until the rounds turn lightly golden, approximately 5 minutes. Remove from the oven and cool completely on a cooling rack.
Frequently Asked Questions
How to Store Leftover Pita Bread?
Keep the extras in a high-quality plastic storage bag. Freezer quality is preferred. The bread can be kept at room temperature or refrigerated.
Can I freeze homemade pita bread?
Yes, you can freeze individual pita dough pieces or baked pitas. We prefer to freeze individual pitas after they’ve baked and completely cooled by putting them on a baking sheet, then move them to the same plastic bag or container once frozen. Baked pitas thaw quickly at room temperature, baked in an oven, or thawed in a toaster.
Note: Thaw a pita dough ball and follow Step 5 instructions once the dough is thawed.
Can Pita Bread be Made Ahead?
Yes, we make this pita recipe early in the week and use it as sandwich bread during the week. You can fill them with meat or cheese and reheat them in the microwave or a toaster oven. They’ll taste like a fresh pita. You can add fresh lettuce, tomato, or what you enjoy in your pita pocket.
Hostess Tips
One thing that I found was if you rolled most of the air out of the dough, they baked a little flatter and stayed softer which made a pita that was easier to cut and add stuffings. The pitas that retained more air puffed up and were crispier.
Since making this pita bread, I’ve learned that instant or rapid-rise yeast is finer and doesn’t need to be activated in water. Mix everything together at once without fear of failure.
You will need a baking stone that can take a hot oven for this recipe. I actually baked 2 at a time, and that worked well. If you have two baking stones and set your oven racks as far apart as possible, you should be able to bake four at once. They do puff up quite a bit. They also come out of the oven hot but cool off quickly.
If you have leftovers, you can slice them like triangular tortilla chips and heat them in the oven at 400ºF until they crisp up and become pita chips. This works even if the pita becomes a little stale. Tossing them in olive oil, garlic, and herbs before baking them makes them into flavored pita chips.
What to Serve with Pita Bread
I like to make a dipping sauce with Extra Virgin Olive Oil and a few herbs or spices. You can use fresh thyme, rosemary, oregano, or dill. Olive oil with parmesan is also a nice version of dipping sauce. At the store recently, I noticed that they had a jar of spices labeled “bread dip” that works perfectly for this.
Hummus is an excellent pairing with warm homemade pita bread. Whether you make homemade hummus or purchase it from the store, you can dress it up with a drizzle of olive oil, a sprinkling of chili pepper, or some toasted seeds.
Make sandwiches with this very strong pita bread. Sandwich fillings like chicken salad, gyro meat and dressing, or even pimento cheese work really well in a pita.
I hope you enjoyed this delicious recipe as much as we do. Drop me a comment below, and don’t forget to give it a star rating. ⭐⭐⭐⭐⭐. Your comments and ratings help others decide if this recipe is for them too.
Easy Pita Bread Recipe (Homemade Pocket Bread)
Equipment
Ingredients
- 2 tsp active dry yeast 1 packet (instant yeast works too)
- 1 cup water warm to touch but not hot (100℉ to 105℉)
- 1 tsp sugar or honey
- 2 tsp olive oil
- 2½ cup Unbleached All-Purpose flour
- 1 tsp sea salt
Instructions
- Lightly grease a large bowl and set aside (I used olive oil)
- In a separate large bowl, stir together water, sugar (or honey), and yeast. Let stand for 5 minutes, or until bubbly. Stir in oil.
- In a medium bowl, stir flour and salt together. Stir flour mixture into the water yeast mixture bowl, and stir until a craggy dough just comes together. Turn dough out onto lightly floured surface and knead until smooth and elastic, about 10 minutes. Place the dough in the greased bowl. Cover with plastic wrap, and let rise until doubled in size, 1 to 2 hours.
- Preheat the oven to 500 °F with a baking stone placed on the middle rack.
- Turn the dough out onto a lightly floured surface and deflate. Roll into a 16-inch roll approximately 2 inches thick. Cut 8 equal sized pieces.
- Roll each piece into a ball. With a lightly floured rolling pin, roll into 6-inch circles, about 1/4 inch thick. Let rest covered with a clean dish towel for 30 minutes.
- Working in batches, transfer the dough rounds to the hot stone using a pizza peel or large metal spatula. Bake until the rounds turn lightly golden, approximately 5 minutes.
- Remove from the oven and cool completely on a cooling rack.
- Transfer to a large zip-top bag to store.
Notes
Nutrition
Nutritional Disclaimer
This recipe was calculated using the exact brands and measurements I used to make this recipe. If you are following a strict diet please note changing anything will cause the nutritional info to change. My calculations are intended as a guide only.
Did you enjoy this recipe? Don’t forget to pin it for later and follow me on Pinterest for more delicious recipes like this one!
Originally released on 10/20/2015, this Pita Bread recipe has undergone updates to enhance our readers’ experience, including simple details and new images. No changes were made to the actual recipe.


Wow Julie, I’m so impressed, the pita breads look amazing. I would love to try this recipe, do you know if it would work without the stone?
Thank you! I believe that it needs a very hight heat. If you have a cast iron skillet, that might work?
Ok, I’ll give it a try!
I’ve always tried making pita but they never puff up like yours! But you’ve inspired me to try again! Thanks for sharig Julie and have a great FF weekend!
Thank you! I think the trick for getting them to puff up is to handle the dough gently after it rises and to be light when yu roll it out. Air left in makes them puff. The puffy ones are crispier though because the puffing makes them thinner. Let me know if you have any other questions, I’d be happy to help!
Julie, these pictures are GORGEOUS!!! Especially that one with the pita all puffed up…it looks so tempting!!
Thank you Amanda! The pita’s were yummy! I’ve been going through Nagi’s book, and it’s really helped with the photos.
Your pita bread looks good – it’s so puffy! Much better than store bought for sure. I will have to try this as I love gyros too and hate fussing with the pita bread you buy. Thanks for coming to the party and sharing this wonderful bread with us 🙂
Thank you Judi!
I love pita bread! I hadn’t thought of making my own-these pitas look so good!
Thank you Nancy!
I have pita bread fans at home but I have always bought the store ones. Never mustered the courage to make at home. Your post is inspiring and detailed. Thanks for sharing 🙂
Give it a try skd! It was fun and easy. Plus I know you are a talented kitcheness!
Awe! The word sounds so nice . Thank you Julie. I will love to try.
Wow! I would love to try making Pita Bread! Great job Julie…silk and baby butt…good reference!! 🙂
Thanks Linda! I have never handled bread dough that silky!
I haven’t ever tried making my own pita bread, so I’m encouraged by the fact that this was new to you as well! They look great, and I completely agree with you about most commercially-produced pitas being tough. I’ll have to give this a try sometime!
Thank you! Give it a try, it is much easier than I would ever have thought.
These look WONDERFUL Julie. I’ve bookmarked that exact same recipe that you used and now I KNOW for sure that it’s a winner and I have to try it for myself 😉
Thanks Jess! They are tender and moist and fun to make. I always thought pitas were dry. These weren’t. Enjoy your weekend, and thank you for stopping by!
Your Pita is so so perfectly puffed. Pinned it to try!
Thank you Aruna! I think you will love them.
Julie! This looks beautiful!! I love it! The Pita Bread looks perfect… I have to try this! Your blog makes me crave bread all the time (and thats a good thing in my book!) I will have to make it more often using your recipes 🙂
Thank you Dini! I love bread, but need to branch out a bit. I have my non-bread lovers yawning I think! Wish I was a mad kitchen scientist like you! Enjoy your weekend!
I know exactly what you mean. When I first made “Yemeni Bread” I was so excited my kids thought I was going crazy. They look puffy and delicious. Thanks for sharing!
We all have our idea of success right! Thanks Liz!
Wow, I love the puff. They sound delicious. And you are right, the store bought ones are usually disappointing.
Thank you Liz!
You’re so right about the ready-made version leaving something to be desired. Your pitas are pretty! And apparently, tasty! Nice work, Julie.
Thank you Patti! These really are much better than store bought. Tender and moist. Enjoy your day my friend!
Thank you, you, too!
They puffed up so nicely! Isn’t it always so satisfying when you try a recipe for the first time and it turns out so wonderfully? Great post!
Thank you! Sometimes I get a crazy idea that something might be challenging, and then when I tackle it I wonder what I was thinking? I can be such a head case! 🙂
Looks puffy and perfect, I need to try it!
I really believe it is a big deal, and your pita bread looks perfect! Love the pictures! 🙂
Thank you Ana! They turned out fun and easy to make.
Awww, Julie! Thanks for mentioning my gyros. This pita bread looks amazing! I’m going to save your recipe. I have got to try fresh pita bread. YUM!!! xoxo
Thank you for the inspiration! You’ve got to try these pitas Debbie. I would say they are almost fool proof, and go wonderfully with your gyros!
Ummmmm! You’re making me hungry!!
They’re beautiful! Good job! I’ve made them before, but I’ve never mastered naan, so I gave up on that.
Thank you! I’ve never made Naan but can’t imagine you failing at anything!
Looks amazing!!!! great job as always Julie!!
Thank you Lynz!
Very nice and beautiful!!! 🙂
Thank you Lynz!
love it dear!!!
Thanks Lynz!
🙂
Sounds so delicious, Julie, and what a fun bread to make! The pictures are lovely!
Thank you Anna! It was a fun recipe to make and will be a repeater for sure!
I’d love to try it sometime! 🙂 Sounds wonderful!
Thanks Anna! They were indeed yummy, and not dry like some store bought.
They look perfect!!! When I made pita bread I think my post started virtually the same as yours, I was so proud of myself!!
Ha! Had I known how easy it was, I would have been making them all along. I guess that is true with most things I make. Thanks Elaine!
I guess so! 🙂
I have had a few pita pisasters – resulting in yet more flatbread! I’m tucking this recipe away to try! Thanks for posting it!
I love that word pisasters! Give this one a try. I always think that if I can do it anyone can!
Professional achievement!
Thank you Johanne! It was a fun project!
It looks amazing, Julie! I would love to try this. I love the pictures where they are all puffed up. We are thinking along the same lines this week (sort of). I made naan. It was so much fun to make, too. I couldn’t believe how easy it was. Pinning your recipe to try!
Thank you Shari! It was yummy! I’ve really been on a bread kick, but I just enjoy it so much. I can’t wait to see your naan!