Easy Pita Bread Recipe (Homemade Pocket Bread)
This post may contain affiliate links. Please read our Disclosure Policy.
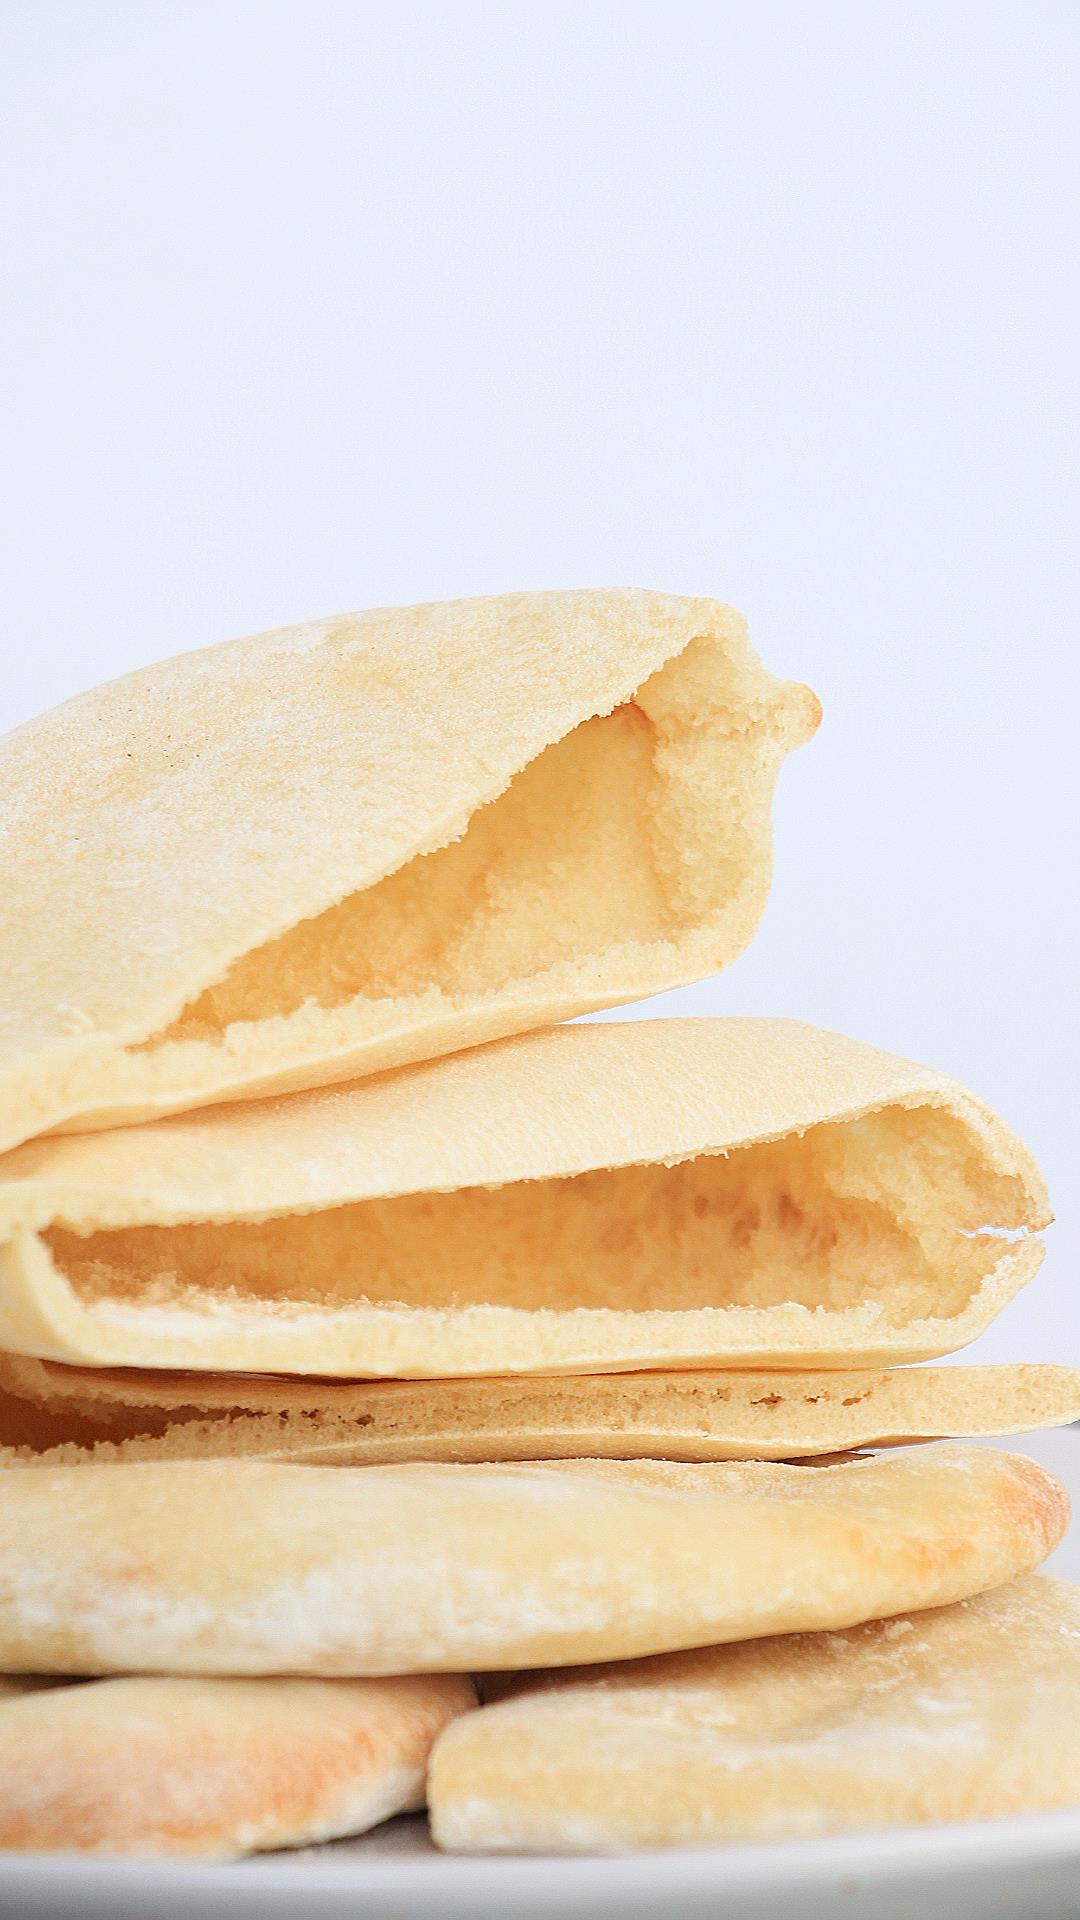
Fresh from the oven, this Easy Pita Bread recipe delivers deliciousness whether paired with your favorite curry or stuffed with gyro meat. Soft yet robust, these homemade pitas hit the spot perfectly.
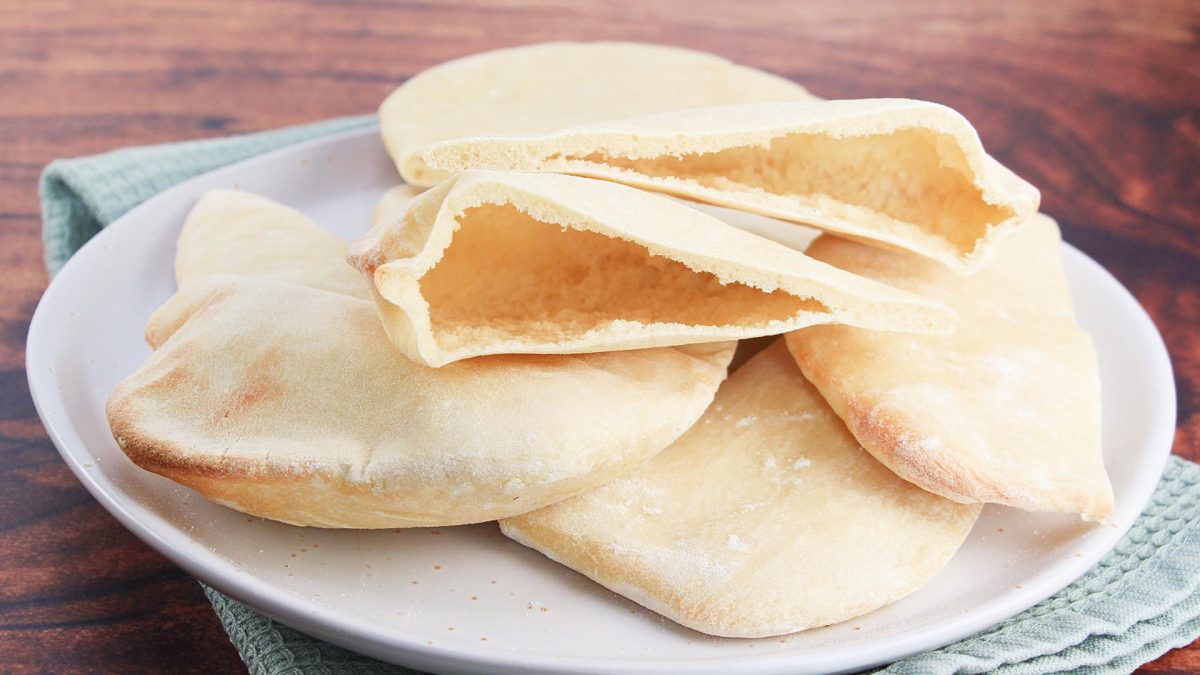
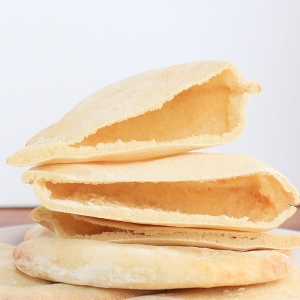
Grocery store-bought pita bread can be, tough, dry, and tasteless. This recipe for pita bread has become a family favorite whether served with our favorite Chicken Gyro recipe, Greek Salad recipe, or munching on them as a snack. They’re soft and puff up perfectly just begging to be stuffed.
We’ll walk you through this simple recipe which guarantees you’ll be enjoying your own fluffy pitas by dinner tonight.
What is pita bread?
This Mediterranean pocket bread can be filled with all kinds of ingredients to make a pocket sandwich. It is the most popular vessel for a Gyro, whether filled or folded taco style.
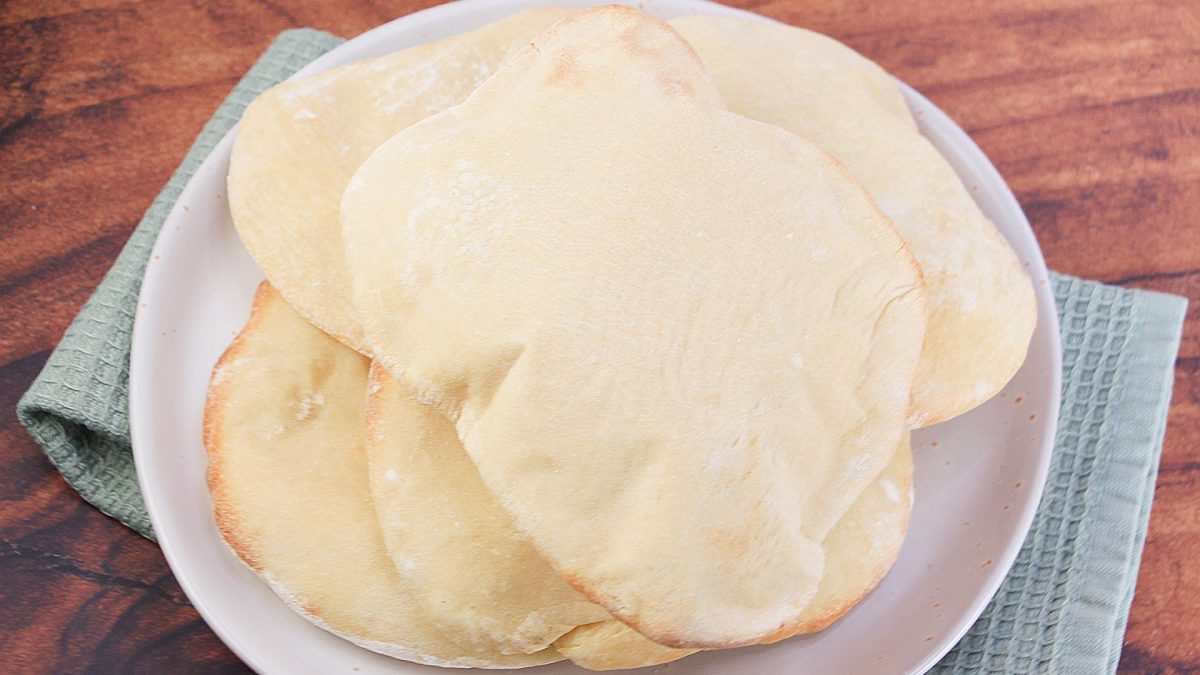
What is the difference between Pita Bread and Flatbread?
While very similar, pita bread puffs up and forms a pocket so that it is hollow on the inside. Our easy Flatbread recipe, perfect for a margherita flatbread pizza is soft and tender but can’t be opened up into a pocket or filled in the same way.
Why You’ll Love Homemade Pita Bread
Just a handful of simple ingredients. Five ingredients from your pantry and a cup of warm water are all you need to have hot homemade bread for your meal. It’s worth it to keep these things on hand!
A simple bread recipe. While some bread recipes can be super complicated with lots of steps, making our easy pita bread recipe isn’t tough.
Keep it fun! Let the kids make their own pita. There is no reason that they all need to be equal pieces just give them a piece of dough to roll. I’ve found the best way to get them to eat is if they can help. They can make their own small pockets for lunch or eat plain as a snack.
Ingredients for our Pita Bread Recipe
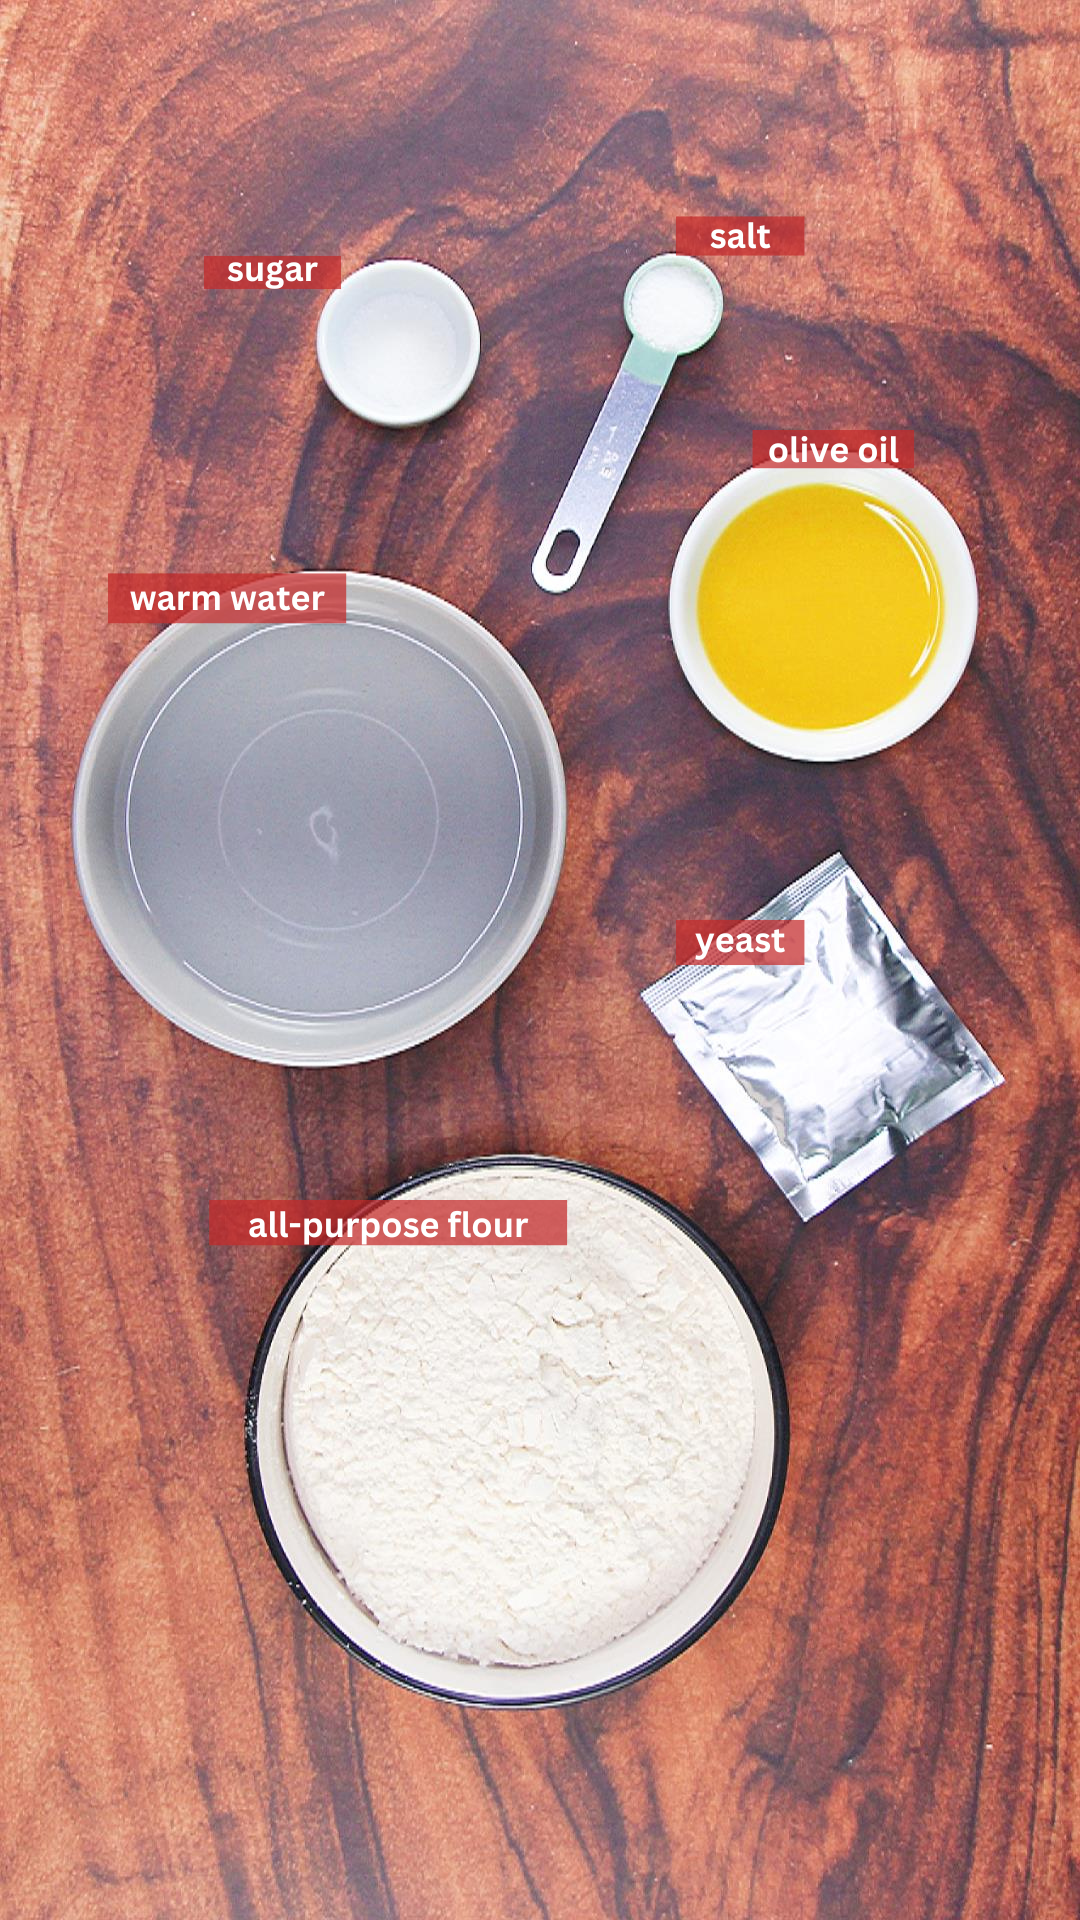
- Instant or Active Dry Yeast. You can purchase packets or the jar. Either will work. The recipe calls for two teaspoons, which is equal to one packet.
- Warm Water. Use an instant-read thermometer and your microwave for water that is between 100º to 105º F.
- Granulated Sugar or Honey. The bread itself isn’t sweet, but you need a little sugar to feed the yeast and add flavor.
- Olive Oil. This particular oil has such a nice flavor – and that’s what sets homemade pita apart from store-bought.
- All-Purpose Flour – You can use bleached or unbleached flour. One doesn’t act or taste any differently from the other. Unbleached flour is just less processed since it doesn’t go through the step of bleaching.
- Salt – You can use any salt. Our preferences are Kosher salt or Fine sea salt, which we feel dissolve better with a less likely chance of salt pockets in our baked goods.
How to Make Homemade Pita Bread
Step One. Prepare for the easiest pita bread recipe ever.
Grease your boil with olive oil. If you have a proofing oven, get it started. Find your baking stone and clean it up. I only say that because mine is usually buried in a basement room between uses since it doesn’t fit in the cabinet drawers.
Step Two. Proof the Yeast.
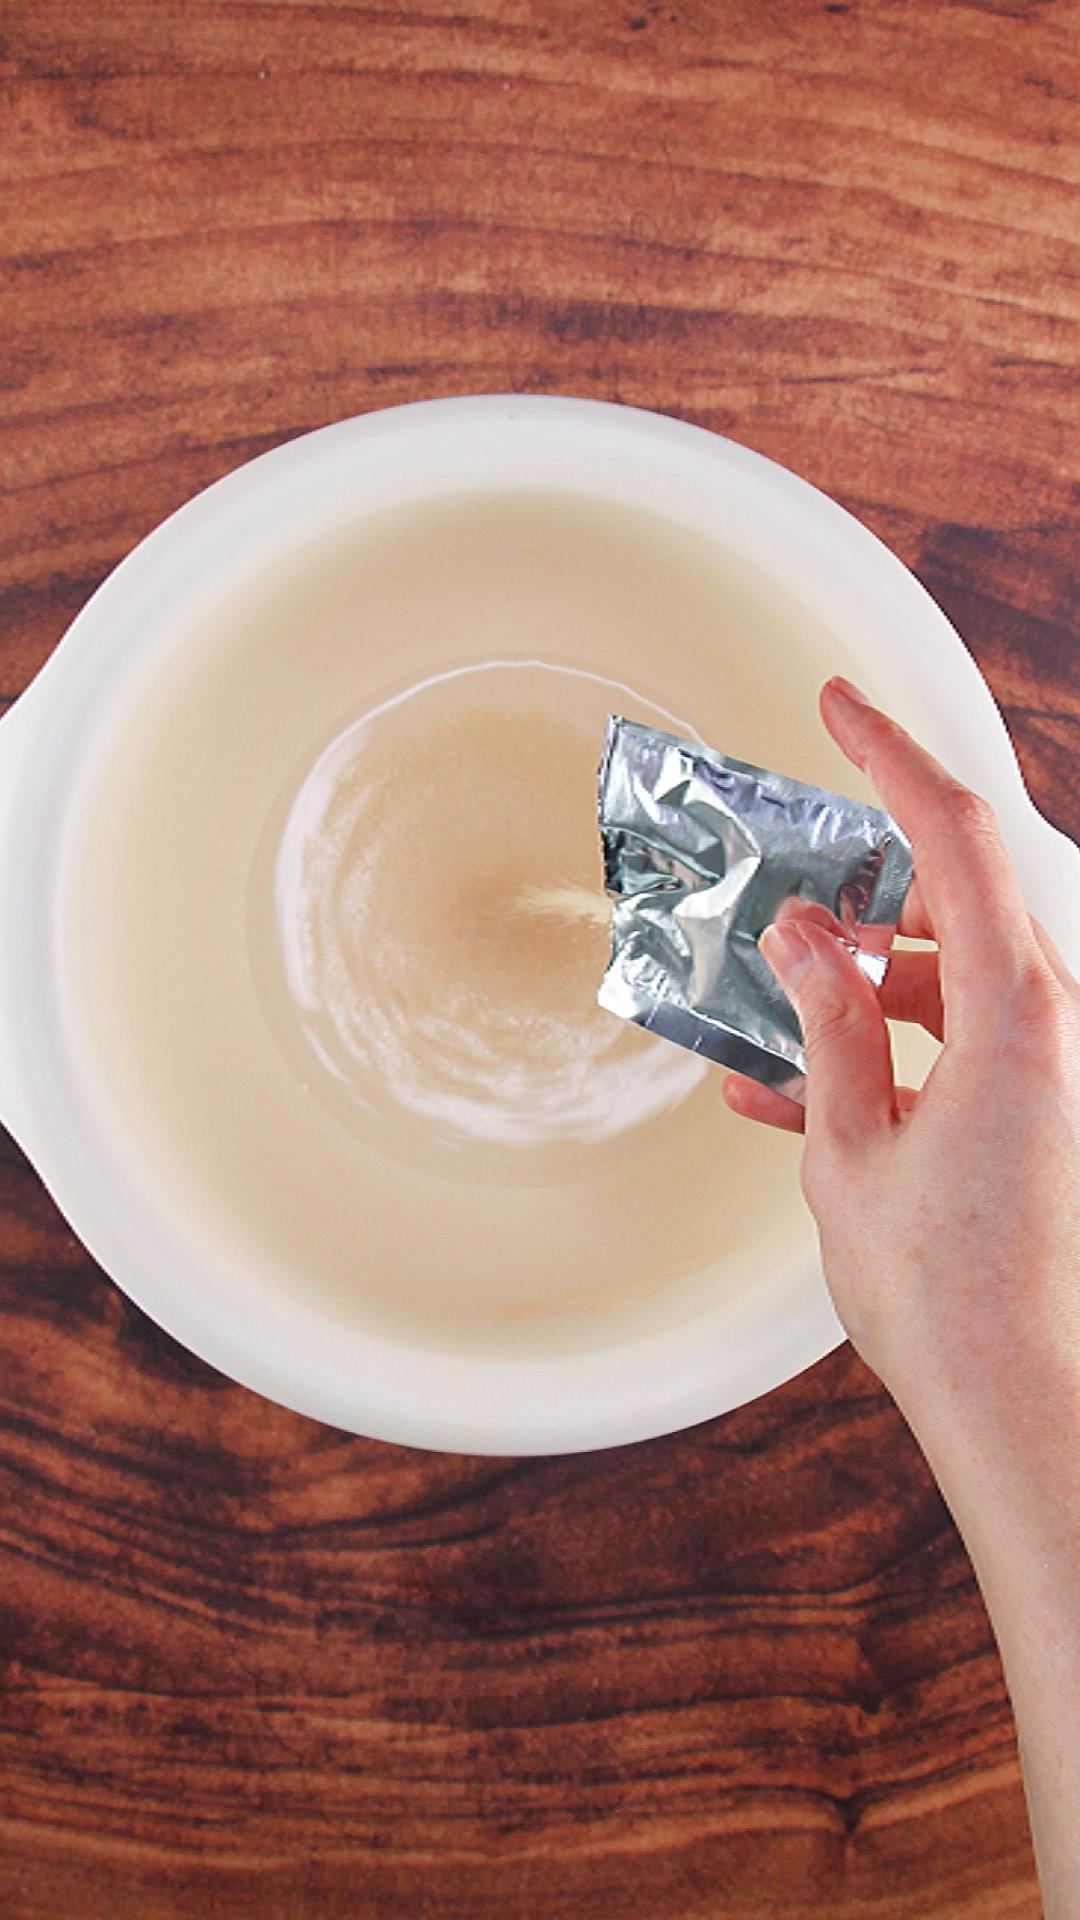
In a separate large bowl, stir together water, sugar (or honey), and yeast. Let stand for 5 minutes or until bubbly. Then stir the oil in. Note: If you use instant yeast you don’t have to wait for it to become bubbly. You can skip to Step Three and mix everything all together at once.
Step Three. Mix the remaining ingredients as described.
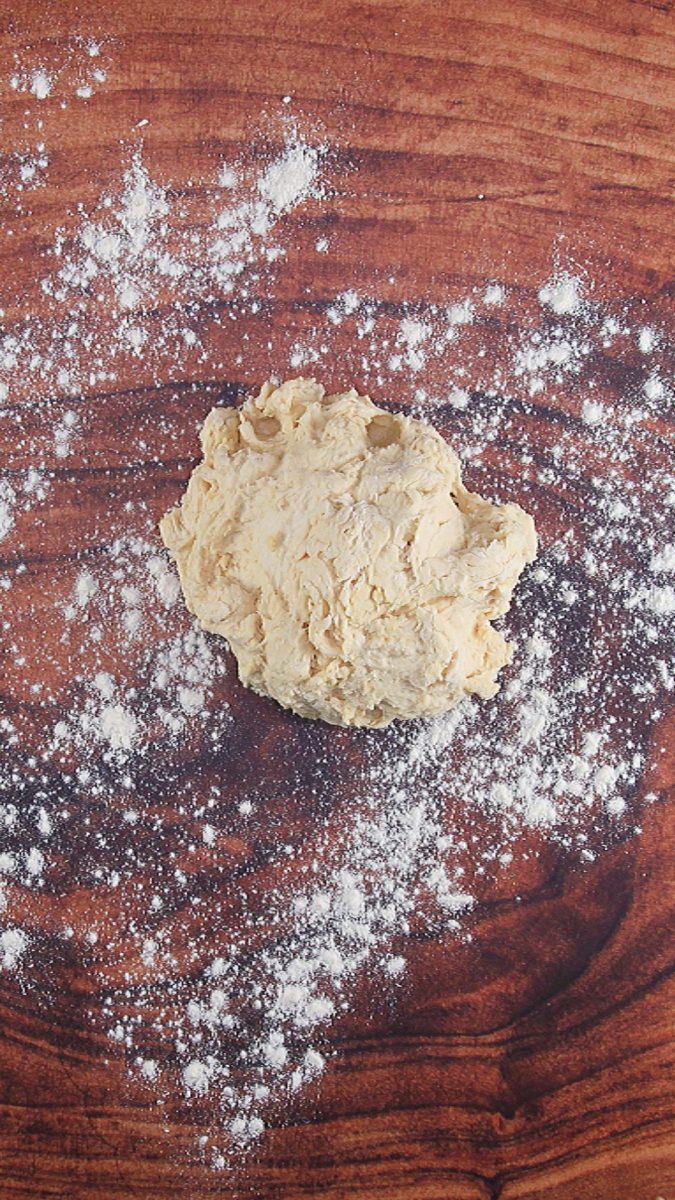
In a medium bowl, stir flour and salt together. Stir the flour mixture into the water yeast mixture bowl, and stir until a shaggy dough forms.
 Turn the dough out
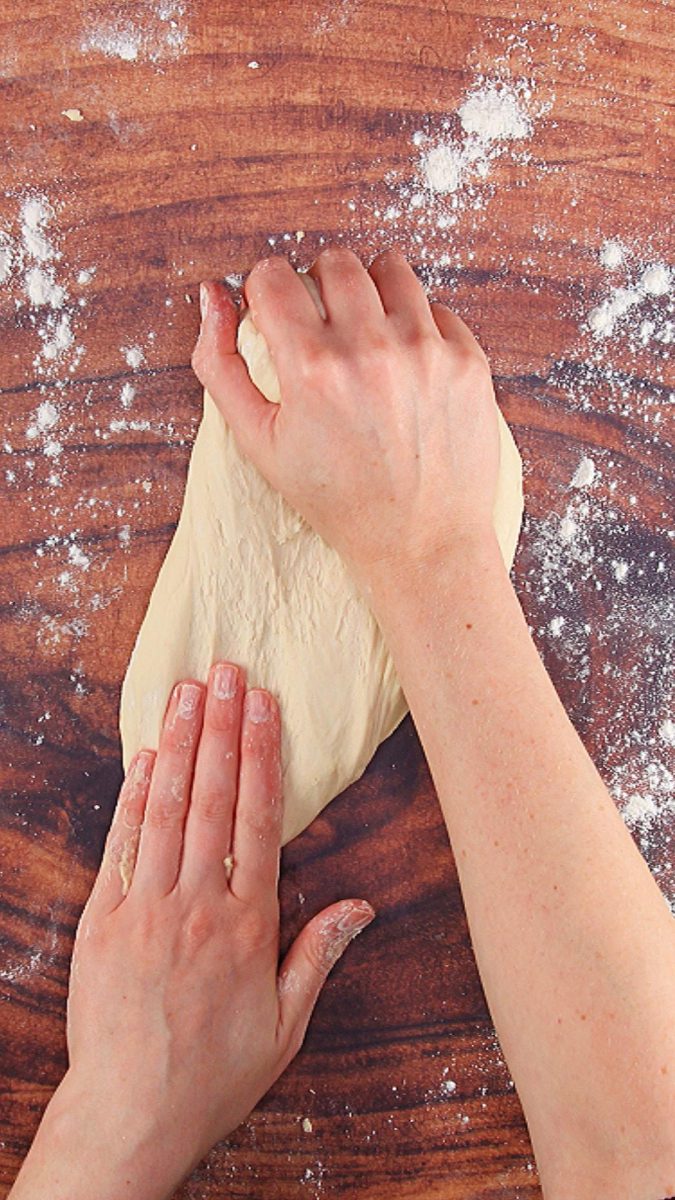
 Knead until smooth
Turn the dough out onto the lightly floured surface and knead until smooth and elastic, about 10 minutes. Place the dough in the greased bowl. Cover with plastic wrap, and let the dough rise in a warm place until doubled in size.
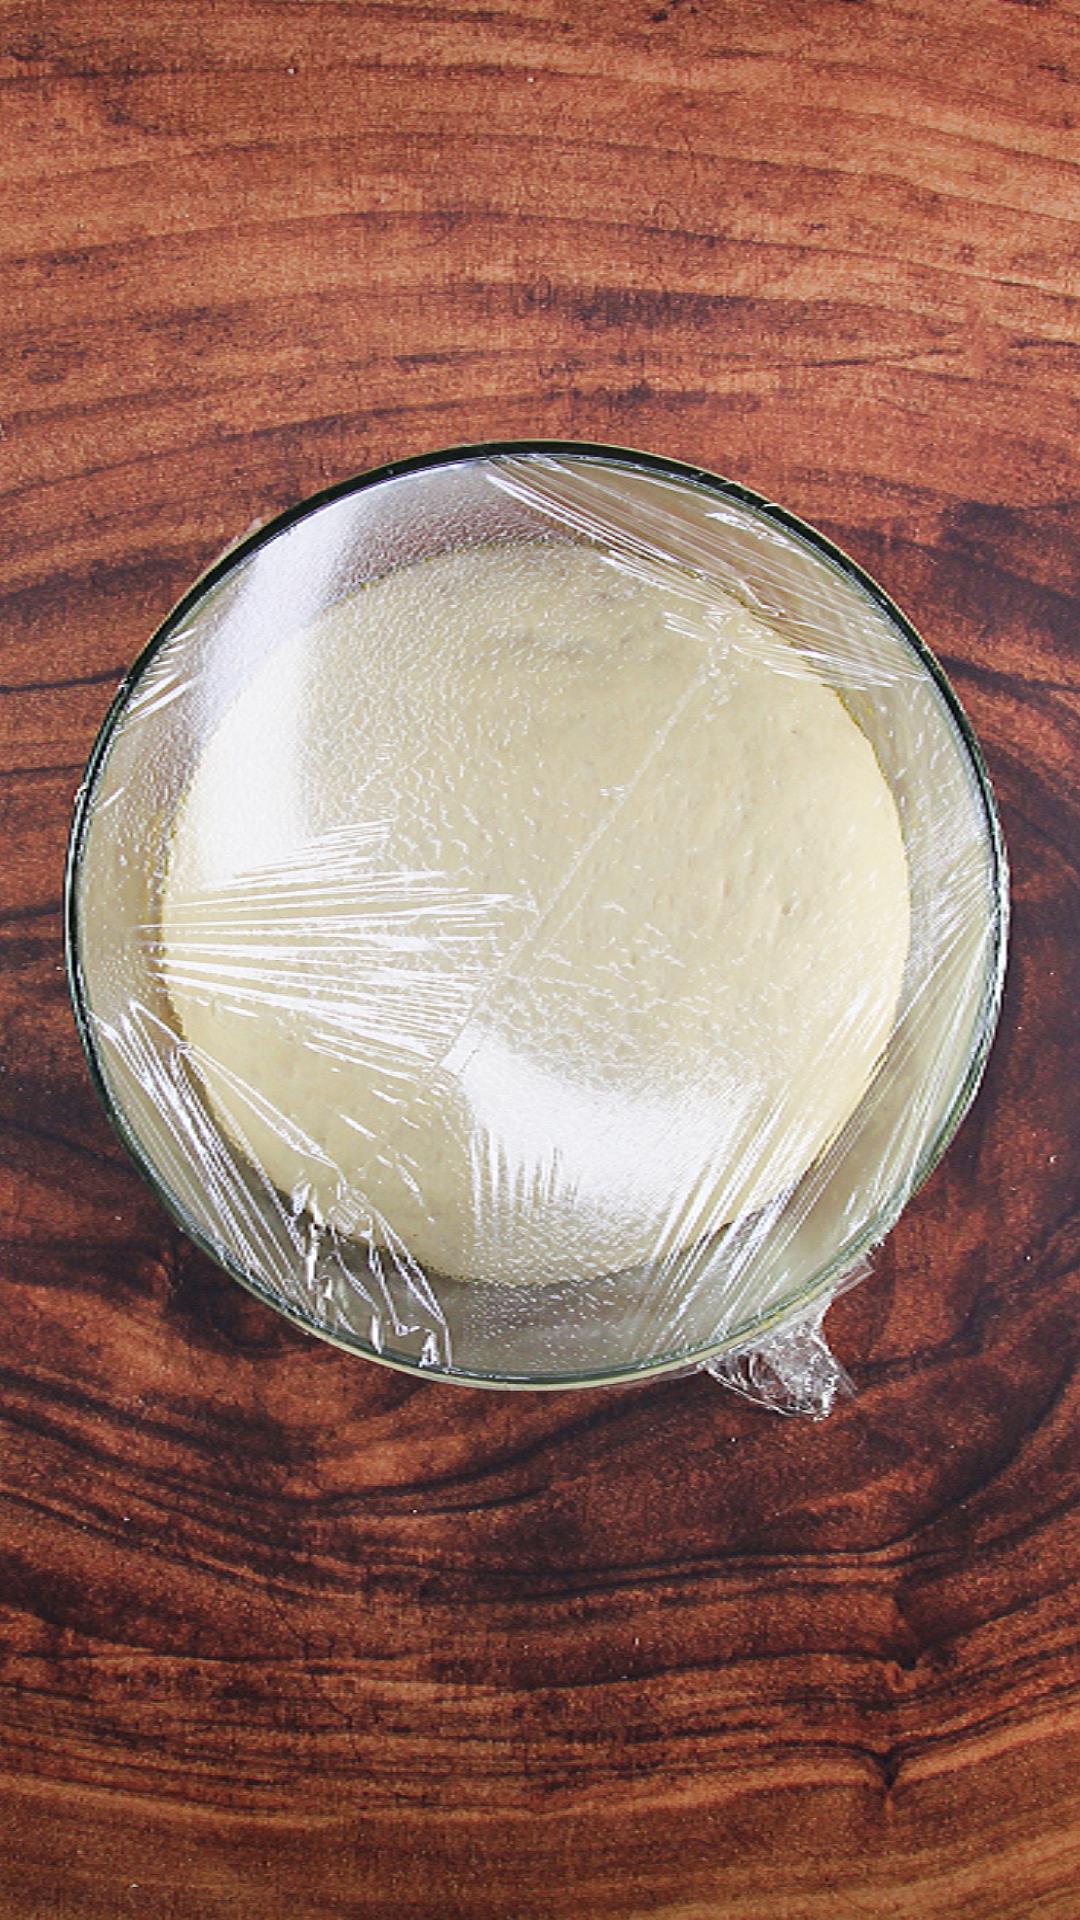
Step Four. Create equally sized pieces.
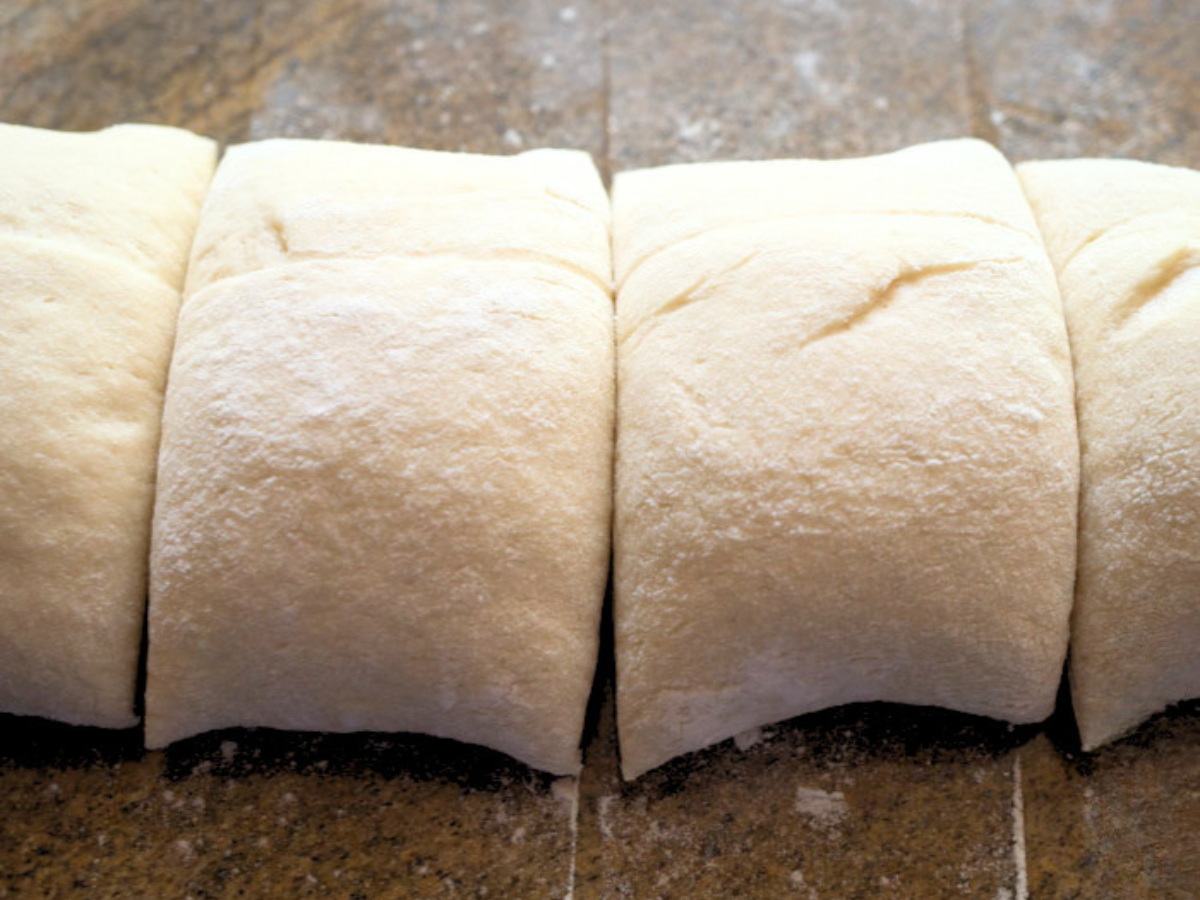
Before rolling out the dough, preheat the oven to 500º F with a baking stone placed on the middle rack. Then, turn the dough out onto a lightly floured surface and deflate. Roll into a 16-inch roll approximately 2 inches thick. Cut 8 equal-sized pieces of dough.
Want to save this recipe?
I'd like to receive more tips and recipes from Hostess At Heart!
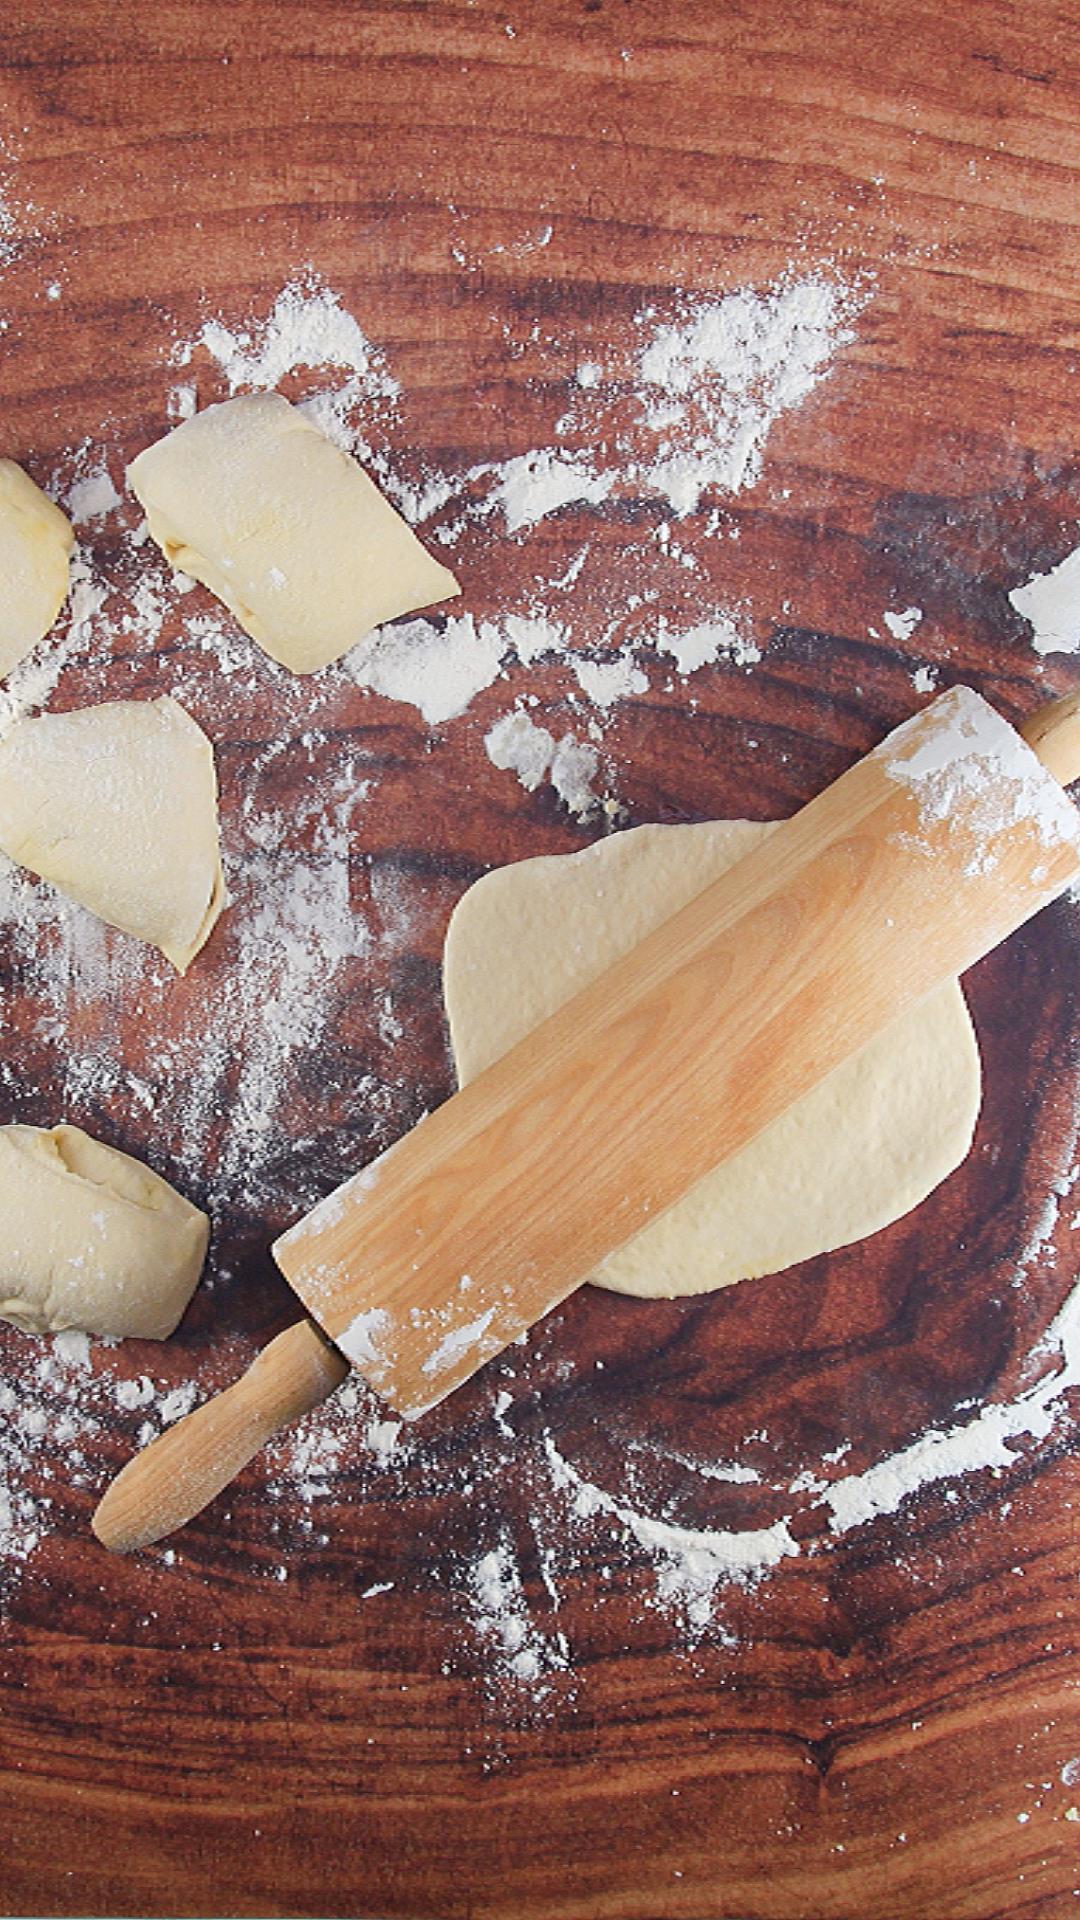
Step Five. Roll out your Homemade Pita Bread Dough.
Roll each piece into a ball. With a lightly floured rolling pin, roll into 6-inch circles, about 1/4 inch thick. Let rest covered with a clean dish towel for 30 minutes.
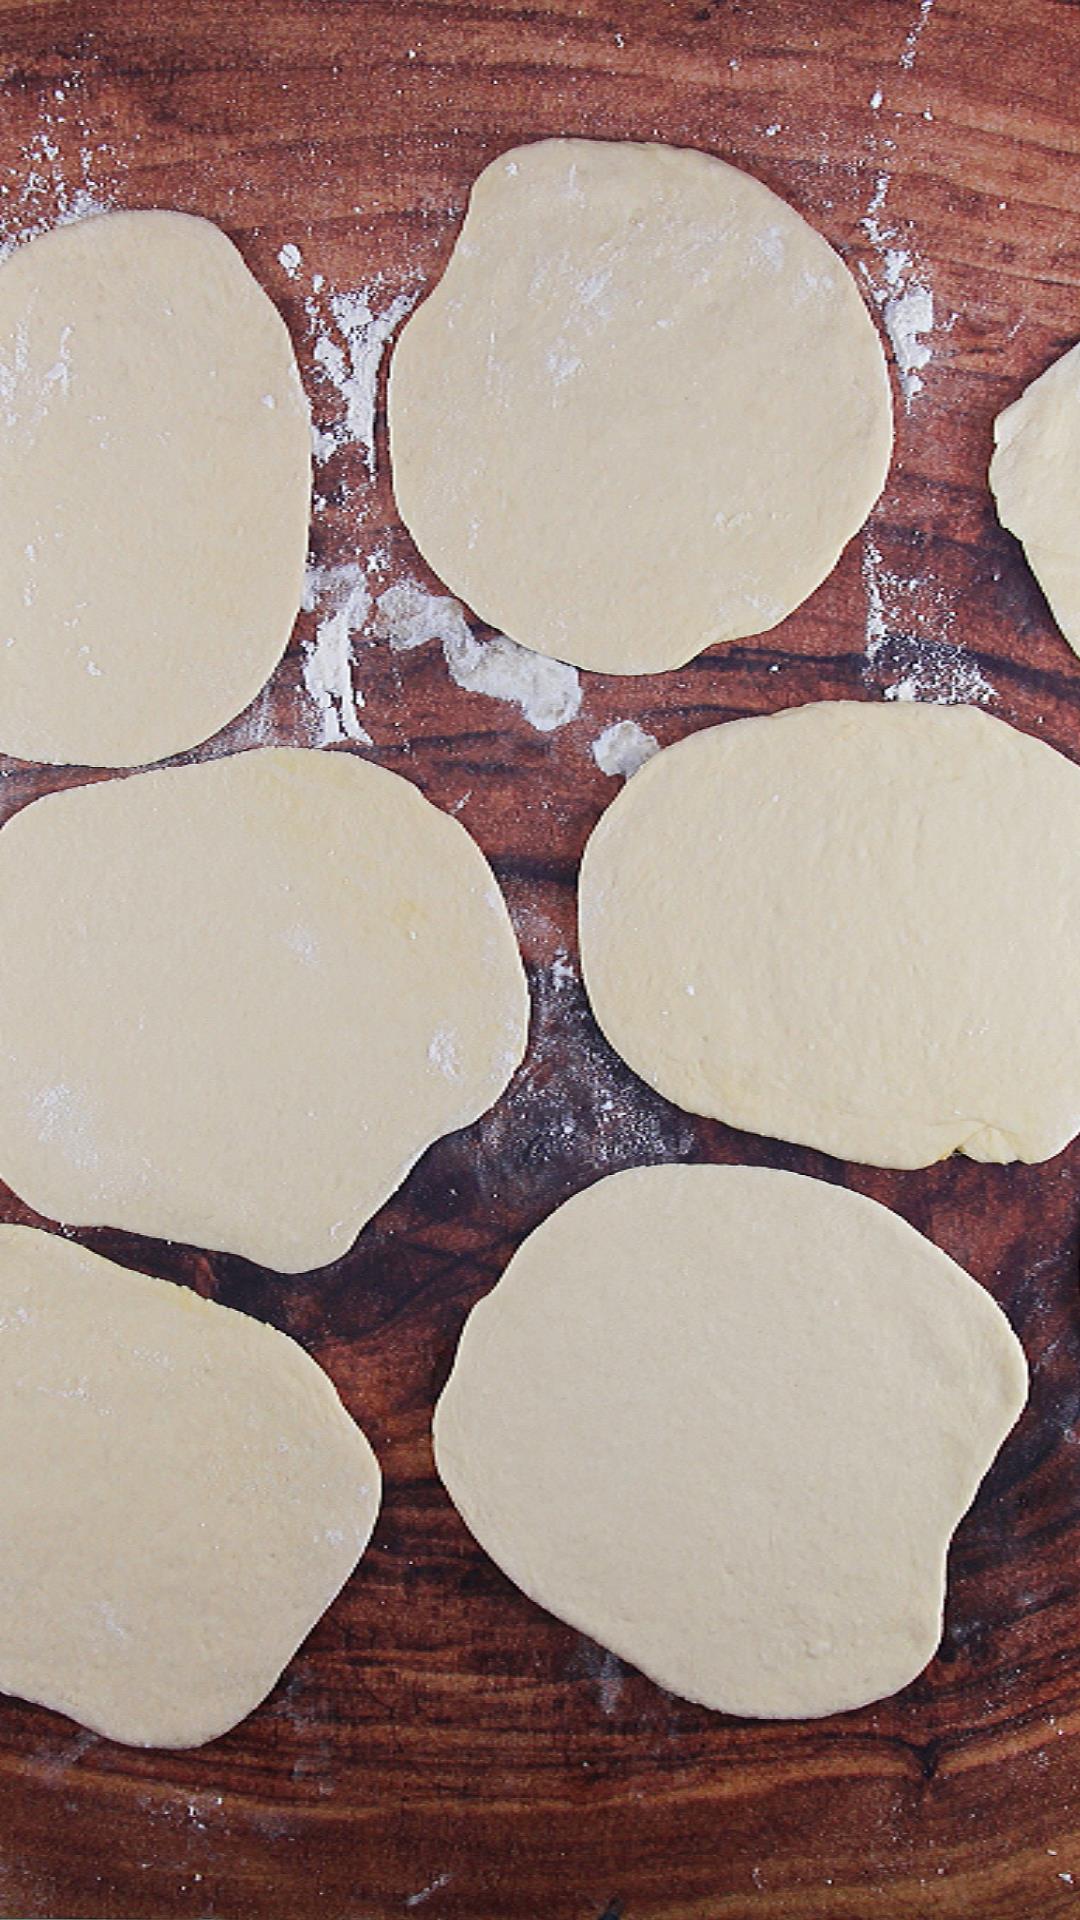
Step Six. Bake your Pita Breads.
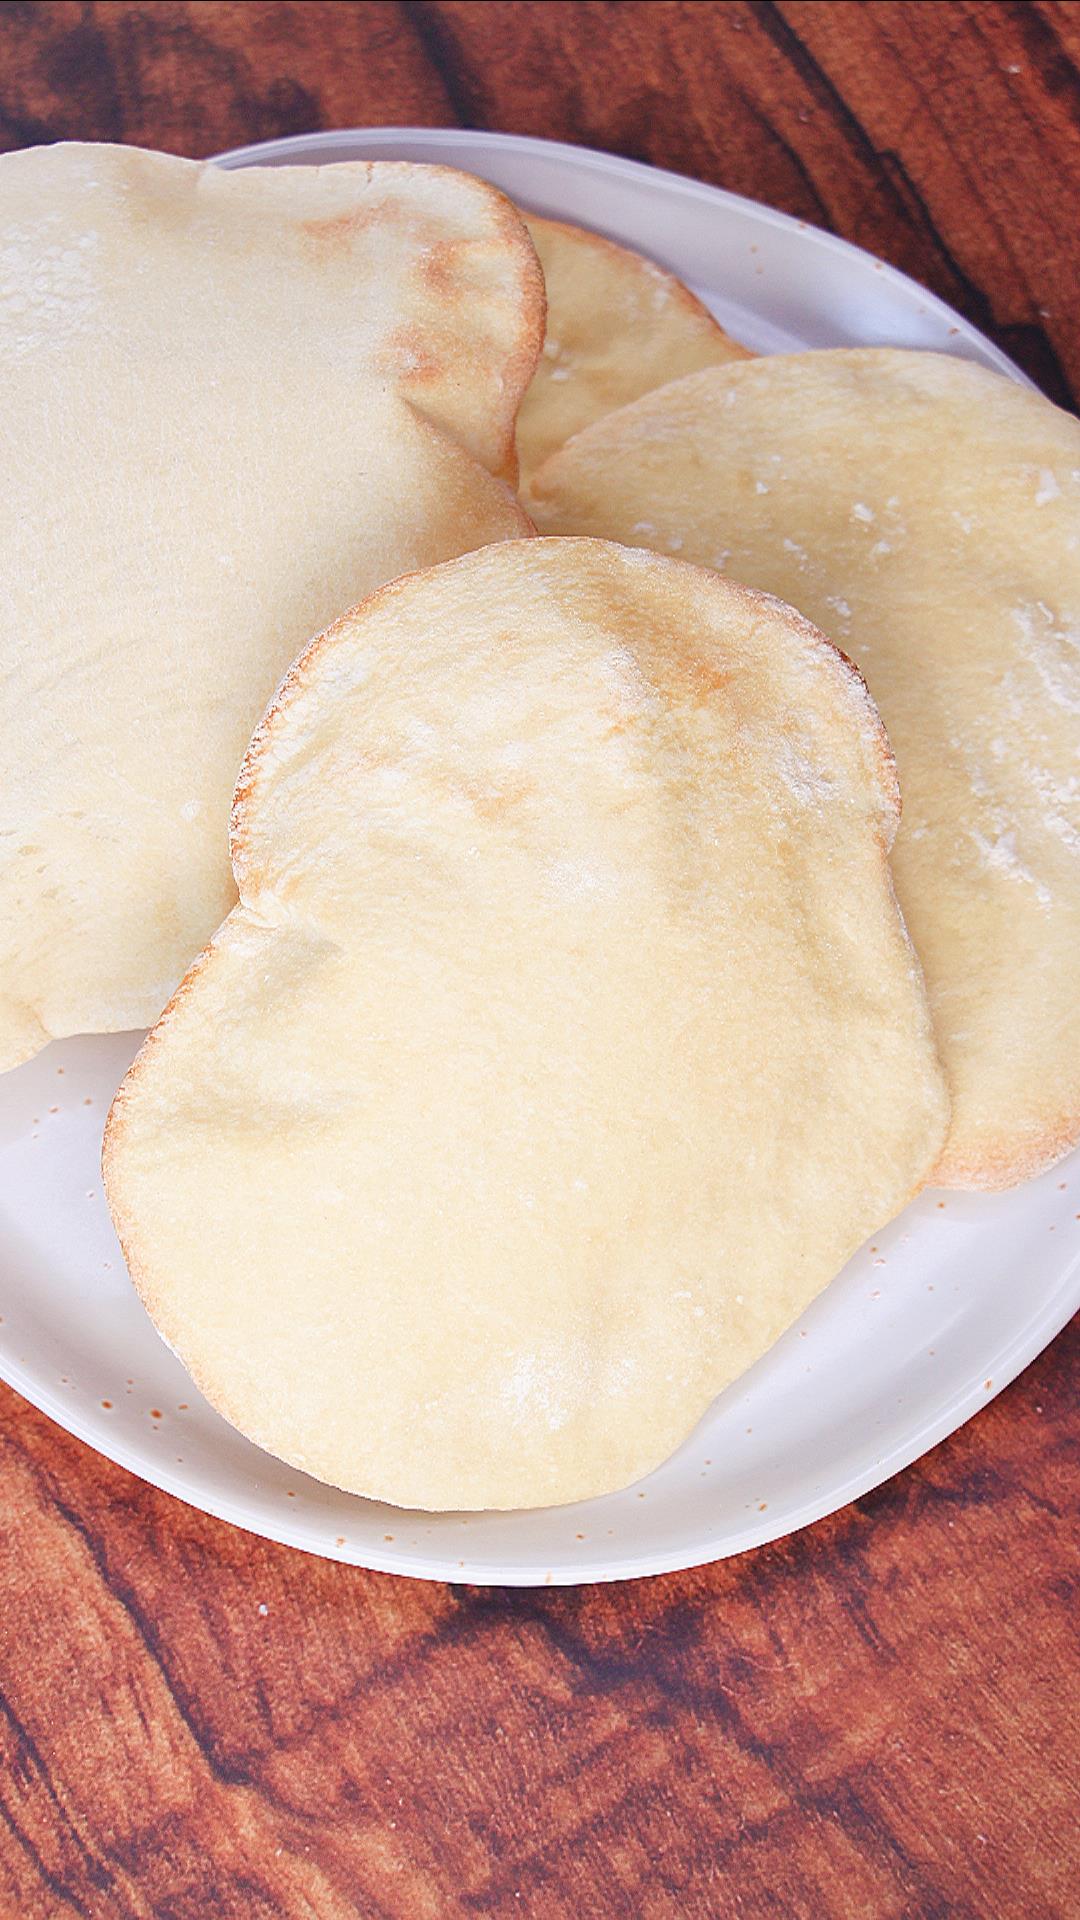
Working in batches, transfer each rolled-out pita dough circle to the hot stone using a pizza peel or large metal spatula. Bake until the rounds turn lightly golden, approximately 5 minutes. Remove from the oven and cool completely on a cooling rack.
Frequently Asked Questions
How to Store Leftover Pita Bread?
Keep the extras in a high-quality plastic storage bag. Freezer quality is preferred. The bread can be kept at room temperature or refrigerated.
Can I freeze homemade pita bread?
Yes, you can freeze individual pita dough pieces or baked pitas. We prefer to freeze individual pitas after they’ve baked and completely cooled by putting them on a baking sheet, then move them to the same plastic bag or container once frozen. Baked pitas thaw quickly at room temperature, baked in an oven, or thawed in a toaster.
Note: Thaw a pita dough ball and follow Step 5 instructions once the dough is thawed.
Can Pita Bread be Made Ahead?
Yes, we make this pita recipe early in the week and use it as sandwich bread during the week. You can fill them with meat or cheese and reheat them in the microwave or a toaster oven. They’ll taste like a fresh pita. You can add fresh lettuce, tomato, or what you enjoy in your pita pocket.
Hostess Tips
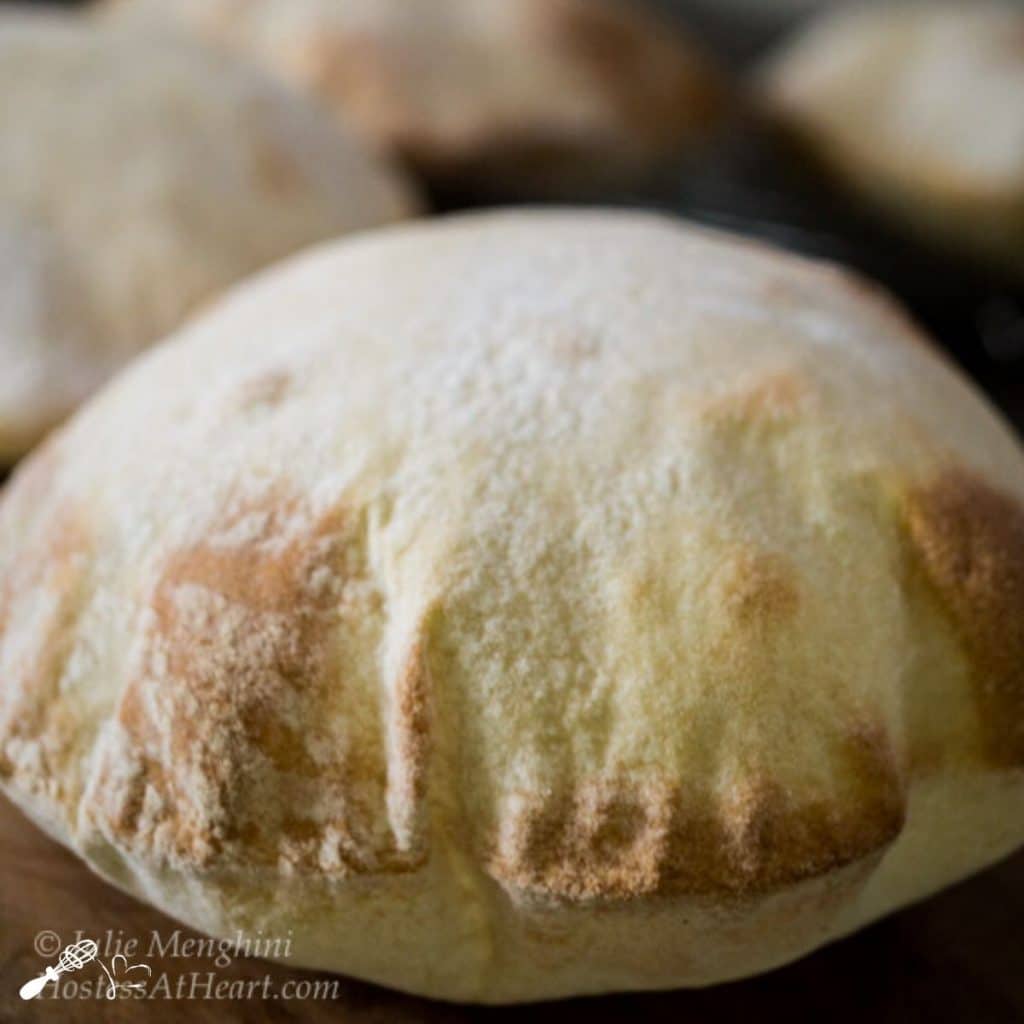
One thing that I found was if you rolled most of the air out of the dough, they baked a little flatter and stayed softer which made a pita that was easier to cut and add stuffings. The pitas that retained more air puffed up and were crispier.
Since making this pita bread, I’ve learned that instant or rapid-rise yeast is finer and doesn’t need to be activated in water. Mix everything together at once without fear of failure.
You will need a baking stone that can take a hot oven for this recipe. I actually baked 2 at a time, and that worked well. If you have two baking stones and set your oven racks as far apart as possible, you should be able to bake four at once. They do puff up quite a bit. They also come out of the oven hot but cool off quickly.
If you have leftovers, you can slice them like triangular tortilla chips and heat them in the oven at 400ºF until they crisp up and become pita chips. This works even if the pita becomes a little stale. Tossing them in olive oil, garlic, and herbs before baking them makes them into flavored pita chips.
What to Serve with Pita Bread
I like to make a dipping sauce with Extra Virgin Olive Oil and a few herbs or spices. You can use fresh thyme, rosemary, oregano, or dill. Olive oil with parmesan is also a nice version of dipping sauce. At the store recently, I noticed that they had a jar of spices labeled “bread dip” that works perfectly for this.
Hummus is an excellent pairing with warm homemade pita bread. Whether you make homemade hummus or purchase it from the store, you can dress it up with a drizzle of olive oil, a sprinkling of chili pepper, or some toasted seeds.
Make sandwiches with this very strong pita bread. Sandwich fillings like chicken salad, gyro meat and dressing, or even pimento cheese work really well in a pita.
I hope you enjoyed this delicious recipe as much as we do. Drop me a comment below, and don’t forget to give it a star rating. ⭐⭐⭐⭐⭐. Your comments and ratings help others decide if this recipe is for them too.
Did you enjoy this recipe? Don’t forget to pin it for later and follow me on Pinterest for more delicious recipes like this one!
Originally released on 10/20/2015, this Pita Bread recipe has undergone updates to enhance our readers’ experience, including simple details and new images. No changes were made to the actual recipe.



I never knew making pita bread could be so easy. These were perfect with our gyros tonight! So light and delicious!
It is so easy and a great way to get the flavors you’re looking for.
Made this to go with a Mediterranean snacking board, people were swooning! Thank you!
I’m so glad you enjoyed it! They’re fun and delicious to make.
You are a baking star and a yeast Queen! 🙂
Thank you Loretta! So happy to see your shinning face today!
You pita breads look fabulous, Julie! I also haven’t made them. I am afraid not to get the pockets.
Every single one of them had the pocket! If I can do it Jhuls, you definitely can.
These look like incredible pita’s! Well done!! I really want to try these but I don’t have a hot stone. It will be a recipe to bookmark for when I get the chance. xx
Thank you! They were a lot of fun to make too!
I often mean to make pitta bread but it never quite happens! These look great – they puffed up perfectly!
Thank you Caroline!
Hahahaha silk & baby butts! That had me laughing out loud :). I am thoroughly impressed. I’m not good with dough and breads, so I always admire when someone can make any type of bread and have it come out so beautifully. Thanks for sharing this at FF!
Thank you! I had a ton of fun making these pitas, and I don’t exaggerate. That dough was crazy soft! 🙂
As someone who struggles with making breads (a struggle of being a celiac with food allergies), I appreciate any time someone makes bread (gluten free or not). Your pita bread looks delicious! I also loved learning a bit more about yeast in your post. Happy FF, and have a wonderful weekend. 🙂
I am so fortunate that I am not restricted by what I eat or cook. I have always had fun baking. Thank you for stopping by Kaila!