Cuban Bread Recipe – Pan Cubano
This post may contain affiliate links. Please read our Disclosure Policy.
This easy-to-follow Cuban bread recipe is perfect for beginners. With clear instructions and simple ingredients, you’ll be making delicious homemade Pan Cubano in no time.
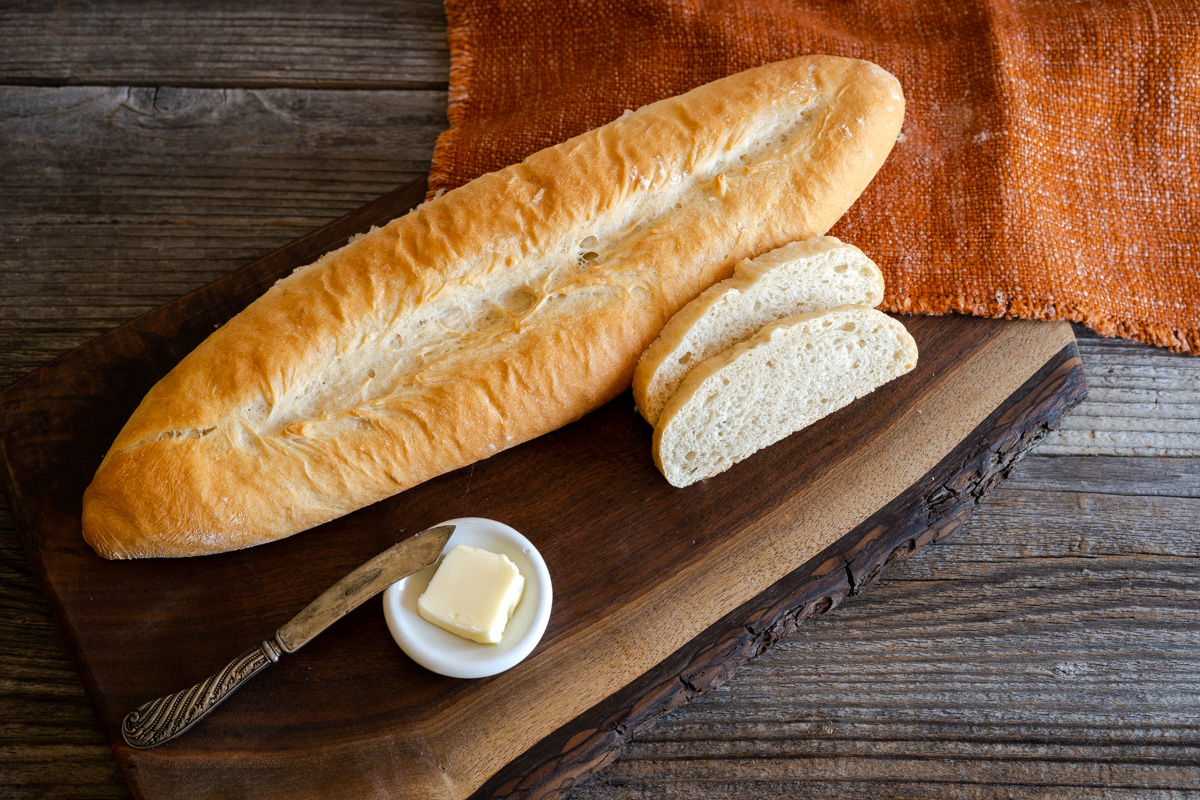
Making bread doesn’t have to be a daunting task, especially with this foolproof Cuban bread recipe. It’s easy enough for beginners. With just a few simple ingredients and easy-to-follow steps, you’ll soon have a delicious homemade Cuban loaf that rivals any bakery.
Why You’ll Love this homemade Cuban Bread Recipe
- Do you love the smell of freshly baked bread but have always been intimidated by the thought of making it yourself? This Cubano Bread recipe is easy enough for the beginner with these step-by-step instructions.
- Simple ingredients that you likely already have in your pantry or are readily easy to find in your grocery store.
- This recipe is perfect as Cuban Sandwich Bread, and I’ll be sharing more serving suggestions with you.
What is Cuban Bread?
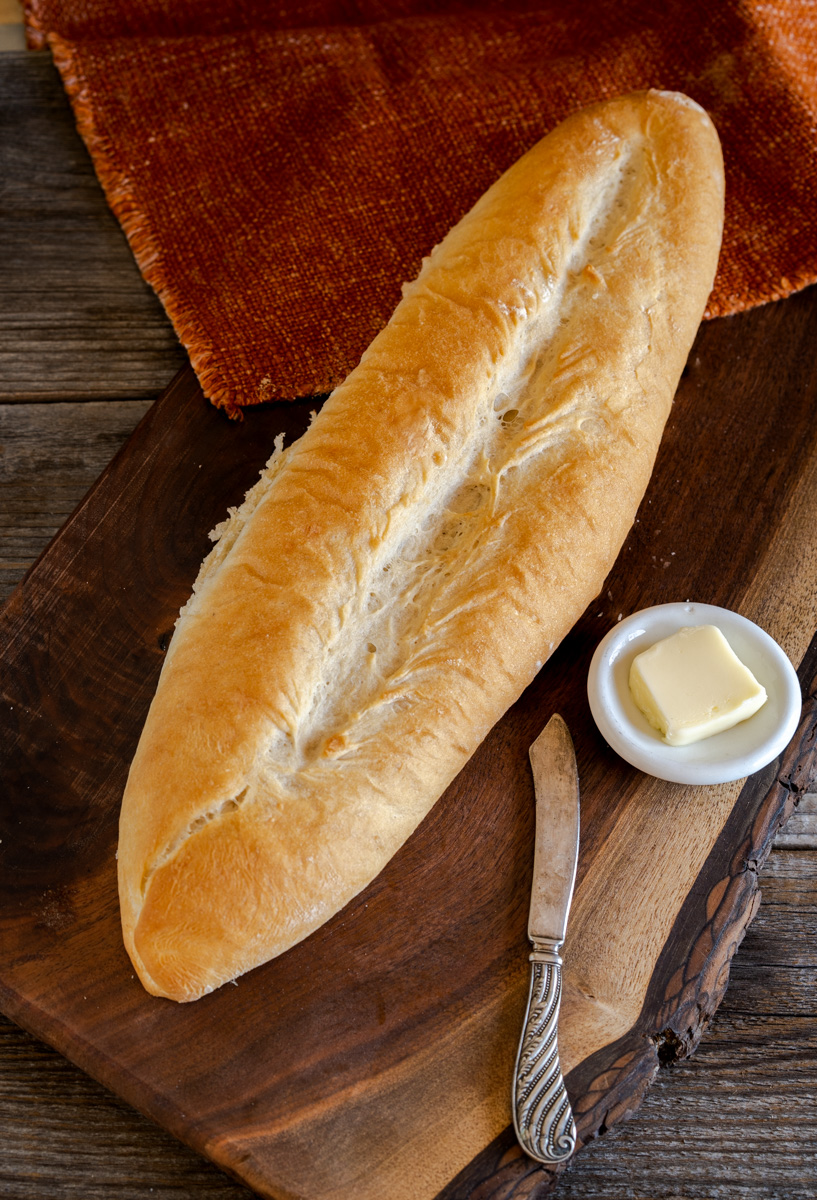
Cuban bread is a Latin American bread that’s shaped like a torpedo or batard. It’s a soft and airy loaf of bread shaped like French or Italian bread. Unlike many bread recipes, Pan Cubano uses lard that produces delicious flavor and the perfect chew.
Just like my Medianoche Bread Recipe, I turned to the Three Guys From Miami for my Cuban Bread recipes. They state you can find Cuban Bread in any grocery store in South Florida but it’s not the same as getting it from a Cuban bakery or baking it yourself.
Cuban Bread Ingredients
To make the perfect Cuban bread, you will need a few basic ingredients that you likely already have in your pantry.
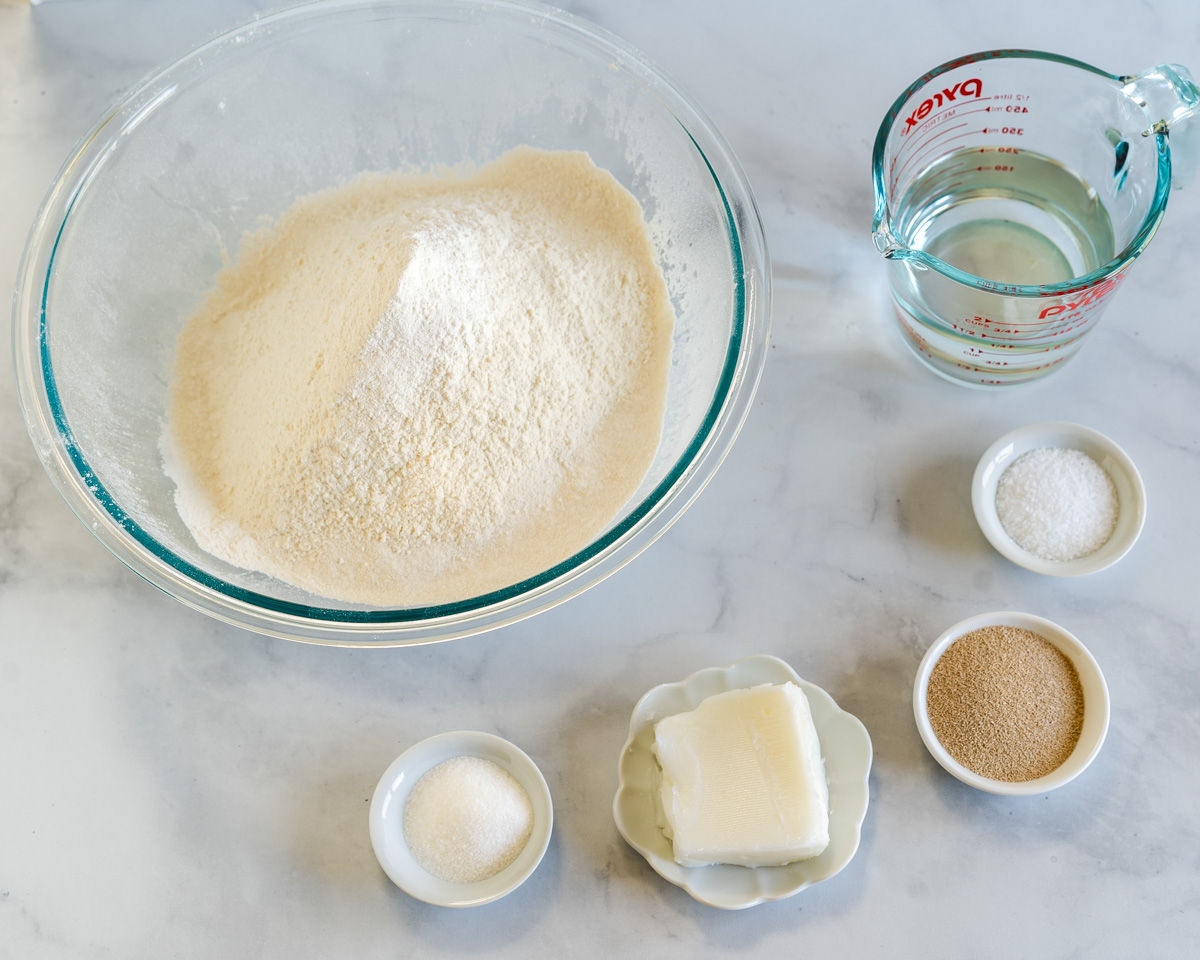
- Flour – This recipe used a mix of all-purpose flour and bread flour.
- Active Dry Yeast – If the variations of yeast varieties confuse you, you can read more about them in my Basic Baking article.
- Sugar – Just a bit of white granulated sugar which is used to activate our yeast.
- Lard – Creates a soft and fluffy crumb.
- Salt – Any salt that you use for baking can be used for this recipe for Cuban Bread.
- Warm water.
How Long Does Cuban Bread Take to Make?
From start to finish, you can have fresh Cuban bread on your table in about 2 hours. This includes 45 minutes for the first rise, 30 minutes for the second rise after shaping, and 15-18 minutes of baking time. The actual hands-on work is only about 20 minutes – the rest is just waiting for the dough to do its thing. This makes it perfect for a weekend morning when you want fresh bread for lunch sandwiches. Unlike some artisan breads that take all day, Pan Cubano is quick enough to fit into a busy schedule.
How To Make Cuban Bread
Please note, that the printable recipe card has the full list of ingredients, quantities, complete instructions, and nutritional information. The following is a quick overview of the recipe.
1. For any recipe that uses yeast, I recommend that you activate it first. If it doesn’t perform well, use fresh. If your yeast doesn’t become active, your bread will not rise, and you will have wasted all the other ingredients on a substandard loaf of bread.
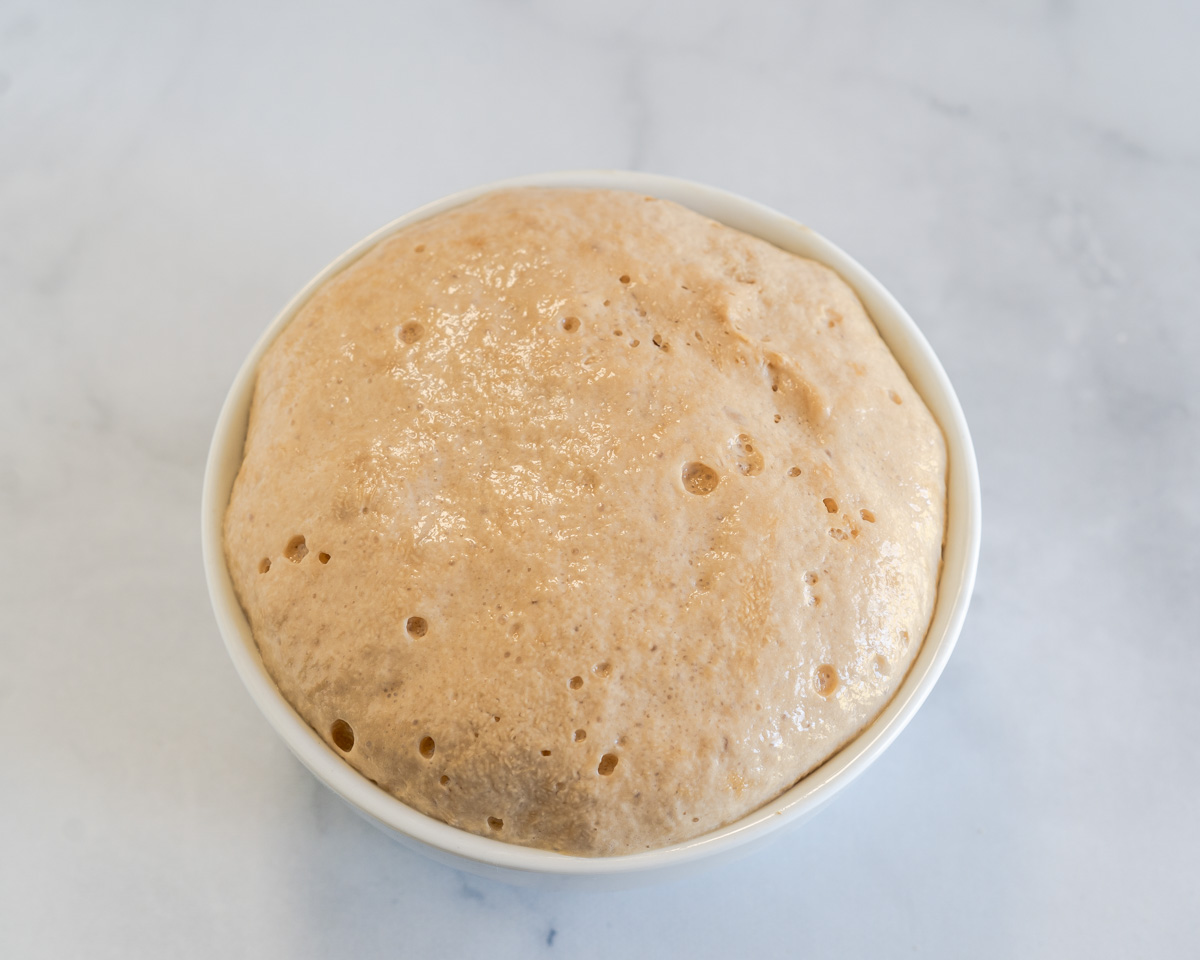
Using a small mixing bowl, activate the yeast by combining the yeast, sugar, and 1/4 cup of warm water. Let it sit for 5 or 10 minutes until foamy or bubbly. While waiting on the yeast, grease a large mixing bowl.
2. Measure out the lard in a glass measuring cup and heat it in the microwave until melted approximately 60 to 90 seconds. Let it cool.
3. Sift the two flours together in a medium-sized bowl. Put the yeast mixture in the bowl of an electric mixer, fitted with the dough hook, and add the remaining warm water and the salt. Gradually add the melted and cooled lard, alternating with the sifted flour, into the yeast mixture.
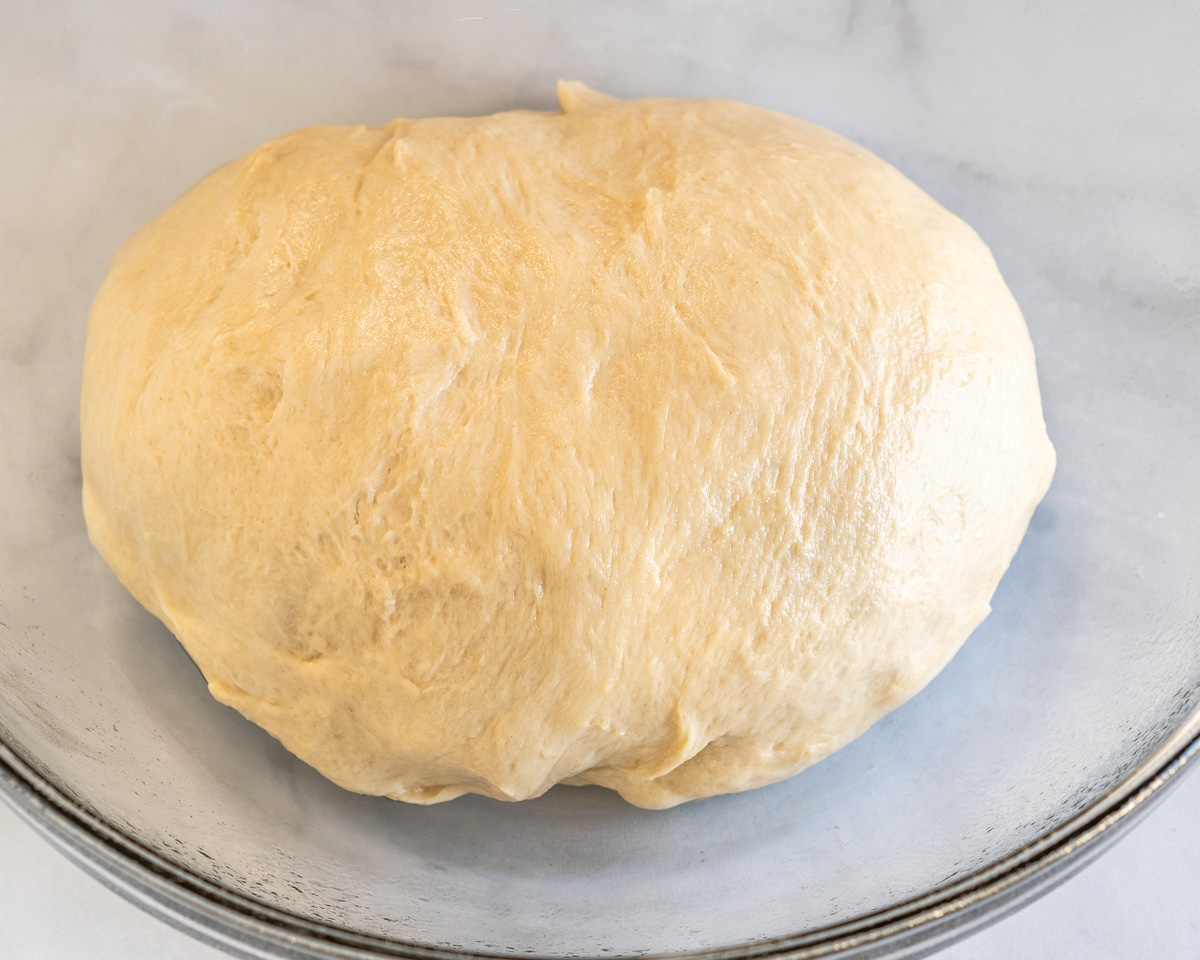
Add only enough of the sifted flour to make the dough smooth and pliable and barely clearing the sides of the mixer. It will still be somewhat sticky. If you add too much flour your bread will be dense. You’ll use about 3 to 3-1/4 cups and can use the remaining flour to roll out the dough. Set the mixer on low and let it knead the dough for 3 to 4 minutes.
If you are mixing by hand, knead the bread for 8 to 10 minutes. Shape the dough into a ball and put it in the greased bowl, turning it until the dough is coated on all sides.
Cover the bowl with a damp cloth and place it in a warm area. Allow the dough to rise 45 minutes to 1 hour or until doubled in size.
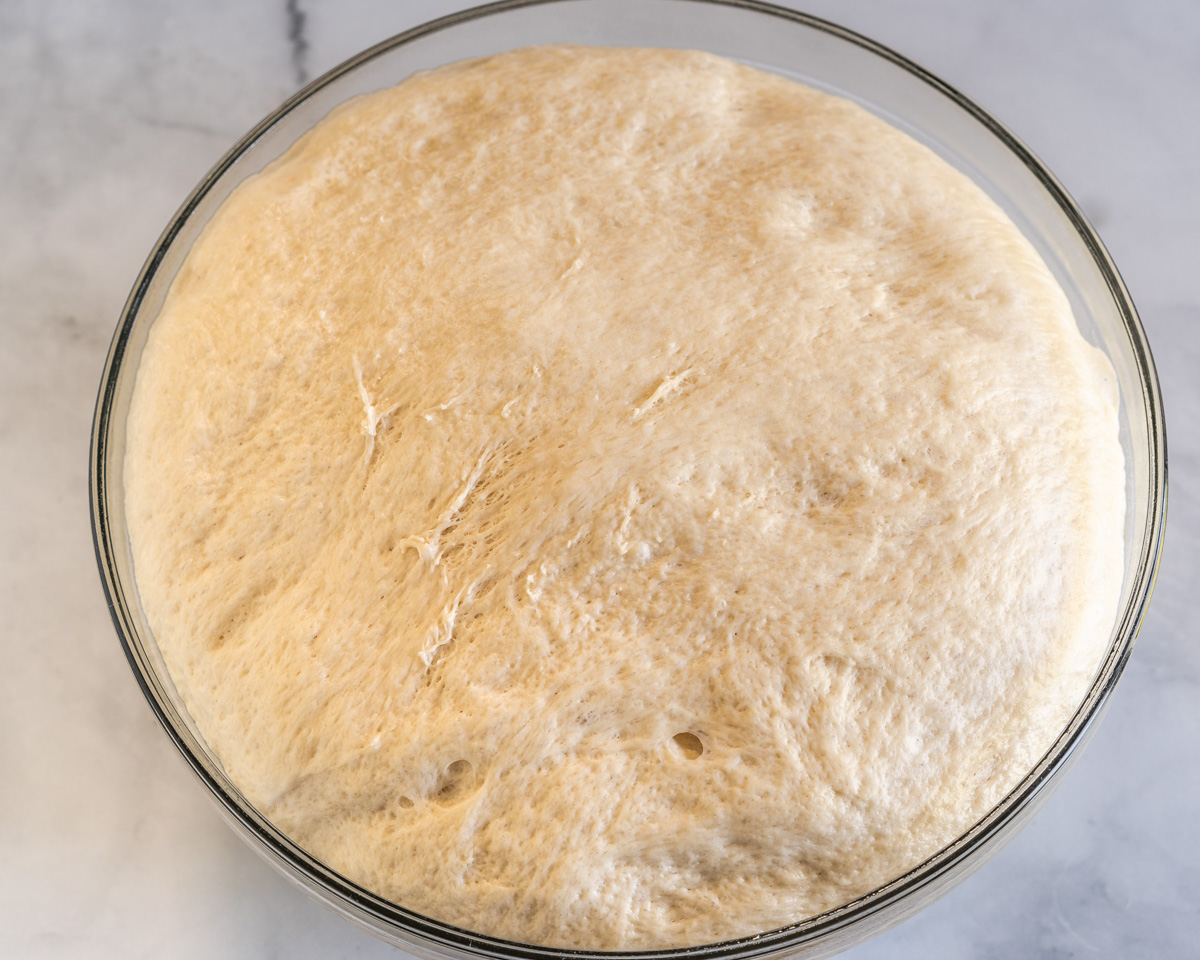
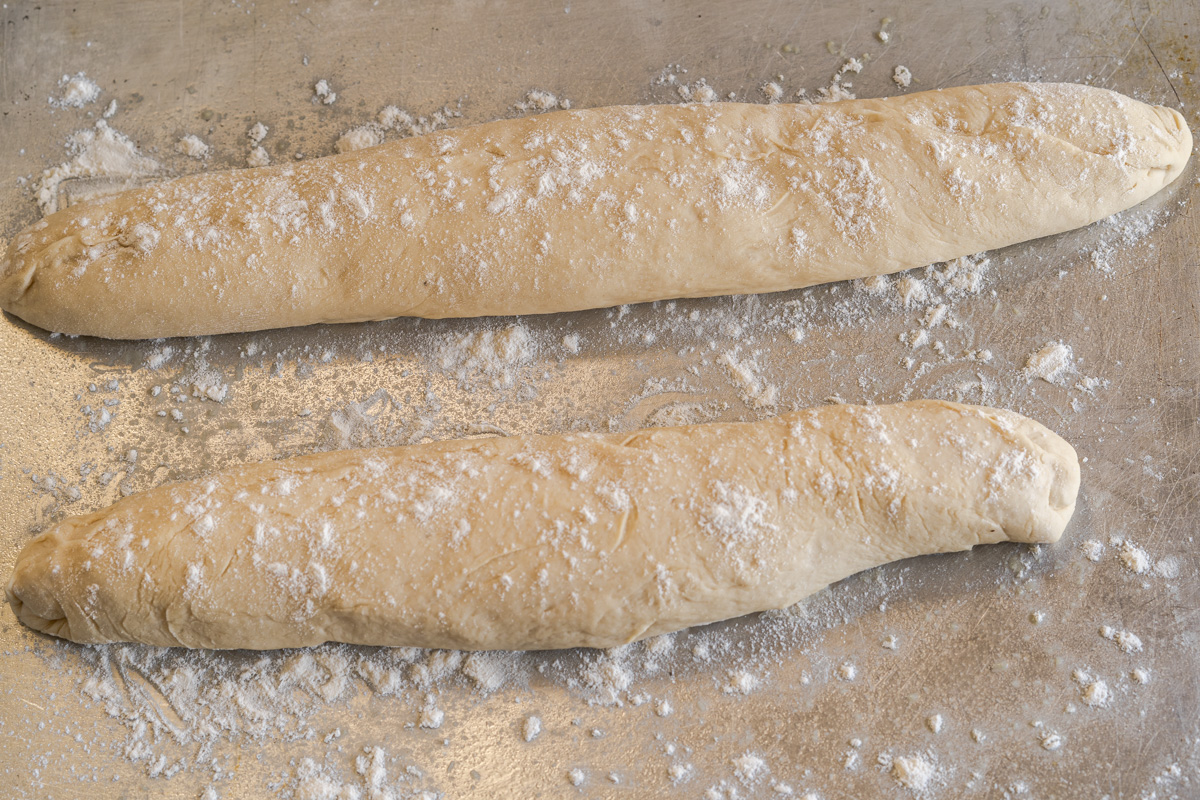
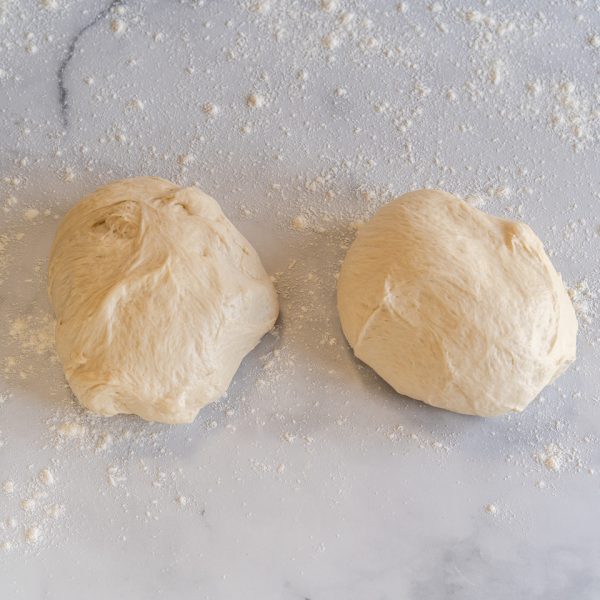
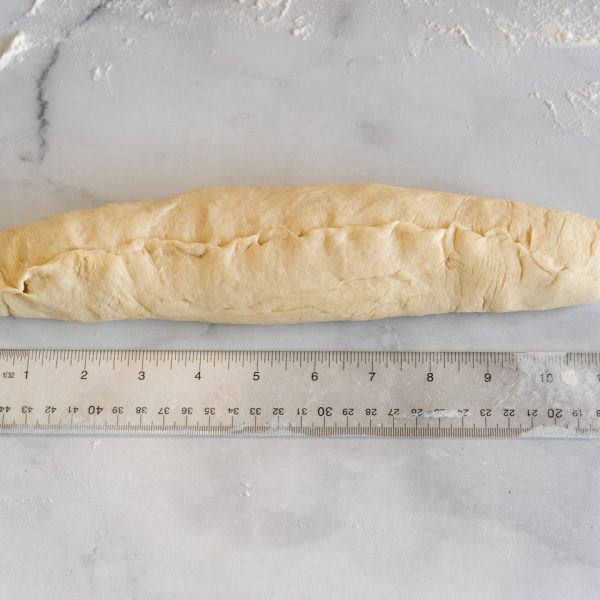
4. On a lightly floured work surface, roll the dough into an approximate 12×20 rectangle or two 6×10 loaves with a rolling pin or with your hands. Sprinkle more flour on the dough and roll it into a cylinder with a slight taper on both ends. Pinch the loose flap of the rolled dough, making a tight seam.
 Cuban Dough Split into two pieces
 Shaped Cuban Baguette
Grease a baking sheet and sprinkle it with flour or cornmeal. Place the loaf diagonally onto the baking sheet seam side down. Cover the loaf and allow it to rise for 45 minutes to 1 hour or 2-1/2 times its original size.
5. Put one baking rack on the lowest setting in the oven and the second one in the center setting. Preheat the oven and place a pan of water on the lowest baking rack.
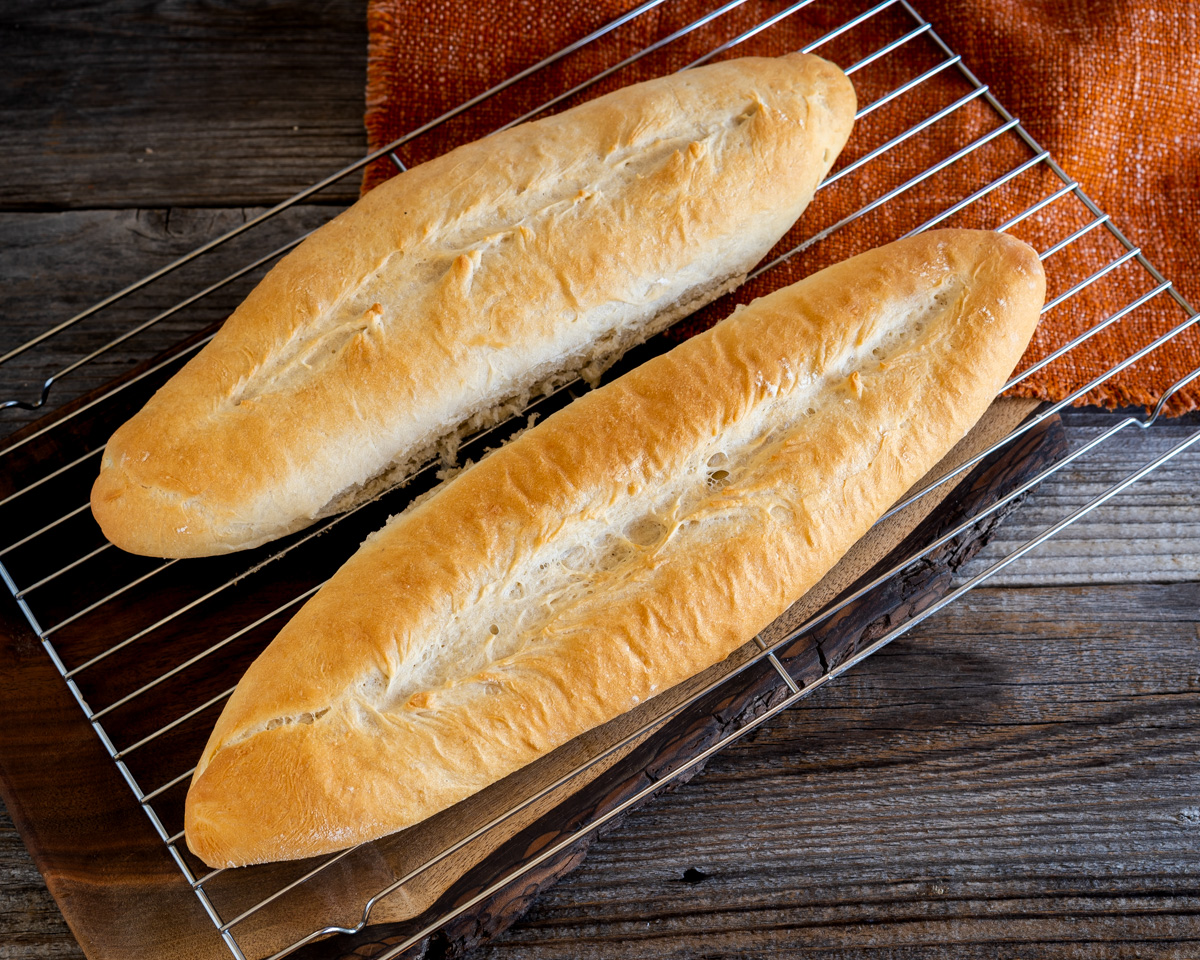
Brush or mist the loaf generously with water (no need to score – it creates natural splits as it bakes). Place it in the oven. After 5 minutes of baking, spray the dough again with water and then continue baking until the bread is lightly browned, 12 to 18 minutes.
Want to save this recipe?
I'd like to receive more tips and recipes from Hostess At Heart!
Cuban Loaf FAQ’s
Can I Make Cuban Bread Without a Stand Mixer?
Absolutely! While a stand mixer makes the job easier, you can make this Cuban bread recipe entirely by hand. Just mix all your ingredients in a large bowl with a wooden spoon until combined, then turn the dough out onto a floured surface. Knead it by hand for 8 to 10 minutes until the dough becomes smooth and elastic.
You’ll know it’s ready when it springs back when you poke it with your finger. Hand kneading actually gives you a better feel for the dough’s texture, which helps you avoid adding too much flour – one of the most common mistakes that leads to dense bread.
Are lard and vegetable shortening the same thing?
No, lard is 100% animal fat whereas shortening is a vegetable shortening.
Do I have to use lard to make authentic Cuban Bread?
No, you can replace the lard with shortening. However, lard adds a delicious flavor and texture to Cuban bread that shortening doesn’t. It’s the ingredient that makes Cuban Bread recipes unique.
How To Store Cuban Bread
Cuban bread should be stored at room temperature in an airtight container. Homemade bread can be frozen in an airtight container for 3 months.
To thaw, just let it stand at room temperature.
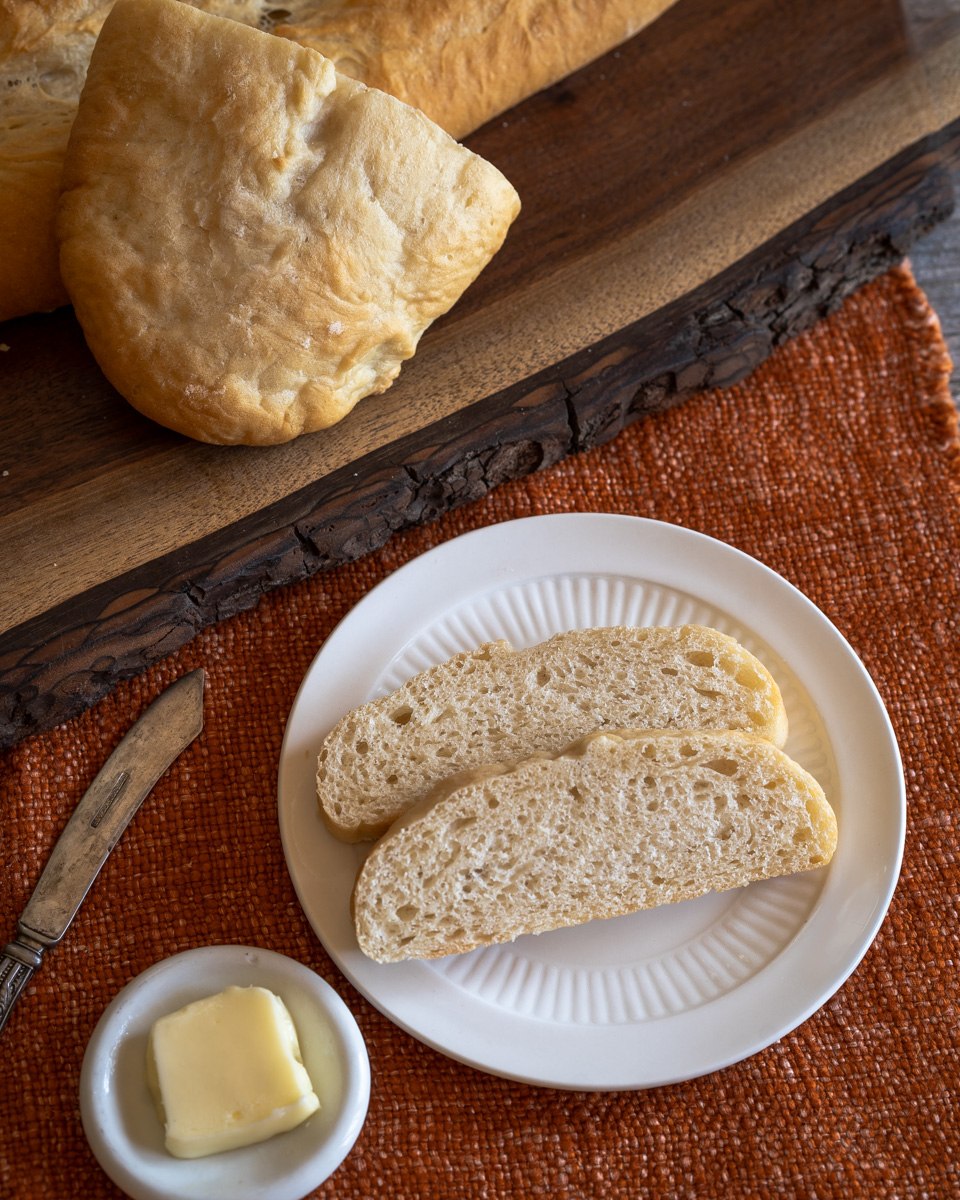
Tips for making homemade Cuban Bread successfully.
What’s the Secret to Soft Cuban Bread?
The secret to that signature soft, fluffy texture is using lard instead of butter or oil. Lard creates an incredibly tender crumb that stays soft for days. The other key is not adding too much flour during mixing – your dough should be slightly sticky when you finish kneading.
If you add flour until the dough is completely dry, your bread will turn out tough and dense. The combination of lard and proper flour ratio gives you that pillowy-soft interior with a light golden crust that makes Cuban bread so special. Don’t skip the pan of water in the oven either – that steam helps create the perfect crust.
Don’t Overthink the Proofing Time
The biggest mistake home bakers make with this Cuban bread recipe is overthinking it and letting the dough over proof. I’ve found the sweet spot is 45 minutes for the first rise and just 30 minutes after shaping. Trust the timing more than trying to guess if it’s “doubled enough” – overproofed bread becomes dense and loses that signature airy texture.
This bread barely fit in my oven the first time I made it so now I make two loaves. Making two loaves also allows me to roll them into evenly sized loaves instead of a loaf with a large center and narrow ends. This Italian Bread video shows the method I use to shape them.
The temperature of your kitchen can have a big impact on the rising process, so keep an eye on your dough and adjust accordingly. Once your dough has risen enough, you’ll be ready to shape it and bake it to perfection.
To create a warm place to proof the dough, you can preheat your oven to 160ºF and then turn the oven off.
Cover it so it doesn’t develop a crust on the dough. Dust the top of the dough with flour and cover it lightly with a towel or plastic wrap.
The recipe also instructs to brush the bread dough with water. I found spritzing it with a spray bottle worked better. Be careful not to spray the glass in the door of your oven. It could cause the glass to shatter. You can cover it with a dish towel as a precaution.
Don’t overbake the loaf. Since oven temperatures vary, start watching it at the minimum cook time. Once it is lightly browned, remove it from the oven.
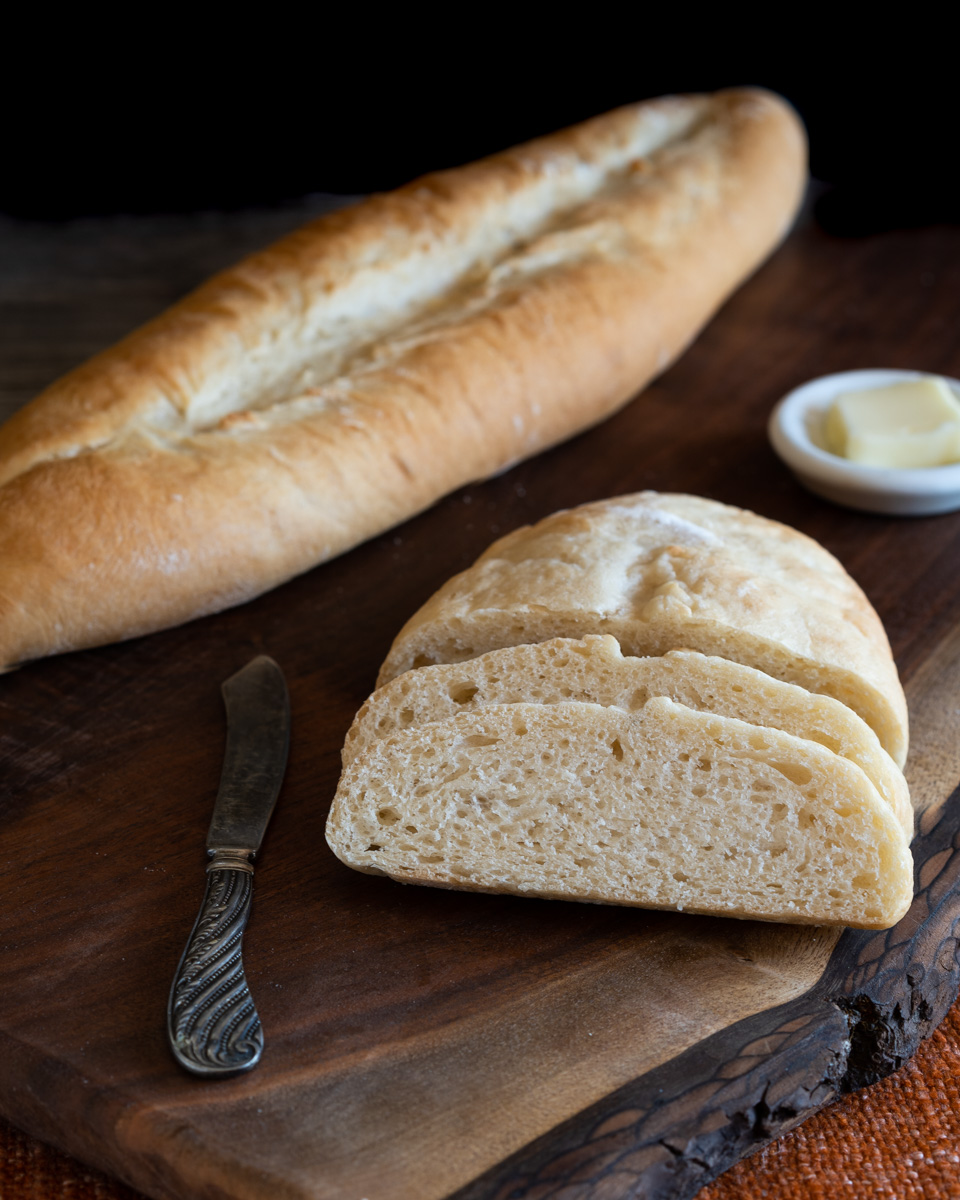
Serving suggestions
One classic way to enjoy Cuban bread is to make a Cuban sandwich. Slice the bread and layer it with ham, roasted mojo pork, swiss cheese, pickles, and mustard. Then, press the sandwich in a panini press until the cheese is melted and the bread is crispy.
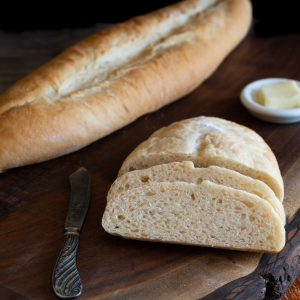
Another option is to simply toast slices of Cuban bread and serve them with butter or jam for breakfast. The slightly sweet flavor of the bread pairs perfectly with salty butter or tomato chutney.
If you have leftover Cuban bread, don’t let it go to waste! Use it to make croutons or breadcrumbs for topping casseroles or breading chicken or fish. Simply toast the bread and pulse it in a food processor until it becomes fine crumbs.
Finally, consider serving Cuban black beans as a side or with a plate of red beans and rice. The soft, airy texture of the bread is the perfect complement to these hearty and flavorful dishes.
So, grab a warm slice of freshly baked Cuban bread and enjoy it however you like. And remember, the possibilities are endless!
I hope you enjoyed this delicious recipe as much as we do. Drop me a comment below, and don’t forget to give it a star rating. ⭐⭐⭐⭐⭐. Your comments and ratings help others decide if this recipe is for them too.
Did you enjoy this recipe? Don’t forget to pin it for later and follow me on Pinterest for more delicious recipes like this one!
Originally published: April 23, 2023. Updated: January 21, 2026 – Enhanced with more detailed instructions and tips. No changes were made to the recipe.


so, when does the salt get added??
Thank you for your comment. The salt is added in Step 3 when you add the rest of the water.
Easy to make and so good, I’ll make this recipe again for sure.
Thank you! It’s very easy to make.
I adore your bread recipes so I decided to give this a try as well, and it is just as fabulous! Your detail instructions make it easy to follow and execute. THANK YOU!
Thank you Mandy! I appreciate you stopping to let me know.
Delicious!! Always down to try a new bread recipe I’ve never tried before. Thanks for a new one for our rotation.
I’m glad that you enjoyed it. It’s become one of our favorite breads too.
Bread of any kind is my favorite and we loved this recipe, perfect for sandwiches!
Very interesting! I’d love to use this bread to make Cuban sandwiches.
This bread looks delicious. A must make! And good for more than just sandwiches!
Always a treat when I bake this bread. Of course, we then have to make Cubanos!
Absolutely! Thank you, Lynn!
A wonderful and airy bread that is great for any sandwich
I’m glad you enjoyed it! We really like this bread recipe.