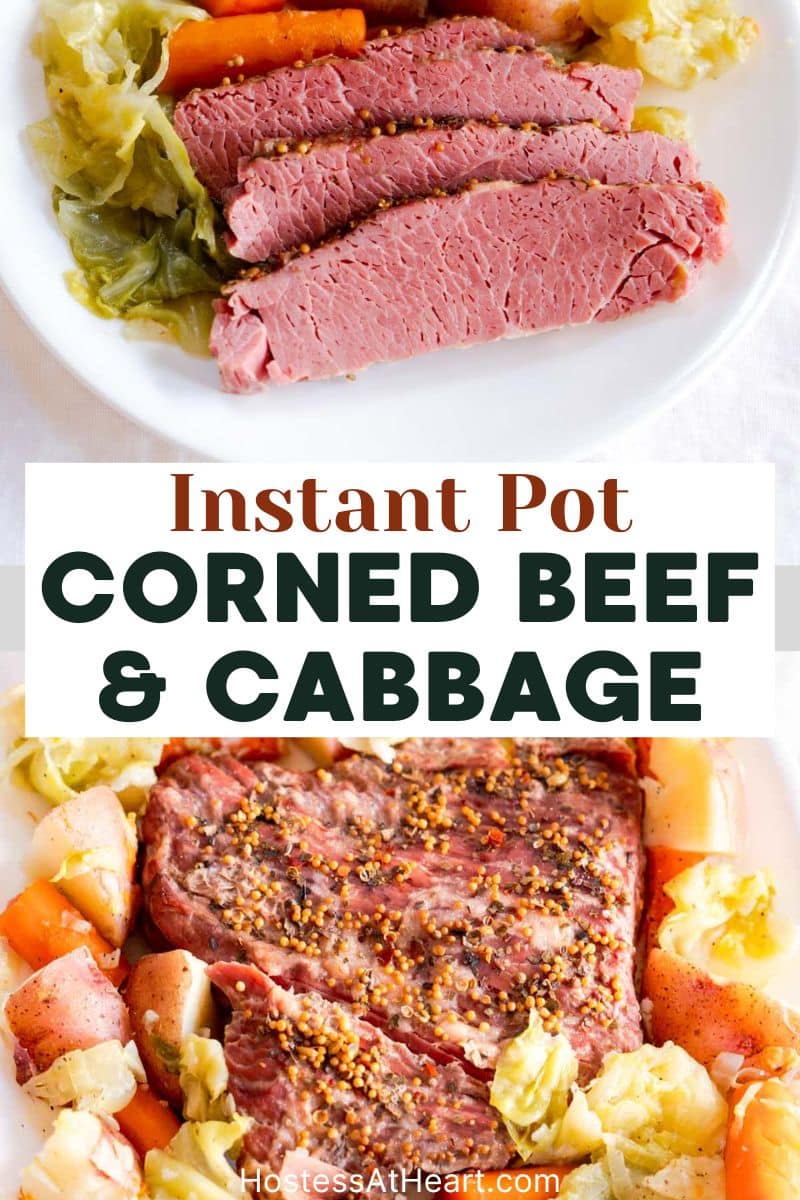
Instant Pot Corned Beef and Cabbage: Complete One-Pot Dinner in 90 Minutes
This post may contain affiliate links. Please read our Disclosure Policy.

If you’re looking for the fastest way to get fork-tender corned beef and cabbage on the table, this Instant Pot recipe is your answer. While I absolutely love my Baked Corned Beef Recipe for its incredible crispy edges and deep flavor, sometimes you just need dinner ready fast without sacrificing tenderness or taste. That’s exactly when I reach for my pressure cooker!
This Instant Pot corned beef and cabbage delivers a complete meal in about 90 minutes from start to finish, and most of that time is completely hands-off. We’re talking melt-in-your-mouth tender corned beef with perfectly cooked vegetables – cabbage, potatoes, and carrots – all cooked together in one pot. It’s become my go-to method for busy weeknights, last-minute St. Patrick’s Day planning, or anytime I want comfort food without the long wait.
Why This Instant Pot Method Is Different
I’ll be honest – I was skeptical about making corned beef in the Instant Pot at first. I worried it would turn out bland or mushy compared to my tried-and-true oven method. But once I figured out the trick of using the rack and cooking the vegetables separately at the end, everything changed!
Here’s what makes this Instant Pot corned beef and cabbage recipe so special:
Speed Without Compromise: The traditional stovetop method takes 3-4 hours of simmering. My baked version takes about 2.5-3 hours in the oven. This pressure cooker method? Just 80 minutes of cooking time for the meat, plus a quick 3 minutes for the vegetables. You get the same fork-tender results in a fraction of the time.
True Hands-Off Cooking: Unlike my baked corned beef where I check the water level and monitor the cooking, once you seal that Instant Pot lid, you’re done. No peeking, no stirring, no babysitting. The pressure cooker does all the work while you go about your day.
Perfect Vegetables Every Time: This is where the Instant Pot really shines for this dish. By cooking the vegetables separately for just 3 minutes after the meat is done, they come out tender but never mushy. No more overcooked cabbage that falls apart!
Less Salty Results: Because the Instant Pot uses less liquid than traditional methods, you get all the flavor without the dish being too salty. Just make sure to rinse your brisket first – I’ll walk you through that in the tips section.
My family loves this because the meat practically falls apart with a fork, and those wonderful pickling spices infuse into the vegetables beautifully. Plus, there’s only one pot to clean at the end!
When to Use This Method vs. Baked Corned Beef
If you have both an Instant Pot and an oven (and you’re wondering which method to use), here’s how I decide:
Choose the Instant Pot method when:
- You’re short on time and need dinner in under 2 hours
- You want a complete one-pot meal with vegetables
- You’re feeding a crowd and need the oven for other dishes
- You prefer hands-off, set-it-and-forget-it cooking
- It’s a busy weeknight and you don’t have time to check on anything
Choose the baked method when:
- You want those amazing crispy, caramelized edges on the meat
- You have time to let it cook slowly (2.5-3 hours)
- You’re making it for a special occasion and want maximum flavor depth
- You prefer to cook vegetables separately with more control
Both methods deliver incredibly tender, delicious corned beef. I honestly keep both in my regular rotation depending on what my schedule looks like!
Understanding Your Corned Beef
Before we jump into the recipe, let me quickly explain what you’re working with. Corned beef is a salt-cured beef brisket – the “corned” name comes from the large salt grains (historically called “corns”) used to cure it, not actual corn! You’ll find it in the refrigerated meat section, usually vacuum-sealed with a spice packet included.
The Two Cuts: Corned beef comes in two cuts, and both work perfectly in the Instant Pot:
- Flat Cut (also called “first cut”): Leaner, slices more evenly, great presentation
- Point Cut: More fat marbling, extra flavorful and juicy
For this recipe, either cut works beautifully. I usually grab whichever looks best or is on sale. Most packages are 3-4 pounds, which is perfect for a 6 or 8-quart Instant Pot.
Key Ingredient Notes
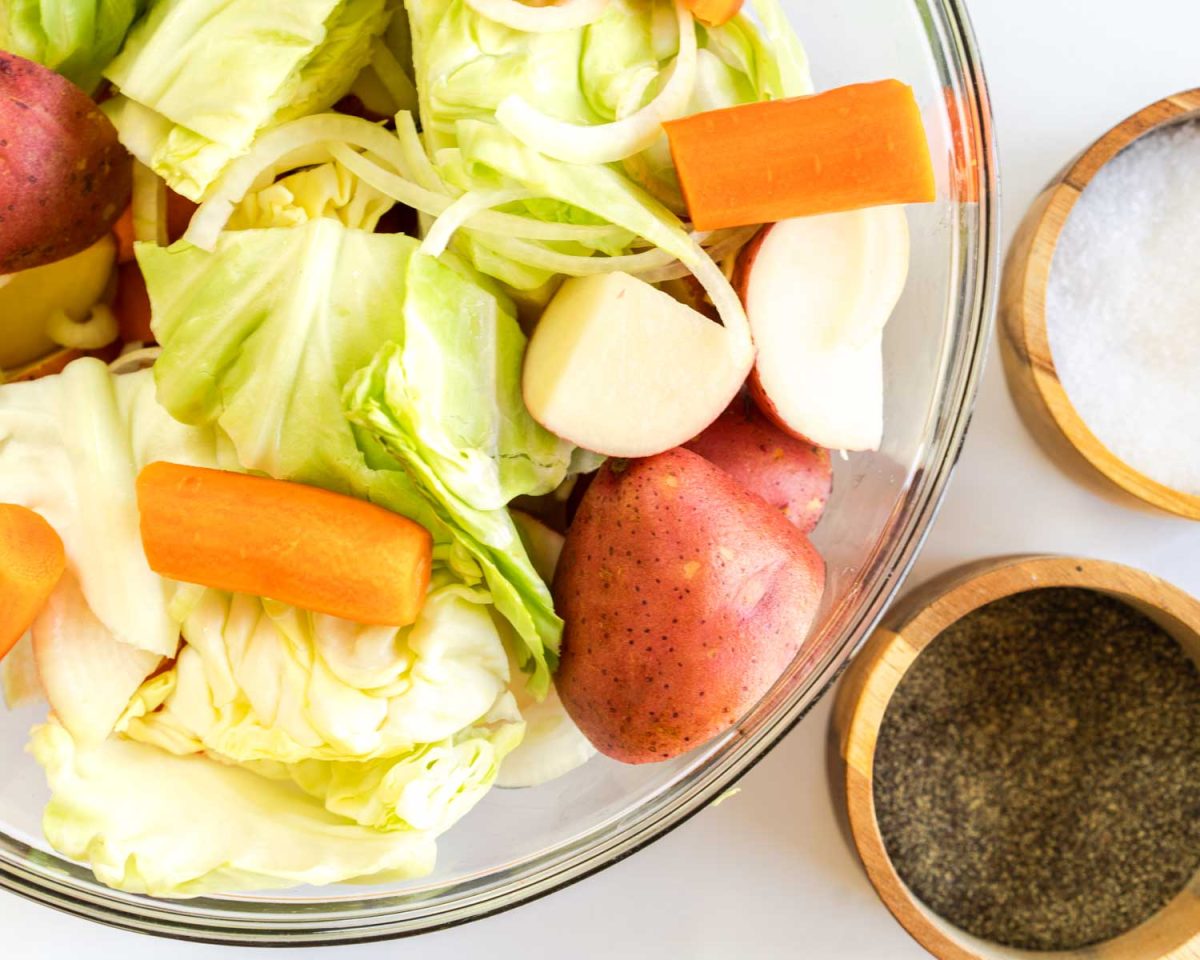
Let me walk you through what you’ll need for this complete one-pot meal:
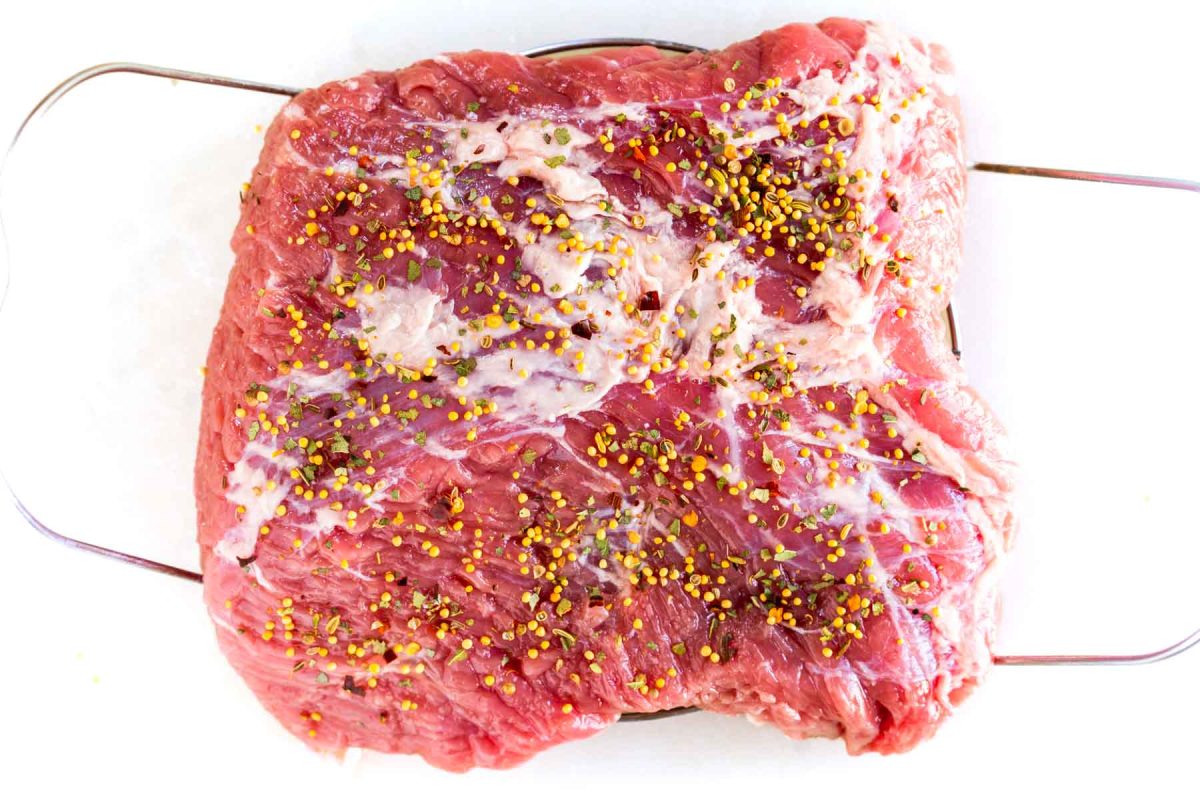
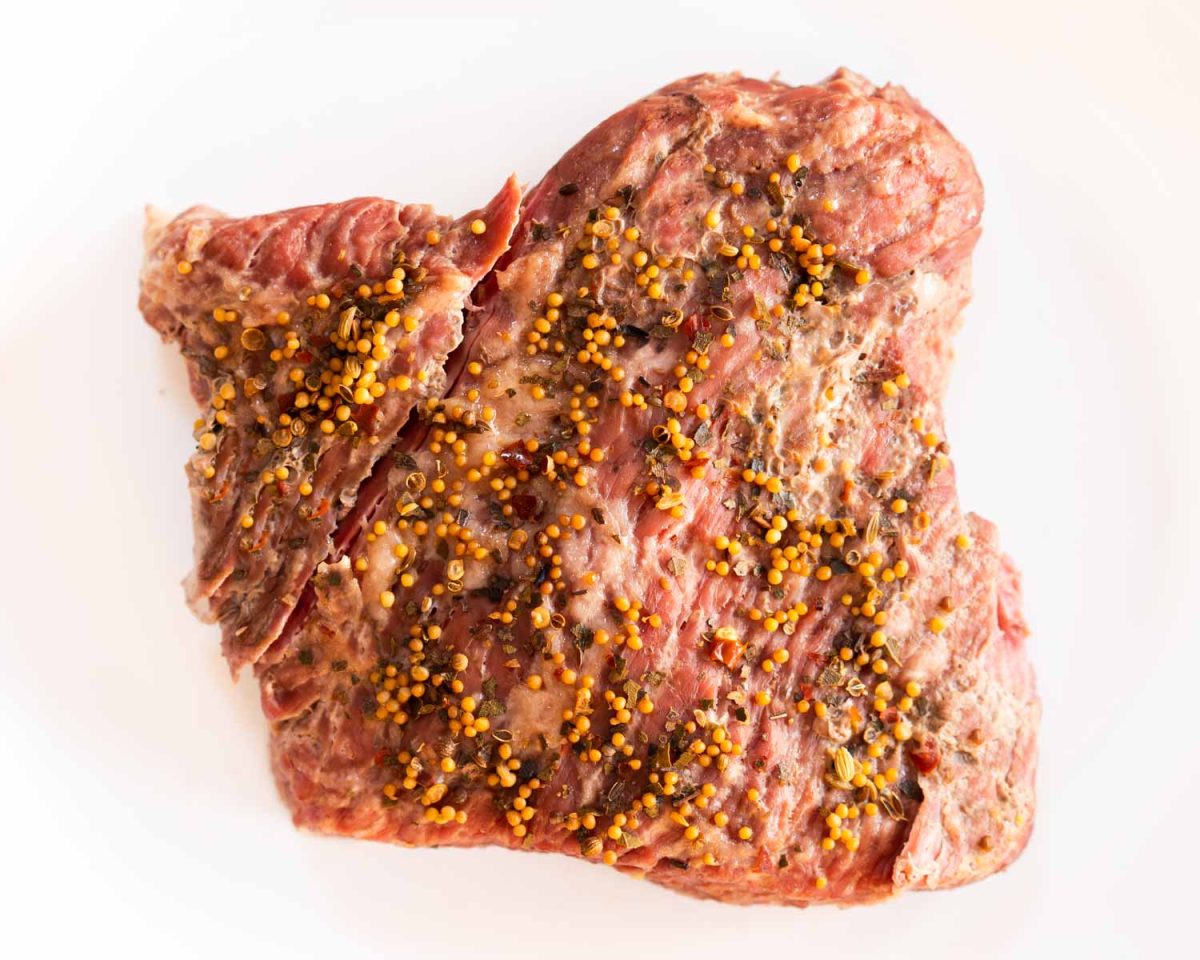
- Corned Beef Brisket (3-4 pounds): Choose one with nice marbling for the most flavor. Don’t trim the fat before cooking – it keeps everything moist and adds flavor! The package will include a spice packet with peppercorns, mustard seeds, bay leaves, and other pickling spices. Definitely use this!
- Red Potatoes: I prefer red potatoes because they hold their shape beautifully during pressure cooking. Baby potatoes work great too if you want to skip the chopping. If you only have russets, just peel them and cut into chunks.
- Carrots: Whole large carrots peeled and cut into 2-3 inch pieces give you the best flavor and texture. Baby carrots work in a pinch, but I find whole carrots have richer sweetness that balances the salty meat.
- Green Cabbage: One medium head cut into large wedges. The key word here is LARGE – we’re talking 6-8 wedges for the whole head. Don’t core it before cutting; the core holds the wedges together during cooking.
- Yellow Onion: Cut into large chunks. Sweet onions (like Vidalia) or white onions work too.
- Liquid: You only need 1 cup! That’s one of the beauties of pressure cooking – you don’t need to submerge the meat. Water works fine, but I prefer using the liquid from the corned beef package plus a little beef broth for extra flavor.
Pro Tips for Perfect Instant Pot Corned Beef
After making this dozens of times, here are my secrets for guaranteed success:
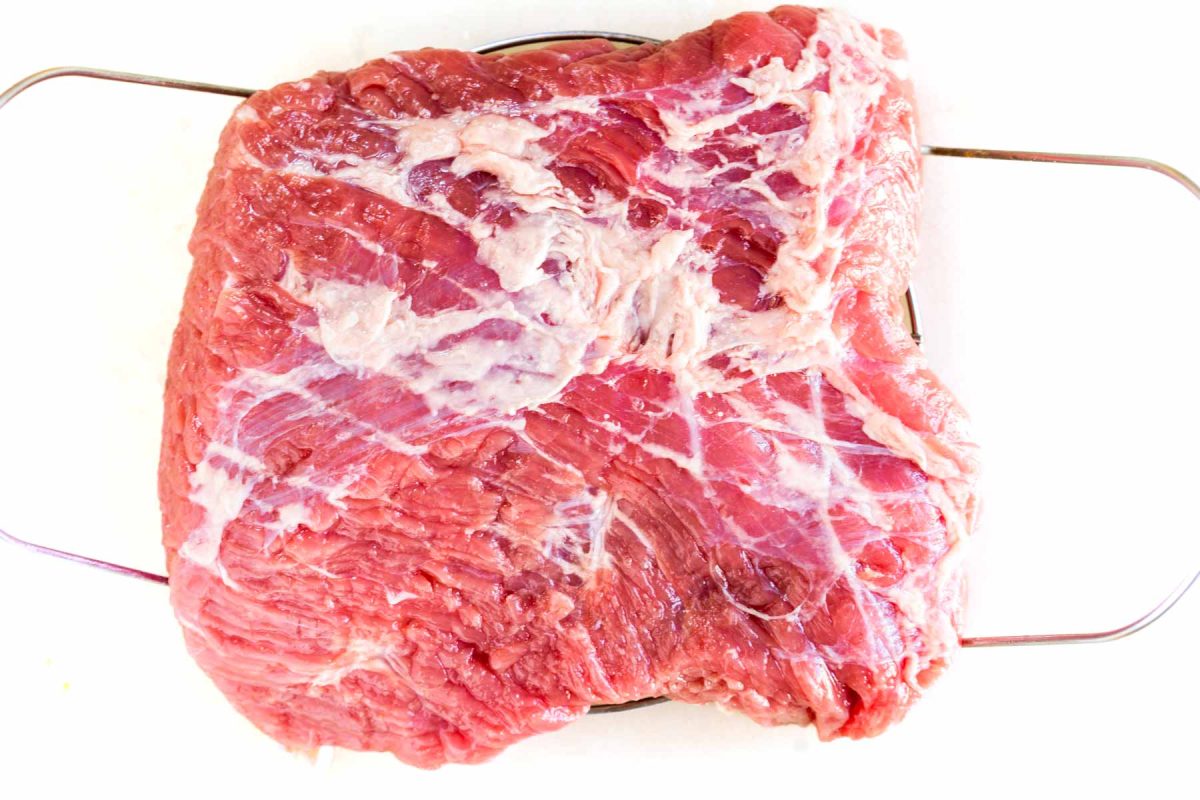

Before You Start:
- Rinse That Meat: Rinse your corned beef under cold water and pat it completely dry. This removes surface salt and prevents your dish from being way too salty.
- Use the Rack: This is crucial! Place the rack (trivet) that came with your Instant Pot in the bottom, then put the corned beef on top. This keeps the meat elevated above the liquid so it steams rather than boils. Trust me – this makes all the difference in texture!
- Fat Side Up: Always place the brisket with the fat cap facing up. As it cooks, that fat melts down and bastes the meat, keeping it incredibly juicy.
During Cooking:
- Natural Release Is Essential: After the 80-minute cooking time, let the pressure release naturally for at least 15 minutes before doing a quick release for any remaining pressure. Rushing this step can make the meat tough.
- Don’t Skip Resting: Once you remove the corned beef, let it rest on a cutting board for 10 minutes before slicing. This lets the juices redistribute throughout the meat.
- Reduce the Liquid: After removing the corned beef, I pour the cooking liquid into a measuring cup, keep just 1 cup, and pour it back in. This prevents the vegetables from being too salty and gives you better control over the final dish.
Cutting and Serving:
- Find the Grain: Look at your rested corned beef and identify which direction the muscle fibers run. You’ll see lines going in one direction.
- Slice Against the Grain: Cut perpendicular to those fiber lines. This is THE secret to tender, melt-in-your-mouth slices. If you cut with the grain, even perfectly cooked meat will seem tough and stringy.
- Slice Thickness: Aim for slices about 1/4 inch thick. Thicker slices show off the meat better; thinner slices are more tender. Find your preference!
Timing Guide for Different Sizes
The 80-minute cook time works for 3-4 pound briskets, but adjust if yours is different:
- 2-3 pounds: 70 minutes high pressure + natural release
- 3-4 pounds: 80 minutes high pressure + natural release
- 4-5 pounds: 95 minutes high pressure + natural release
Testing for Doneness: The corned beef is ready when a fork slides in easily and the meat shreds apart. Internal temperature should reach at least 190°F for that ultra-tender texture we want. If it’s not quite there after resting, you can always seal it back up and cook for 10 more minutes.
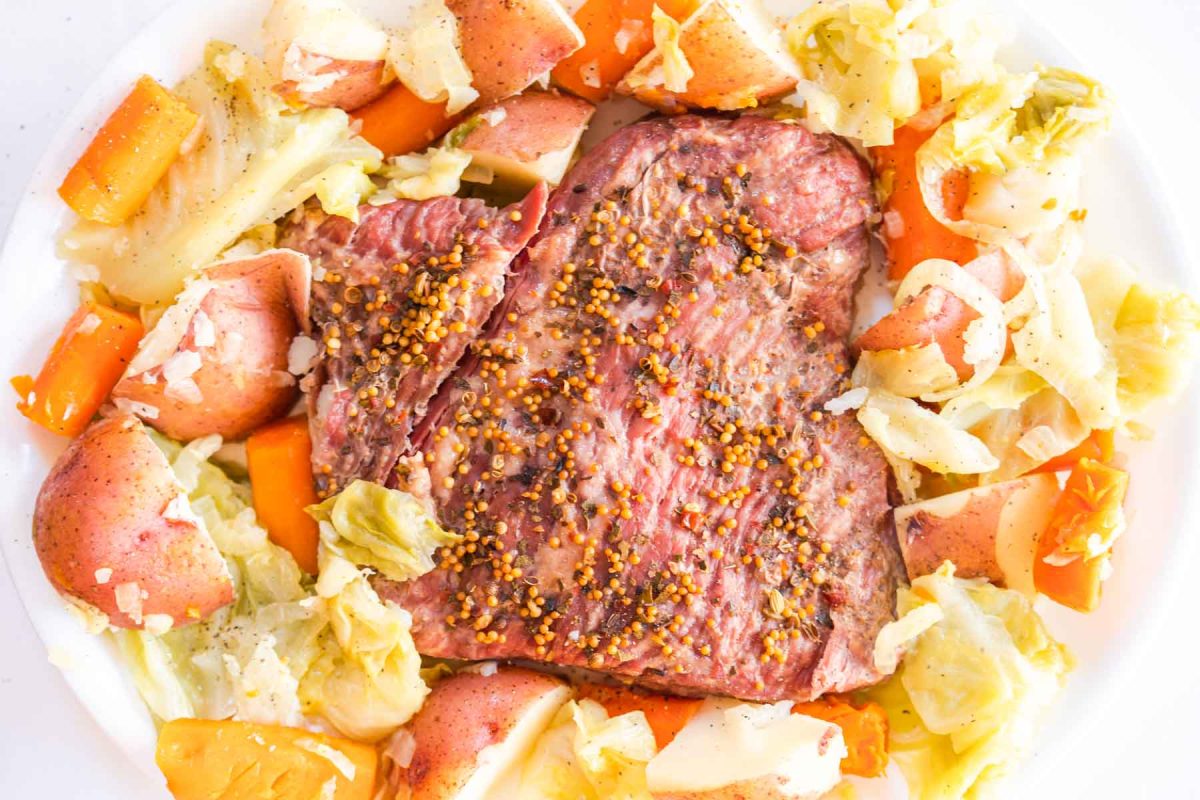
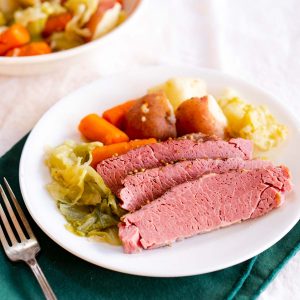
How to Serve Your Instant Pot Corned Beef and Cabbage
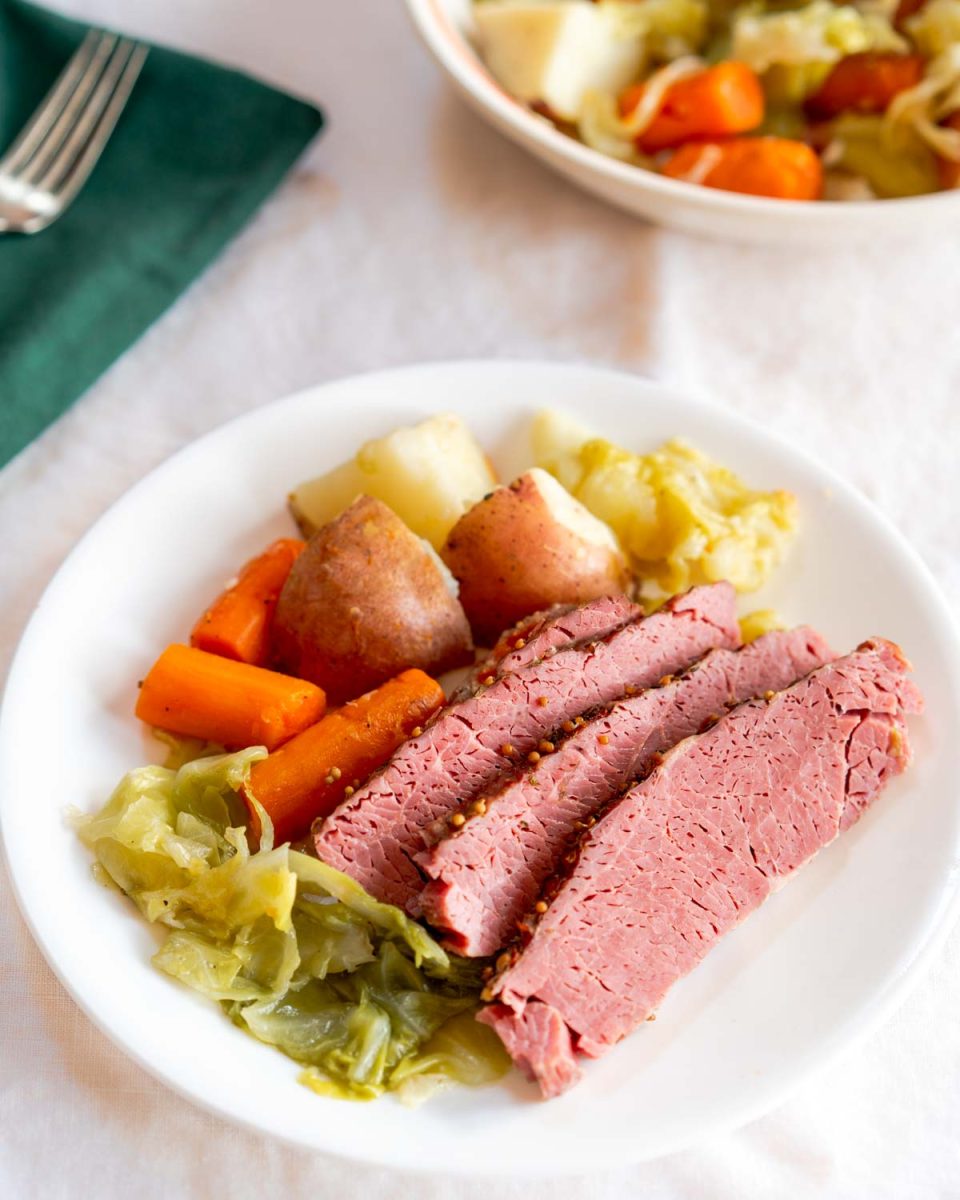
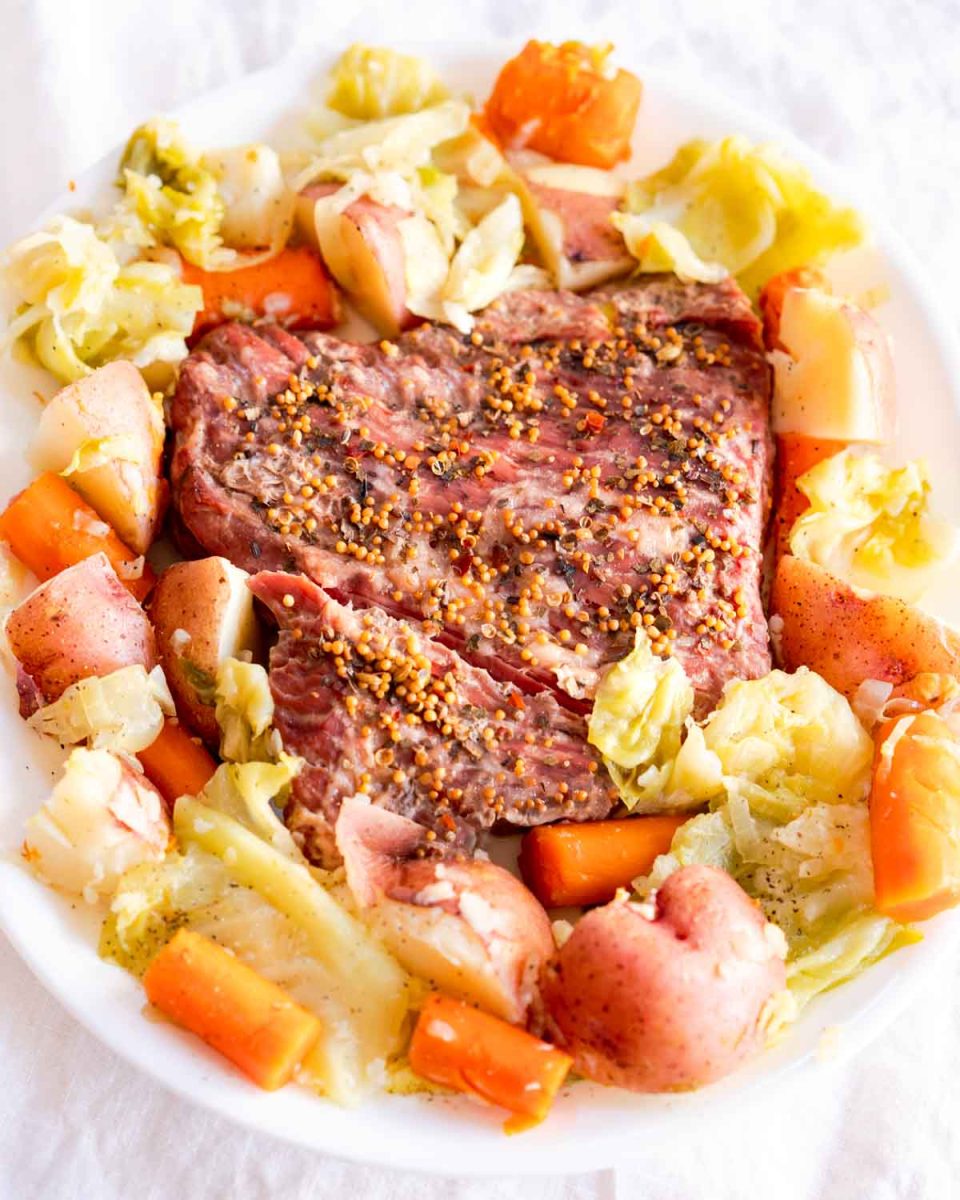
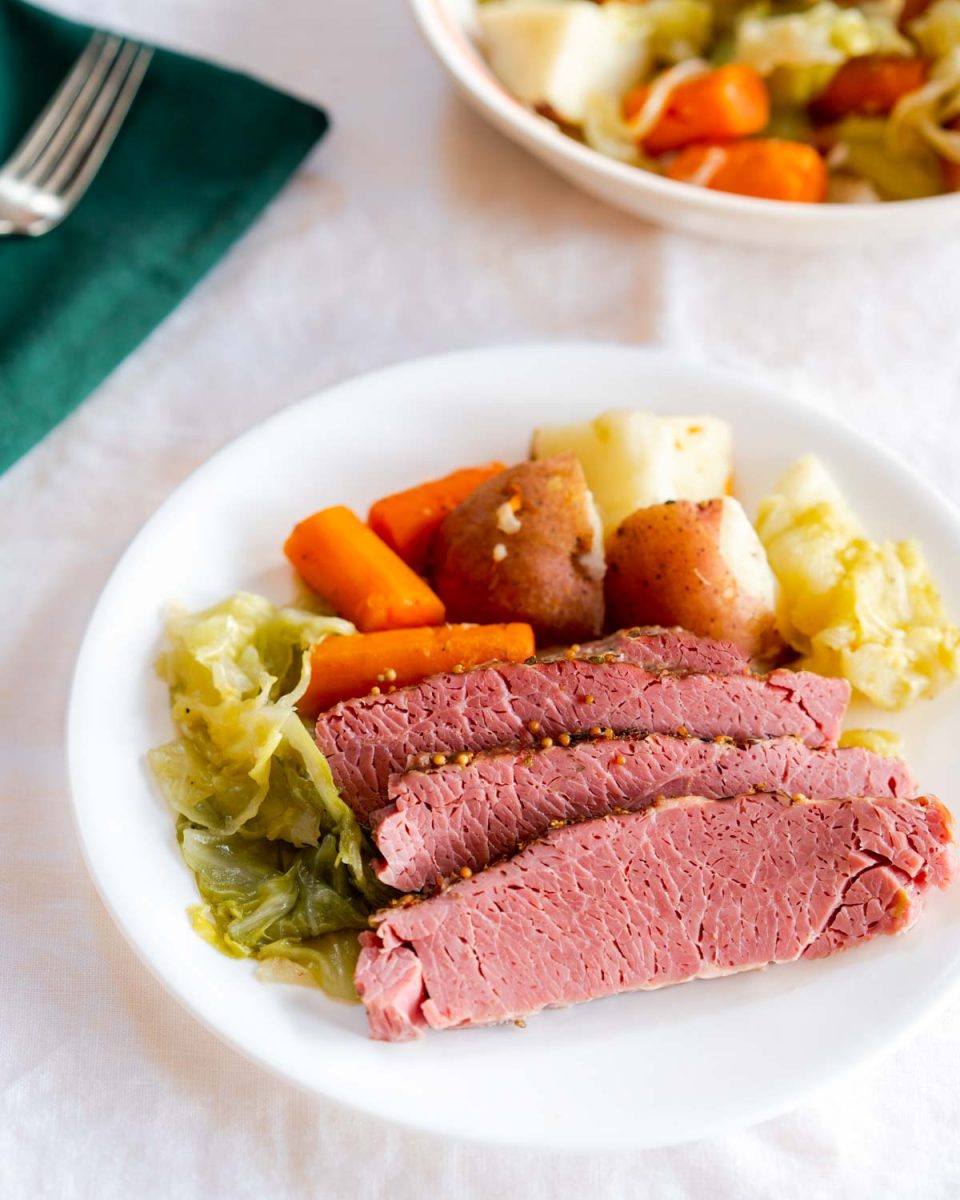
This is basically a complete dinner in one pot! I like to slice the corned beef and arrange it on a large platter, then nestle the cabbage wedges, potatoes, and carrots around it. Drizzle everything with a few spoonfuls of that flavorful cooking liquid to keep it moist.
The traditional accompaniments are:
- Whole Grain Mustard or Spicy Brown Mustard: Essential for cutting through the richness
- Horseradish Sauce: Mix prepared horseradish with sour cream for a tangy kick that’s absolutely delicious
- Irish Butter: A pat on the warm vegetables is pure heaven
- Fresh Parsley: Chopped parsley adds color and freshness
For a complete Irish-American feast:
Want to save this recipe?
I'd like to receive more tips and recipes from Hostess At Heart!
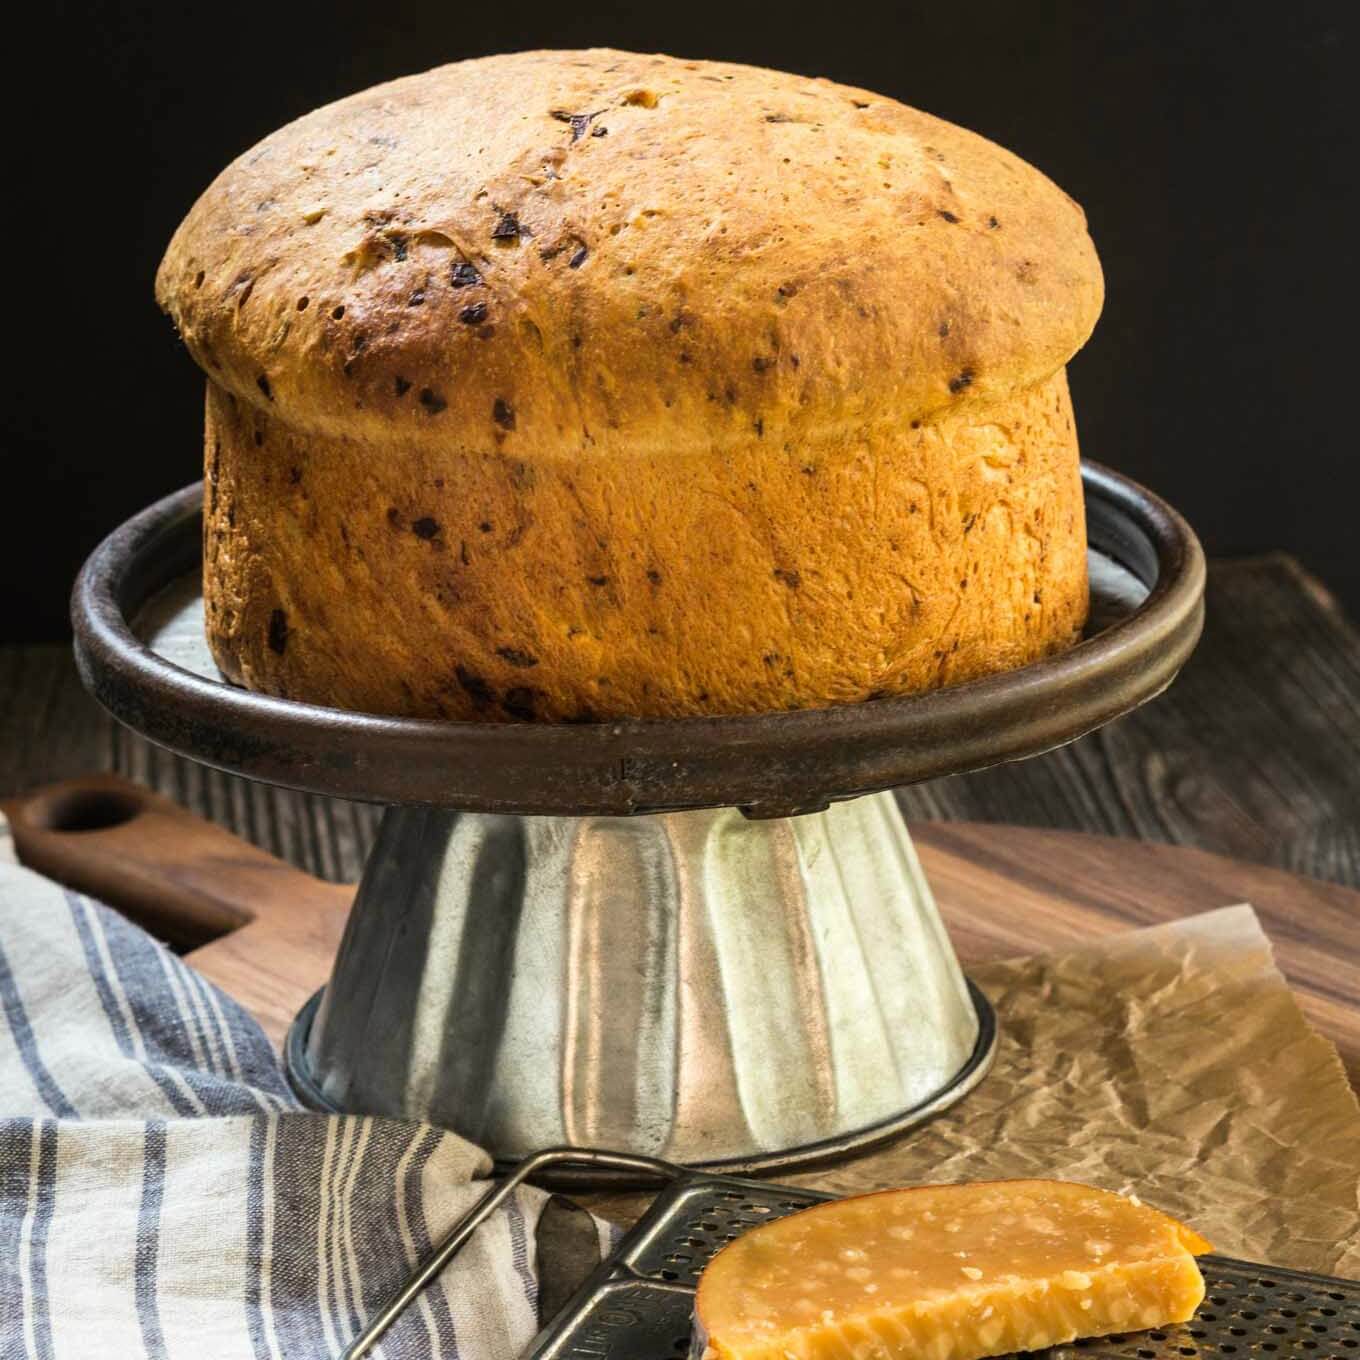
- Fresh Irish Soda Bread or our Irish Brown Bread for soaking up those juices
- Our Cabbage with Carrots or our Brown Sugar Glazed Carrots make a delicious side dish if you need extra veggies or want to bake them while your corned beef cooks away.
- Our Pistacio Pudding Trifle or Guinness Cake are great dessert options. Don’t forget the Irish Coffee!
Storage, Reheating, and Make-Ahead Tips
Storing Leftovers: Store the sliced corned beef and vegetables separately in airtight containers. They’ll keep in the refrigerator for 3-4 days. Save some of that cooking liquid (strained) to keep the meat moist when reheating.
Reheating:
- For the corned beef, place slices in a skillet with a splash of cooking liquid, cover, and warm gently over medium-low heat for 5 minutes.
- For individual servings, microwave with a tablespoon of liquid covered with a damp paper towel for 1-2 minutes.
- The vegetables reheat beautifully in the microwave for 1-2 minutes.
Freezing: The corned beef freezes wonderfully for up to 3 months! I don’t recommend freezing the cooked vegetables (they get mushy), but the meat is perfect. Wrap sliced corned beef tightly in plastic wrap, then aluminum foil. Thaw overnight in the refrigerator before reheating.
Make-Ahead for St. Patrick’s Day: Cook the corned beef 1-2 days ahead, slice it, store it in some of the cooking liquid, and just reheat on the big day. Or cook the whole thing and refrigerate – cold sliced corned beef is amazing for sandwiches!
Troubleshooting Common Issues
My corned beef is tough: It needs more cooking time. Add the meat back to the Instant Pot with a little liquid, seal, and cook on high pressure for another 10-15 minutes with natural release.
The vegetables are mushy: Next time, cut them into larger pieces or reduce the vegetable cooking time to 2 minutes. You can also use the quick release method right after the 3-minute vegetable cook time instead of letting any pressure release naturally.
The dish is too salty: Make sure you rinsed the meat thoroughly before cooking. You can also dilute the cooking liquid with extra water before adding vegetables.
My Instant Pot won’t come to pressure: Make sure you have at least 1 cup of liquid and that the sealing ring is properly seated. Also check that the steam release valve is set to “sealing.”
I don’t have a rack/trivet: You can use a steamer basket turned upside down or even crumpled aluminum foil balls to elevate the meat above the liquid.
Frequently Asked Questions
Can I cook frozen corned beef in the Instant Pot?
Yes! Add 20-25 minutes to the cooking time. However, I recommend thawing it first if possible for more even cooking and better results.
Do I completely submerge the corned beef in liquid?
No! One of the beauties of pressure cooking is that you only need 1 cup of liquid. The Instant Pot cooks with steam pressure, not boiling, so the meat doesn’t need to be submerged.
Should I ue quick release or natural release?
Should I use quick release or natural release?
Natural release is essential for tender meat! Let the pressure release naturally for at least 15 minutes before doing a quick release for any remaining pressure. Quick release can make the meat tough.
Can I cook the vegetables with the meat from the start?
I strongly recommend against it – they’ll turn to complete mush after 80 minutes. Adding them at the end for just 3 minutes keeps them tender-crisp and flavorful.
What size Instant Pot do I need?
A 6-quart or 8-quart Instant Pot works perfectly for a 3-4 pound brisket. A 3-quart pot is too small for a full brisket – you’d need to find a 2-pound piece and cut the vegetables in half.
Can I use this method for uncured corned beef?
Absolutely! The cooking method is exactly the same. Uncured corned beef is cured with celery powder instead of sodium nitrite, so it won’t be as pink, but it tastes great.
How do I know when the corned beef is done?
It should be fork-tender, meaning a fork slides in easily and the meat shreds apart. Internal temperature should reach 190-205°F for that melt-in-your-mouth texture.
My corned beef turned gray instead of pink – is it safe?
Yes! Some corned beef (especially uncured varieties) loses its pink color during cooking. This is completely normal and doesn’t affect the taste or safety.
Can I double this recipe?
It depends on your Instant Pot size. In a 6-quart, you can fit up to 4 pounds of meat but might need to cook vegetables in batches. An 8-quart can handle up to 5 pounds plus full vegetables.
Instant Pot vs. Traditional Methods
Here’s a quick comparison if you’re deciding which method to use:
Instant Pot Method (this recipe):
- Time: 90 minutes total
- Hands-on: 10 minutes
- Best for: Speed, convenience, one-pot meal
- Texture: Fork-tender, very juicy
- Vegetables: Cooked perfectly with meat
Stovetop Boiling:
- Time: 3-4 hours
- Hands-on: 20 minutes (checking water level)
- Best for: Traditional preparation
- Texture: Very tender
- Vegetables: Often overcooked, flavor meh
Oven Baking ([my baked corned beef recipe]):
- Time: 2.5-3 hours
- Hands-on: 15 minutes (checking water)
- Best for: Best flavor, crispy edges
- Texture: Tender with caramelized outside
- Vegetables: Cooked separately or added near the end
Each method has its place! I use the Instant Pot for weeknights, the oven for special occasions, and I’ve honestly never gone back to stovetop boiling.
Conclusion
This Instant Pot corned beef and cabbage has become one of my most-used recipes because it delivers restaurant-quality results with minimal effort. No more spending all day tending a pot on the stove, and no more tough, dry meat! The pressure cooker makes everything foolproof – you get fall-apart tender corned beef with perfectly cooked vegetables every single time.
Whether you’re making this for a busy Tuesday night or planning ahead for St. Patrick’s Day, this recipe takes all the stress out of cooking corned beef. And the leftovers? Pure gold for sandwiches, hash, and casseroles throughout the week!
I’d love to hear how this recipe works in your kitchen! Please leave a comment below and let me know if you tried any of the variations. And if this becomes a favorite in your home like it is in ours, I’d be so grateful if you’d give it a 5-star rating – it helps other home cooks discover these tried-and-true recipes!
Instant Pot Corned Beef and Cabbage Recipe
Equipment
Ingredients
- 3 lb corned beef
- 4 red potatoes
- 3 carrots large
- 1 green cabbage
- 1 yellow onion
- 2 cups water
Instructions
- Rinse the corned beef and pat it dry and sprinkle with the spice packet.
- Pour 2 cups of water into the instant pot. Place the corned beef on a rack suitable for use with the instant pot. Lower it into the instant pot. Place the lid on the instant pot and set the vent to seal. Set the pressure to manual on high for 80 minutes.
- Prepare the vegetables and cut them into large pieces.
- When the time on the instant pot is complete, let the pressure cooker naturally release for 15 minutes and then carefully release any remaining steam. Take out the rack with the corned beef and place the beef on a cutting board. Let it rest while the vegetables cook.
- Pour 1 cup of the juices into a glass measuring cup and dispose of the rest. Put the vegetables in the instant pot and add the cup of juice back into the instant pot. Replace the lid and set the vent to seal. Set the pressure to manual on high for 3 minutes.
- Release the pressure immediately once the time is up and remove the vegetables from the instant pot.
- Serve while hot.
Nutrition
Nutritional Disclaimer
This recipe was calculated using the exact brands and measurements I used to make this recipe. If you are following a strict diet please note changing anything will cause the nutritional info to change. My calculations are intended as a guide only.
Creative Ways to Use Leftover Corned Beef
If you’re lucky enough to have leftovers (rare in our house!), these are my favorite ways to transform them:
- Corned Beef Hash: Dice the meat and leftover potatoes, fry with onions until crispy, top with fried eggs for the ultimate breakfast
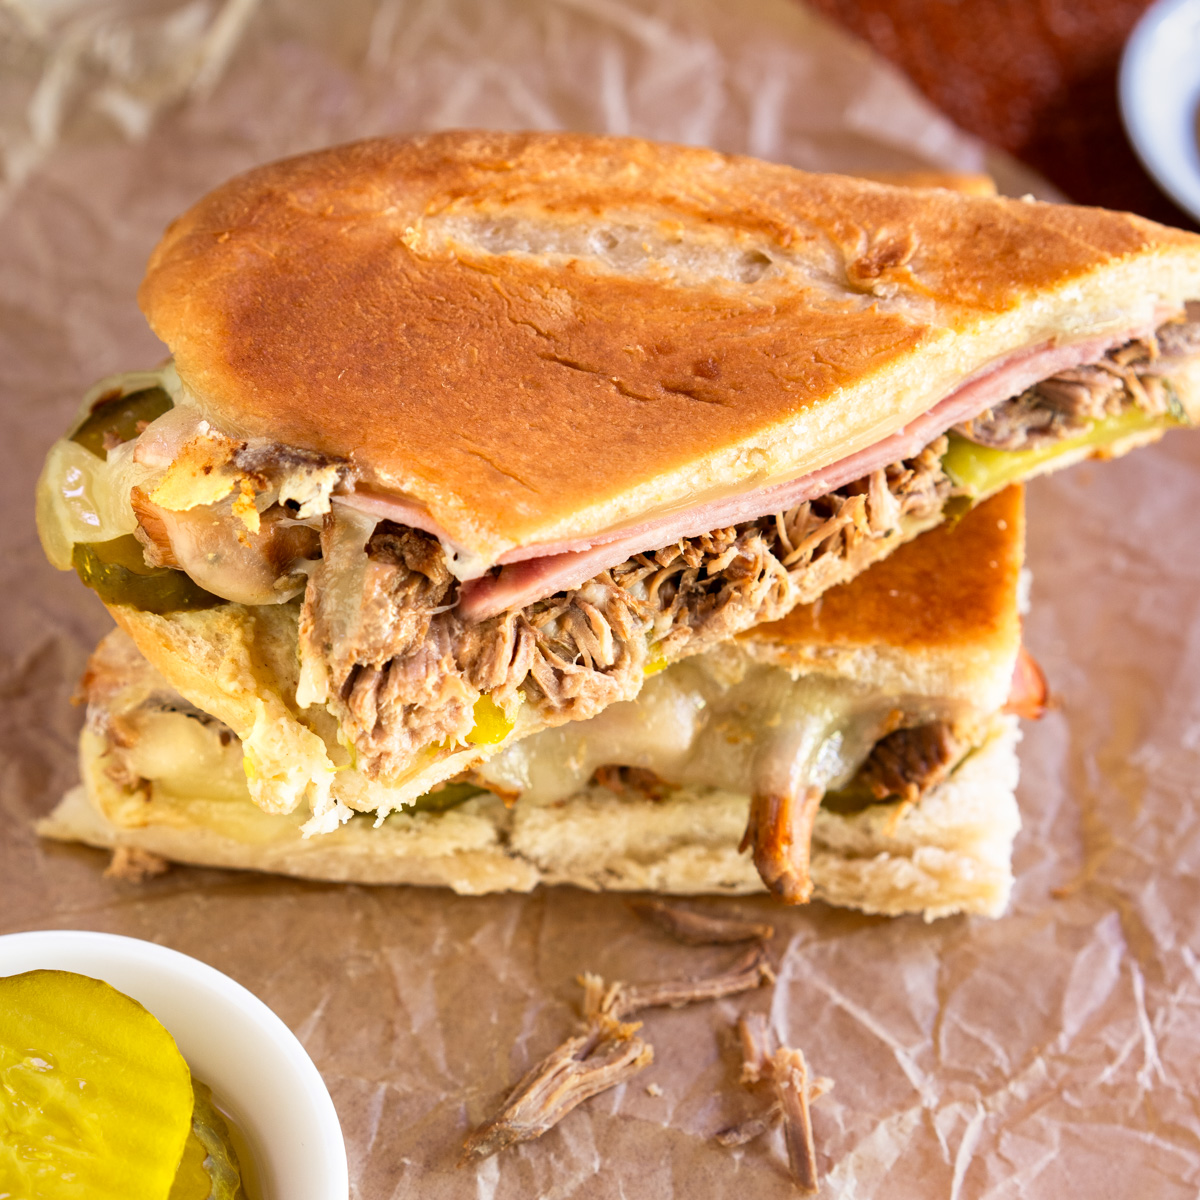
- Reuben Sandwiches: Layer corned beef, Swiss cheese, sauerkraut, and Russian dressing on rye bread, grill until golden and melty. If sauerkraut isn’t your thing, our Corned Beef Sandwich recipe with slaw is amazing!
- Corned Beef and Cabbage Soup: Chop everything up and add to beef broth with extra vegetables for a cozy bowl
- Corned Beef Breakfast Casserole: Mix with eggs, hashbrowns, and cheese for an amazing brunch dish
- Corned Beef Au Gratin Potatoes: Layer sliced potatoes with chopped corned beef and cheese for the ultimate comfort food
- Reuben Dip: Get all of the flavors of the sandwich in a creamy, cheesy dip. Serve it with Homemade Rye Bread and watch it disappear!
Did you enjoy this recipe? Don’t forget to pin it for later and follow me on Pinterest for more delicious recipes like this one!
Originally shared January 12, 2023 – Updated February 2, 2026. Enhanced with more detailed instructions, tips, and serving suggestions. No changes were made to the recipe.


Hi Julie. I saw a recipe that after the corned beef was cooked in the pressure cooker, the meat was put in the oven, under the broiler I think, to get those crispy edges like you get when you do a baked corned beef brisket. Have you ever tried that?
Hi, Suzanne! I haven’t but that would work great. Just like my baked corned beef, I take off the cover to get that golden color. I hope you’ll give it a try and let me know how it goes. Thank you for a great question.
This was just incredible!
Thank you, Michaela! I’m glad you liked it.
I know so many people who will love this.
Thank you, Debi!
I’m such a sucker for corned beef. This was so easy in the Instant Pot!
We love it too and was really happy with how this recipe comes out.
First time making corned beef in the instant pot and it was just perfect!
I sure love this method too! Thanks, Sheila!
Made this for a trial run for a St. Patty’s dinner we’re hosting. Wanted to have something even easier to make and it didn’t disappoint! Will be making again!
Thanks, Kathi! We’ll be making corned beef more often using this recipe.
My husband was craving corned beef and with this IP recipe, I was able to make it last minute for dinner. Nice and tender and absolutely delish!
Thanks, Nikki! We were so happy with the Instant Pot results.
The brisket came out very moist and tender. Amazing flavor that you don’t get when you boil it. Highly recommend this recipe.
Thank you, John! I’m so glad you enjoyed it.