Rustic Pumpernickel Bread Recipe: Quality Bread at Home
This post may contain affiliate links. Please read our Disclosure Policy.
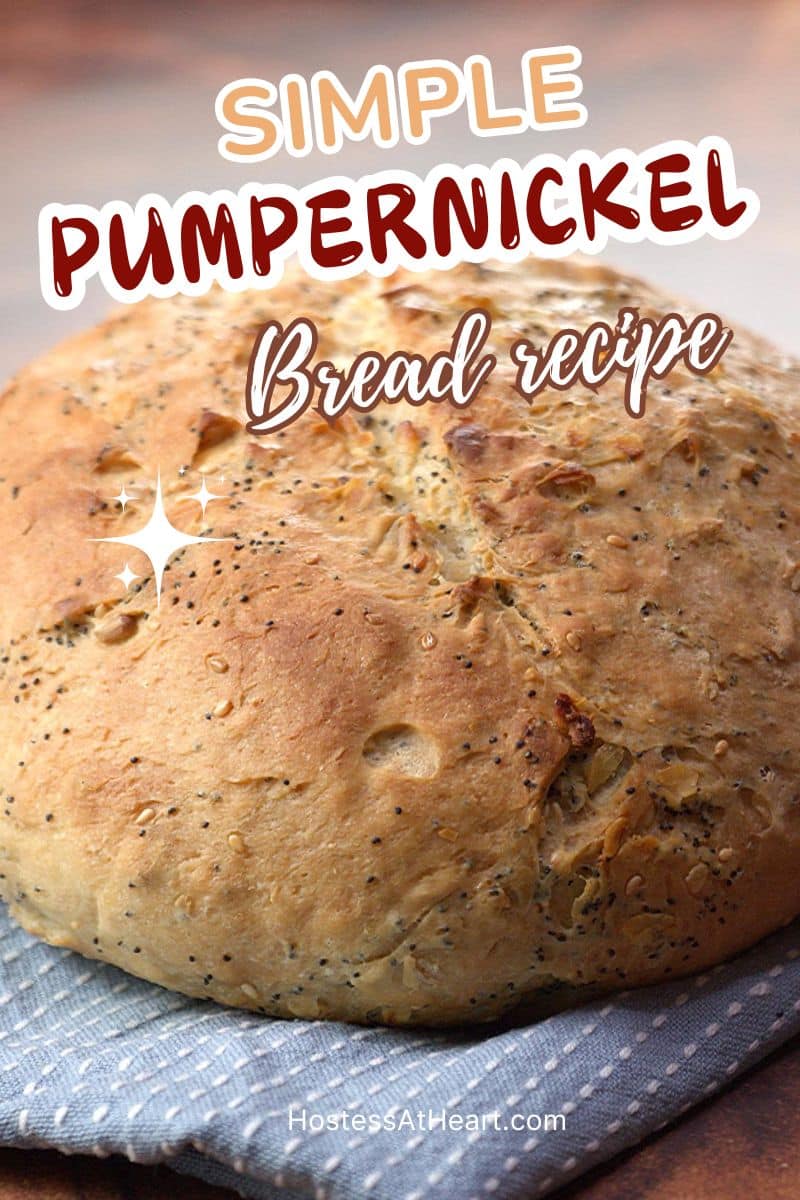
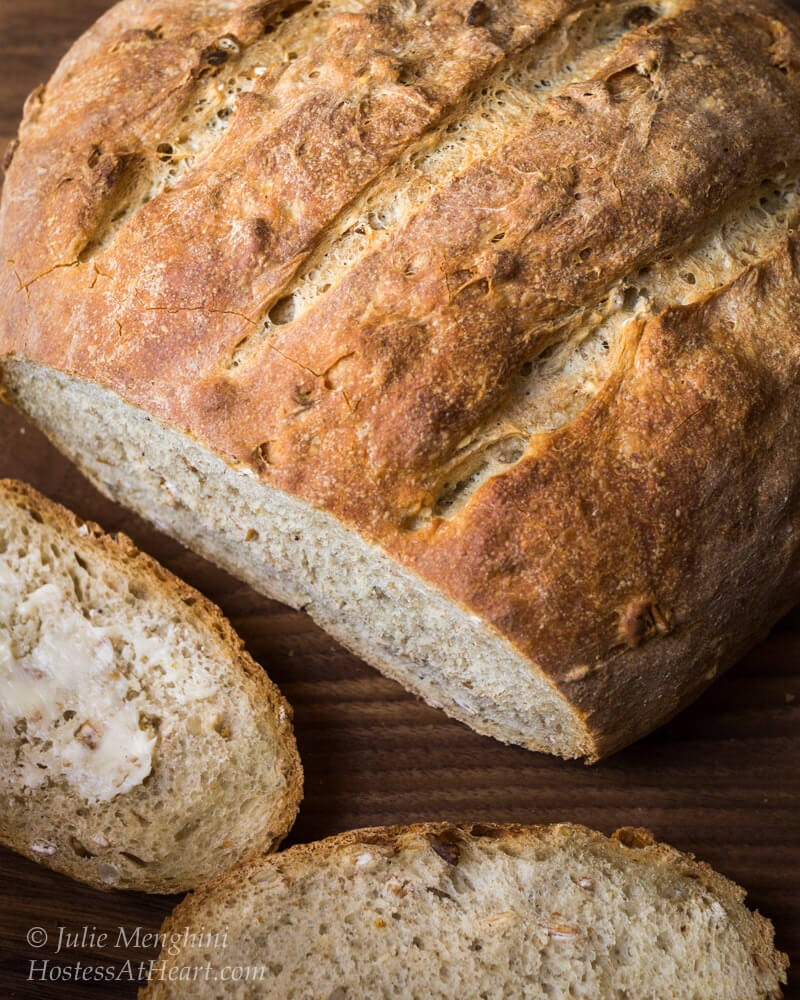
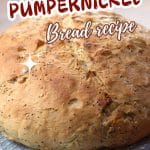
This Rustic Pumpernickel Bread recipe yields a loaf of hearty, artisan-style bread with a gorgeous bakery-style crust and a tender, flavorful crumb, making it stand out from any store-bought loaf.
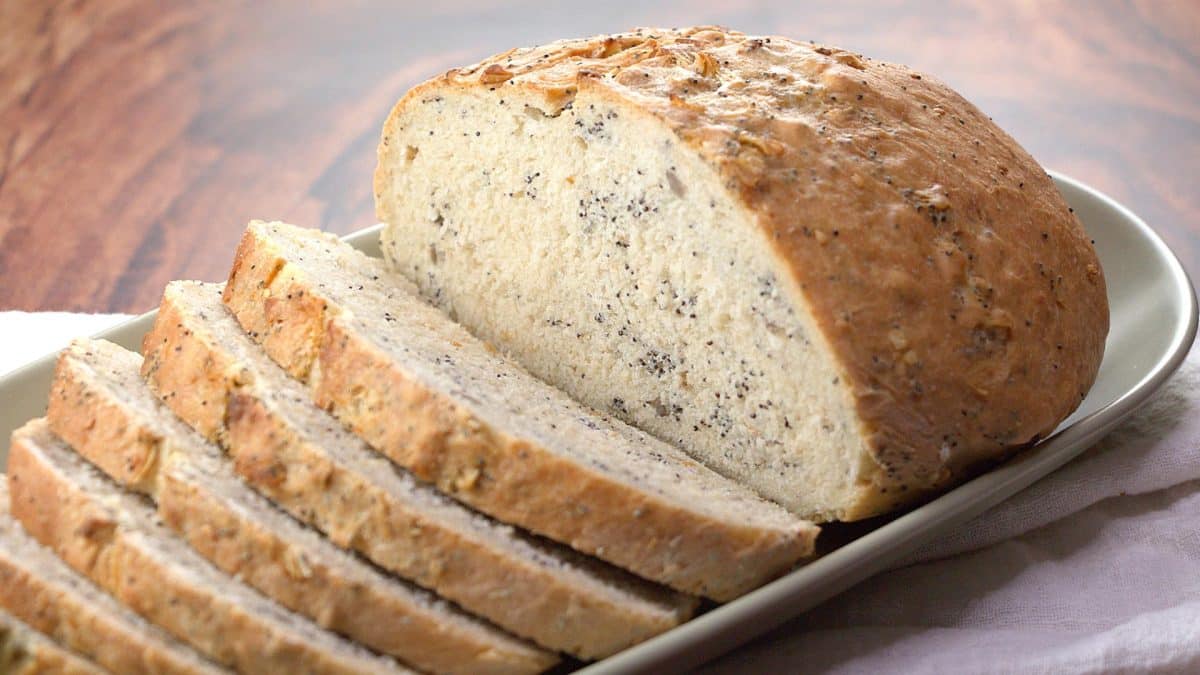
I first tried making this Rustic Pumpernickel Bread when I joined a bread baking group and challenged myself to work with a flour I’d never used before. My family immediately fell in love with it because it has that gorgeous bakery-style crust on the outside but stays incredibly soft and moist on the inside.
What makes this recipe so special is the overnight sponge method that develops incredible flavor without any complicated techniques. I’ll explain all about it and make this homemade pumpernickel a recipe that you can feel confident about making too.
I wish I’d known how easy it was to create something this special. Our recipe for pumpernickel bread has become our go-to bread for cozy weekend mornings. The best part? Even though it takes time to rise, the actual hands-on work is only about 20 minutes!
Key Ingredient Notes
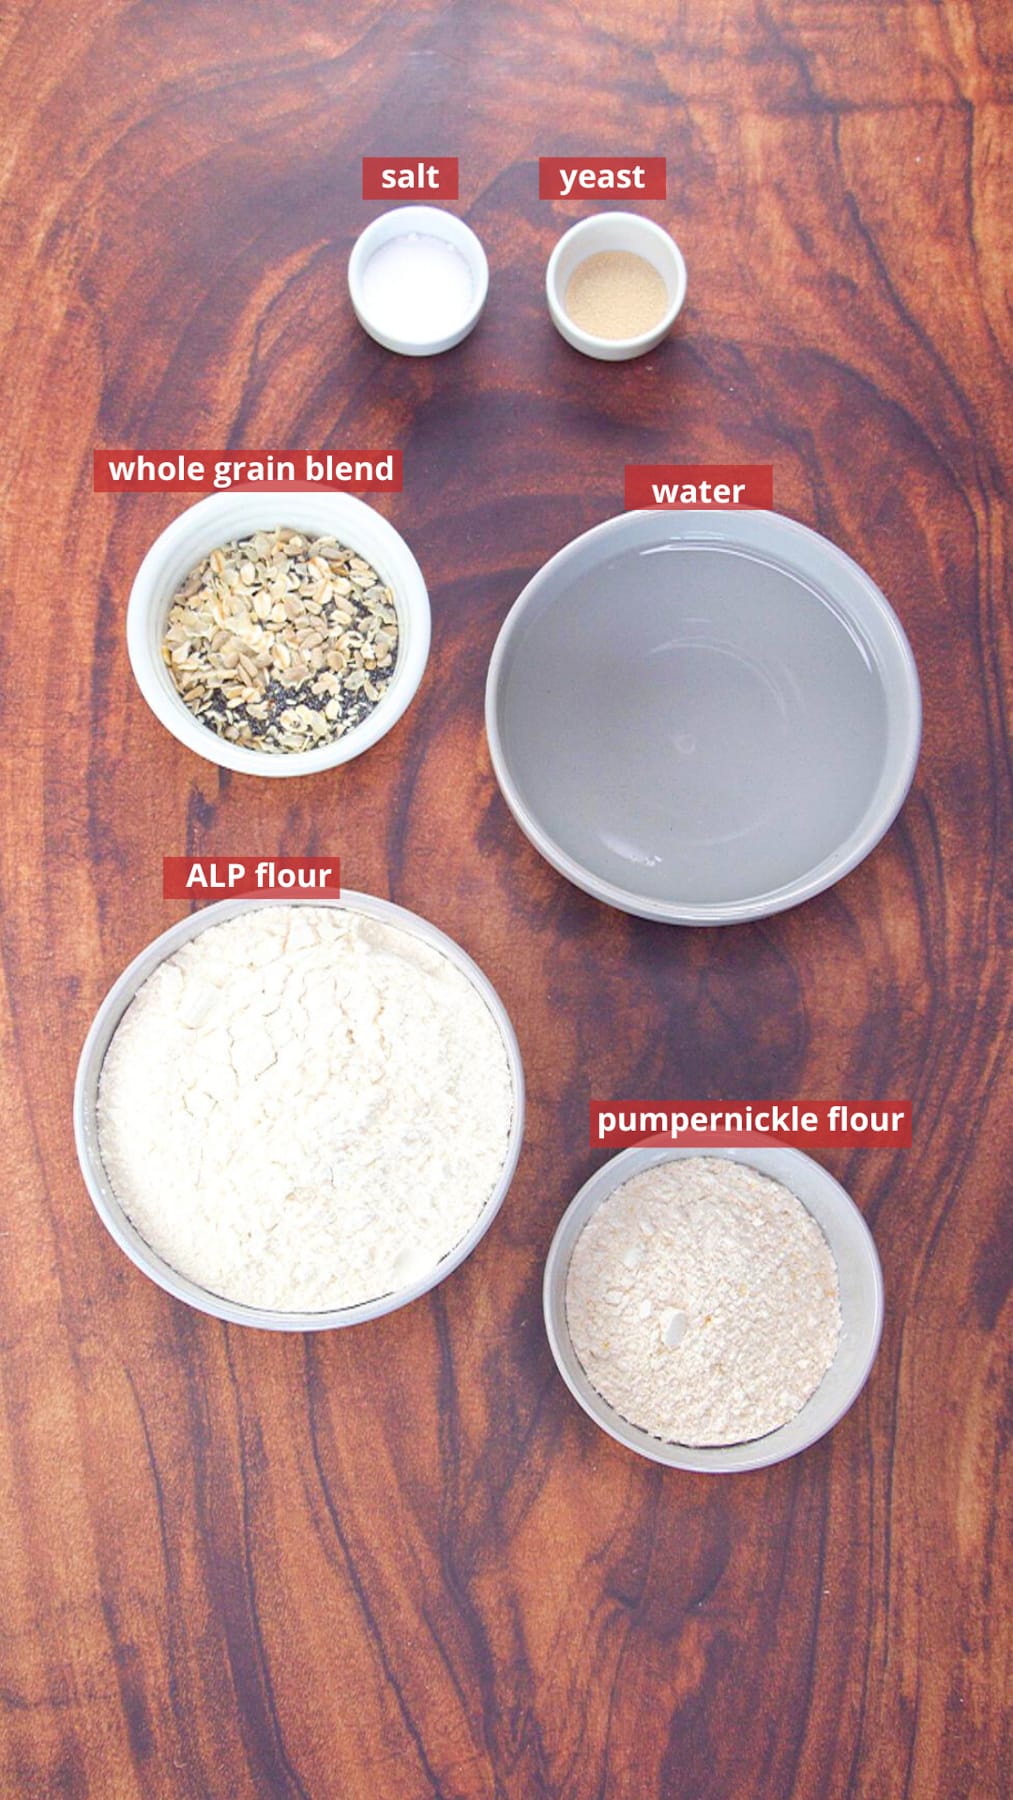
While you’ll find the full ingredient list in the recipe card below, I wanted to highlight a few important ingredients:
Filtered Water: If your tap water is heavily chlorinated, use filtered or bottled water since chlorine can hurt the yeast’s ability to work properly.
Pumpernickel Flour: Don’t worry if you’ve never used it before! You only need a small amount, and it adds a subtle earthy flavor and beautiful color. King Arthur Flour and Amazon sell it online if you can’t find it locally.
Bread Flour: This gives the loaf its perfect chewy texture and helps it rise beautifully. You can substitute all-purpose flour, but bread flour works best.
Active Dry Yeast: Make sure your yeast is fresh! Check the expiration date – old yeast won’t give you that gorgeous rise.
How To Make Pumpernickel Bread
 Combine Ingredients
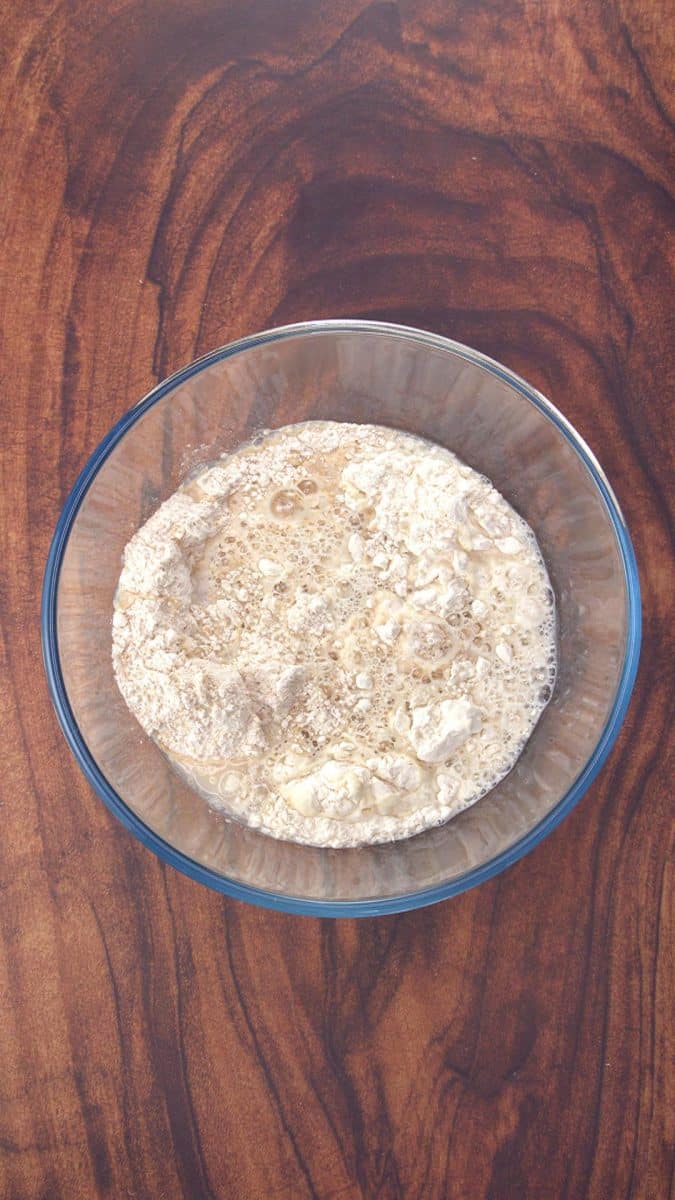
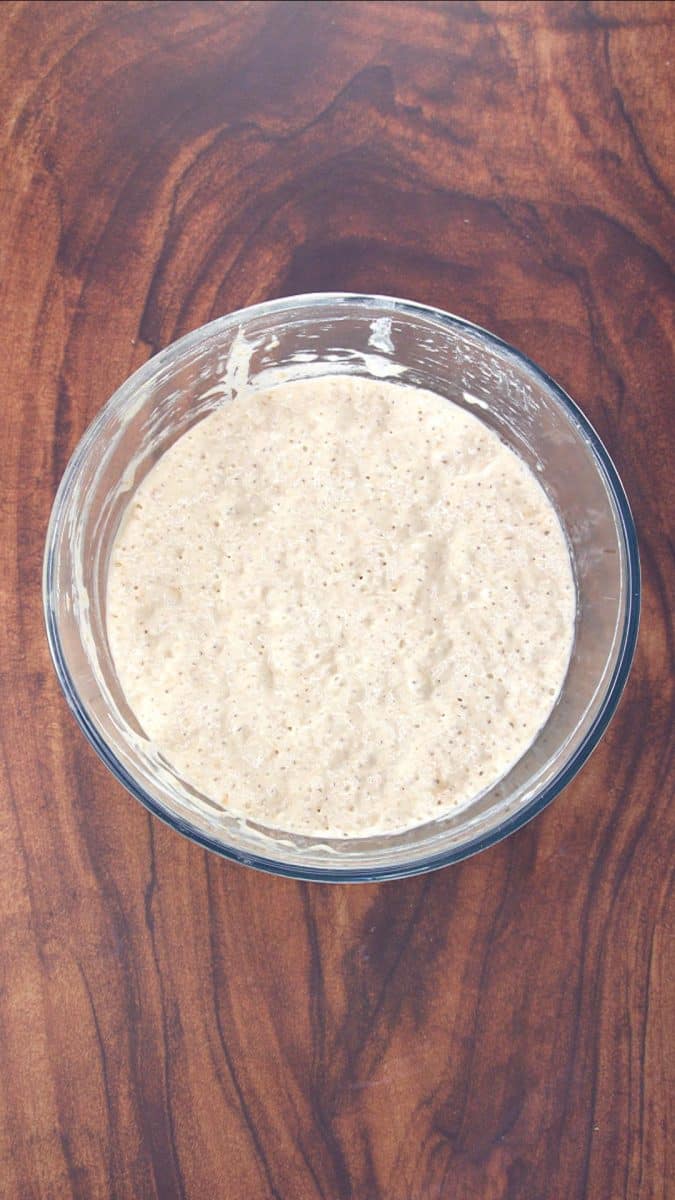
 Sponge
- Start with the Sponge: The sponge is what makes this bread special. It adds flavor and gives our yeast superpowers. We mix it the night before and let it get active on our counter, but you can shorten this time to 4 to 5 hours if you want to bake it the same day.
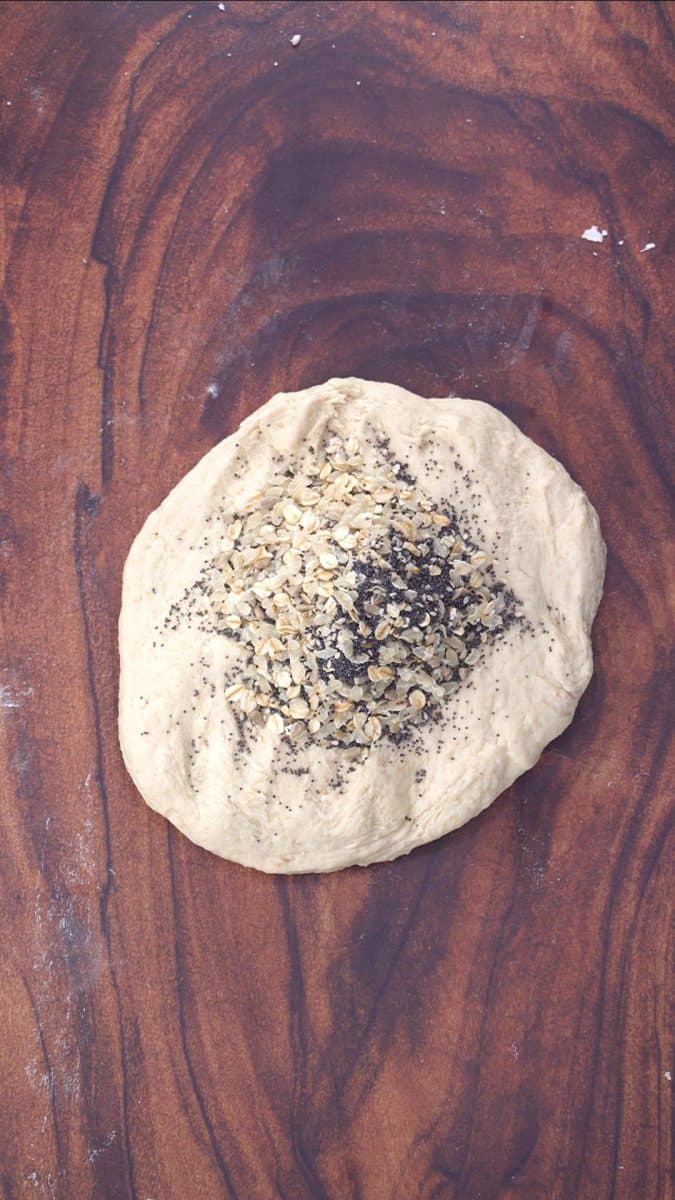
 Add inclusions
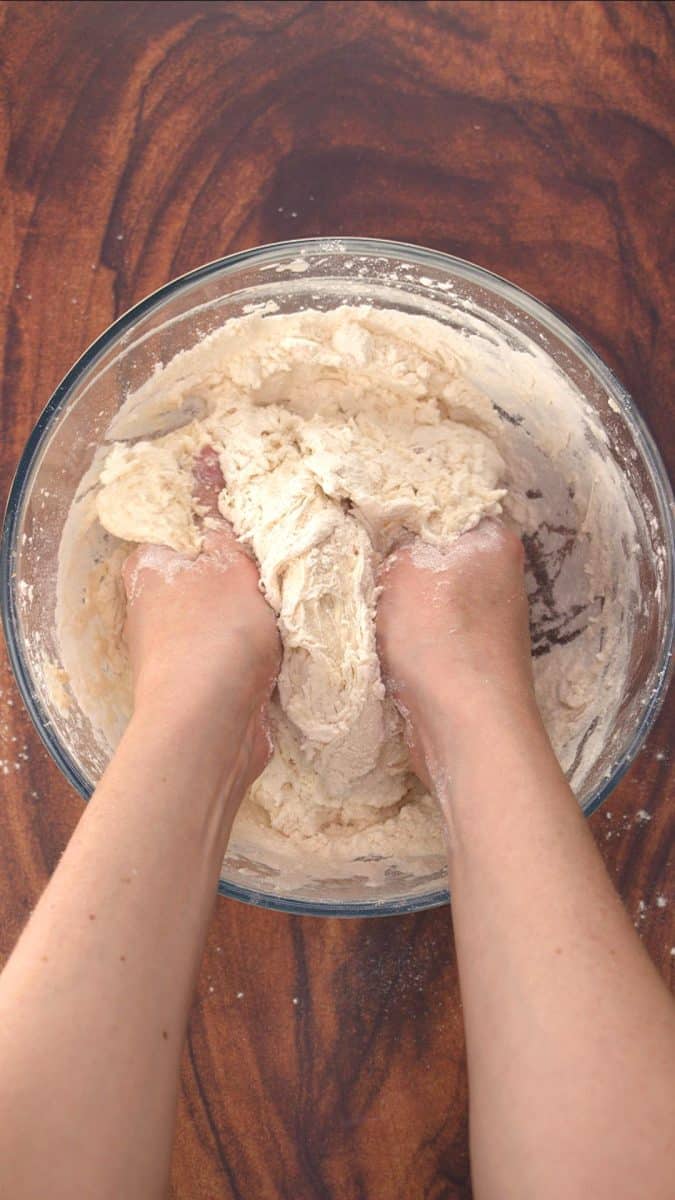
 Mix dough with sponge
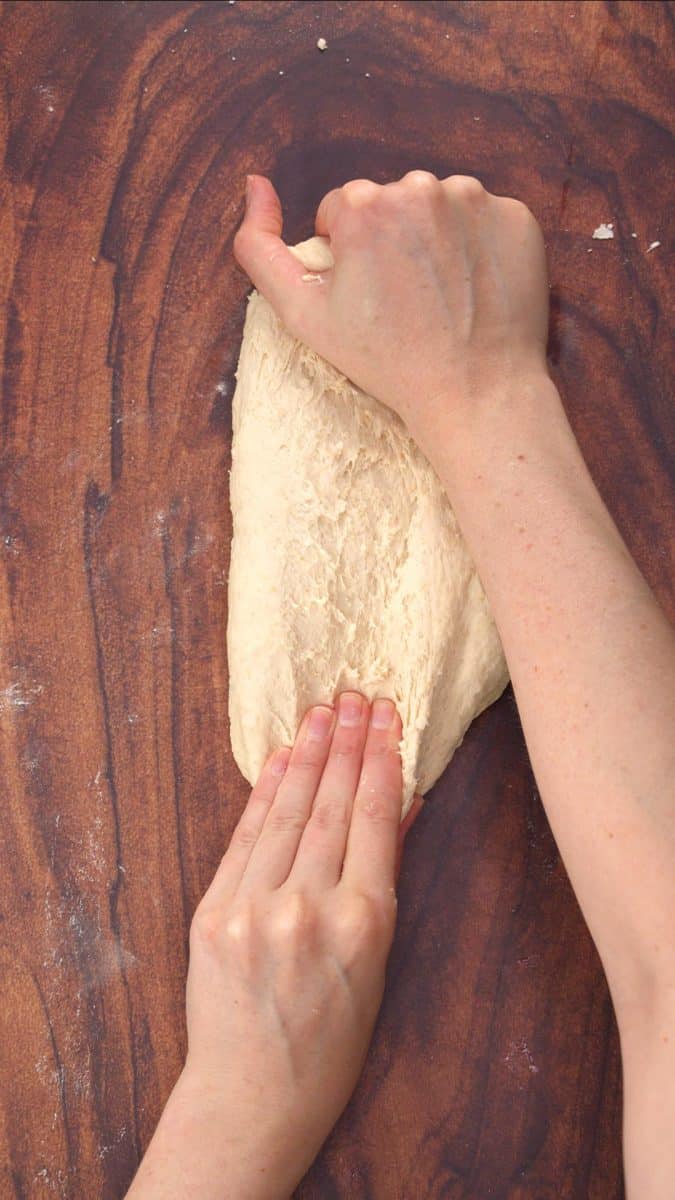
 Knead dough
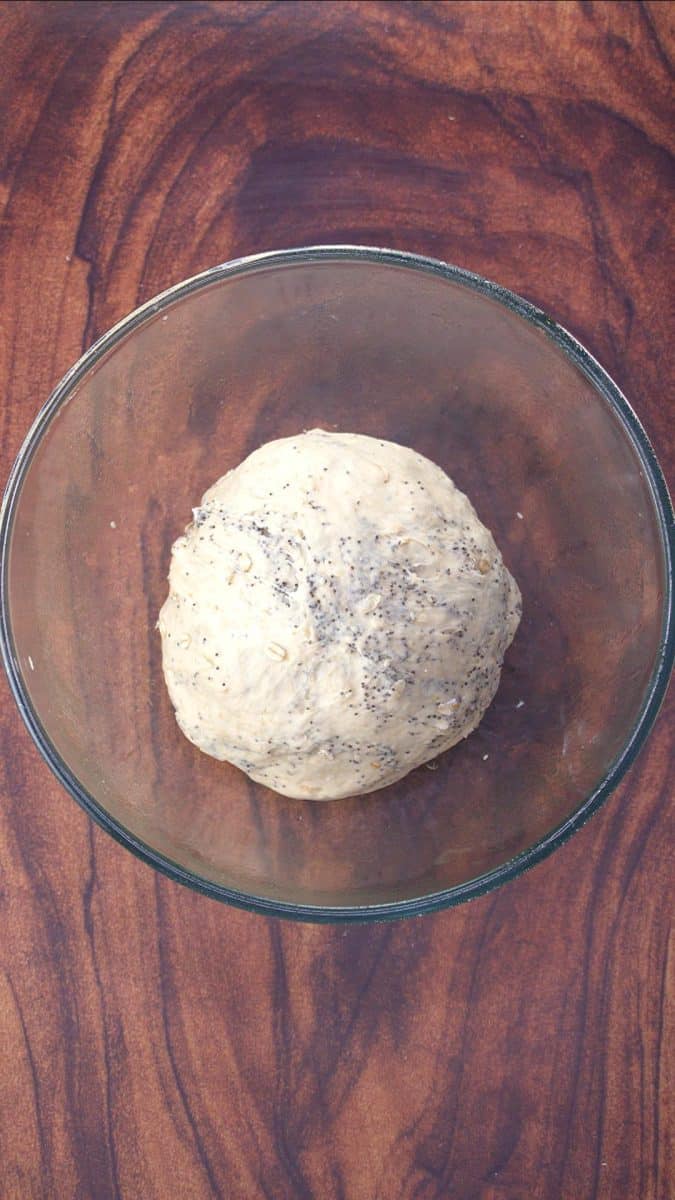
 Let dough rise
- The day of baking, we make our dough. Now is the time to add any seeds, grains, or herbs. Let it rise in an oiled bowl for 90 minutes to 2 hours.
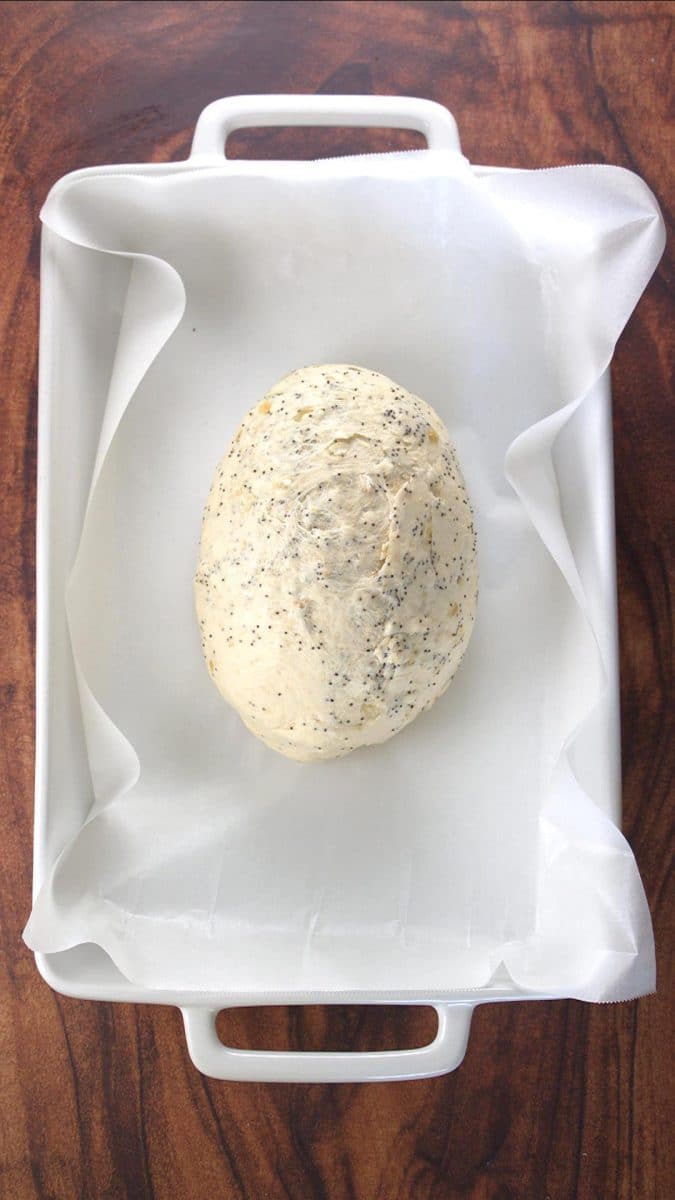
 Shape loaf
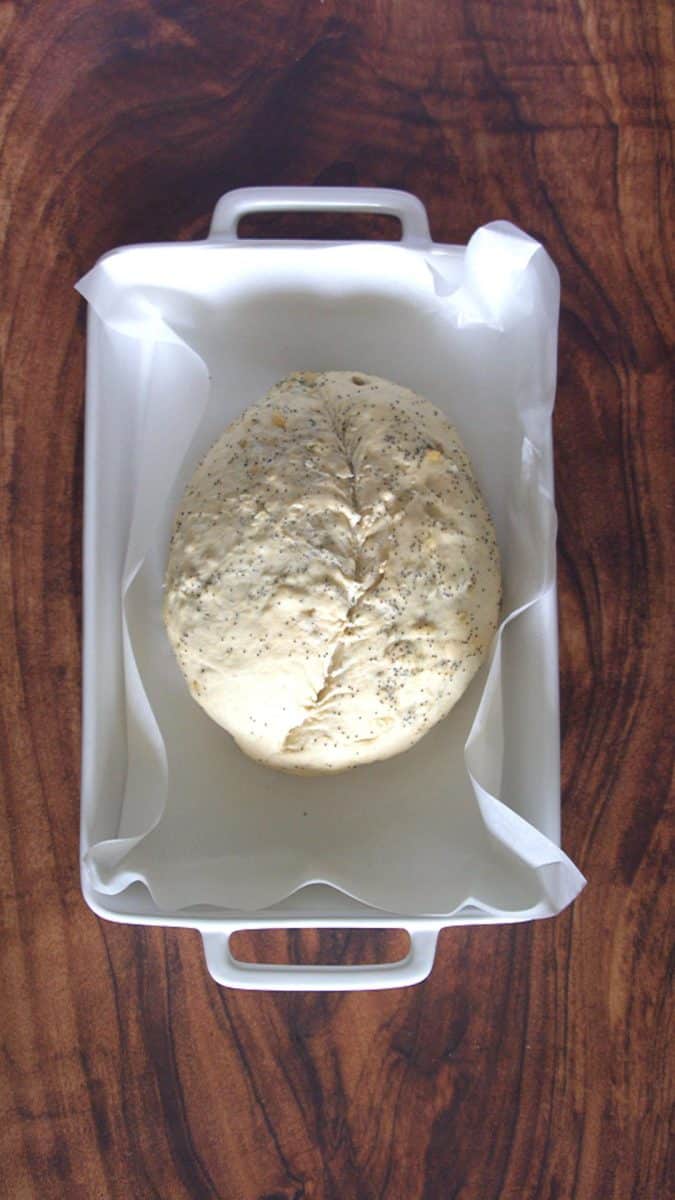
 Score raised loaf
- Shape the dough and let it rise one more time for 1 hour. Score the bread and bake.
- We spritz the top of our bread with water before baking it. That helps create that beautiful artisan crust.
- We score our bread using a razor blade or a sharp knife, gently over the top. This gives the steam a place to escape.
Variations to Try
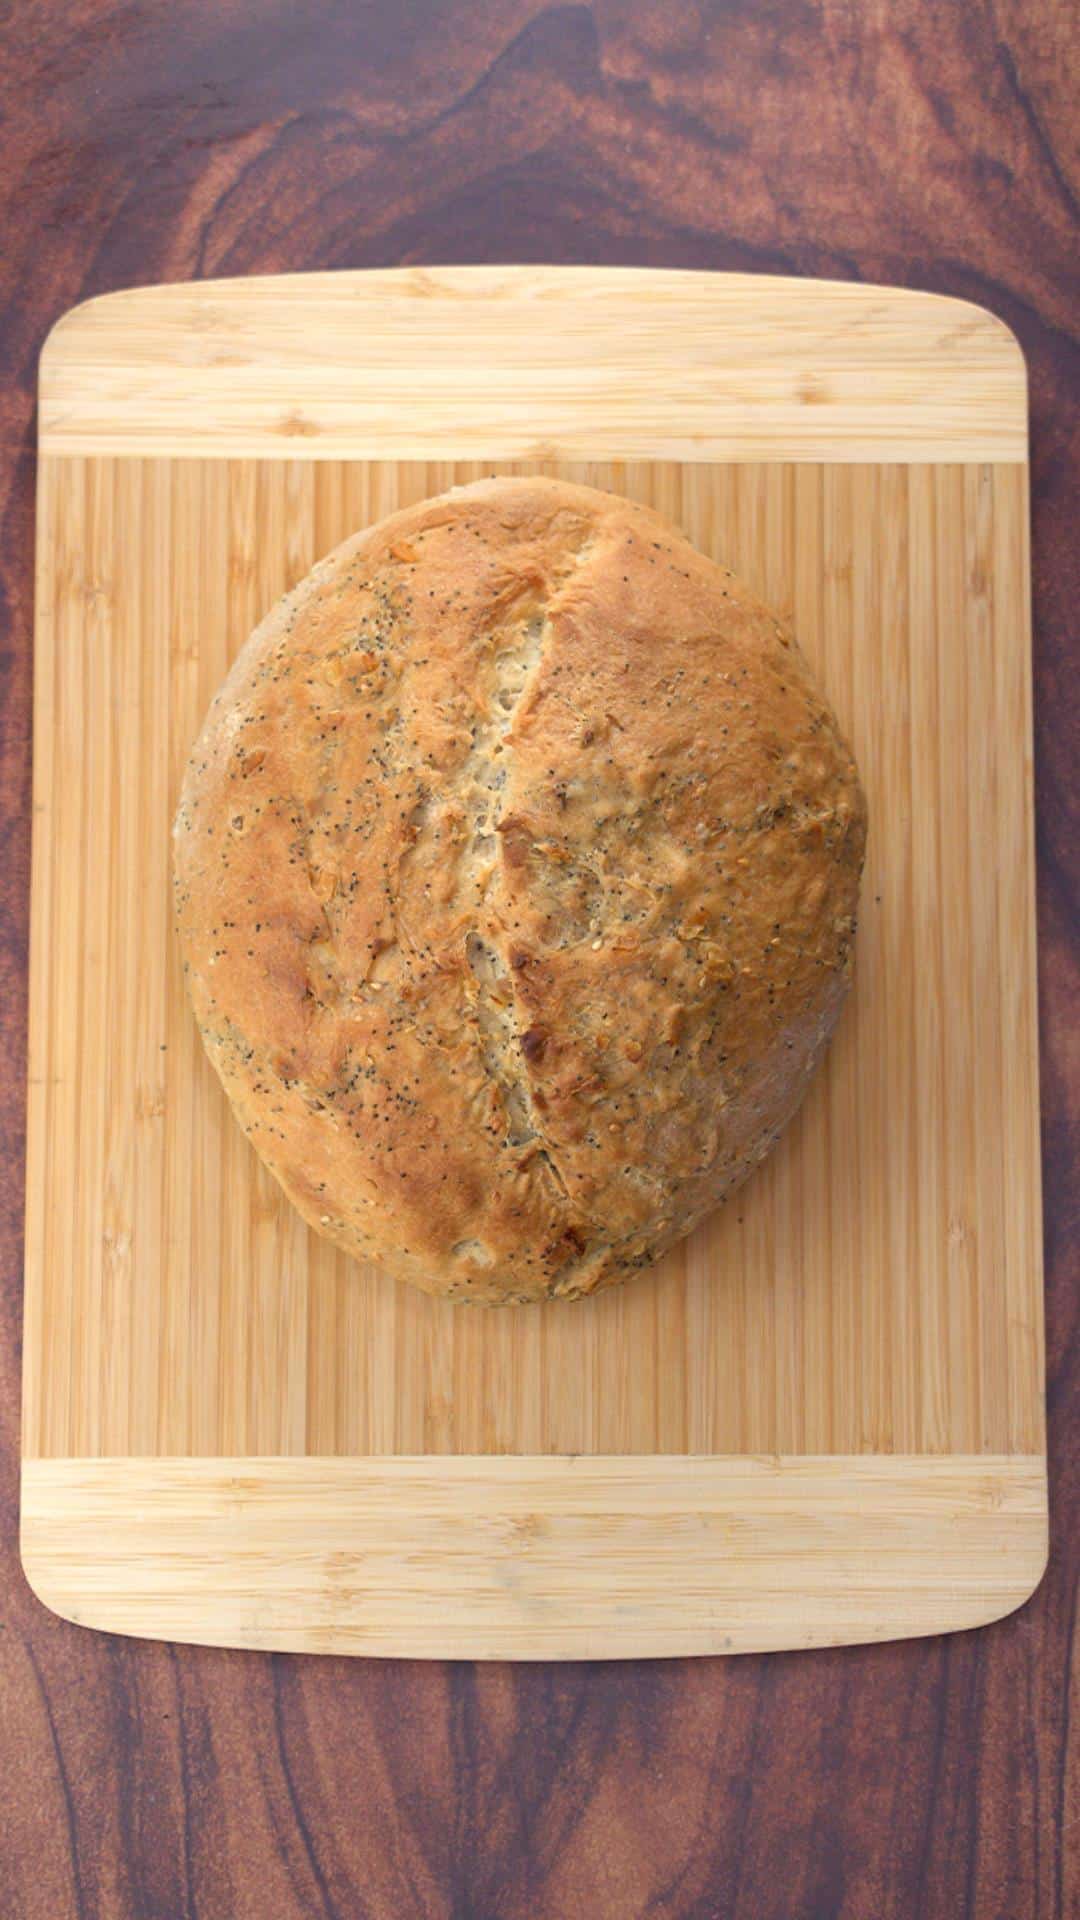
- Seeded Rustic Bread: Add 2 tablespoons of mixed seeds (sunflower, pumpkin, sesame) to the dough for extra crunch! We use our favorite homemade whole grain mix.
- Darker Pumpernickel: Increase the pumpernickel flour to 1 cup and decrease the bread flour accordingly for a more intense flavor.
- Herb Rustic Bread: Add 2 tablespoons of dried herbs like rosemary or thyme for a savory twist.
Pro Tips
Knead the bread until it’s smooth, about 10 minutes. Place the heel of your hand into the dough and push it away from you, turning as you go.
Test for Doneness. The bread is done when it sounds hollow when you tap the bottom, or when an instant-read thermometer reads 200-210°F.
Want to save this recipe?
I'd like to receive more tips and recipes from Hostess At Heart!
Don’t slice the bread until it’s completely cool. That’s the hardest thing about this recipe! Just place it on a cooling rack and let it cool for about 2 hours.
Storage and Leftovers
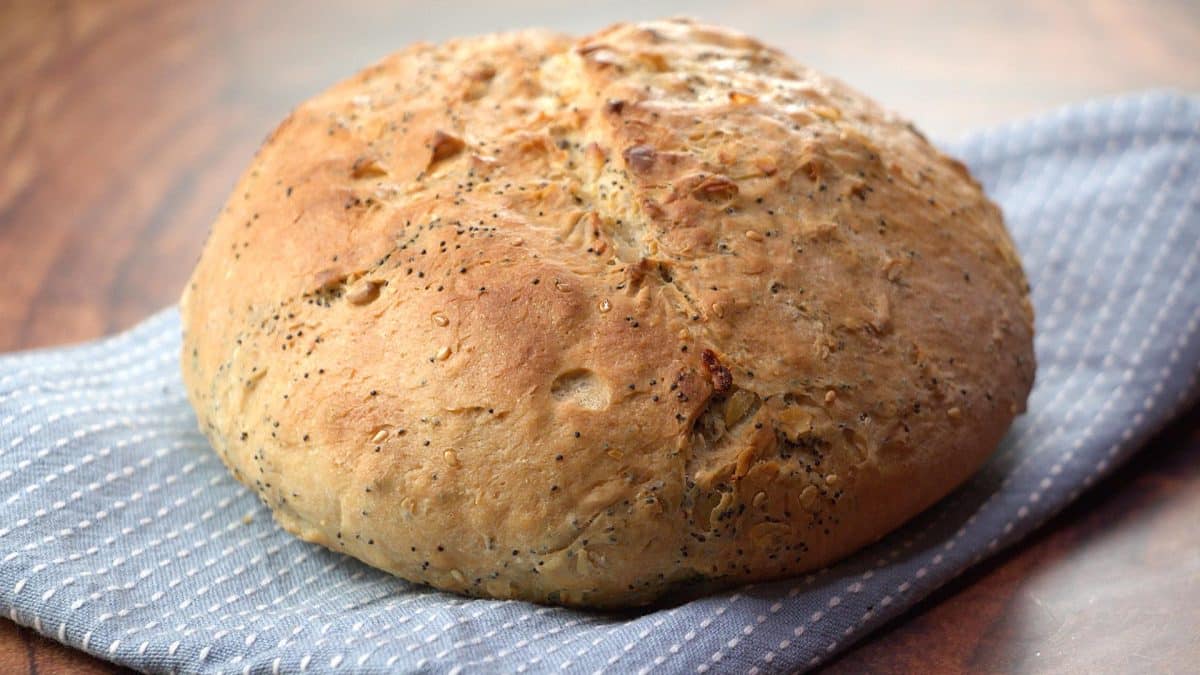
This bread will keep well at room temperature for 3-4 days stored in a paper bag or bread box (avoid plastic, which makes the crust soggy). To reheat day-old bread, pop slices in the toaster or warm the whole loaf in a 350°F oven for 5-10 minutes.
If you want to prep ahead, you can make the sponge up to 24 hours in advance – just keep it covered on your counter. This recipe also freezes beautifully! Wrap the cooled loaf tightly in plastic wrap and foil, then freeze for up to 3 months. Thaw overnight at room temperature.
FAQ’s
What is the difference between rye bread and pumpernickel bread?
Rye bread is made mostly with rye flour and usually has a lighter color and tangy flavor. Pumpernickel bread gets its dark color and rich, slightly sweet flavor from pumpernickel flour (coarsely ground whole rye berries). This recipe gives you authentic pumpernickel flavor in an easy way!
What is a sponge in bread making?
A sponge is flour, water, and yeast mixed together and left to sit for hours or overnight. Think of it as giving your yeast a head start! It should look bubbly and smell yeasty when ready. This method creates much better flavor than mixing everything at once.
Why do we combine pumpernickel flour with bread flour?
Pure pumpernickel flour makes very dense, heavy bread that doesn’t rise well. By mixing it with bread flour, we get the best of both worlds – that rich pumpernickel flavor and color, plus a light, airy texture that’s perfect for slicing and toasting!
Serving Suggestions
This Rustic Pumpernickel Bread pairs wonderfully with a hearty bowl of hamburger vegetable soup. And, there’s nothing better than making an amazing corned beef sandwich. If you’re making this for a dinner party, try slicing it and serving it with some gorgonzola cheese dip.
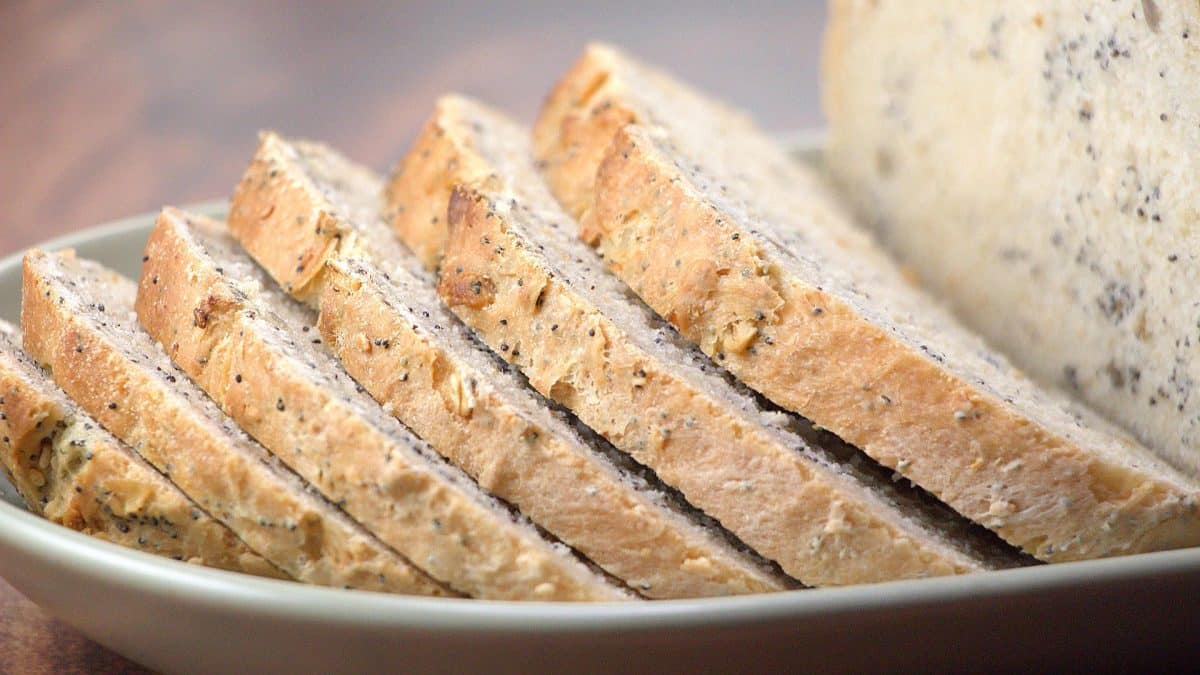
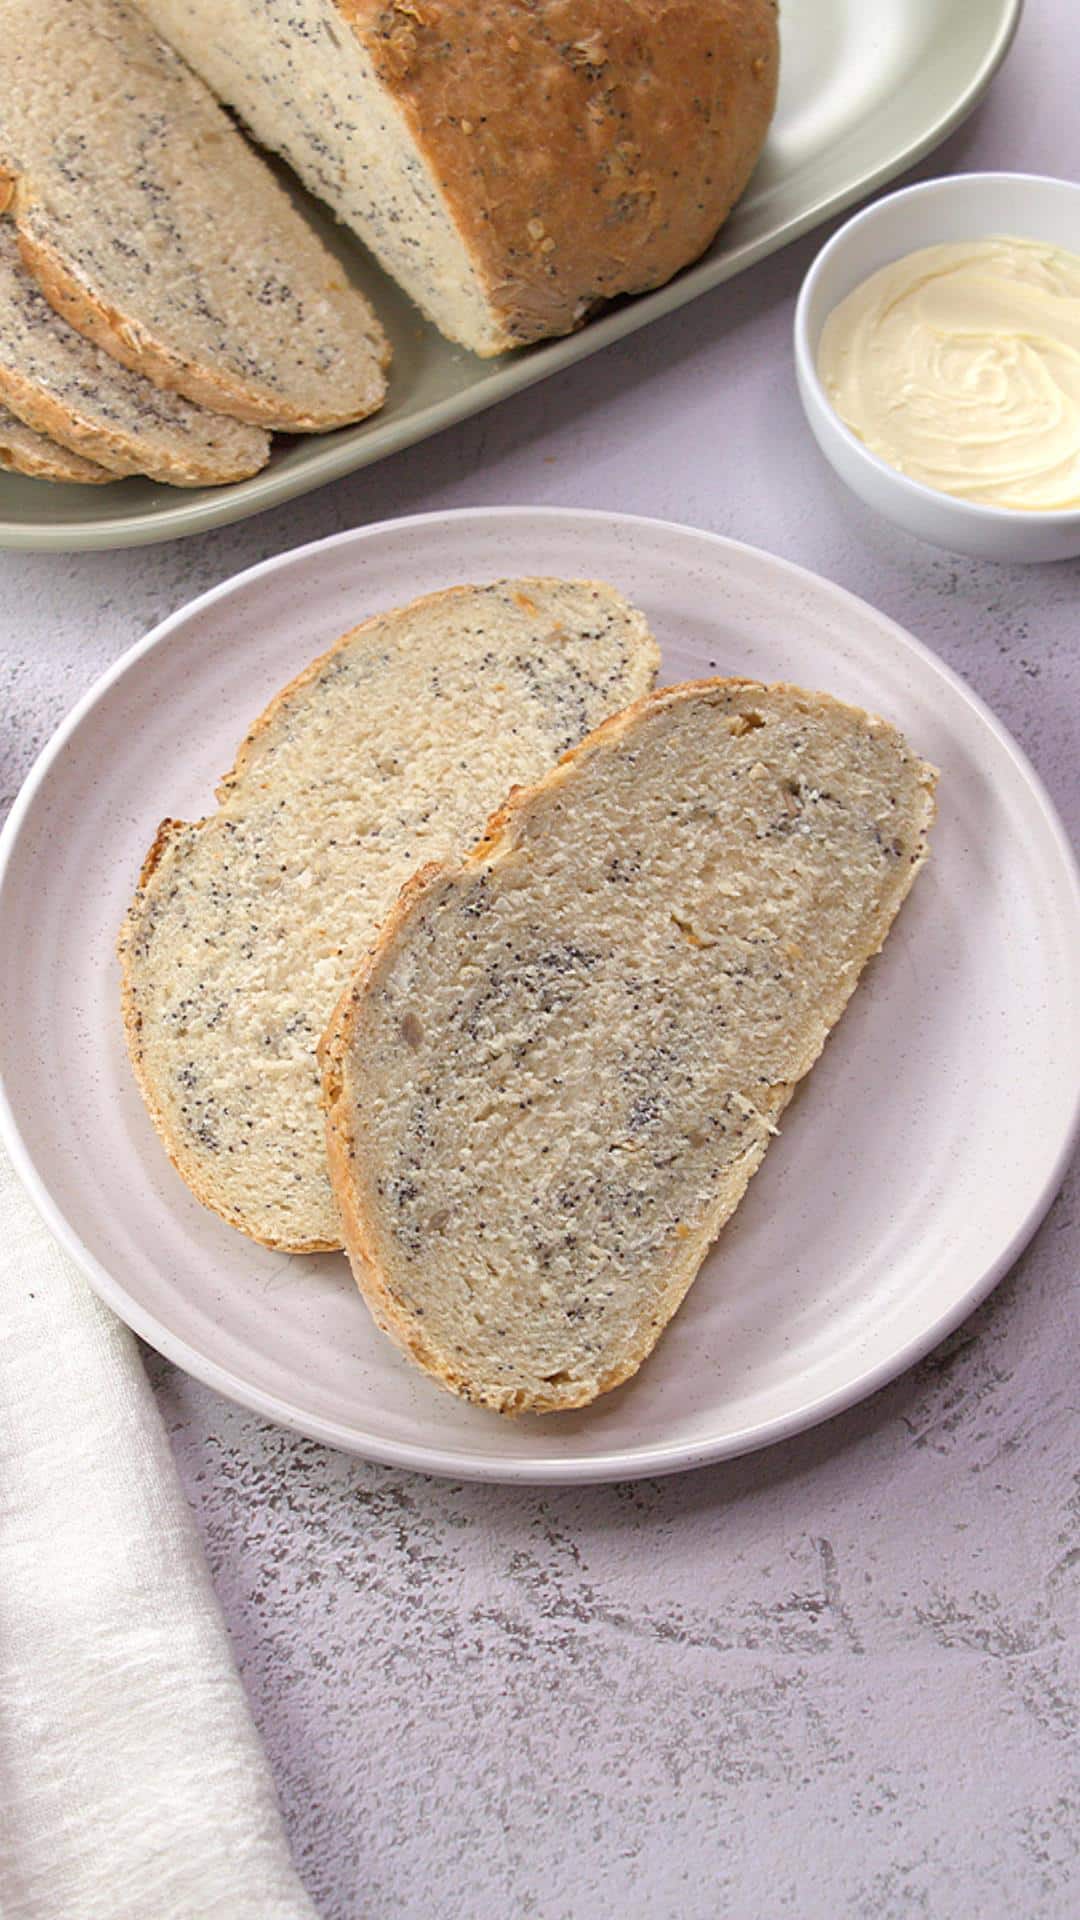
To serve, simply slice with a sharp serrated knife and watch everyone’s faces light up when they see that perfect soft crumb inside the crusty exterior.
Related Recipes You’ll Love
If you enjoy this Rustic Pumpernickel Bread, I bet you’ll also love some of my other homemade bread recipes! My Classic Italian Bread that’s perfect for beginners. For a quicker option, try my No-Knead Artisan Bread which comes together in just 5 minutes of mixing. And if you’re feeding a crowd, my Potato Rolls are always a hit at gatherings and potlucks!
This Rustic Pumpernickel Bread has become one of my most treasured recipes, and I hope it becomes a favorite in your home too! Please let me know in the comments if you try it and what you think! I love hearing how my recipes turn out in your kitchens, especially when someone tackles bread baking for the first time.
Did you enjoy this recipe? Don’t forget to pin it for later and follow me on Pinterest for more delicious recipes like this one!
Our monthly bread baking party is no longer active, but you can still enjoy many of their recipes as I do!
60% Kamut Sourdough Bread from Karen’s Kitchen Stories
Coconut Flour Zucchini Bread from CulturEatz
Rustic Loaf using Pumpernickel Flour from Hostess At Heart
This simple Pumpernickel Bread recipe was first published on January 5, 2016. It has been updated to make it better for our readers. No changes were made to the actual recipe.







I always love seeing your bread baking, it always makes me want to try some again myself – will get on to it some day!
Thank you Caroline! I love to bake, and there is just something about bread that I find therapeutic. There are so many things I want to make too, but just so much time and belly room!
I have never heard this kind of flour, but I can see that it works like magic as your bread turned out so beautiful and it really looks professionally baked. Good job, Julie. I will grab a slice now with a cup of coffe. Happy FF101! 🙂
Thank you Jhuls! I sure had my share of this bread! Lots of bread that call themselves pumpernickel actually use rye.
Over the past year, I have also been trying out various breads, especially experimenting with different flours. Haven’t come across pumpernickel flour before. The bread looks great. Happy Fiesta Friday, Julie!
Thank you Ahila! It is fun experimenting. I found that even breads that call themselves pumpernickel are actually made with rye which can be used in this bread easily enough.
That’s a fantastic looking loaf!
Thank you Mr. Fitz and thank you for hosting FF this week!
Thanks for being here!
You got my interest with the butter on those bread slices! That’s my problem – I love bread but I often have to add some butter (or in my case Smart Balance).
Ha! I love it too, and shame on me, it’s strait up butter!
Love homemade bread and so this is right up my street!
Thank you! The smell in the kitchen is just unbelievable when your baking bread.
Now that is a good-looking loaf of bread. I am keeping my fingers crossed that I will be able to find pumpernickel flour somewhere here as I would love to try baking this bread. Also, thanks for the tip about chlorinated water.
You can use a light rye flour Felice and I am sure you will be just as happy with it.
This bread looks absolutely heavenly. Thanks for the tip on the water. Pinned. I’m your neighbor at throwback Thursday. Have a great night.
Howdy neighbor! Thank you, this bread was fun to make, and I just learned that tip not long ago myself. I appreciate you stopping by.
I can smell that bread Julie dear! Yumm it looks just perfect!
Thank you sweet Lynz! Heavenly smell baking bread! Another one in the oven today!
yummm
This bread IS beautiful! So perfectly rustic and so scrumptious looking! I love that it has a combination of flours to bring out all kinds of delicious flavors. I’m a very novice bread baker, but I can’t wait to give it a try!
Thank you Kathryn! This bread is just delicious and very easy to make. I’m not an expert by any means but am sure having fun learning. Thank you for stopping by!
I’m so impressed with this gorgeous and simple loaf (yes, bread can be so pretty!). I have to get experimenting with pumpernickel…I just love the flavor and that is going to be one of my bread goals his year!
Thank you Lora! Your site is so inspirational and I’ve learned a lot from you!
What a wonderful loaf of bread! So hearty Julie! 🙂
Thank you Linda! John had to go out of town and I think I just about ate the whole thing myself!
I think I would have done the same thing! With slabs of butter…yummy! 🙂
I made some loaves close to this bread last Sunday. Mine did not look anywhere near as good as yours. :)) Happy New Year Julie!!!
Thank you Quinn! I still have your raspberry swirl pound cake pictures that I need to do a post on and believe me, mine didn’t come out as beautifully as yours, but it was delicious! Happy New Year to you too!
It looks wonderful, great work!!
Yea! Thank you Elaine!
Have you tried the spelt yet?
This weekend Elaine! It sounds like it is a looser and wetter dough?
Yes, it starts firm but becomes loose very quickly
Would you free form bake it Elaine or use a banneton or bread pan?
If you’re going 100% spelt I’d use a bread pan
Thanks Elaine! I agree.
Beautiful loaf of bread Julie! Happy New Year! 🙂 x
Thank you Lili! I hope you’ve recovered from your schooling. So happy to see you today!
🙂 Nice to see you too Julie! Yes, more relaxed homebaking nowadays thanks! 🙂
Nice loaf Julie! Rye adds such a nice flavor to bread. I think I might have some harvest grains blend in my freezer too. Hmmmm….. =)
Thank you Karen! I use that grains blend a lot in my weekly wheat bread.
Such a beautiful loaf of bread, Julie, and the flavor/texture sounds wonderful!
Thank you so much Anna! I was happy with the way this one came out.
It looks so delicious, Julie! I could eat a slice right now! 😉
Thank you Anna! I’m doing a number on it myself! My carb loving fanny needs to stay away from it!
Oh Julie, I can so relate — I’m most definitely a carb-loving gal! 😉
This looks gorgeous! I had never heard of special pumpernickel flour, so I am intrigued! I have to make my own, and it’s mostly rye berries and coarsely ground rye. What a wonderful loaf you have made – the perfect start to the year!
Thank you Ginger! I don’t think there was anything special about this pumpernickel flour. It was actually very light and the flavor isn’t a strong rye or pumpernickel, but it is delicious. I am not ready to make my own flour yet, but really admire you ladies that do!
Exact same reasons why I joined this group 🙂 And I have been eating more pumpernickel lately but have not made any so will try your great looking pumpernickel loaf.
Thank you Evelyne! It’s an easy and delicious one. I’d definitely make it again.
Another lovely success story!
Julie, I have visions of you and John only eating bread and a bunch of sweets???? LOL Naturally I know better!
Nothing smells better than baked goods! yum-o
Actually Cheryl we do love our bread with…..wine!
LOL may have some cheese as well???
Ha! Now you’re talking!
Yes indeed!
Fabulous bread Julie!
I want to bake more breads too this year!
I agree Sonal! I want to tackle sourdough and get more artisan results. Enjoy your day!
Sourdough is still something that I have to dwell into…
Ahhh the aroma of freshly baked bread – nothing like it in my opinion! The sponge part is new to me, but wow does it look delicious, crusty on the outside, soft and melt in your mouth interior with melted slathered butter! I get KAF’s posts on my FB page, and one in particular caught my eye which Ive bookmarked. It should be relatively simple, it makes a batch of artisan bread, but you leave it in the refrigerator and then bring out bits of the dough as and when you want to bake, so it is fresh. I think I’ll attempt that as it looks fairly simple. I have made your English Muffin bread before and it too was so delicious.
Thank you Loretta! I really like the KAF recipes and always look at the reviews for ideas. The refrigerator method sounds kind of like the amish bread technique that was popular several years ago and seems to be making a comeback. Leaving it in the fridge like that is great for developing flavor because it has a longer fermenting time. Please let me know what you think. I made two of the English Muffin bread loaves when Michael was home. It went over well. I want to tackle sourdough this year and have a couple videos just waiting for me to watch. Let me know how your bread comes out!
perfectly baked loaf- looks wonderful Julie…
Thank you Chitra! So happy that you popped in!
This looks wonderful, Julie! I’m sure your whole house smelled heavenly while the bread was baking. What a perfect way to begin the New Year! ♡
Thank you Dawn! I almost skipped this one because I’ve been so busy but very glad that I didn’t! I hope your holidays were great and that you have a wonderful New Year!