Almost No-Knead Bread Recipe (Easiest Way to Bake Artisan Bread At Home)
This post may contain affiliate links. Please read our Disclosure Policy.
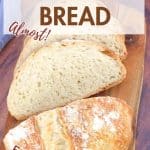
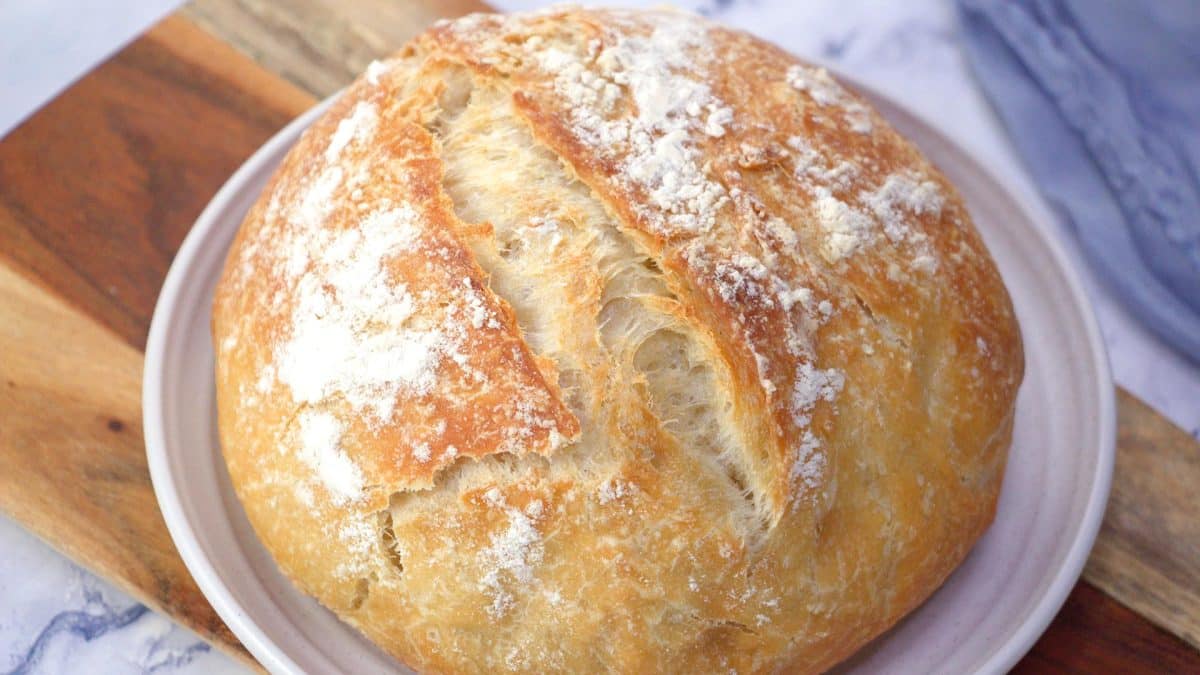
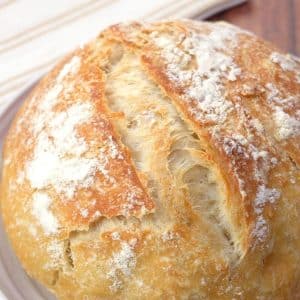
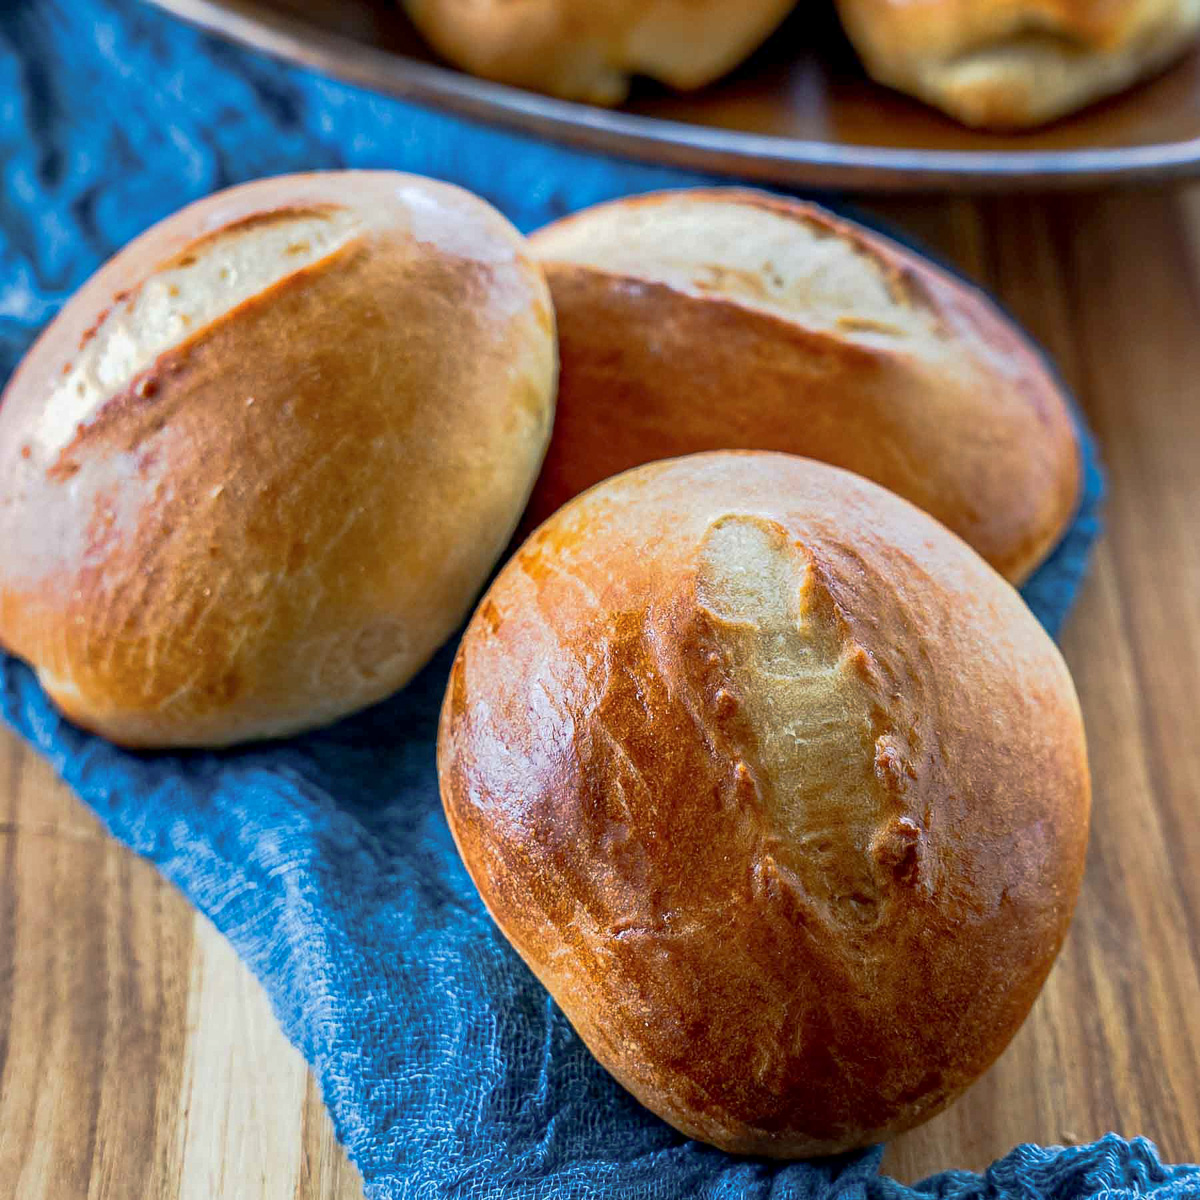
Our Almost No-Knead Bread, has become a family favorite in our home. This crusty artisan-style bread combines flour, yeast, salt, beer, and vinegar to create something truly special that’s perfect for any meal. The best part? It only takes about 20 minutes of hands-on time to make from start to finish! If you’ve always wanted to make bakery-quality bread but felt intimidated, this recipe is for you – it’s practically foolproof!
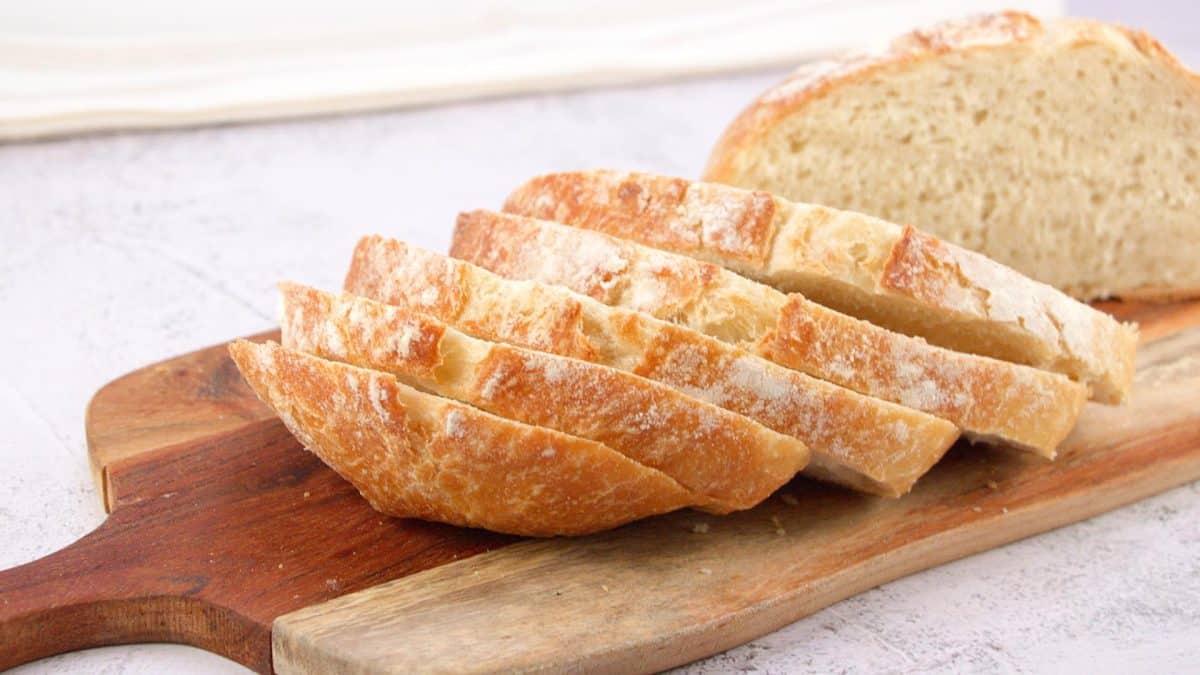
Are you tired of baking homemade bread that looks and tastes unprofessional? That was me! I first tried making this Almost No Knead Bread when I was searching for a bread with a crispy crust, chewy interior, and super easy instructions. After trying many recipes, I discovered this one from America’s Test Kitchen and it was a game-changer!
My family immediately fell in love with it because it tastes like it came straight from an artisan bakery. Now it’s become our go-to bread for everything from weekend breakfasts to serving alongside hearty soups and stews.
What makes this easy homemade bread recipe so special is the incredible texture and flavor you get with almost no kneading at all! Instead of working your arms for 10 minutes, the dough does all the work during a long, slow rise. Even my husband John, who doesn’t usually get excited about homemade bread, asks for this loaf by name. It’s so simple that even complete beginners can nail it on the first try!
Key Ingredient Notes
While you’ll find the full ingredient list in the recipe card below, I wanted to highlight a few important ingredients:
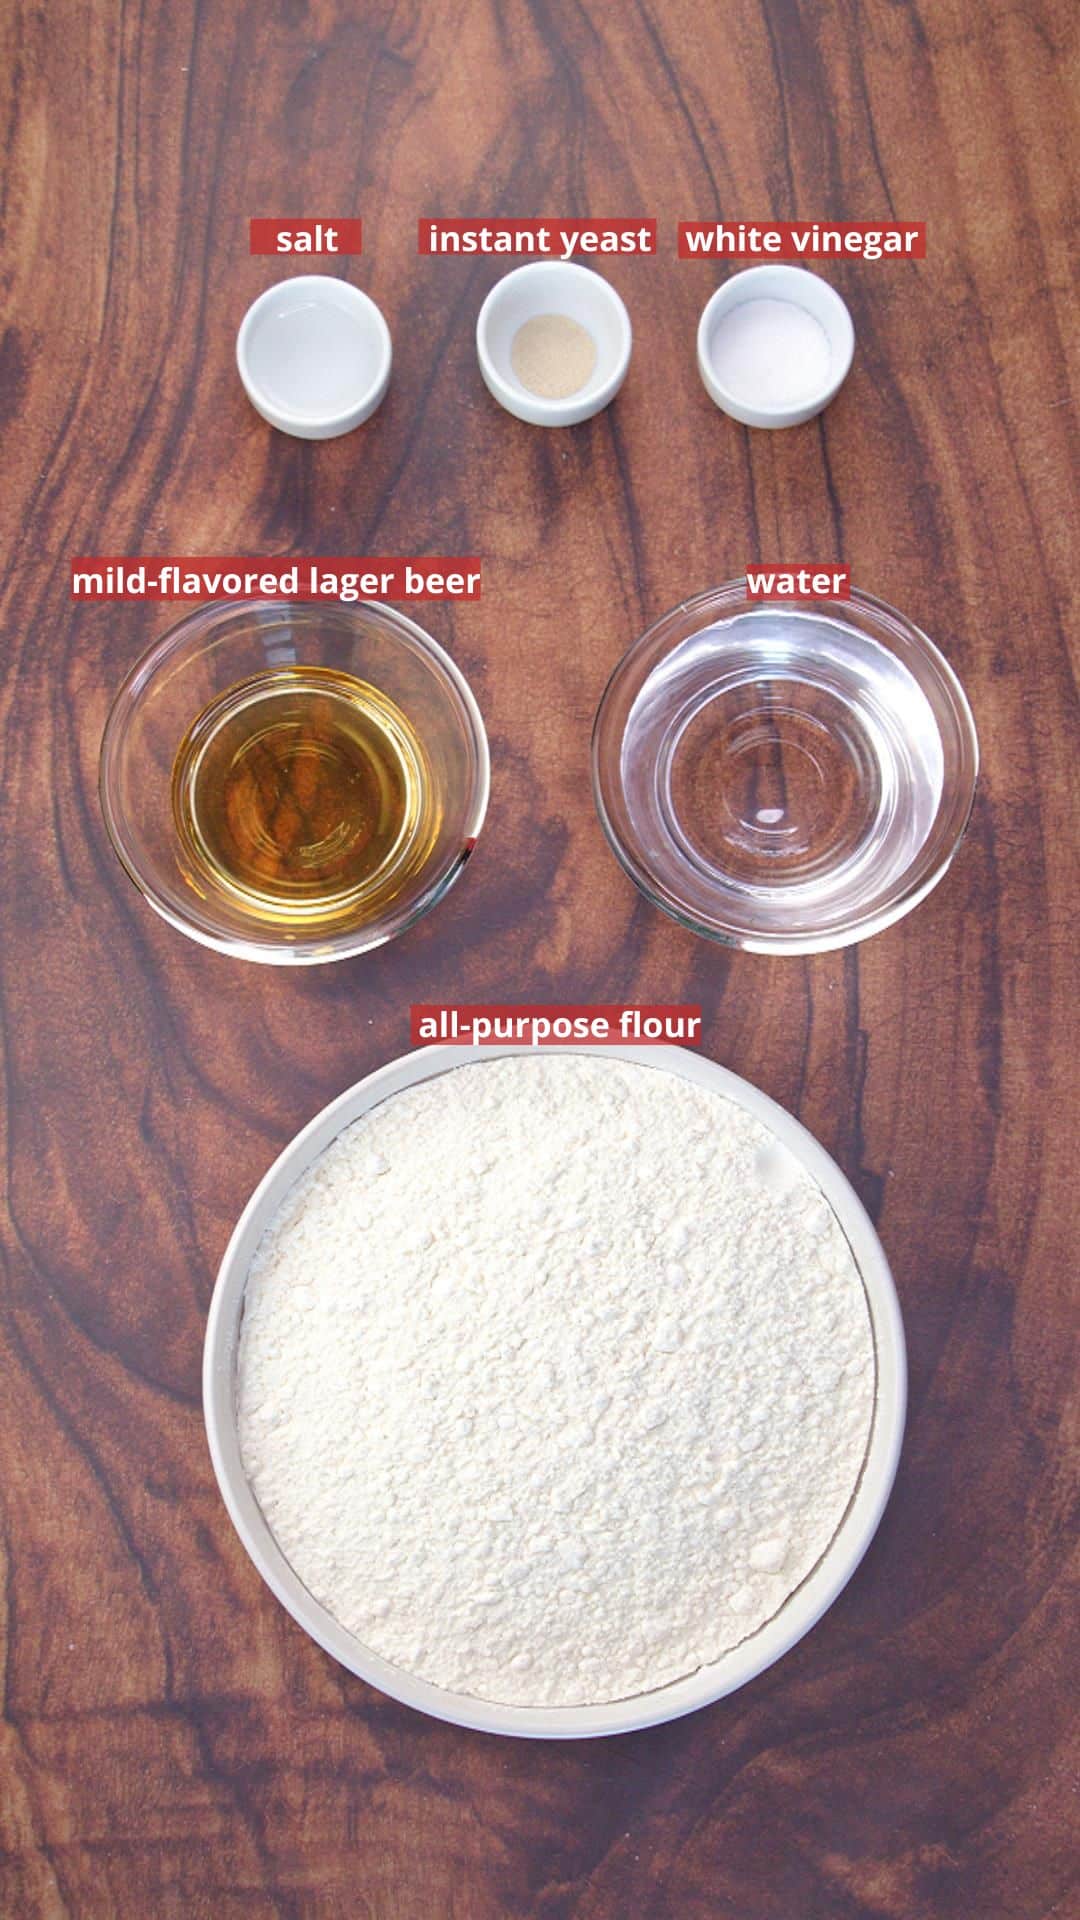
- All-Purpose Flour: You can use either bleached or unbleached flour with great results.
- Beer: A mild-flavored lager works best here. The beer adds a delicious yeasty flavor that makes this bread taste like it took days to make. Don’t worry – the alcohol cooks off completely, but if you prefer, non-alcoholic beer works just as well.
- Instant Yeast: I recommend using instant or rapid-rise yeast instead of active dry yeast. It’s much easier to work with and doesn’t need to be proofed first. If yeast confuses you, check out our Baking Techniques article.
- White Vinegar: Just a tablespoon of regular white vinegar helps develop flavor during the long rise. The vinegar also helps with the gluten development, giving your bread that perfect chewy texture.
- Water Temperature: Make sure your water is around 100-102°F (like warm bath water). Too hot will kill the yeast, too cold will slow down the rising process.
Making Perfect Almost No-Knead Bread
 Mix dough
- Let Rise
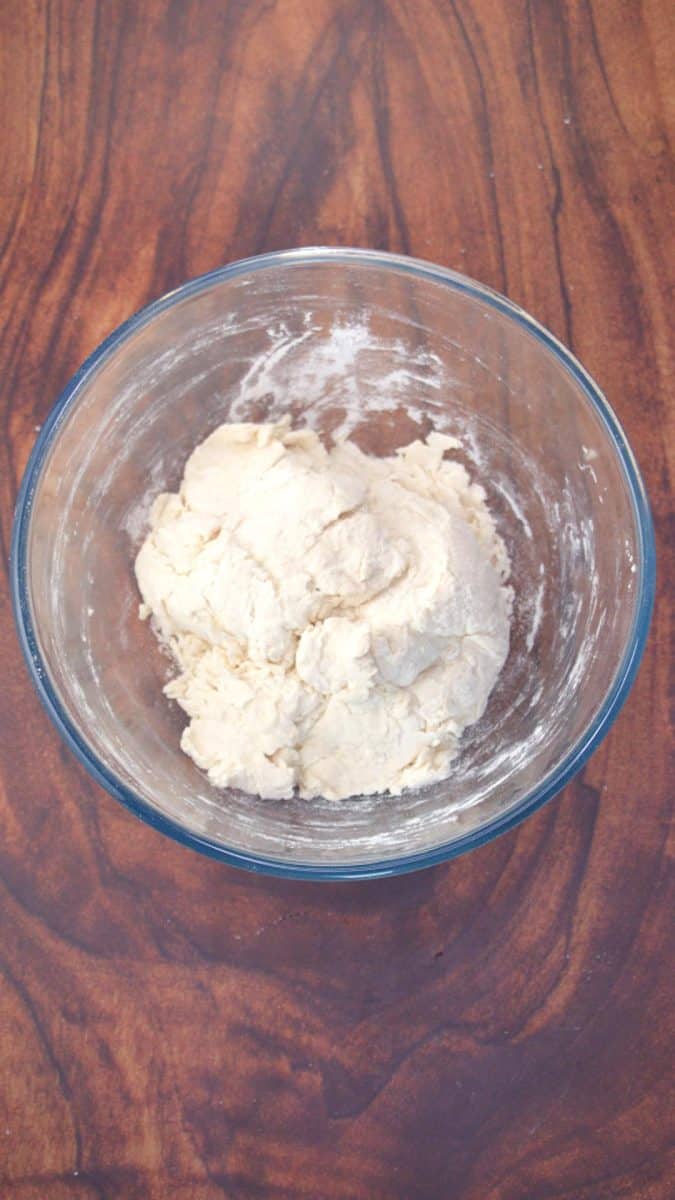
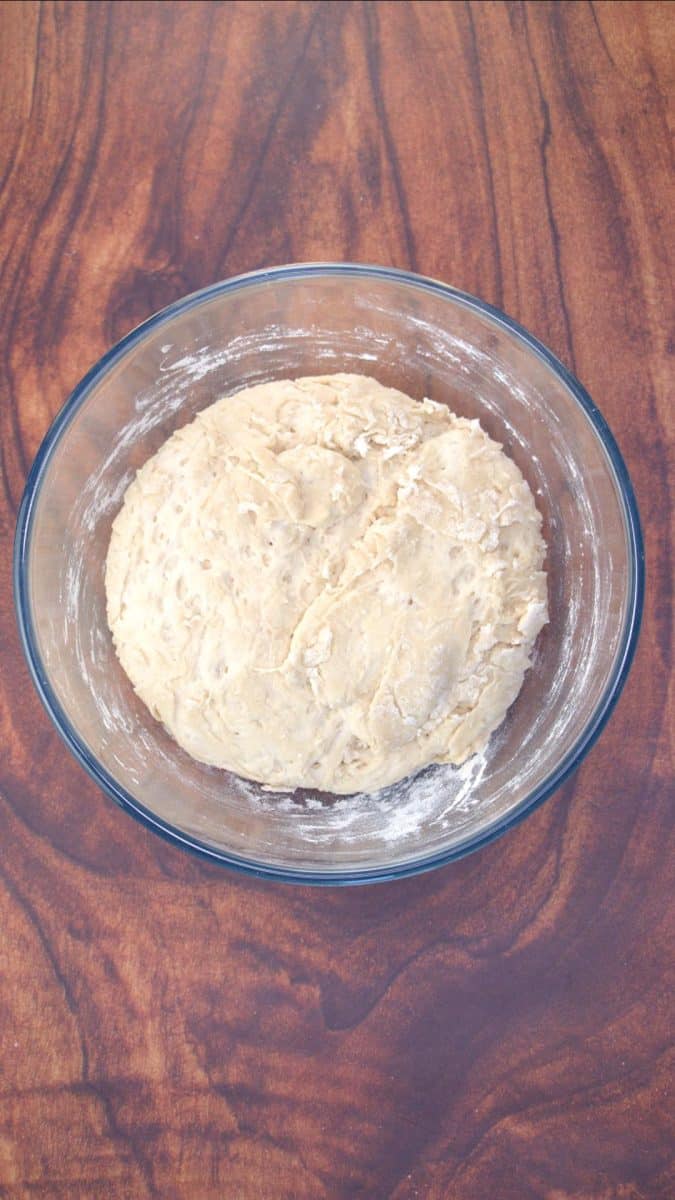
Start by combining the no knead bread recipe ingredients together in a mixing bowl until the bread dough resembles a shaggy ball. Cover the bowl and let it rest for 8 to 18 hours. As you can see, it doesn’t rise that much at this point.
On the day of baking, the dough is kneaded and shaped.
The Parchment-Lined Skillet Method
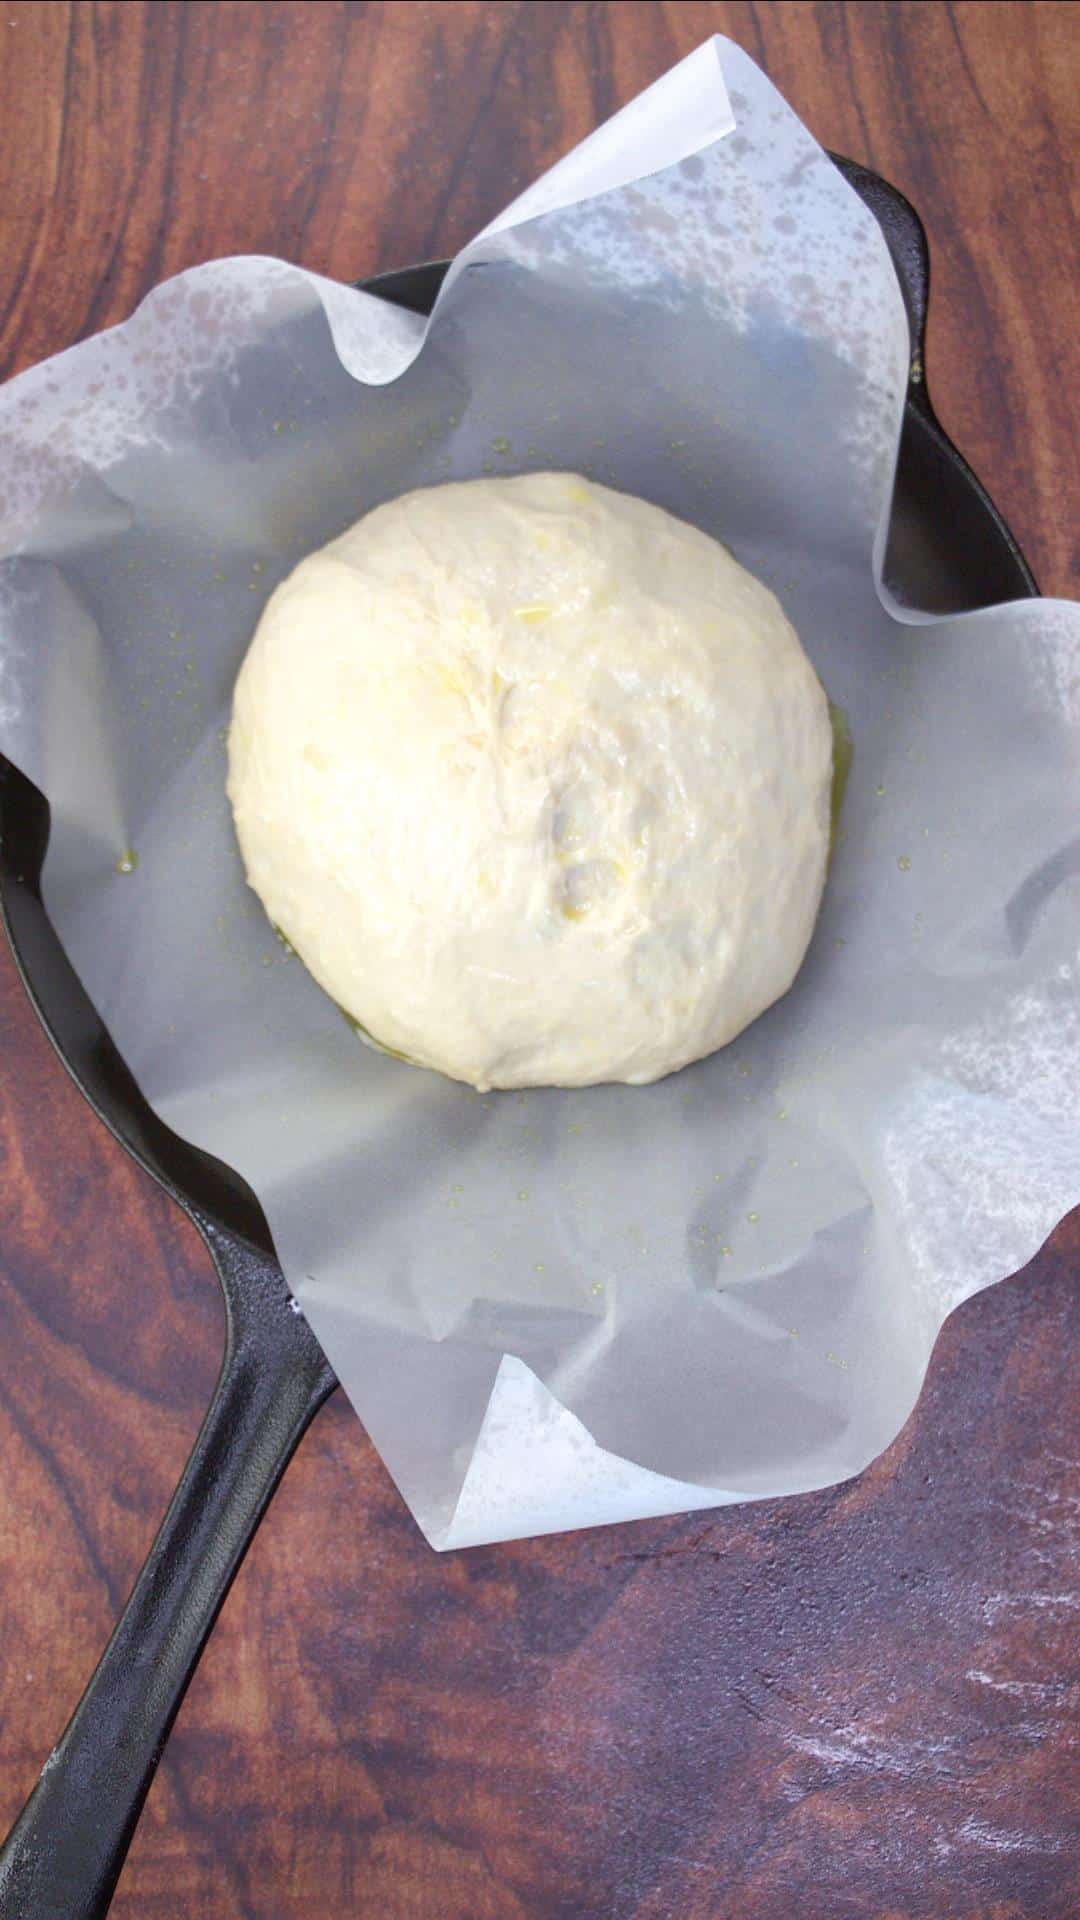
Using a parchment-lined skillet for the final rise of your bread dough is a game-changer, and here’s why:
- Perfect Shape Every Time: The sides of the skillet help your dough rise up instead of out, giving you a taller, more impressive loaf.
- Easy Transfer: When it’s time to bake, you simply lift the parchment paper by the edges and lower the whole thing into your hot Dutch oven – no more deflated dough from mishandling!
- No Sticking: The parchment prevents any sticking issues, so your perfectly risen dough stays perfectly risen.
Shaping Your Dough for Beautiful Bread
The way you shape your dough makes a big difference in how your finished bread looks and rises:
- Start with a Light Touch: When you turn the dough out onto your floured surface, use a light touch. Over-handling will knock out the air bubbles that developed during the long rise.
- The Pull and Tuck Method: Pull the edges of the dough toward the center, then tuck them under, rotating the dough as you go. This creates surface tension that helps the bread rise up rather than spread out.
- Seam Side Down: Always place the dough with the seam side down on the parchment paper to get a smooth, attractive top.
- Final Shaping: Cup your hands around the sides of the dough and gently pull it toward you on the counter. This creates even more surface tension for the perfect round loaf shape.
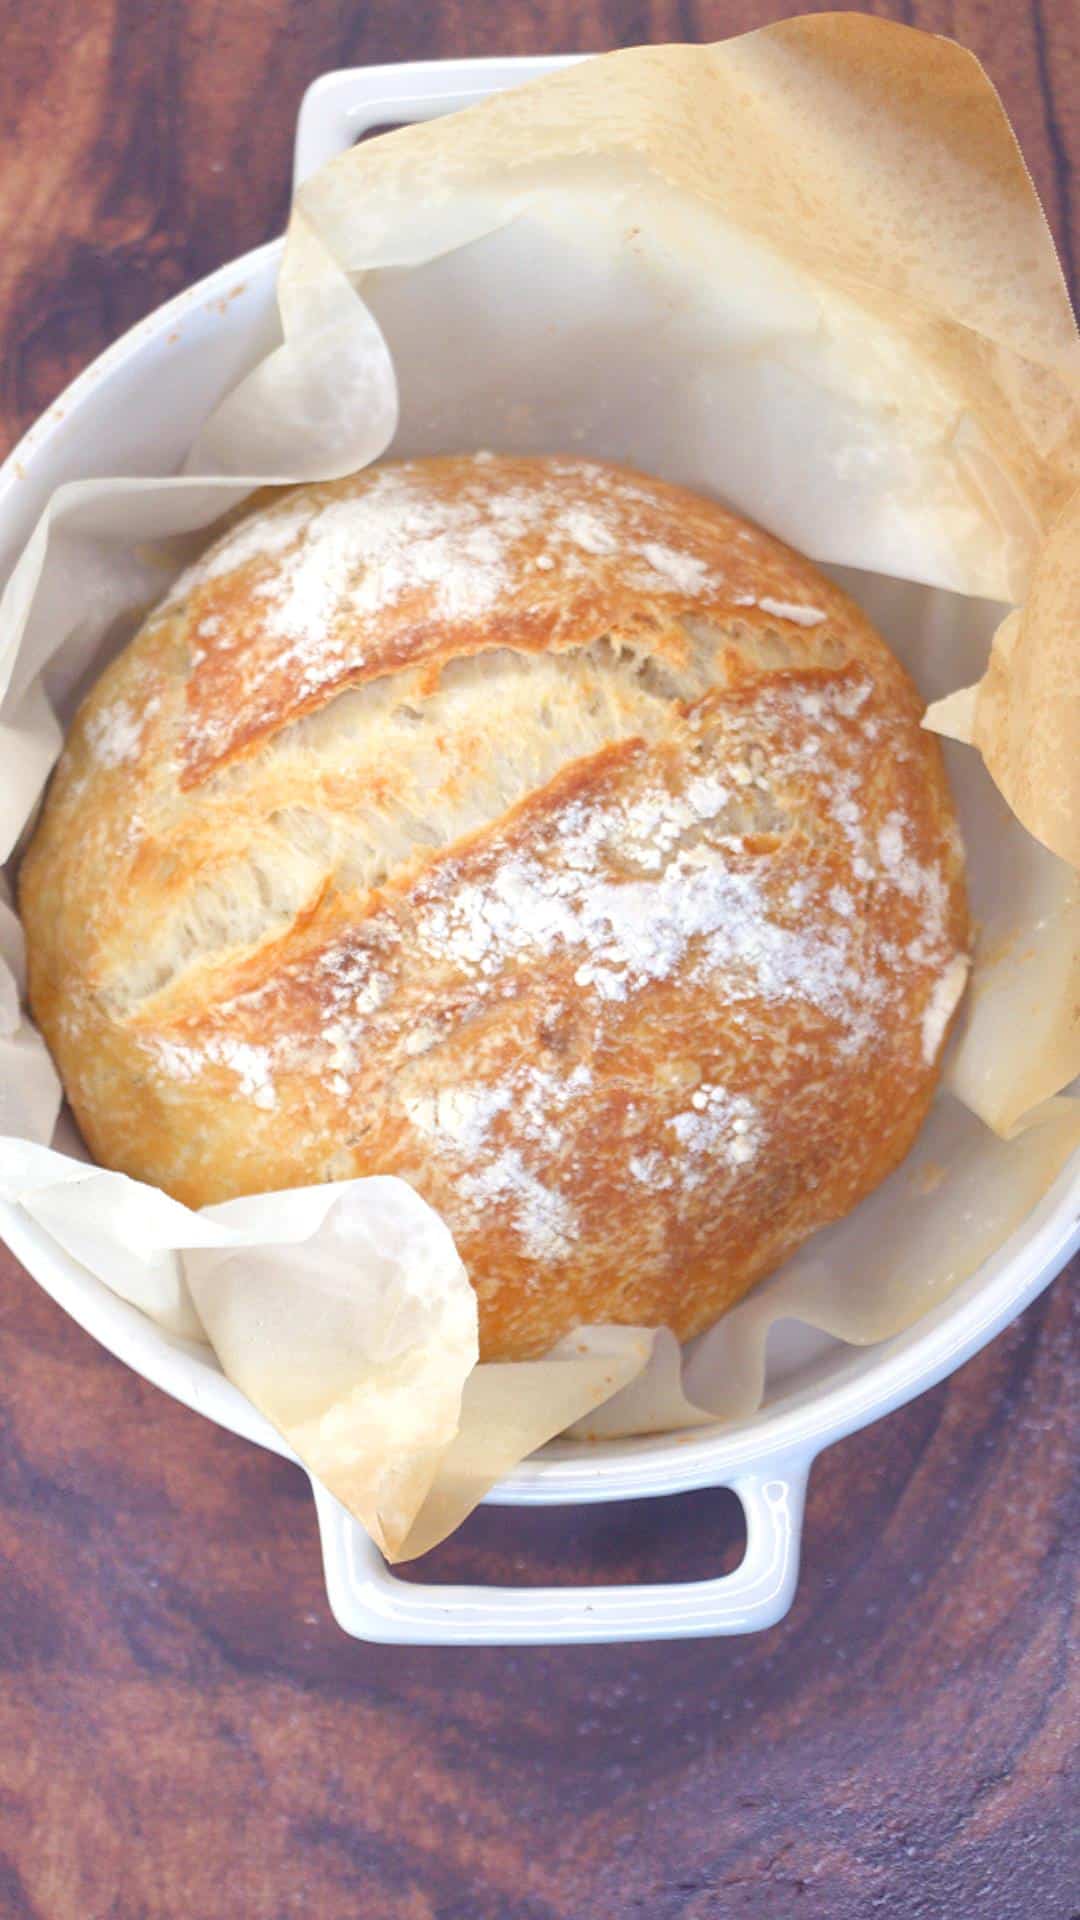
Now is the time for the final rise, approximately 2 hours or until doubled. Score the bread and bake.
Other Essential Tips
- Use a Dutch Oven: Using a dutch oven is the easiest way to mimic a commercial steam oven. It creates steam that gives this bread its amazing crispy crust. If you don’t have one, a heavy stockpot with a lid will work too.
- Temperature Matters: Check your water temperature with a thermometer before adding it to the flour mixture. Aim for 100°F to 102°F – about the temperature of warm bath water.
- Patience Pays Off: Let the dough rise for at least 8 hours, but up to 18 hours is even better! I usually mix it before bed and bake it the next day. This long fermentation develops amazing flavor. It also allows you to bake when it’s convenient for you.
- Use an Instant-Read Thermometer: Instead of guessing when your bread is done, use a thermometer to check that the internal temperature reaches 205°F to 210°F.
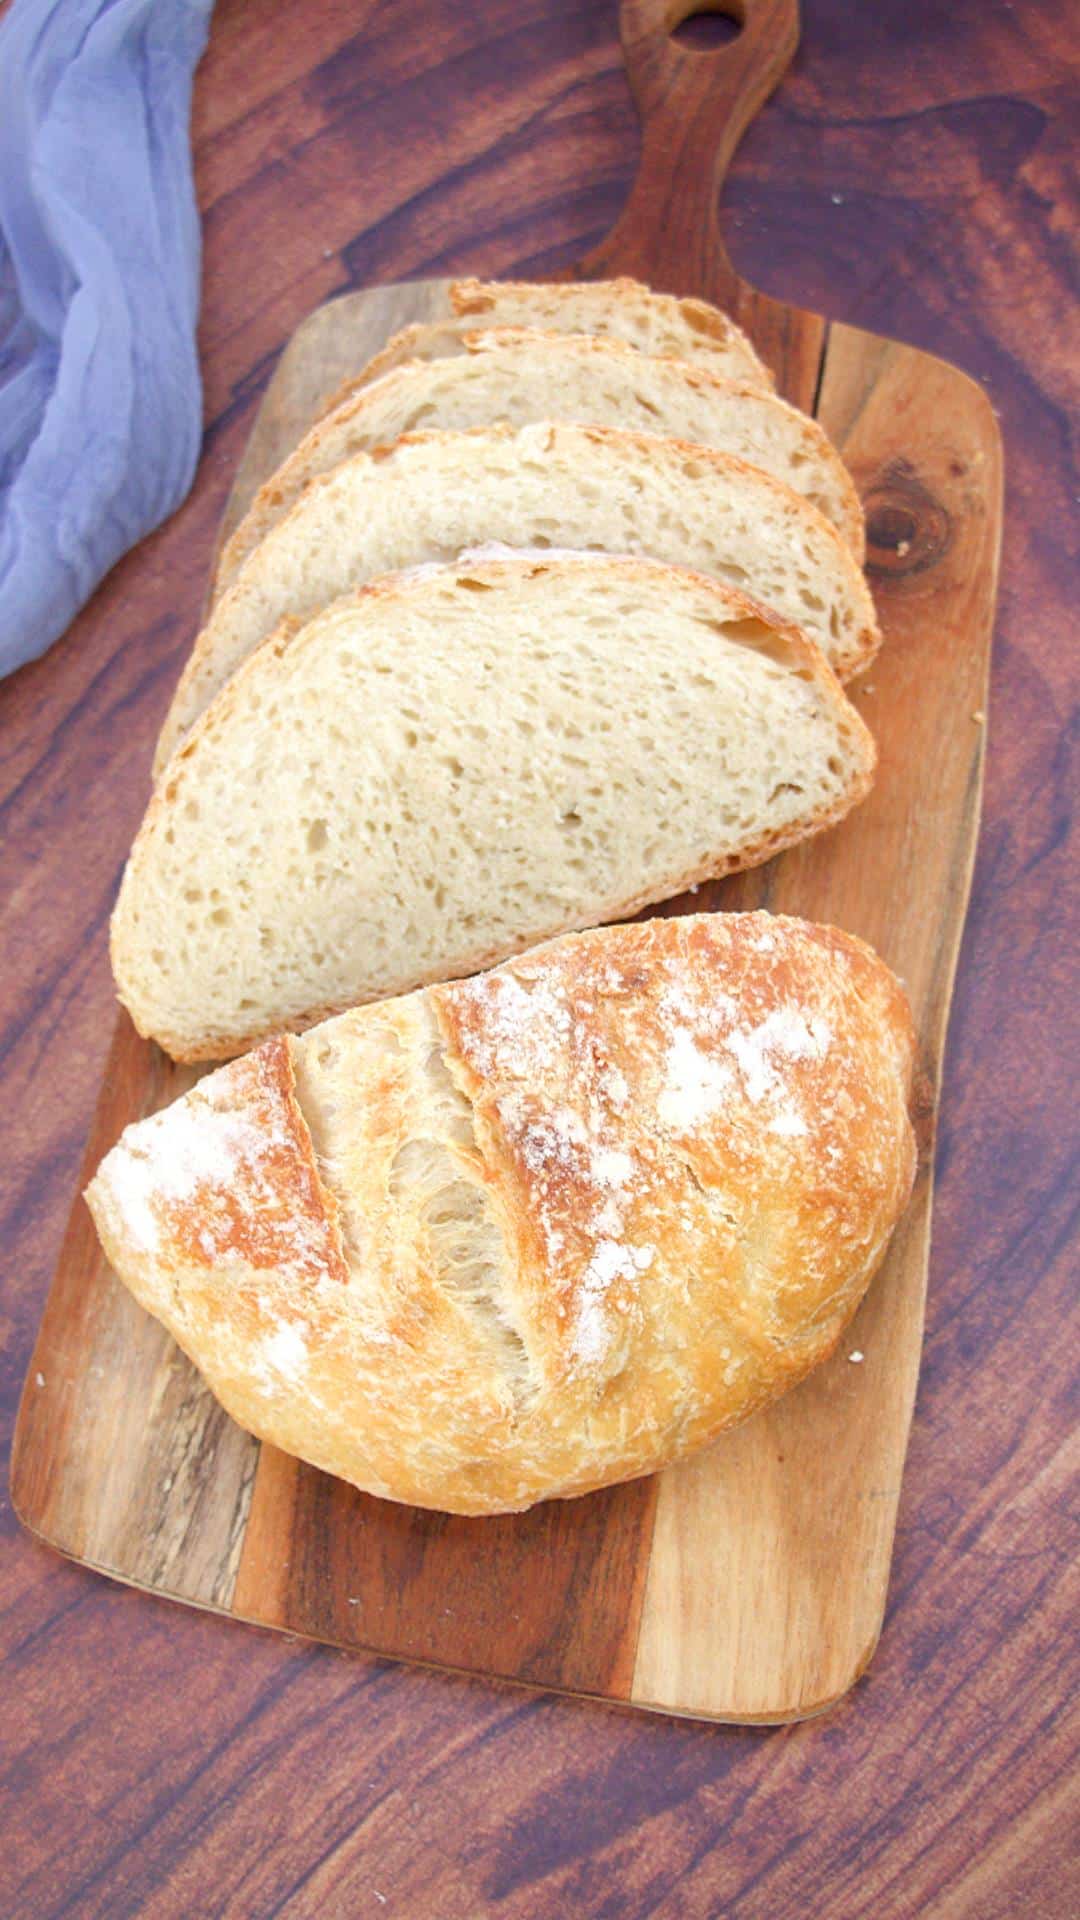
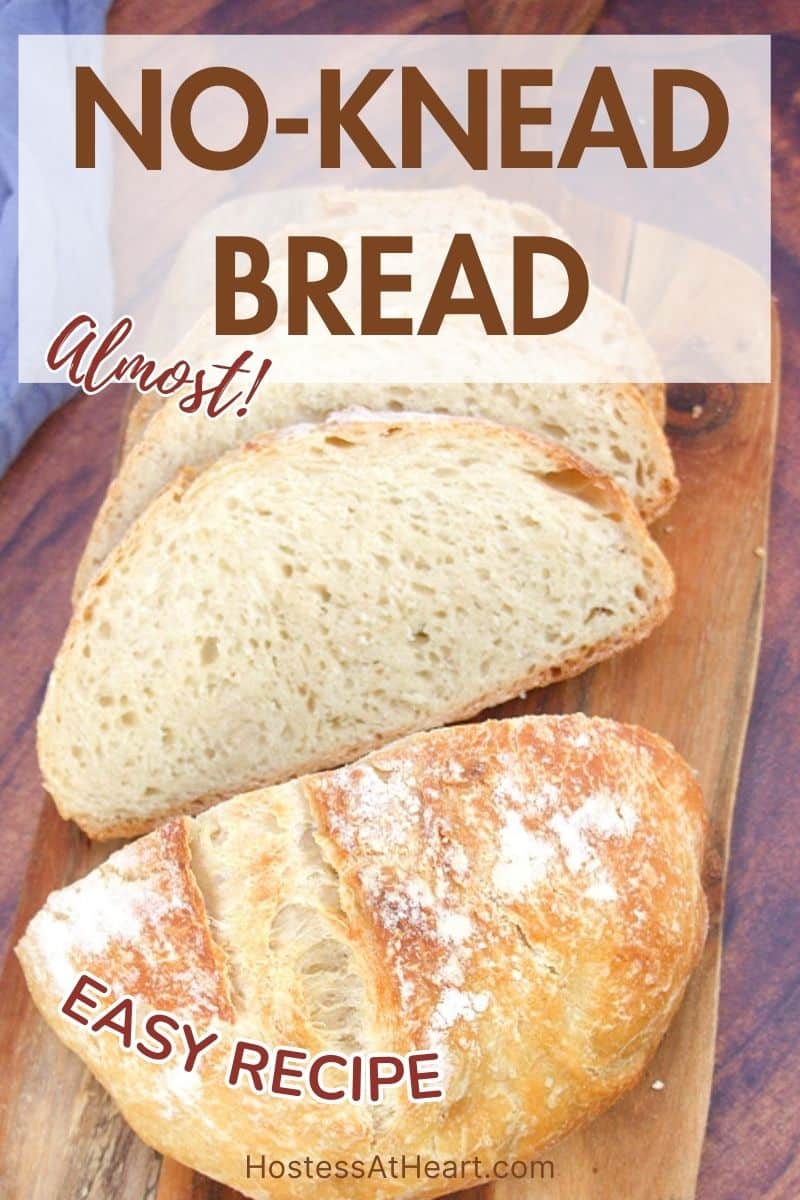
- Let It Cool Completely: The hardest part of this recipe is waiting for the bread to cool completely. That gives the crust time to set and the interior time to finish cooking and makes it easier to slice. Let it cool at least 2 hours before slicing.
Want to save this recipe?
I'd like to receive more tips and recipes from Hostess At Heart!
Serving Suggestions
This Almost No-Knead Bread makes the BEST toast in the morning with butter and jam, and incredible grilled cheese sandwiches!
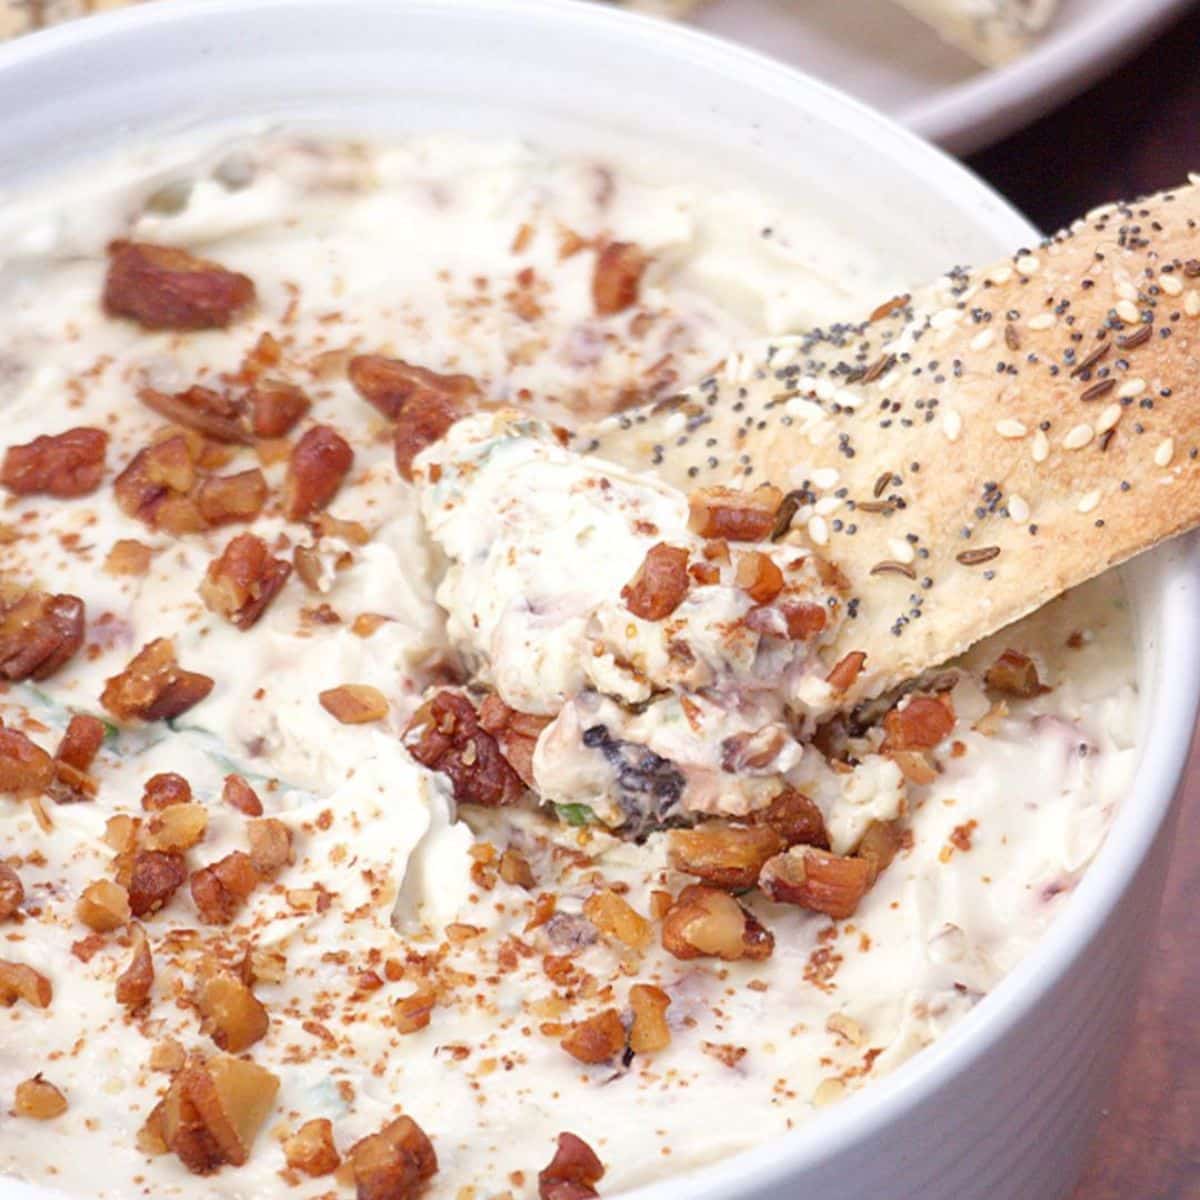
For a complete meal, I like to serve it with my homemade hamburger vegetable soup or alongside a crudités platter with sweet basil pesto, cheeses, meats, and olives. If you’re hosting a dinner party, try serving slices in a bread basket with herb-infused butter for a rustic, impressive touch.
Storage and Leftovers
This bread will keep well at room temperature for 2-3 days when wrapped in foil or stored in a plastic bag. The crust will soften a bit, but the flavor stays delicious! To refresh it, simply place unwrapped bread in a 450°F oven for 6-8 minutes.
If you want to prep ahead, you can freeze this bread for up to 3 months. Wrap it tightly in plastic wrap followed by foil before freezing. Thaw overnight at room temperature and refresh in a hot oven before serving.
Leftover bread makes amazing homemade croutons, French toast, or bread pudding! I often cube the last few slices to make a breakfast strata or toss them into soups.
Variations to Try
- Herb & Garlic Bread: Add 2 tablespoons of fresh chopped rosemary, thyme, and 3 minced garlic cloves to the dough for a fragrant, savory loaf.
- Cheesy Bread: Fold in 1 cup of shredded sharp cheddar or parmesan cheese just before the final rise for a delicious cheesy version.
- Whole Wheat Variation: Replace 1 cup of all-purpose flour with whole wheat flour for extra nutrition and a more rustic flavor.
Don’t be afraid to get creative with shaping your bread. While this recipe calls for a round loaf, you can also try shaping it into a baguette. Just have fun.
Related Recipes You’ll Love
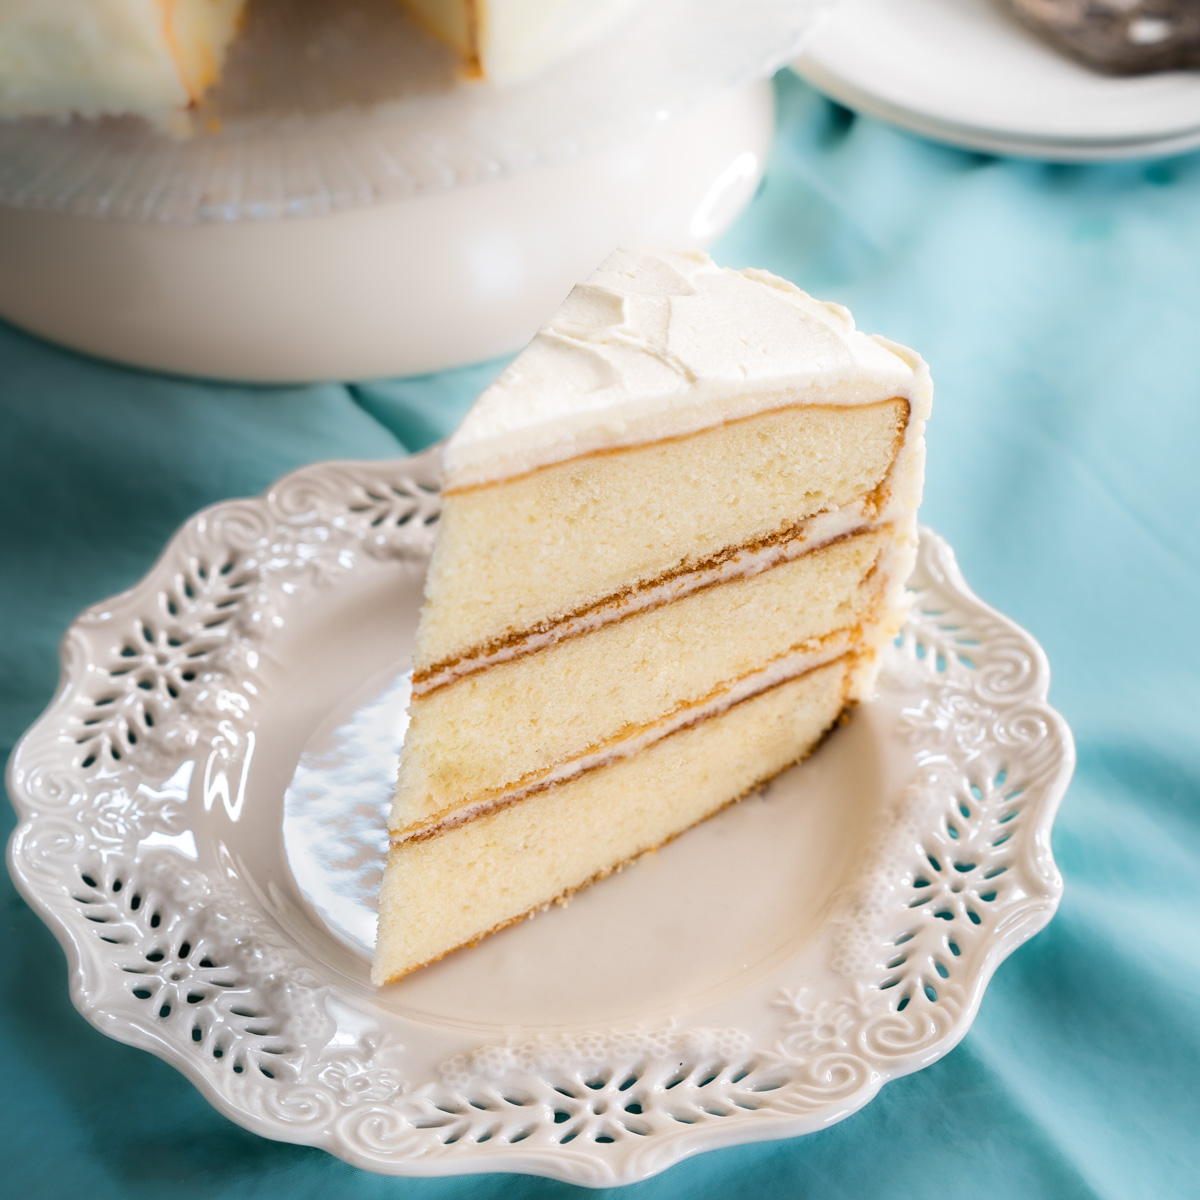
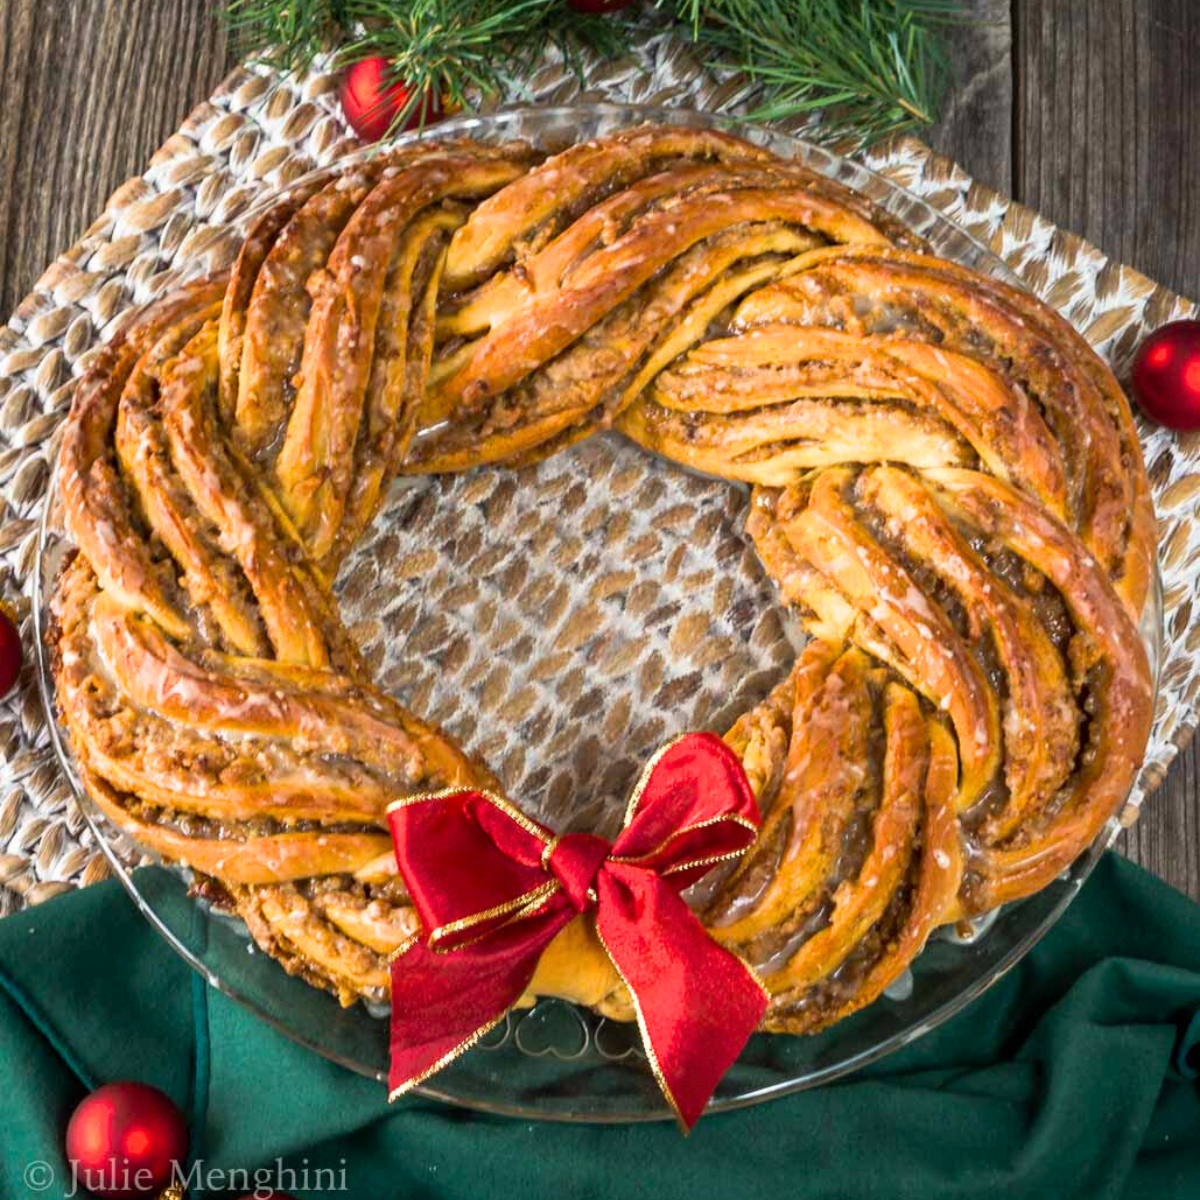
If you enjoy this Almost No-Knead Bread, I bet you’ll also love some of my other bread recipes! My Sourdough Bread uses a similar Dutch oven method but with natural fermentation. For a quicker option, try my English Muffin Bread which comes together in just about an hour. And if you’re looking for something with lots of flavor, my Cuban Bread is always a hit at family gatherings! Edible bread bowls are fun and delicious to eat too.
Did you make this bread? I’d LOVE to see it! Leave a comment below with your experience, and if this recipe helped you create bakery-worthy bread at home, please give it a 5-star rating! Your comments and ratings help other bread bakers find this recipe and give them the confidence to try it too.
Almost No-Knead Bread
Equipment
Ingredients
- 3 cups all-purpose flour
- 1½ tsp salt
- ¼ tsp instant or rapid-rise yeast
- ¾ cup plus 2 tablespoons water at room temperature
- 6 tbsp mile-flavored lager beer
at room temperature
- 1 tbsp white vinegar
Instructions
- Whisk flour, salt and yeast together in a large bowl. Add water, beer, and vinegar. Mix until a shaggy ball forms. Cover bowl with plastic wrap and let sit at room temperature 8 to 18 hours.
- Lay an 18 x 12 piece of parchment paper inside a 10-inch skillet and spray with cooking spray. Transfer the dough to a lightly floured counter and knead by hand 10 to 15 times. Shape the dough into a ball. Transfer seam side down to the prepared skillet and spray the surface of the dough with oil spray. Cover loosely with plastic wrap and let rise until doubled in size, about 2 hours. (Dough should barely spring back when poked with your knuckle.)
- Thirty minutes before baking, adjust the oven rack to the lowest position and place the Dutch oven (with lid) on the rack, and preheat the oven to 500 °FLightly flour the top of the dough and, using a sharp or serrated knife, make one 6-inch long, 1/2-inch deep slash along the top of the dough. Carefully remove the pot from the oven and remove the lid. Pick up the loaf by lifting up the edges of the parchment paper. Lower the bread into the pot (let any excess parchment hang over the edge of the pan). Replace the lid and put it in the oven. Reduce oven temperature immediately to 425 °F. Bake covered for 30 minutes. Remove lid and continue baking until crust is golden brown, 20 to 30 minutes longer. Carefully remove the loaf from the pot and transfer it to a wire rack. Discard parchment paper and let the bread cool for 2 to 4 hours before slicing.
- Recrisp bread in the oven 6 to 8 minutes at 450 °F.
Notes
Nutrition
Nutritional Disclaimer
This recipe was calculated using the exact brands and measurements I used to make this recipe. If you are following a strict diet please note changing anything will cause the nutritional info to change. My calculations are intended as a guide only.
Did you enjoy this recipe? Don’t forget to pin it for later and follow me on Pinterest for more delicious recipes like this one!
I always love seeing your creations – tag me on Instagram @hostessatheart if you share a photo of your beautiful loaf!
This almost no-knead bread recipe was first published on May 23, 2023. It has been updated to make it better for our readers. No changes were made to the actual recipe.

This recipe was originally published in 2014 and has been updated to improve readers’ experience. No change was made to the recipe.

Absolutely scrumptious and so simple to make! I served it with homemade strawberry jam and it was to die for!
Thank you! Homemade jam would be amazing on this bread.
Wow! How did I not know I could create such a flavorful bread so easily!? Thanks so much for this recipe.
Thank you!
no knead breads are so good and so easy to make. Thanks for the recipe!
Thank you!
This was so easy and so good! I’m always looking for a new bread recipe and this one is certainly added to my rotation. Thank you!
Thank you! It’s so easy and one of our favorites too.
I always love your bread recipes, and this is a new favorite! I used a local lager and it was dreamy!
Thank you so much! I’m sure that lager gave it an amazing flavor too.
It seems like it’s been quite a while since I’ve baked a loaf of bread. Your post really makes me want to get back to it!
Thank you, Jeff! Baking bread is my happy place!
This looks absolutely stunning! I’ve not yet tried the no-knead-bread, I suppose because I like the kneading 😉 Thanks for your suggestions regarding the Dutch oven!
Ginger
I don’t mind kneading either, but his sure is an easy bread when you don’t have the time for a lot of kneading. Let me know if you try it.
Will do!
Simply perfection, that’s all I can say!