How to make Easy Pumpkin Faces
This post may contain affiliate links. Please read our Disclosure Policy.
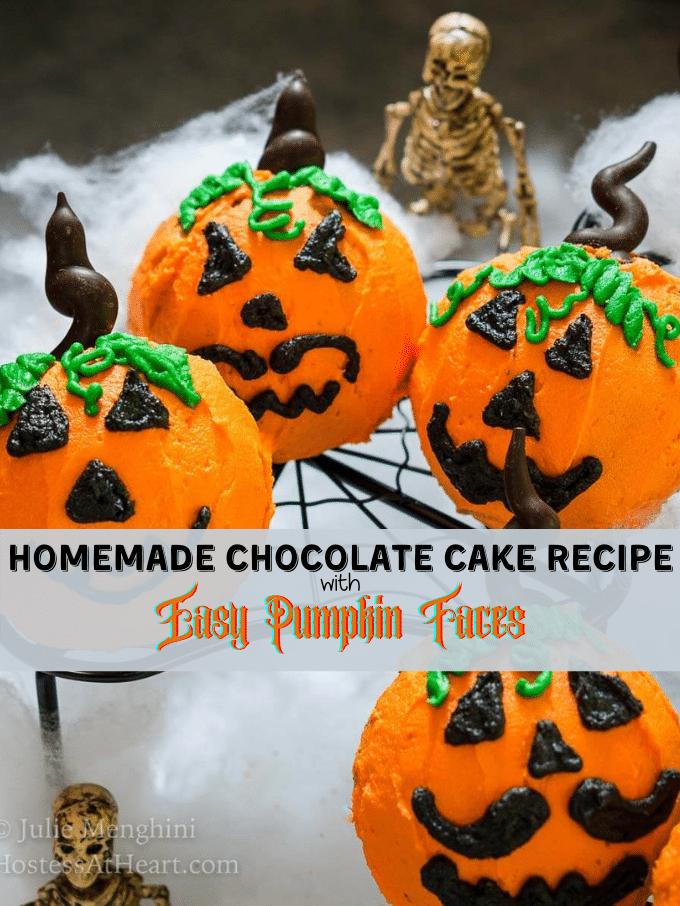
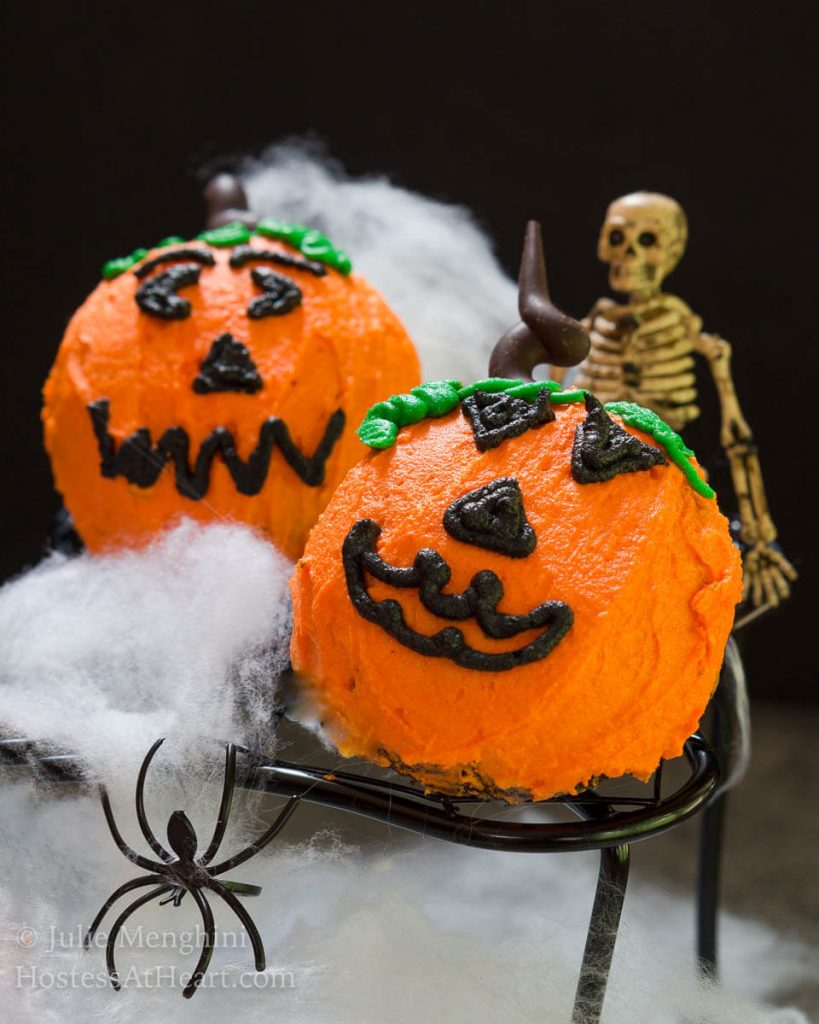
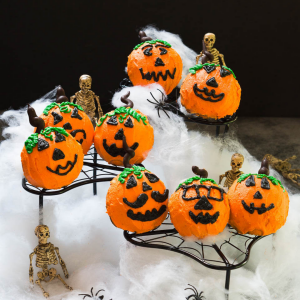
These Easy Pumpkin Faces are made with our Homemade Chocolate Cake Recipe that’s an old family recipe made from scratch. Nothing could be more fun or easy than making it into cute little pumpkin faces for Halloween.
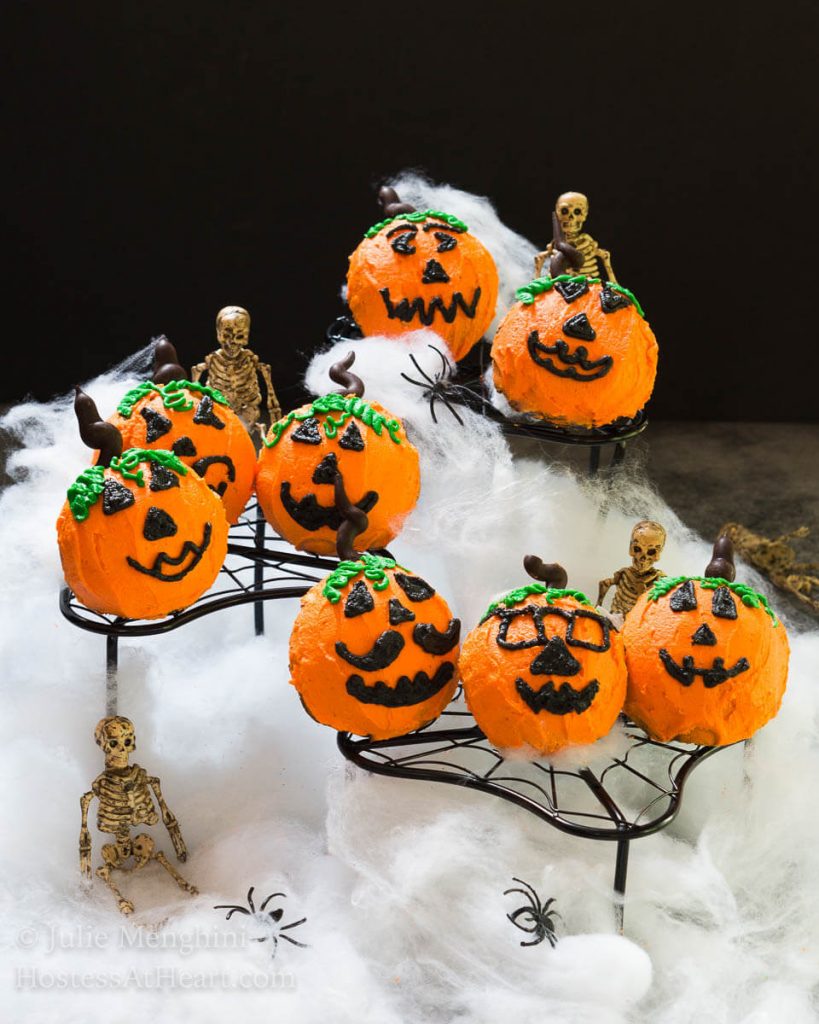
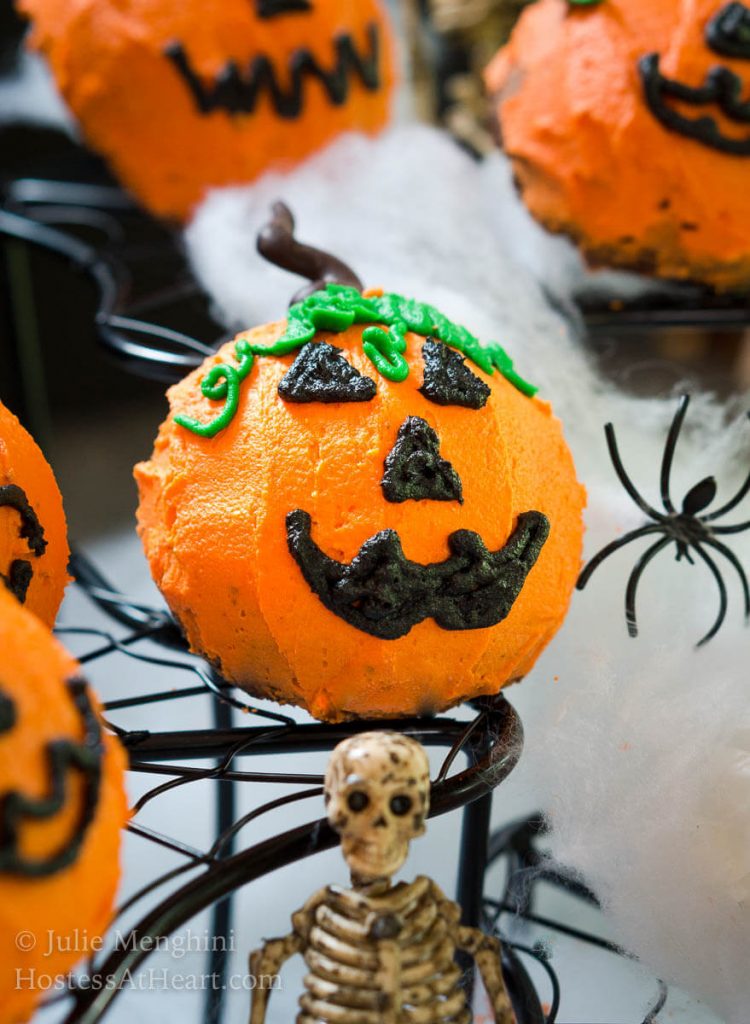
This made from scratch Homemade Chocolate Cake recipe has been made in our family for years. It’s an easy recipe that can be baked up in any pan, including a ball pan that we used for these adorable Halloween Pumpkin Faces!
Food can be fun and taste good too. These pumpkin face cake designs are a great way to get the kiddos in the kitchen and a great family activity too.
How many cake recipes are there? I think about 5 billion.
What I love is using this simple chocolate cake recipe is that tried and true.
We could focus on our fun chocolate cake designs without worrying whether or not the cake was going to be good.
Hostess At Heart received some products to produce this post but all opinions are 100% our own.
Homemade Chocolate Cake Recipe Ingredients
- Butter – We used unsalted butter.
- If you use salted butter, only use 1/2 tsp of salt in the recipe.
- Sugar – white granulated sugar. The Imperial brand was used for this recipe.
- Eggs – We always buy large eggs for consistency in or baking
- Flour – All-purpose flour, bleached or unbleached.
- Cocoa – Rodelle Gourmet Baking Cocoa is Dutch-processed was used in this recipe. We recommend sifting and then measuring cocoa.
- Baking soda and Baking powder – These are leaveners that make your cake rise up nice and fluffy.
- Salt – We like fine sea salt because of it’s blend-ability but any will do.
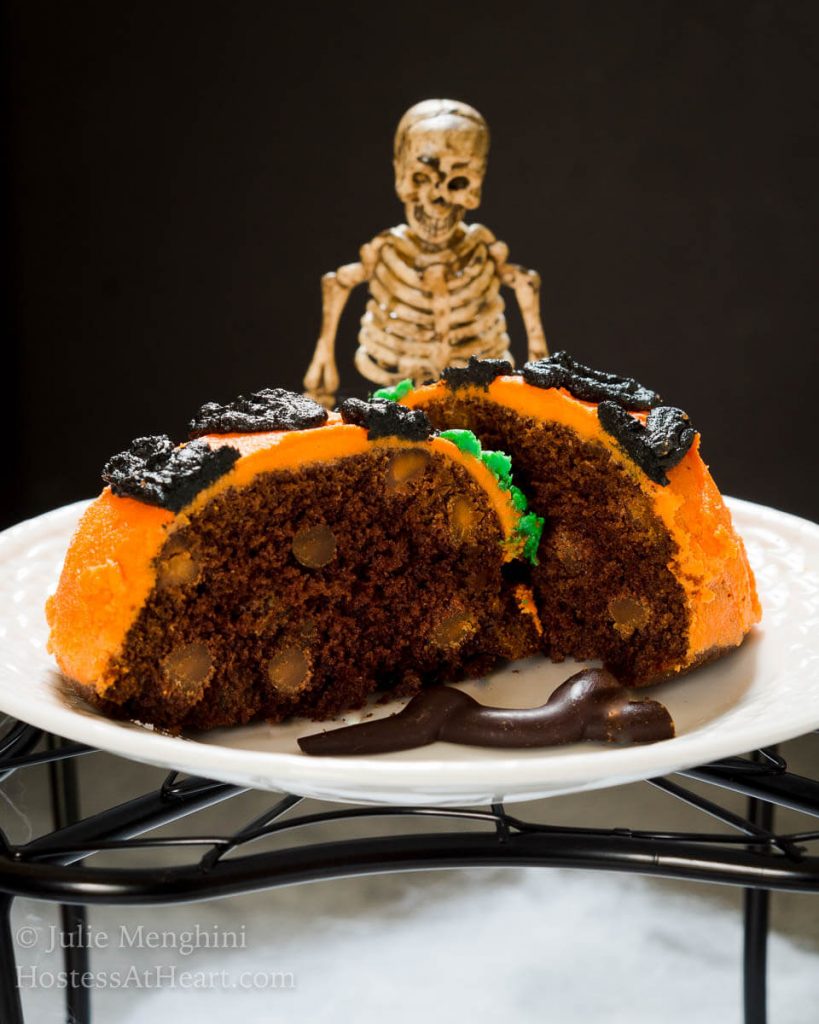
- Peanut Butter chocolate chips – We used Organic Peanutta Chips by Rodelle in this recipe. This is optional and you can also use chocolate chips as an option.
Buttercream Frosting Ingredients
For our easy little pumpkin faces, we use Wilton’s Buttercream recipe. I find it very easy to get the consistency that I need for frosting and making the designs.
These ingredients make up a lot more frosting than what is needed for this recipe. You can freeze it for all of those Holiday cookies you’ll be baking up.
- Powdered sugar – sifted
- Meringue Powder – this is optional but I believe that it adds structure to the frosting.
- Meringue Powder is made from dehydrated eggs.
- Vegetable shortening
- Milk – Water will also work and is added a little bit at a time until I get the consistency we want.
- Food coloring – Orange, green, and black.
- Chocolate Cocktail Sticks were used for our stems.
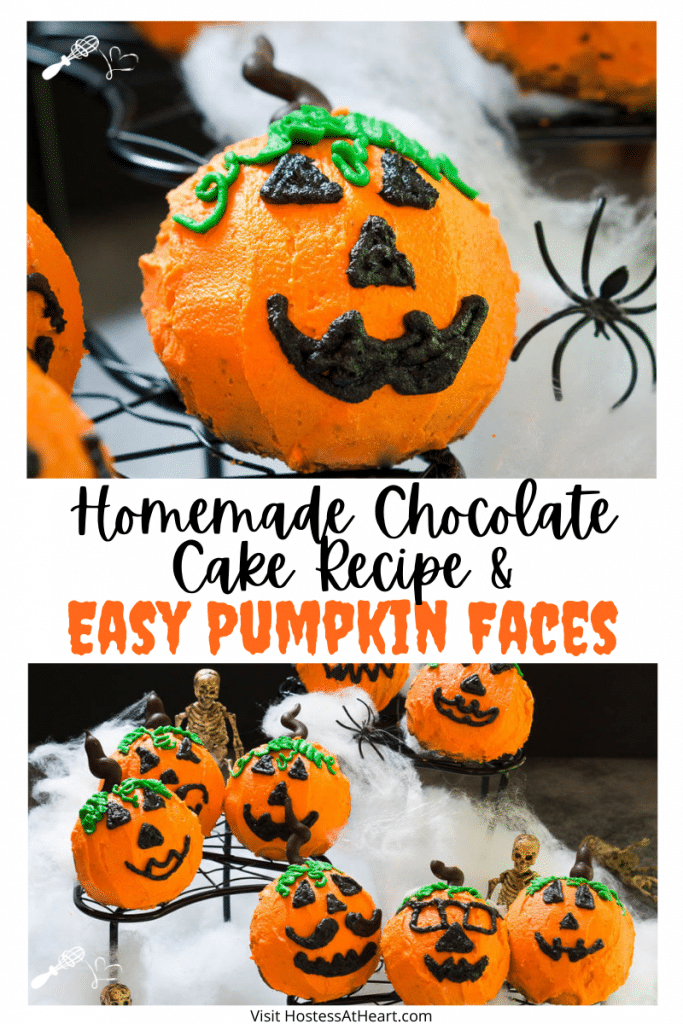
Pin it now!
How to make this recipe for Homemade Chocolate Cake
- Using an electric stand mixer, cream the butter, sugar, and eggs together until they are fluffy and lighter in color.
- Ingredients will whip together better if they are all at room temperature.
- In a separate bowl, combine the flour, sifted cocoa, baking soda, baking powder, and salt. Whisk to combine.
- With the mixer on LOW, gradually add the dry ingredients alternating with the milk to the butter mixture. Mix until combined.
- With the mixer on low, sprinkle in the peanut butter chips.
- Bake
Baking tips and variations
You can make these cute little chocolate cake pumpkin faces in a muffin tin for easy pumpkin face cupcakes! There isn’t any need to buy another pan if you don’t have one. (I’m hyperventilating as I say this. I may have a pan problem LOL!)
Any pan should be greased or sprayed with non-stick cooking spray.
You should also check the doneness of the cake before the least amount of cooking time is up. Ovens and pans cook at different rates.
The cake is done when a cake tester or toothpick is inserted into the thickest part of the cake and has very few crumbs sticking to it when removed. It doesn’t need to be completely without crumbs.
- Muffins or Ball pan – Fill 2/3 full and bake 22 to 25 minutes.
- 2- 9″ round cake pans – bake for 30 to 35 minutes
- 9×13 cake pan – bake for 35 to 40 minutes
- Bundt Pan – bake 45 to 55 minutes.
Want to save this recipe?
I'd like to receive more tips and recipes from Hostess At Heart!
Equipment you’ll need
This recipe is an oldie but so simple that it was perfect for these pumpkins. I used a Wilton Mini Ball Pan.
The round shape that it gave my little pumpkins was adorable. You could definitely make these into cupcakes too.
We used decorator tips for this recipe. This set gets you started with everything you need and more!
We also prefer these gel-based food colors. They’re “peanut-free” so are safe for people with peanut allergies.
How to make the Pumpkin Face Design
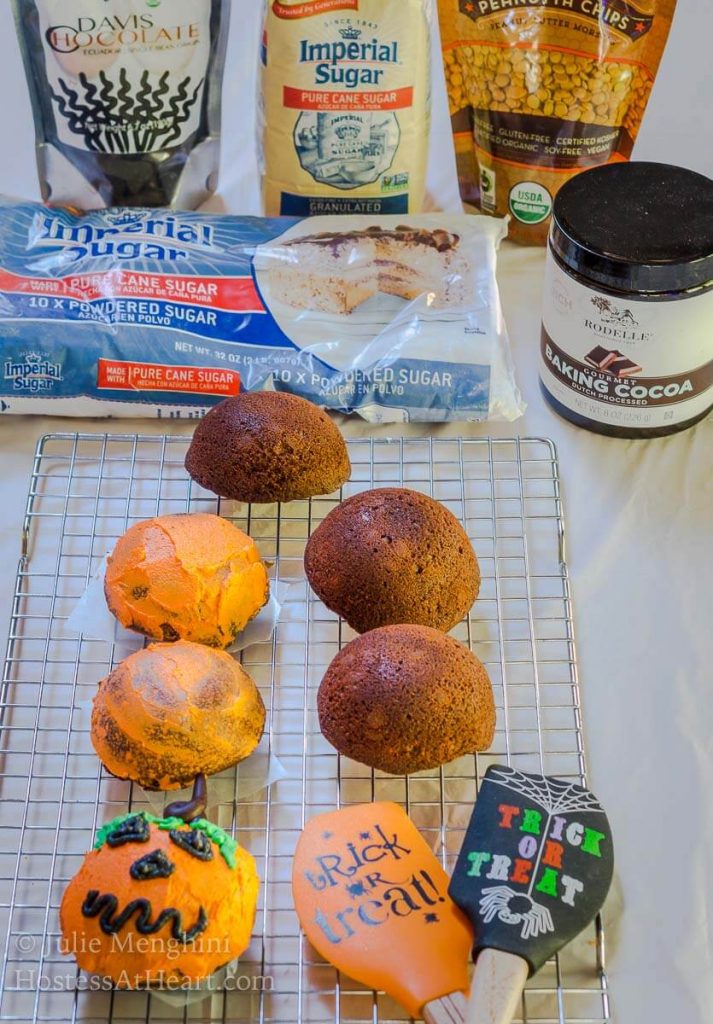
- After the cakes have cooled, remove them from their pan after 10 minutes and allow them to cool completely.
- While the cakes are cooling, you will want to separate the frosting in thee separate bowls. Put enough frosting in a medium-sized bowl to frost the cakes entirely in orange and two smaller bowls, one for green and one for black.
- Keep the bowls covered with plastic wrap or a damp paper towel until you’re ready to use it. It dries out very quickly.
- Frost the perimeter of each cake entirely with orange.
- We usually start with a thin “scratch coat” then a thicker coat. This keeps the crumbs from getting into the frosting.
- It’s easier to add the details if you let the frosted cakes sit for a little bit and develop a slight crust to it.
- Using a #2 round, outline and fill in the eyes, nose, and mouth with black frosting. Adding spider webs would be adorable too don’t you think?
- A #2 round, add the green vines.
- Leaf tip #352 was used for the green leaves.
SIMILAR RECIPES TO ENJOY
Chocolate Cake Pumpkin Faces. These easy pumpkin faces are so fun. They’re the hit at any Halloween get-together
Monster Cupcakes. Make these adorable monster cupcakes any time you need a ghoulish treat for your kids.
Coming soon! Mummy Pretzels. These super cute decorated pretzels are perfect for a handheld treat or as an addition to your Halloween jarcuterie.
Coming soon! Monster Cake. A super cute cake you can make for events where you don’t want cupcakes.
Coming soon! Halloween Cookie. Turn a giant cookie into a cool spiderweb with these instructions.
Here are a few of my previous #Choctoberfest recipes!
Making a Homemade Chocolate Cake Recipe from scratch is difficult. Adding little pumpkin faces makes it fun for the entire family.
I participated in Choctoberfest last year for the first time. I thought it was the perfect activity for me because hello, we love chocolate more than maybe 70% of the universe!
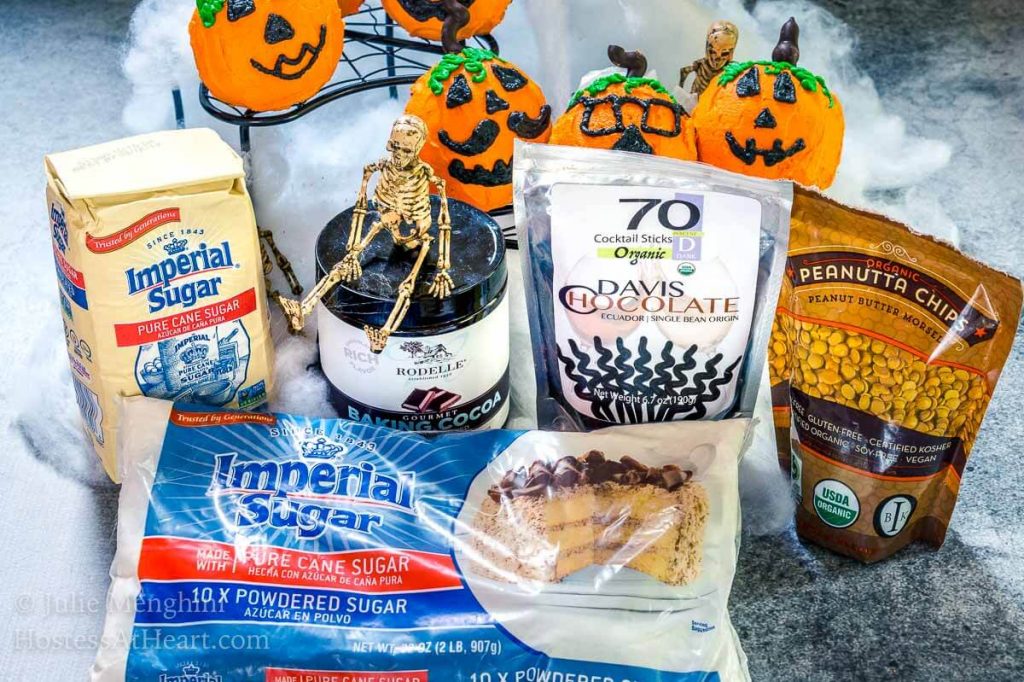
For these pumpkin faces I had the opportunity to work with the #Choctoberfest gold sponsor Imperial Sugar, Rodelle, and Davis Chocolate. That’s like a baker’s dream trifecta! I don’t say this lightly. I will never promote a product that doesn’t perform as it should.



You had me at chocolate cake! But my nephews loved the pumpkin faces! Great recipe!
Thank you, Michaela!
These are so darn cute! Planning on making them for a special Halloween treat this year, thanks for the detailed video too!
Thank you, Kathleen. I hope you have a lot of fun making them!
My goodness, these are absolutely fabulous! What a fun Halloween treat. I just love the step by step video too, that’s tons of help!
Thanks, Deb! They’re a ton of fun to make and delicious to eat!
Those faces are adorable! I’ll be making these closer to Halloween. The family will love them!
Thank you! So fun too!
Well these are the cutest things in the world! I love what you did and I’m thinking about making these in the next week or so to give to the neighbor kids!
Thank you, Paige!
hi Julie
I want to celebrate Halloween with you! These cakes are adorable and they sound delicious! 🙂
It’s always been so much fun Petra. The adults and kids alike always look forward to Halloween.
At first glance, I thought these were popcorn balls lol. They turned out really cute and look delicious 😉
Thank you, Cori! They were a lot of fun!
I am very jealous of how adorable your little pumpkins are. You will be reading all about my mini pumpkin fiasco tomorrow here at Choctoberfest.
Thank you, Wendy! I can’t imagine you having any fiascos. I’ll definitely be checking that out! That keeps humble right? LOL
Oh wow, how cute! You did an awesome job with the decoration.
Thank you, Allison!
What a “spooky” post Julie – I just love it. Great pictures (except for the spiders – I like them in my garden buy no where else). Love those little skeletons scattered among the pumpkin cakes. I think I still have the ball pan and you did a great job of decorating them!
Thank you, Judi! These were a lot of fun and my little neighborhood guy loaded up a plate to take home.