Hershey’s Chocolate Syrup Cake Recipe
This post may contain affiliate links. Please read our Disclosure Policy.

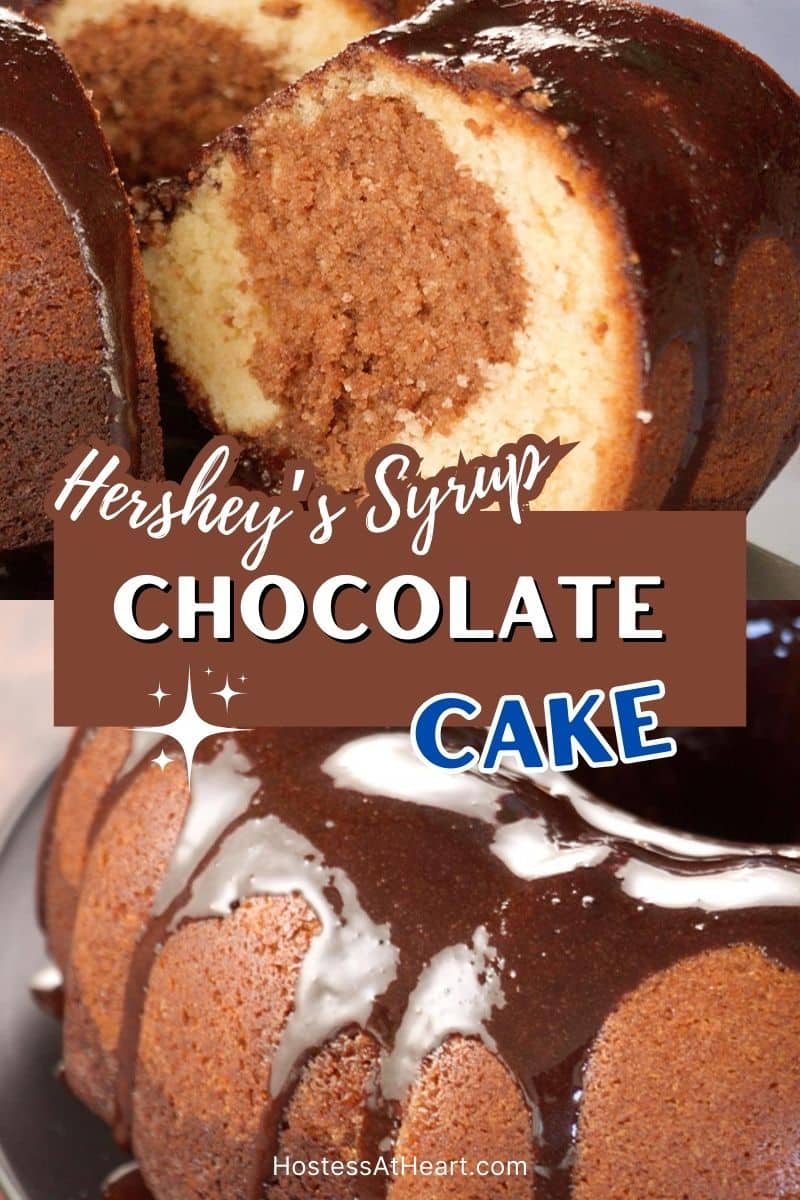
Have you ever wanted a chocolate cake that’s super moist, easy to make, and has that perfect chocolate flavor? This Hershey’s Chocolate Syrup Cake is the answer to your chocolate dreams! It’s so simple that even the kids can help, and it turns out amazing every single time.
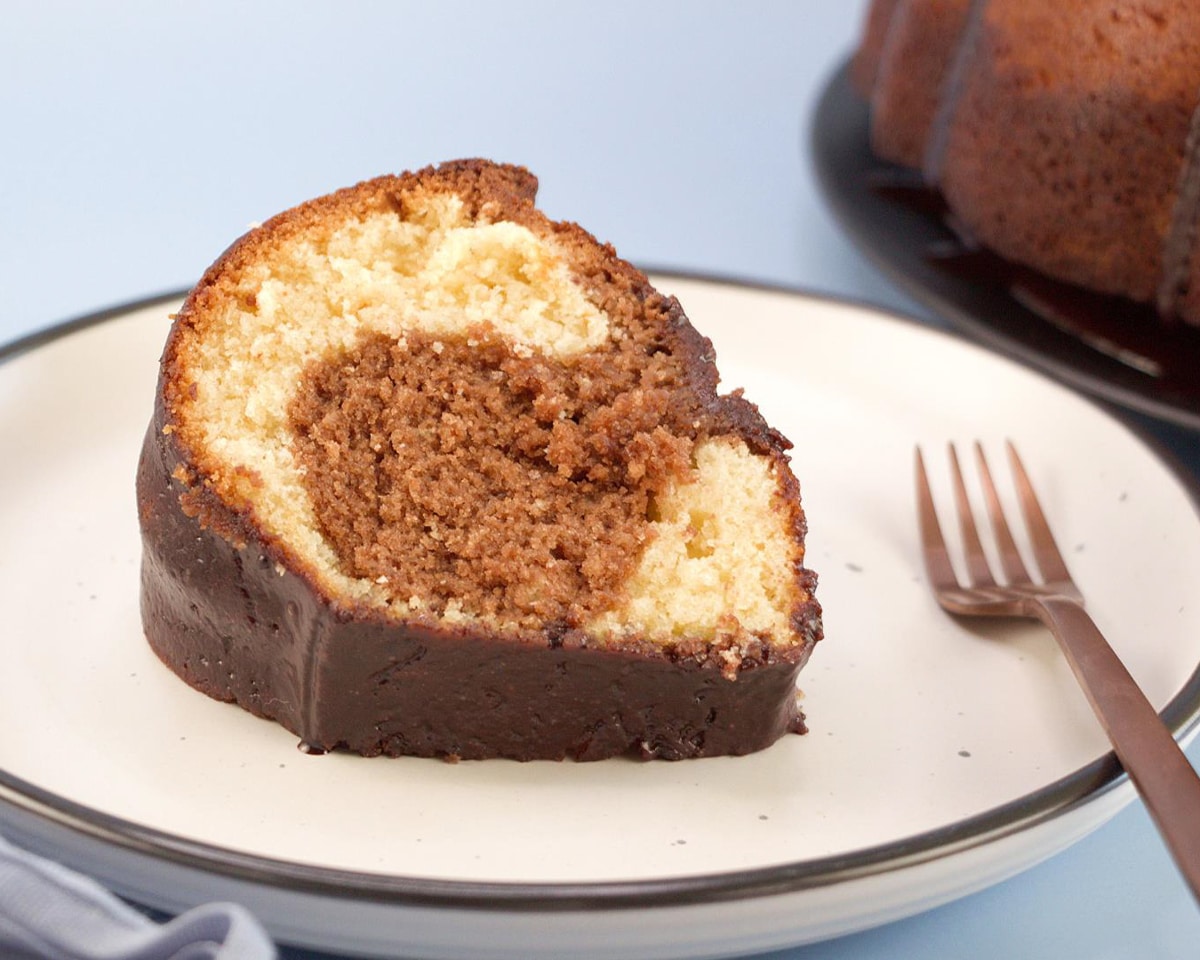
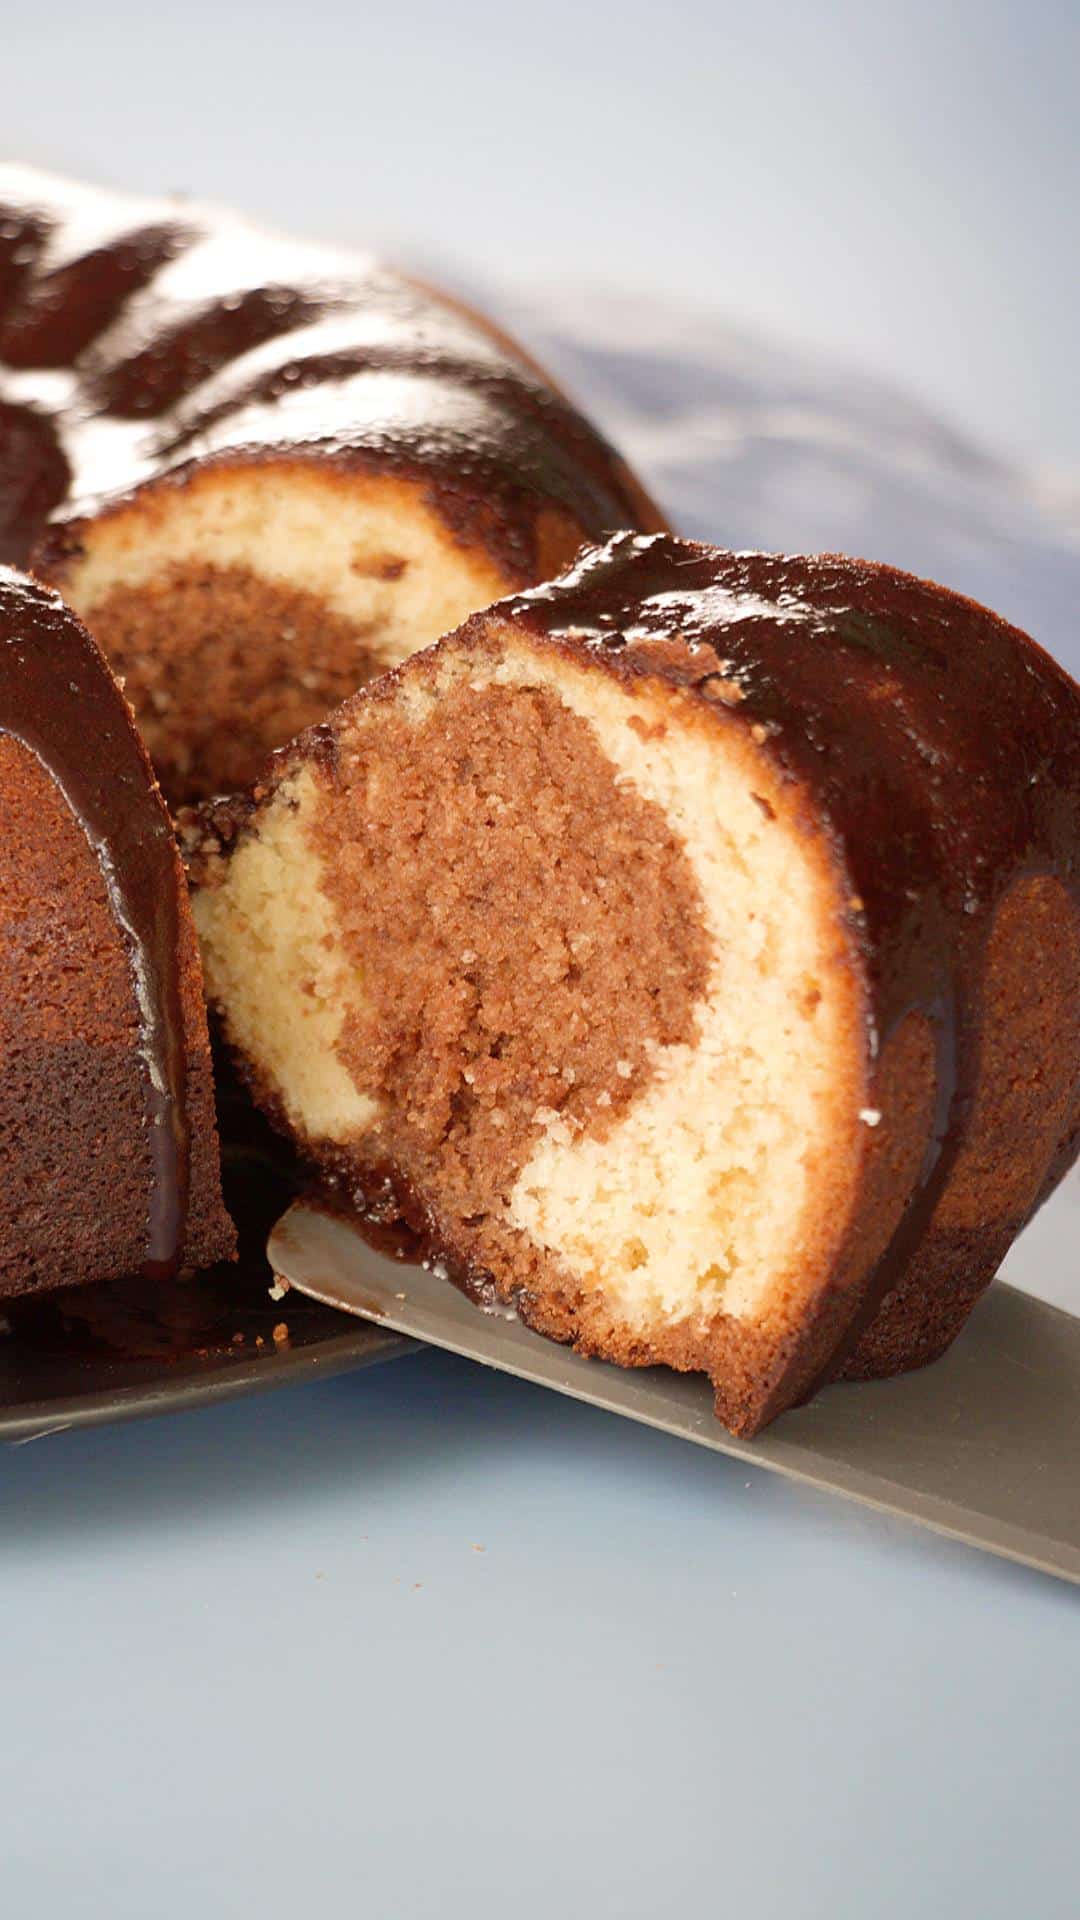
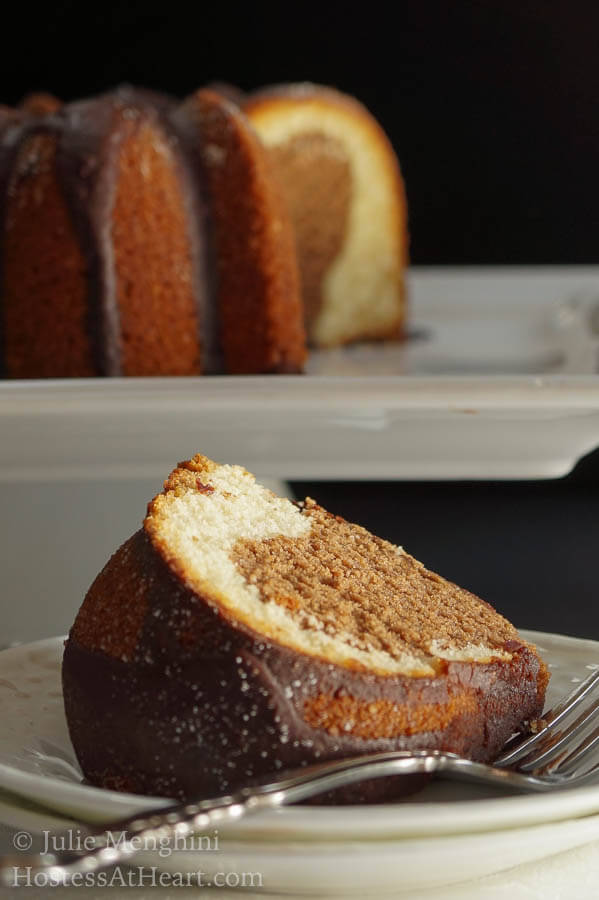
This easy chocolate cake recipe is perfect for busy moms, beginning bakers, or anyone who loves a good slice of chocolate cake without all the fuss. When you cut into this cake, you get the two-toned crumb that makes it look like you went to a lot of work. Go ahead, dab that brow, and let me show you how to bake this cake.
Why You’ll Love This Chocolate Syrup Cake
This isn’t just any chocolate cake – it’s special! The secret ingredient is Hershey’s chocolate syrup, which makes this cake extra moist and gives it that rich, chocolatey taste that everyone loves. It was my husband’s family’s go-to cake for a good reason. It’s a super easy recipe with simple ingredients that stay moist for days.
What is Hershey’s Chocolate Syrup?
The star ingredient! Hershey’s chocolate syrup is a well-known, dark sweet syrup. Many of us use it as a topping for ice cream or to make chocolate milk. But it’s also amazing in baking! Unlike melted chocolate, Hershey’s syrup is formulated to be smooth and pourable, adding intense chocolate flavor and a perfectly moist, tender crumb that makes this cake special. You can find it in the ice cream toppings section of almost any grocery store.
Chocolate Glaze Ingredients
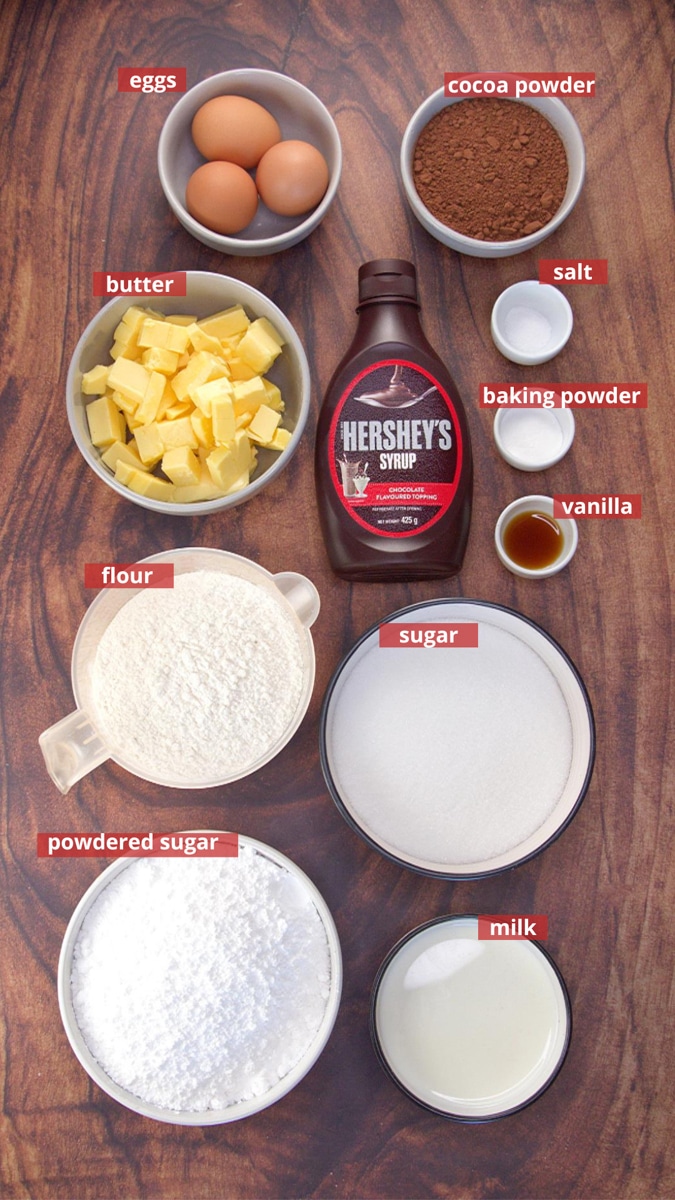
While you’ll find the full ingredient list in the recipe card below, I wanted to highlight a few important ingredients:
Cake Ingredients
We use large eggs in our baking. They provide structure and contribute to the moisture content. The fat in the yolks adds richness and tenderness to the crumb.
Using room-temperature eggs allows them to incorporate more air when mixing, leading to a lighter texture. If you forget to take them out of the refrigerator you can set them in warm water (not hot) for 5 minutes.
We use real salted butter but you can substitute it with a butter substitute. That may affect the flavor, however. You want the butter to be at room temperature meaning that when pressed with your finger it leaves a dent, not melted or runny. Using room-temperature butter creams much better than cold butter. If you use unsalted butter, you’ll want to add an additional 1/2 teaspoon of salt.
How to Make Hershey’s Syrup Chocolate Cake
Imagine everyone’s surprise when you lift that delicious piece of Hershey Syrup Cake with that chocolate center. It may look difficult, but it is really quite simple. Let me tell you how.
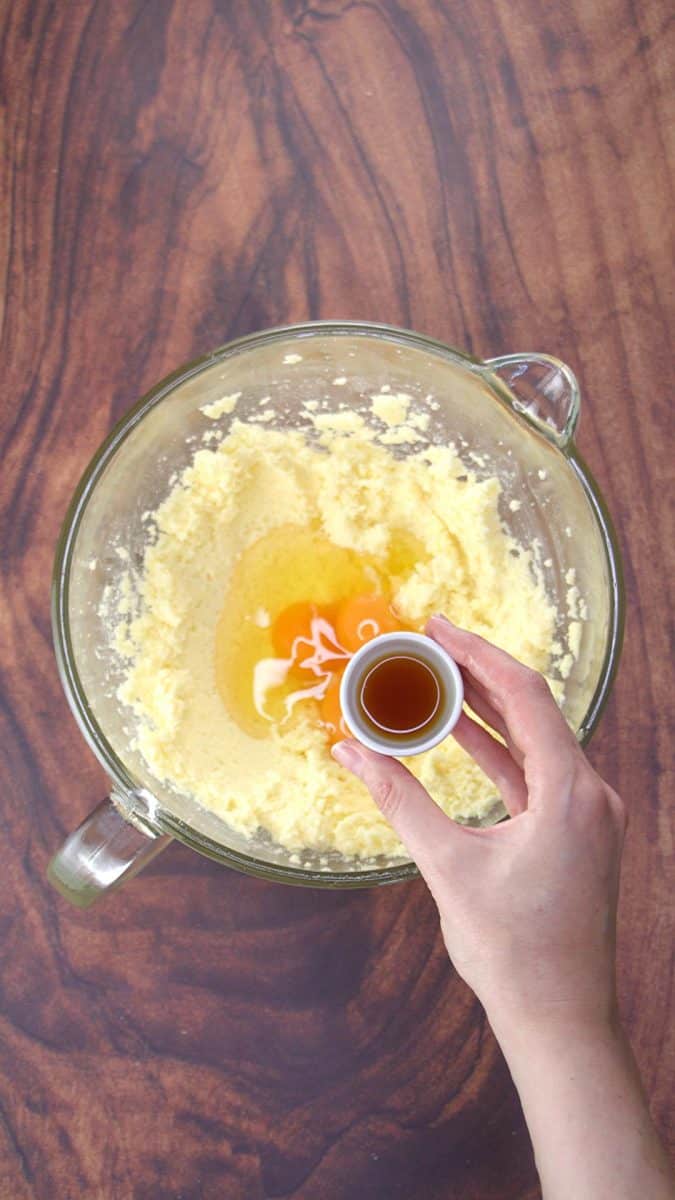
 Mix the wet ingredients together.
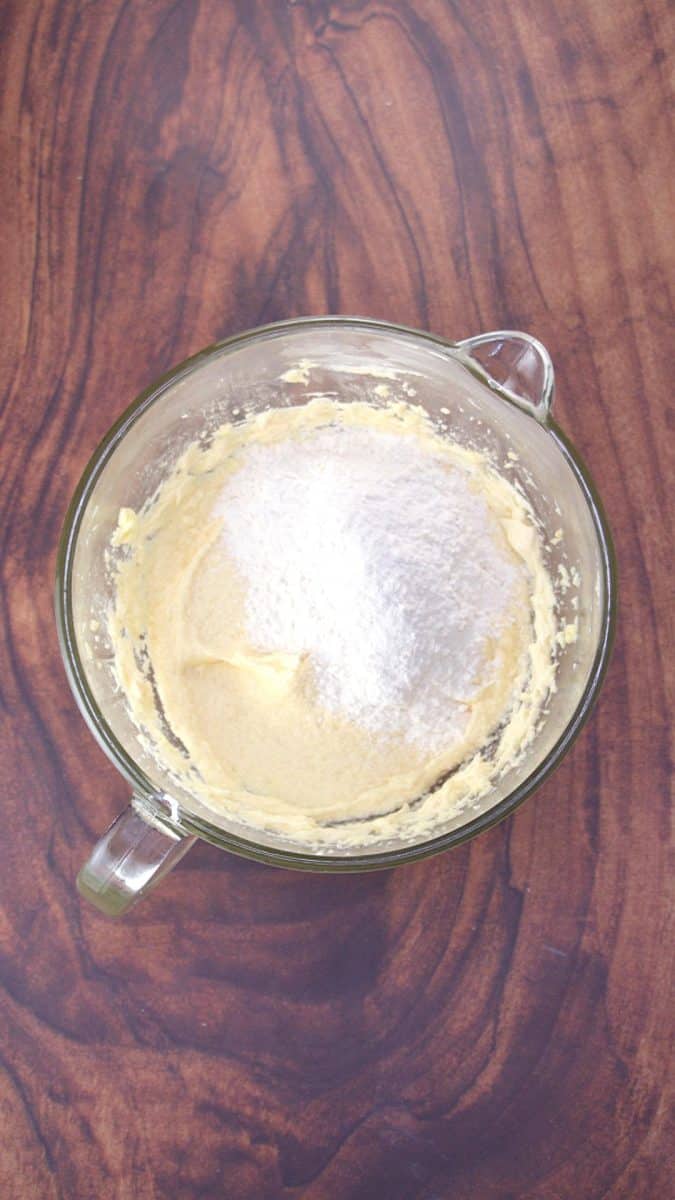
- Add the dry ingredients.
- Mix until blended
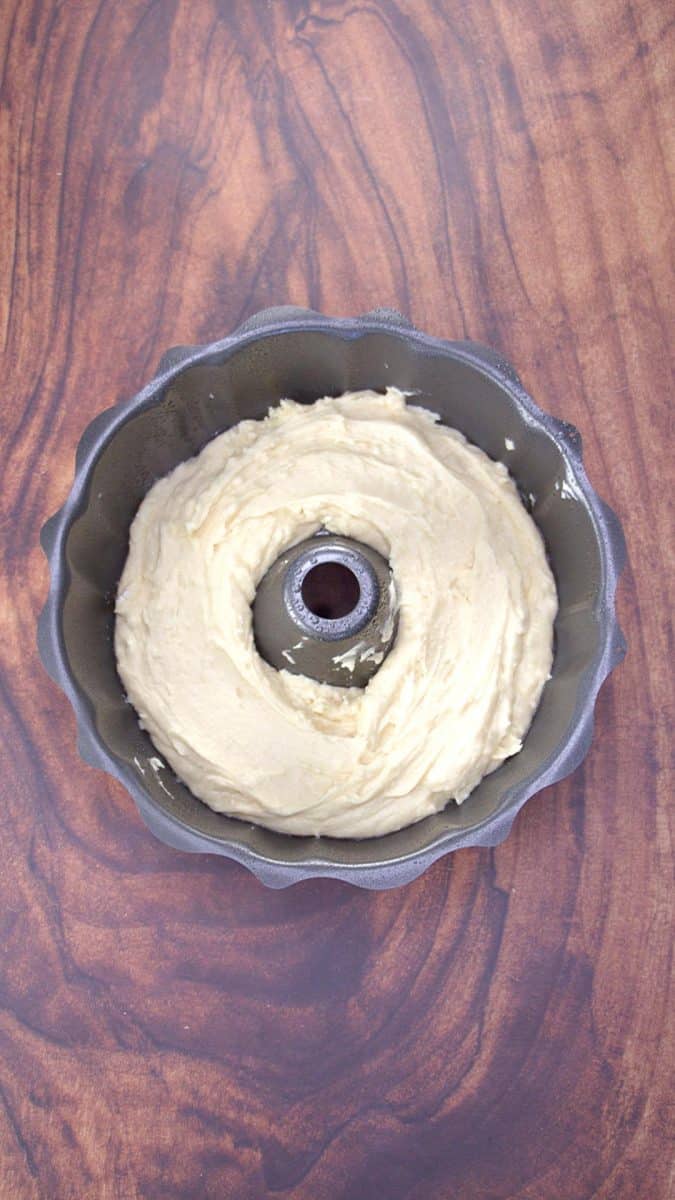
- Add half to bundt pan.
Prepare Batter
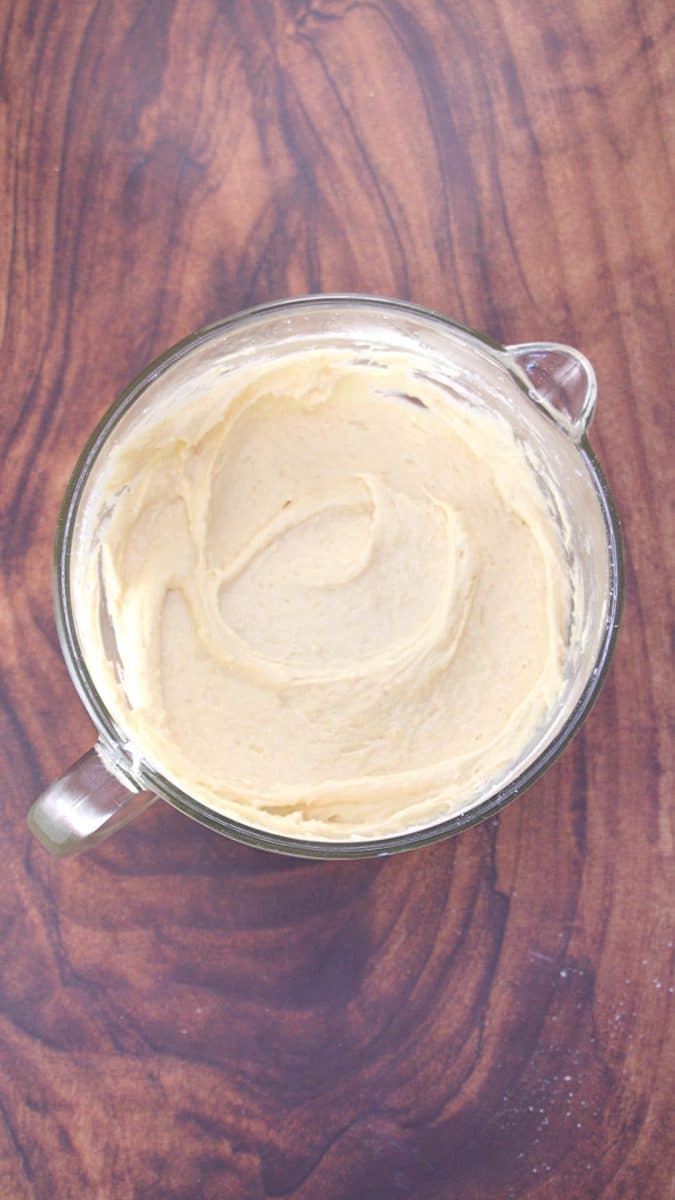
- In the bowl of an electric mixer, cream the butter and sugar together until light and fluffy. 3 to 5 minutes. Add the eggs and mix until completely combined.
- In a separate medium-sized bowl whisk the flour and baking powder together.
- Alternate adding the milk and the flour mixture to the creamed butter mixture with the mixer running on low speed.
Divide Batter
- Pour half of the batter into the prepared cake pan.
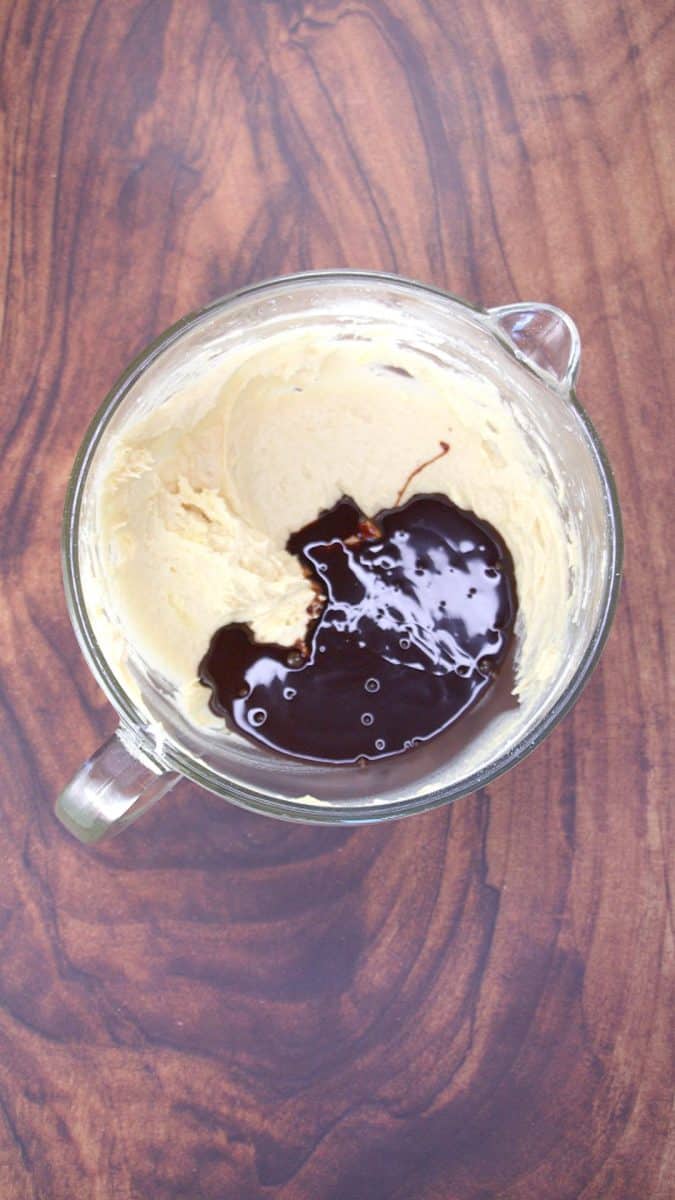
- Add the Hershey’s syrup and salt to the remaining batter in the mixing bowl and mix until combined.
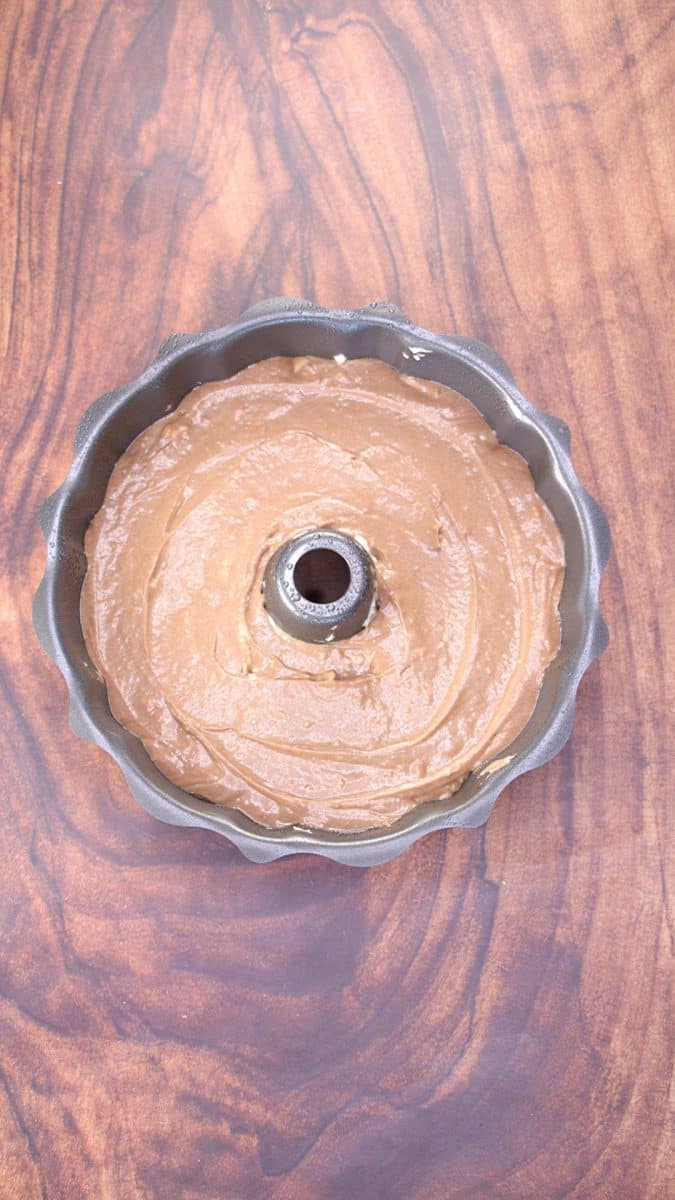
- Pour the chocolate batter over the top of the first layer in the cake pan.
- Bake
Bake Correctly
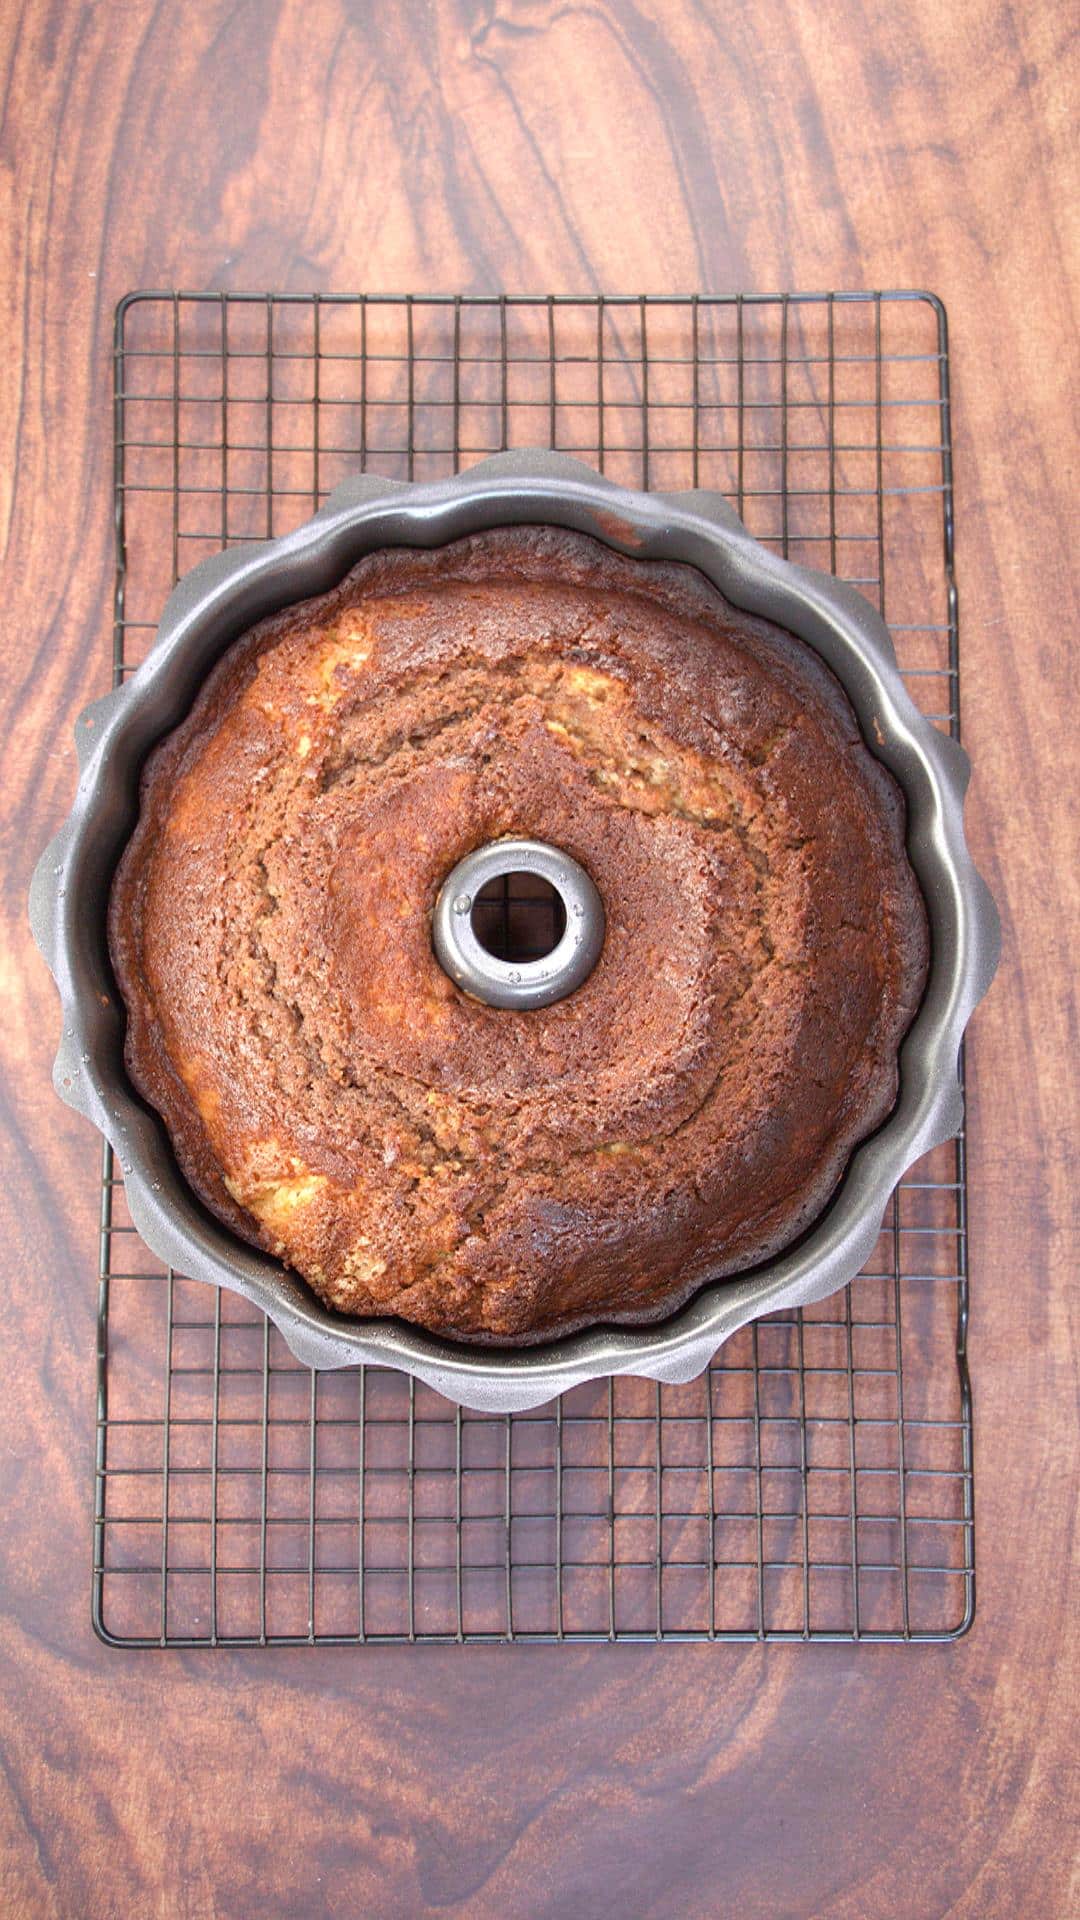
For the first 20 minutes, cover the pan with foil. Remove the foil and continue baking for approximately 40 minutes.
Test for doneness carefully – a few moist crumbs on your toothpick is perfect; a completely clean toothpick might mean an overdone cake. Cool the cake in the pan on a cooling rack for 15 minutes. At this time you can invert it onto a serving plate.
Prepare the glaze
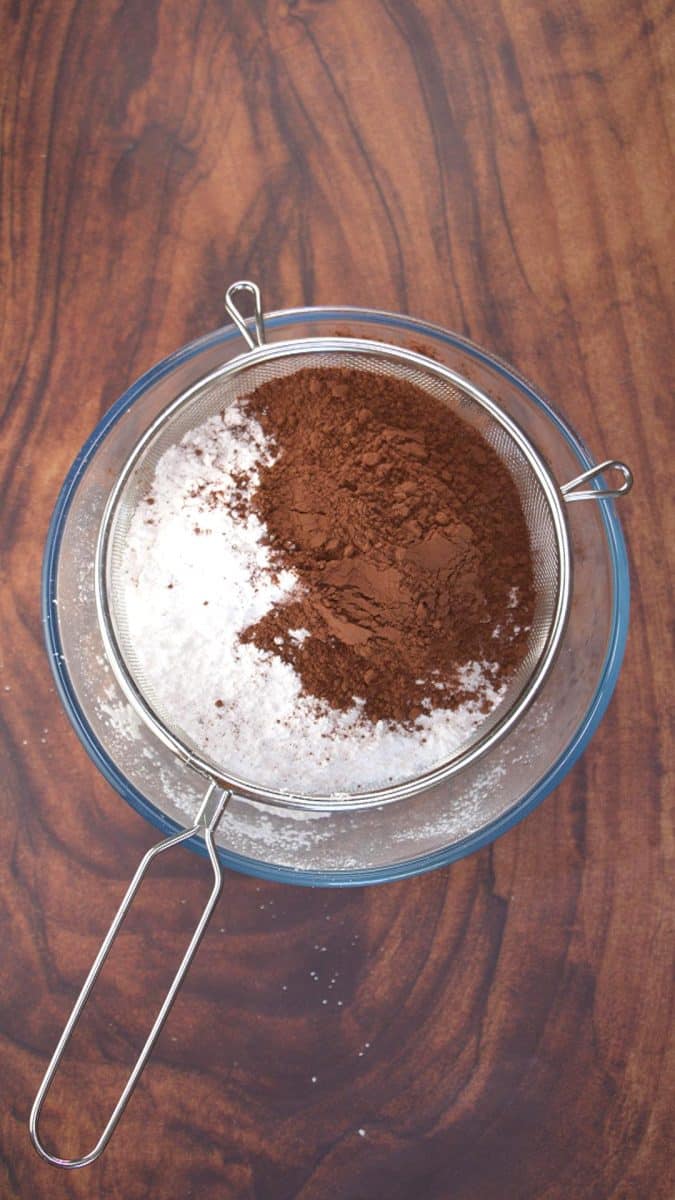
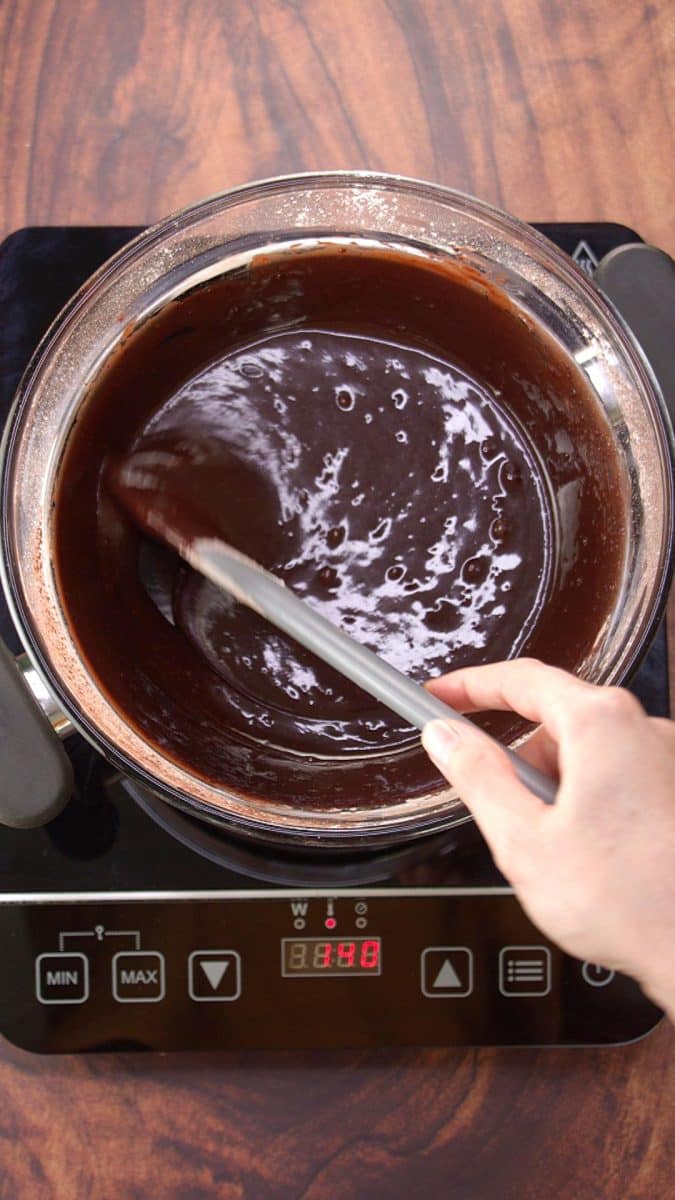
Prepare the glaze by sifting powdered sugar and cocoa together so our glaze is smooth and lump-free. Stir in the room-temperature butter and milk. Set the bowl over a pan of hot water. Stir until the glaze is smooth, adding more milk to thin the glaze if necessary.
My Secret Tips for Making the Perfect Cake
Mix dry ingredients thoroughly before adding wet ingredients to ensure even distribution of leavening agents.
Don’t overmix the batter once the flour is added – this develops gluten which can make your cake tough.
Use room temperature ingredients for better emulsification and smoother batter.
Want to save this recipe?
I'd like to receive more tips and recipes from Hostess At Heart!
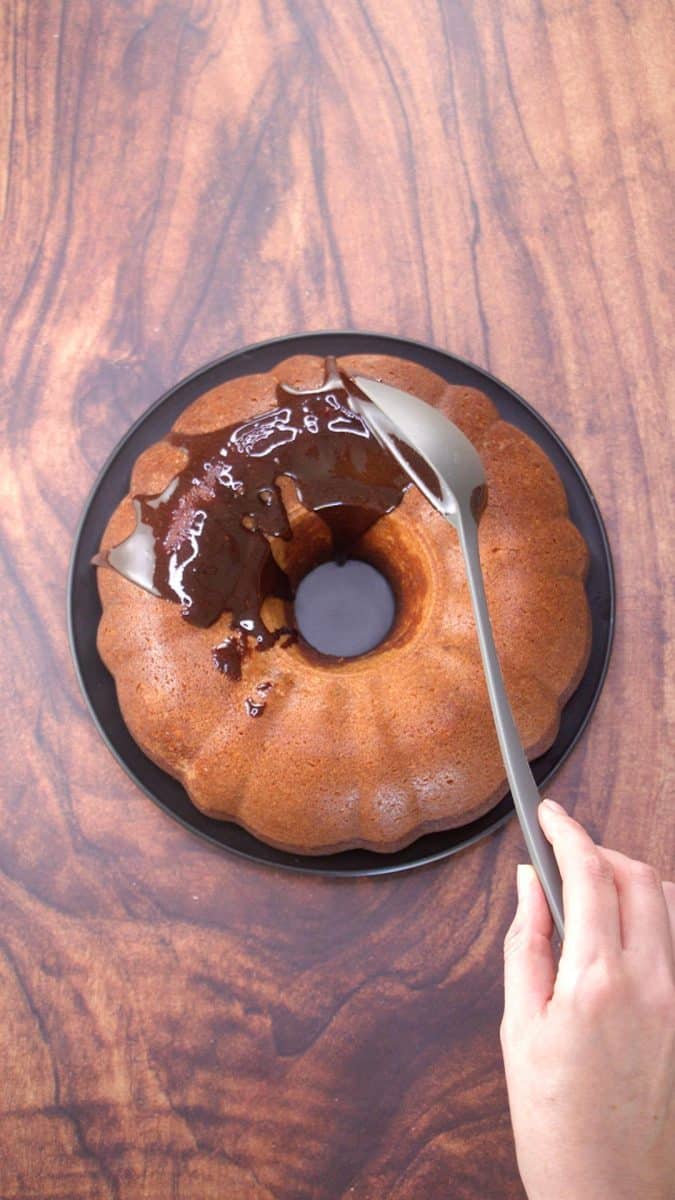
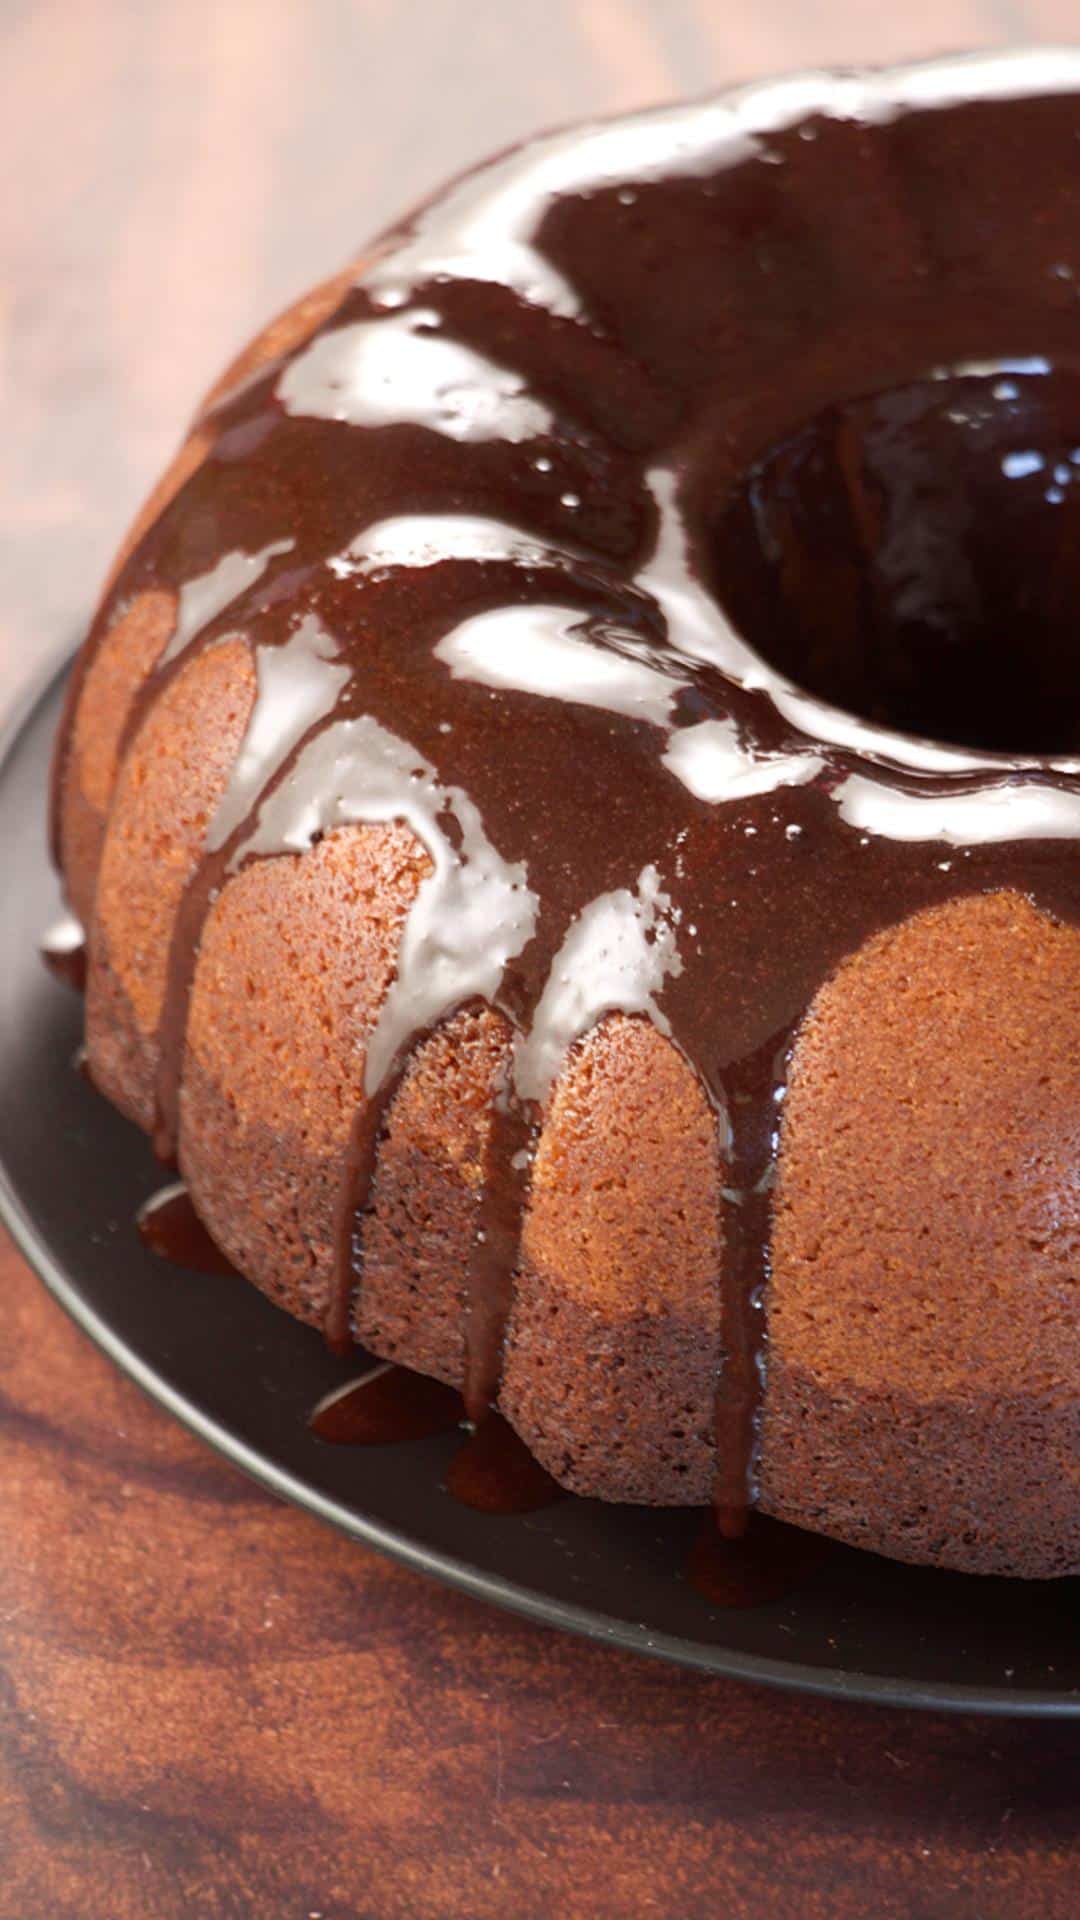
Drizzle the glaze over the cake with a large spoon. Dust with additional powdered sugar if desired.

Serving Variations
I used a delicious chocolate glaze on this cake and just drizzled it on. You could simply just dust it with a little powdered sugar or leave it plain. Don’t forget the scoop of vanilla ice cream. It’s a must in our family.
Tips for the perfect Hershey Syrup Cake
- Properly prepare the pan before filling. Bundt pans are easy to use. However, if the pan isn’t prepared well, your cake may stick. This can cause it to tear when you take it out. I show you my favorite way to prepare the pan below.
- I usually set my bundt pan on a baking sheet before putting it into the oven. This makes inserting and removing the bundt pan from the oven so much easier.
- Turn the cake in the oven halfway through baking. Even the best ovens can bake unevenly from front to back.
FAQ’s
Why use a bundt pan?
Some cakes cook better in a bundt pan because more of the cake is in contact with the pan assuring that the cake cooks evenly. The center of some denser cakes such as a pound cake would have trouble getting the center cooked if placed in a round cake pan.
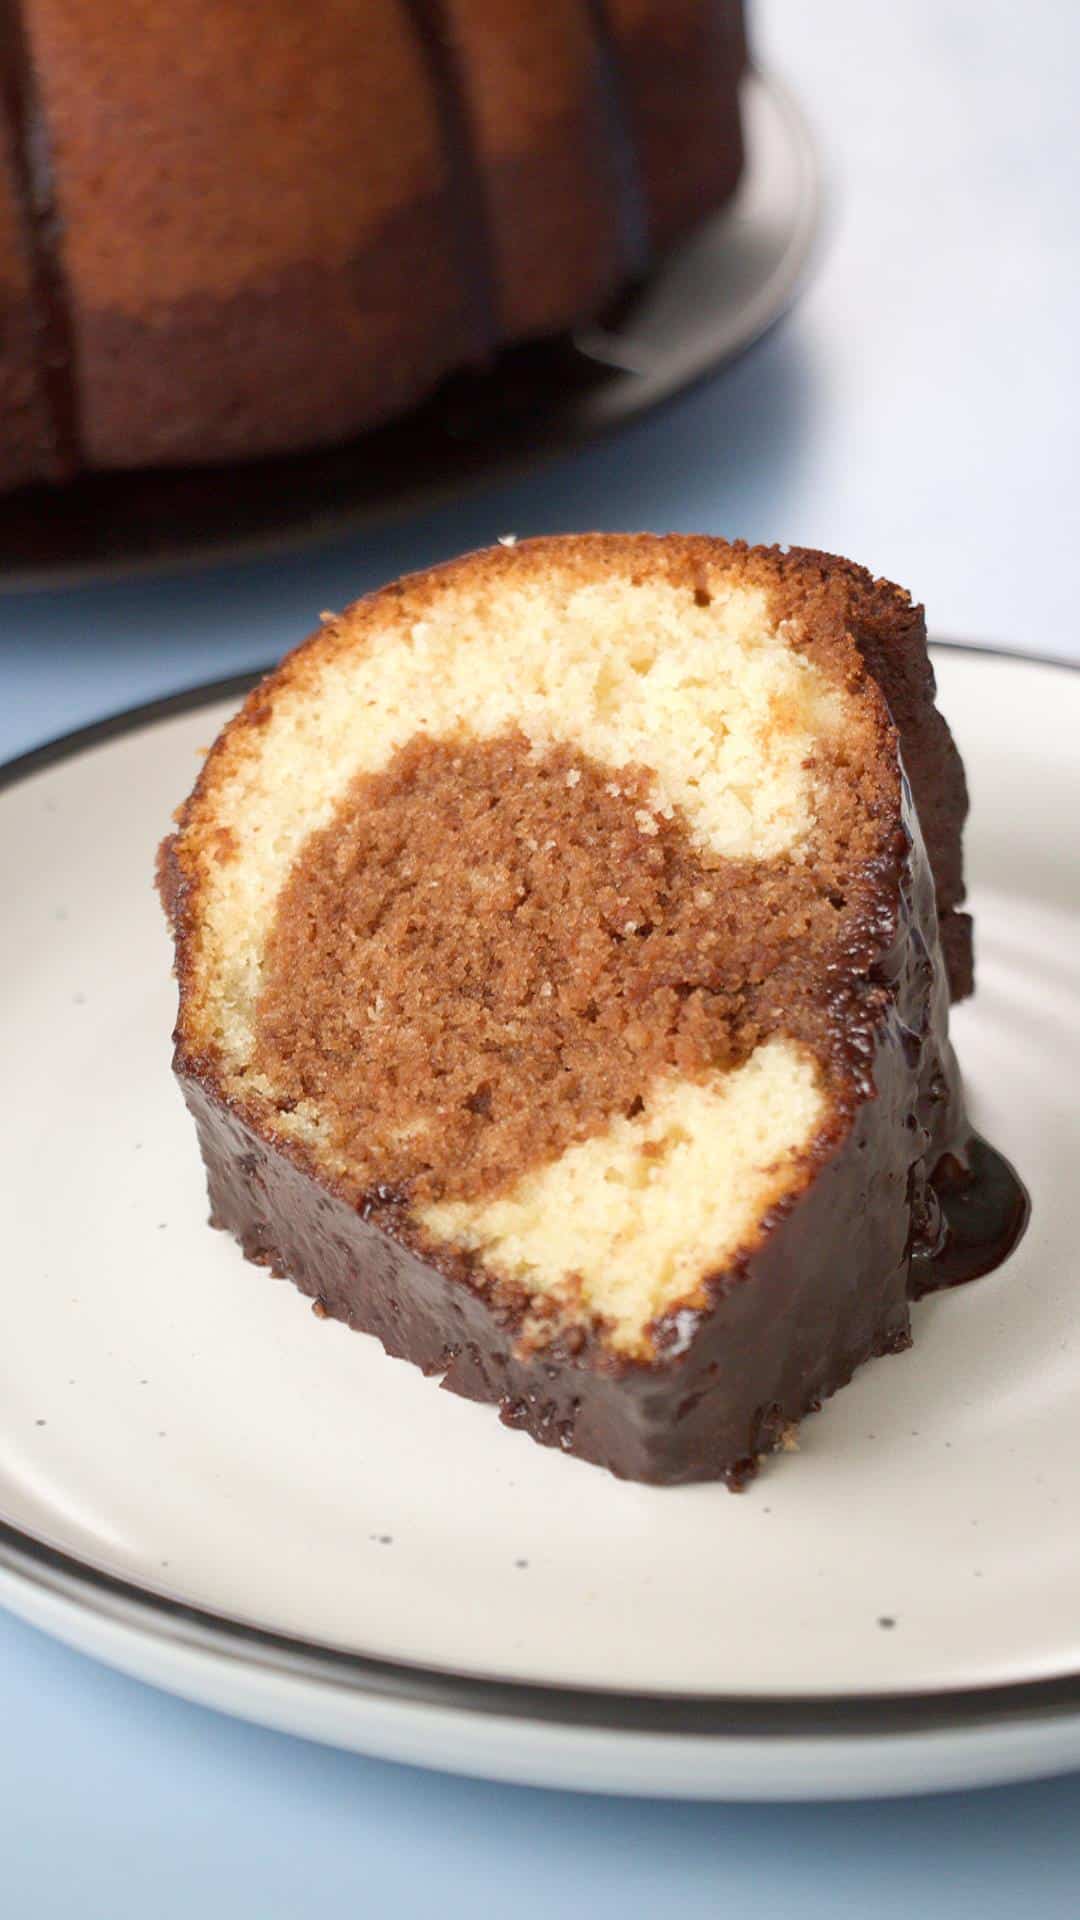
We love using a bundt cake pan with this recipe because it dramatically shows off that hidden center.
What is the best way to prepare a bundt pan? (Besides praying.)
You can use a paper towel or a pastry brush and coat the pan with butter or shortening. Add flour (about 1⁄4 cup) and gently tap and rotate the flour around the sides to make sure the surface is completely coated.
My second favorite way to grease a Bundt cake pan is what I learned in a cake decorating class I took several years ago. It combines the grease and flour together and you can make as much as you want. I store it for about 6 months at room temperature. This is how it’s done.
Homemade Pan Release: Take an even amount of flour, vegetable oil, and shortening and blend it together until it becomes a smooth paste. Apply this mixture evenly over the inside of the pan with a brush or paper towel.
You can make extra and store it covered at room temperature for the next time you need it. I usually write the expiration date of the shortening on the container so I know when to make a new batch.
How long do you let a bundt pan cool?
Cool the bundt cake over a cooling rack for 10 to 15 minutes. You don’t want to overdo this because it can adhere to the sides.
Release the cake – I check the edges to make sure that the cake has been released from the side of the pan. You can use a sharp knife if there are any edges still attached. I then cover the top with a serving plate and flip it over. You can gently shake it to release it as well.
Storing Leftovers of the Hershey Syrup Chocolate Cake
Store at room temperature in an airtight container – refrigeration actually speeds up the staling process for cakes.
You can freeze the whole cake or individual slices by wrapping it in plastic wrap and then a layer of aluminum foil. Thaw at room temperature.
Tip: You can make extra glaze and freeze it to reglaze your thawed cake before serving.
Did you make this recipe? Tag me on social media @hostessatheart and let me know how it turned out!
I hope you enjoyed this delicious recipe as much as we do. Drop me a comment below, and don’t forget to give it a star rating. ⭐⭐⭐⭐⭐. Your comments and ratings help others decide if this recipe is for them too.
Hersheys Chocolate Syrup Cake Recipe
Equipment
Ingredients
Cake
- 1 cup butter room temperature
- 2 cups sugar
- 3 eggs
- 1/2 tsp salt
- 1½ tsp vanilla
- 1 cup milk
- 3 cups flour
- 2 tsp baking powder
- 8 oz Hershey’s Chocolate syrup
Chocolate Glaze
- 3¼ cups powdered sugar
- ⅓ cup cocoa powder
- 1 tbsp butter melted
- 1/2 cup milk or 3/4 cup, any variety
Instructions
Cake
- Preheat oven to 350 °F. Grease and flour bundt pan.
- Cream the butter and the sugar together until light and fluffy. Add the eggs and vanilla and mix until combined.
- In a separate bowl combine flour, and baking powder. Whisk together to mix.
- Alternate adding the milk and the flour mixture to the creamed mixture. Pour 1/2 of the batter into the bundt pan. Add Hershey's syrup and salt to the remaining batter in the mixing bowl. Mix until combined. Pour the chocolate batter over the top of the white batter.
- Cover with foil and bake for 20 minutes. Remove foil and bake for 40 minutes, or until a wooden toothpick comes out clean.
- Cool for 15 minutes in the bundt pan on a wire rack. Remove the cake from the pan onto a serving plate.
Chocolate Glaze
- Prepare the glaze by sifting powdered sugar and cocoa together. Stir in the melted butter and milk. Set the bowl over a pan of hot water. Stir until the glaze is smooth, adding more milk to thin the icing if needed.
- Apply the glaze to the cake with a large spoon and dust with powdered sugar if desired.
Nutrition
Nutritional Disclaimer
This recipe was calculated using the exact brands and measurements I used to make this recipe. If you are following a strict diet please note changing anything will cause the nutritional info to change. My calculations are intended as a guide only.
Looking for more?
If you enjoy this Hershey’s chocolate syrup cake, you might also love these other chocolate desserts:
- Chocolate Cheesecake Pie
- Fudgy Chocolate Brownies
- Chocolate Peanut Butter Bars
- Chocolate Pudding Trifle
- Chocolate Mousse Cake
Did you enjoy this recipe? Don’t forget to pin it for later and follow me on Pinterest for more delicious recipes like this one!
This simple Hershey’s Chocolate Syrup Cake recipe was first published on June 25, 2015. It has been updated to make it better for our readers. No changes were made to the actual recipe.


This is such a great cake. Can be a dessert or something to share for brunch.
This looks really, really good! I know lots of people that will be begging me to make this cake for them!!
Thank you Linda! It was fun to make and yummy to eat.