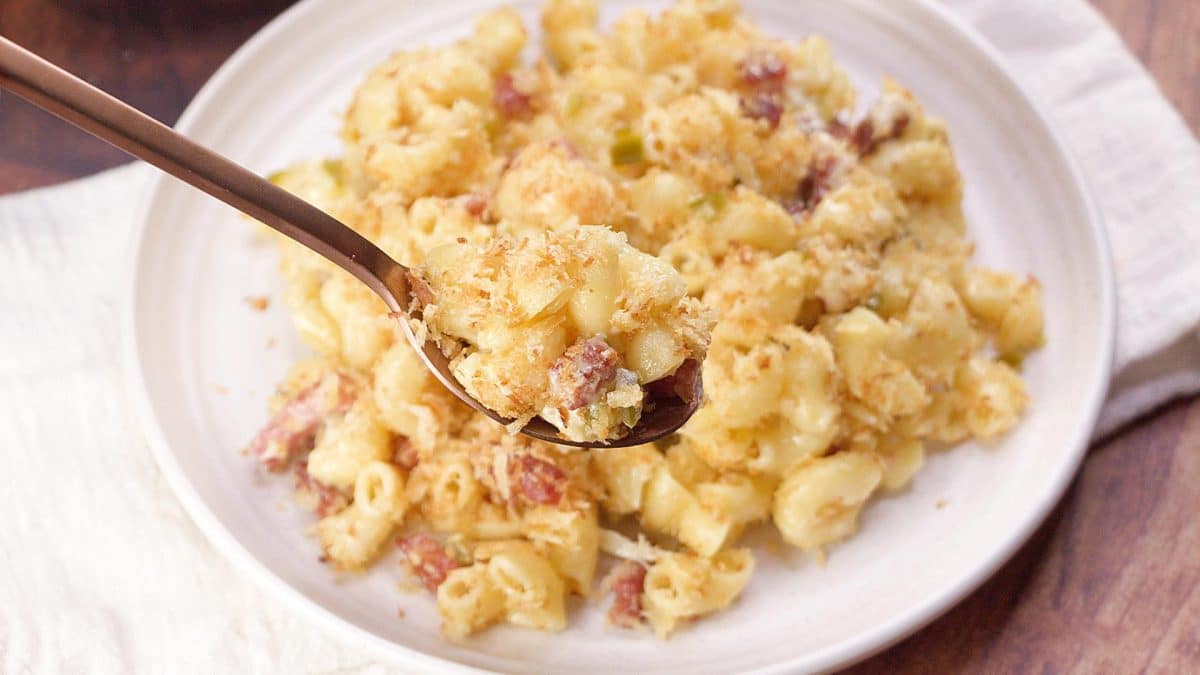
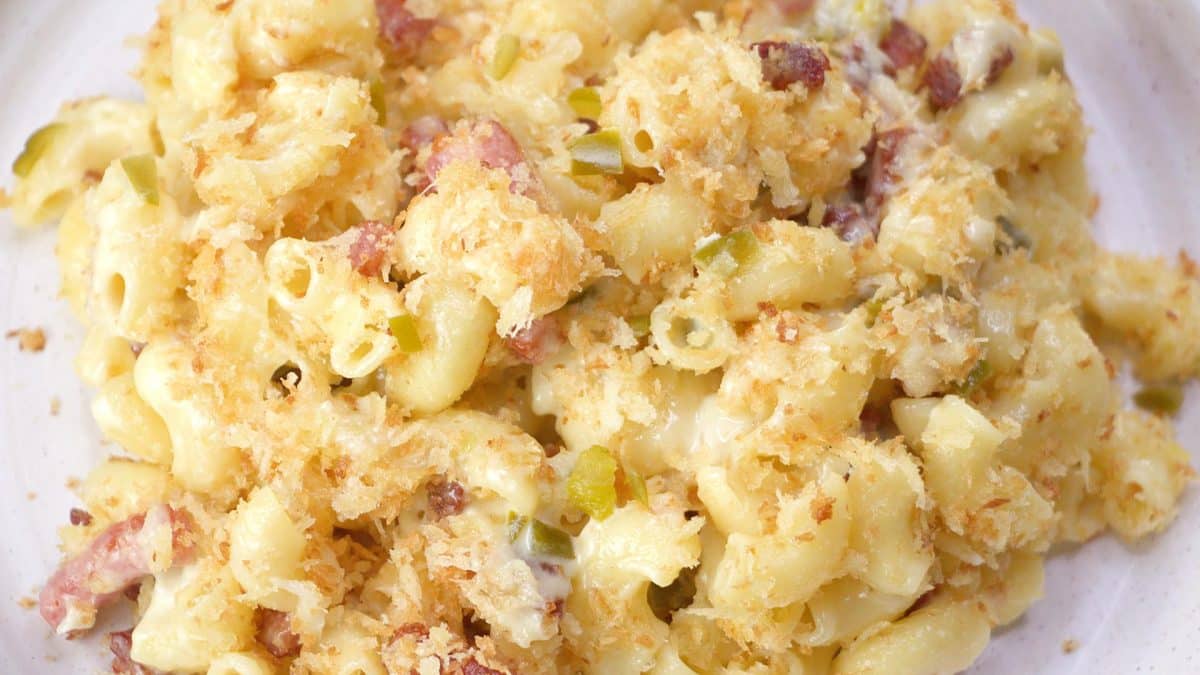
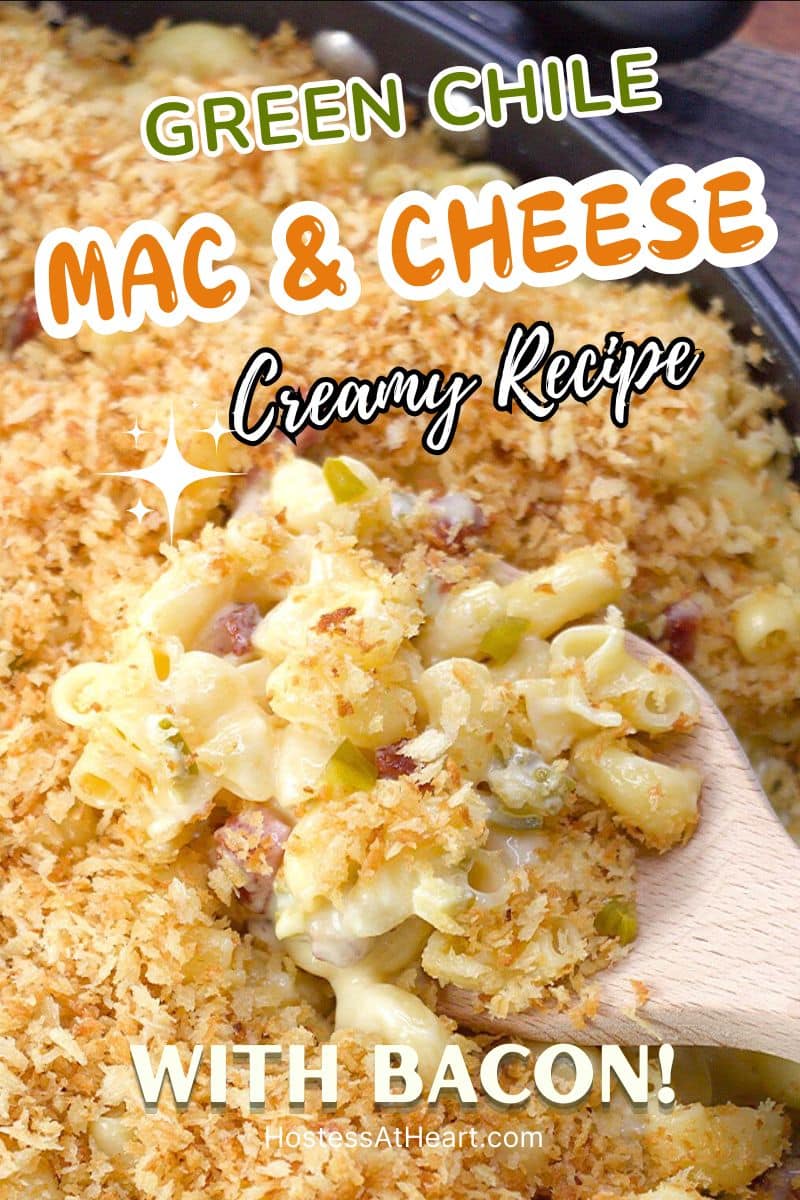
Creamy Green Chile Mac and Cheese with Bacon
This post may contain affiliate links. Please read our Disclosure Policy.

Green Chile Mac and Cheese is a smoky, creamy dish that combines roasted green chiles, crispy bacon, and rich Gruyere cheese to create something truly special. It’s perfect for family dinners, potlucks, or when you want to impress guests. The best part? It only takes about 50 minutes to make from start to finish!
Why I Love This Recipe
I first tried making this Green Chile Mac and Cheese when I discovered Hatch chiles at the grocery store and wanted to try something new with them. My family immediately fell in love with it because of that perfect balance of creamy comfort and subtle heat. Now it’s become our go-to meal for special occasions and weekend gatherings.
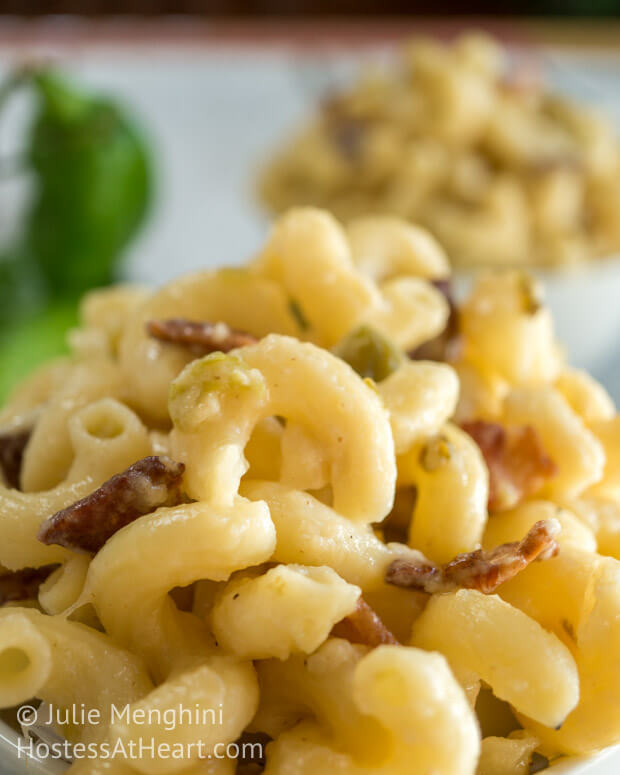
What makes this recipe so special is the combination of smoky roasted green chiles with the rich, nutty flavor of Gruyere cheese. The bacon adds that perfect salty crunch, while the panko breadcrumbs give it an amazing texture. Even my pickiest eaters ask for seconds! I recently served this to guests, and I have never had people ask for take-out containers until now.
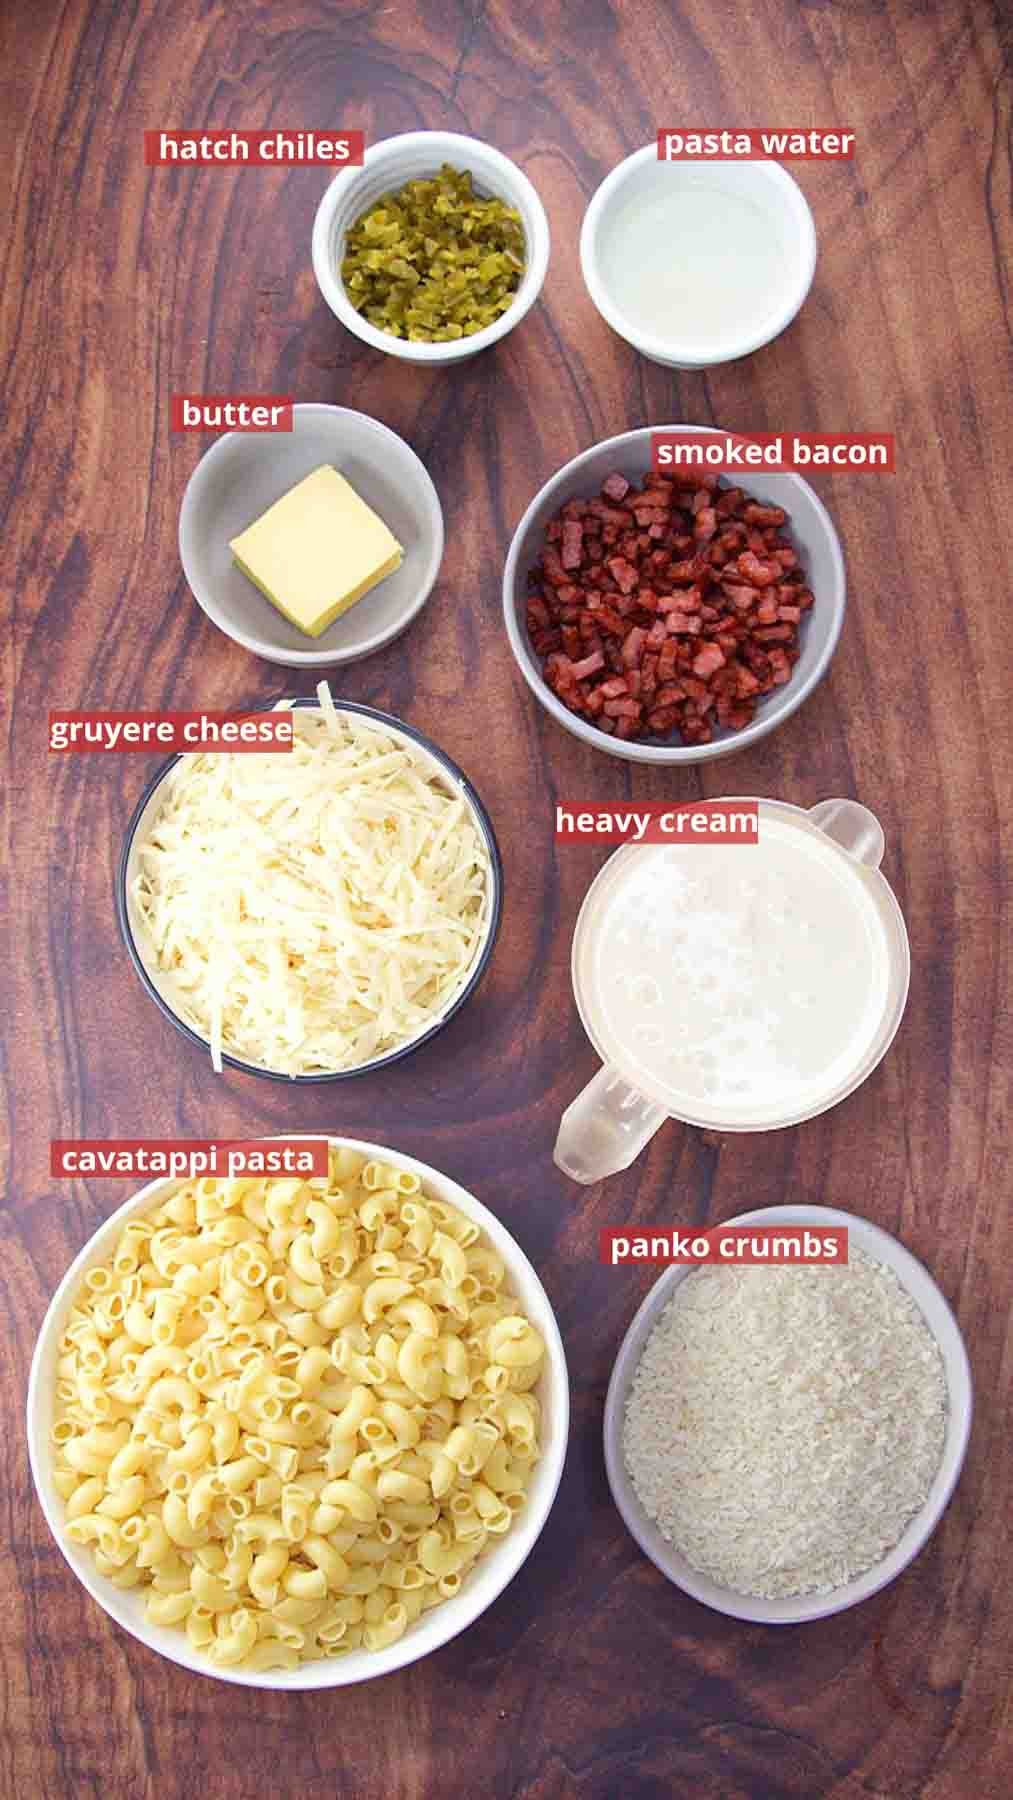
Key Ingredient Notes
While you’ll find the full ingredient list in the recipe card below, I wanted to highlight a few important ingredients:
Thick-Cut Bacon: The smokiness really makes a difference here. Cook it until crispy so it holds its texture in the finished dish.
Hatch Green Chiles: The star of the show! If you can’t find hatch chiles, you can substitute poblano peppers or Anaheim chiles. Look for the “mild” or “medium” varieties unless you really love heat. The good news is that you can now find jarred roasted hatch chiles in most grocery stores year-round, which makes this recipe so much easier! If using fresh chiles, always roast them first to remove the skins and develop that smoky flavor.
Gruyere Cheese: This Swiss cheese melts beautifully and adds a nutty, rich flavor that’s way better than regular cheddar. If you can’t find it, you can substitute half sharp cheddar and half Swiss cheese.
Cavatappi Pasta: These corkscrew-shaped noodles have little ridges that grab onto the cheese sauce perfectly. You can also use penne, shells, or elbow macaroni.
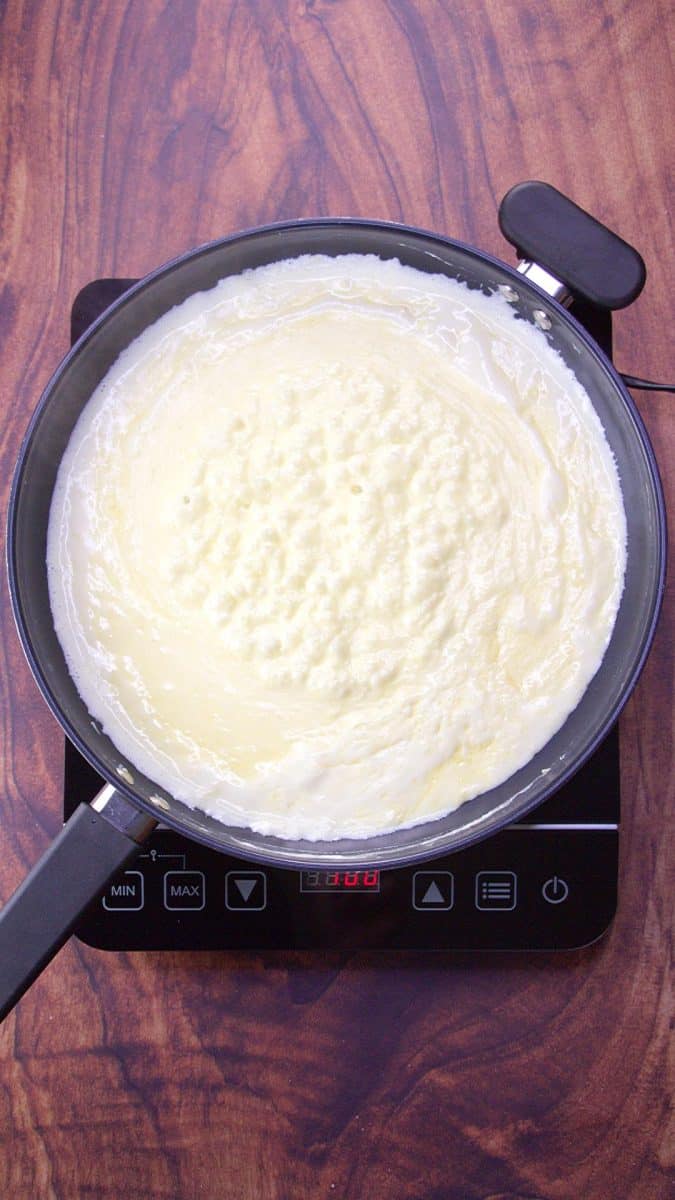
 Bring cream to boil
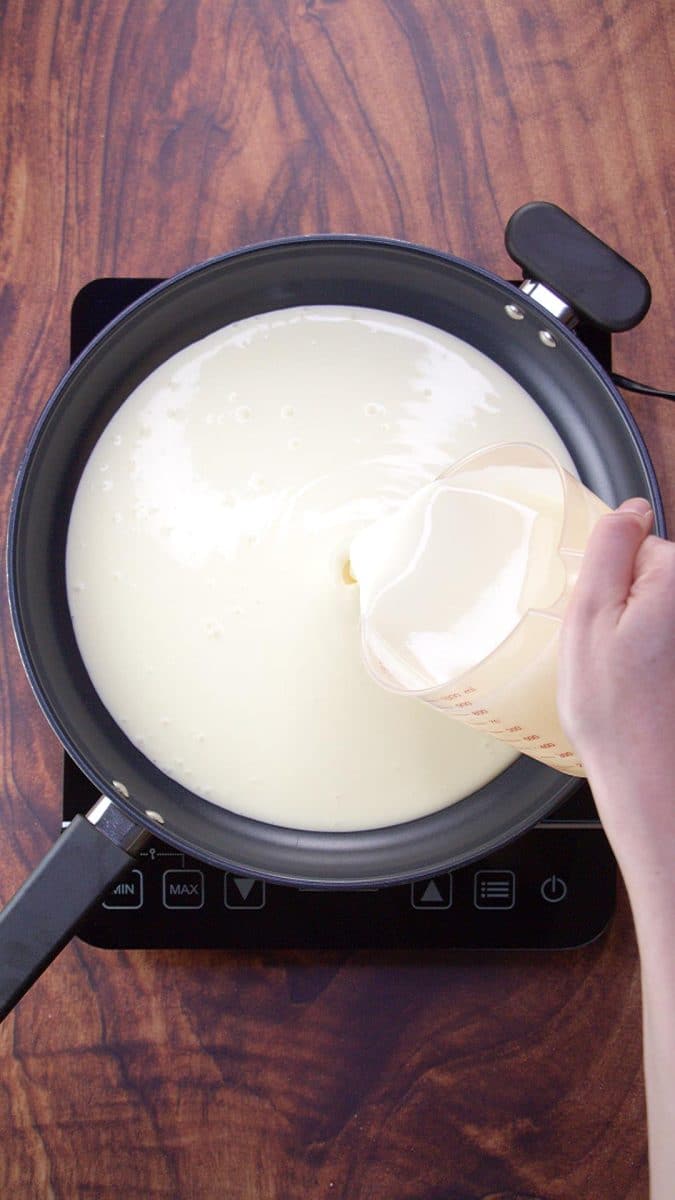
- Add pasta water
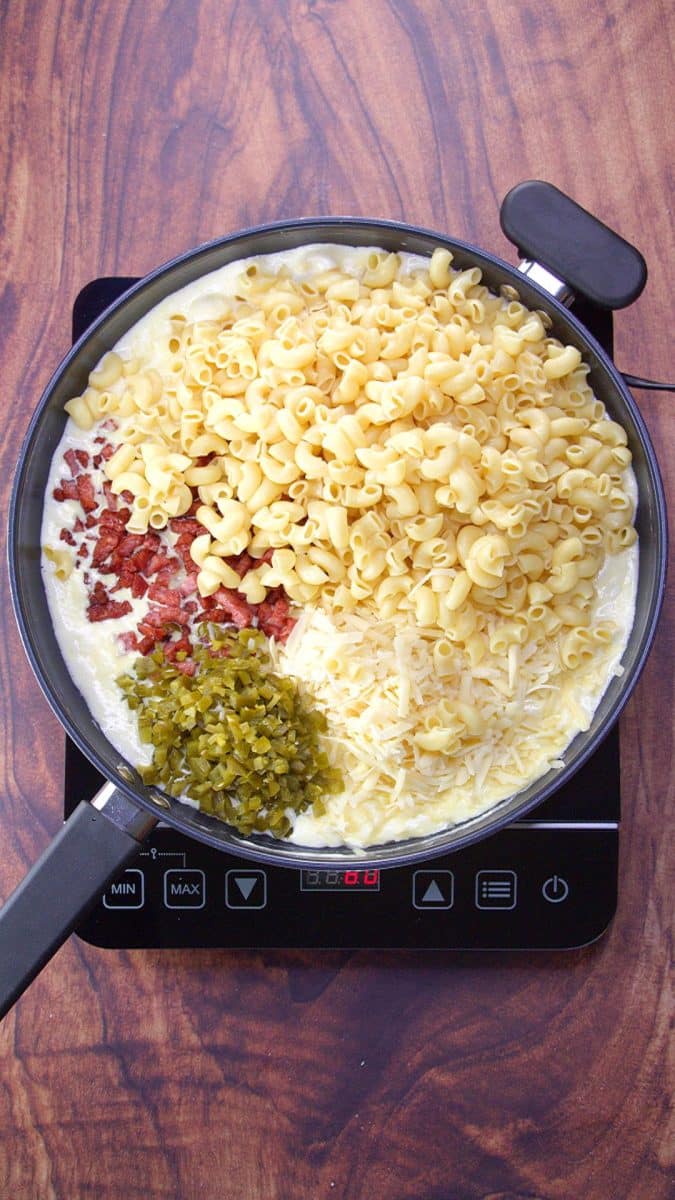
- Add remaining ingredients
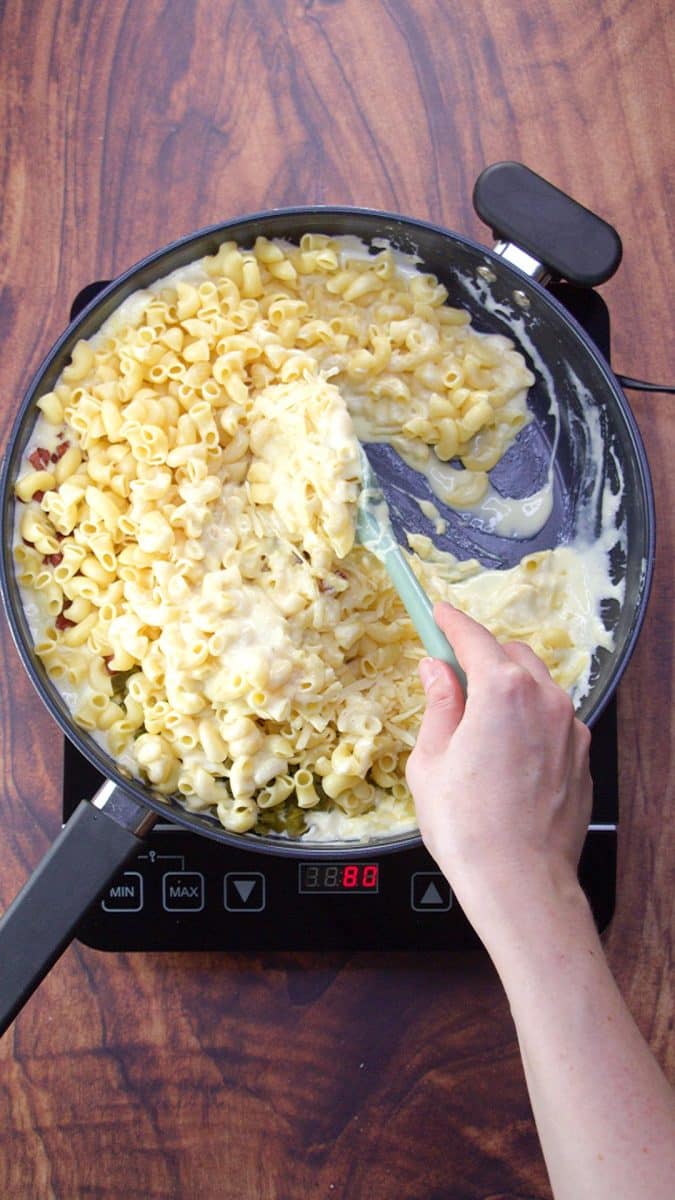
- Stir together
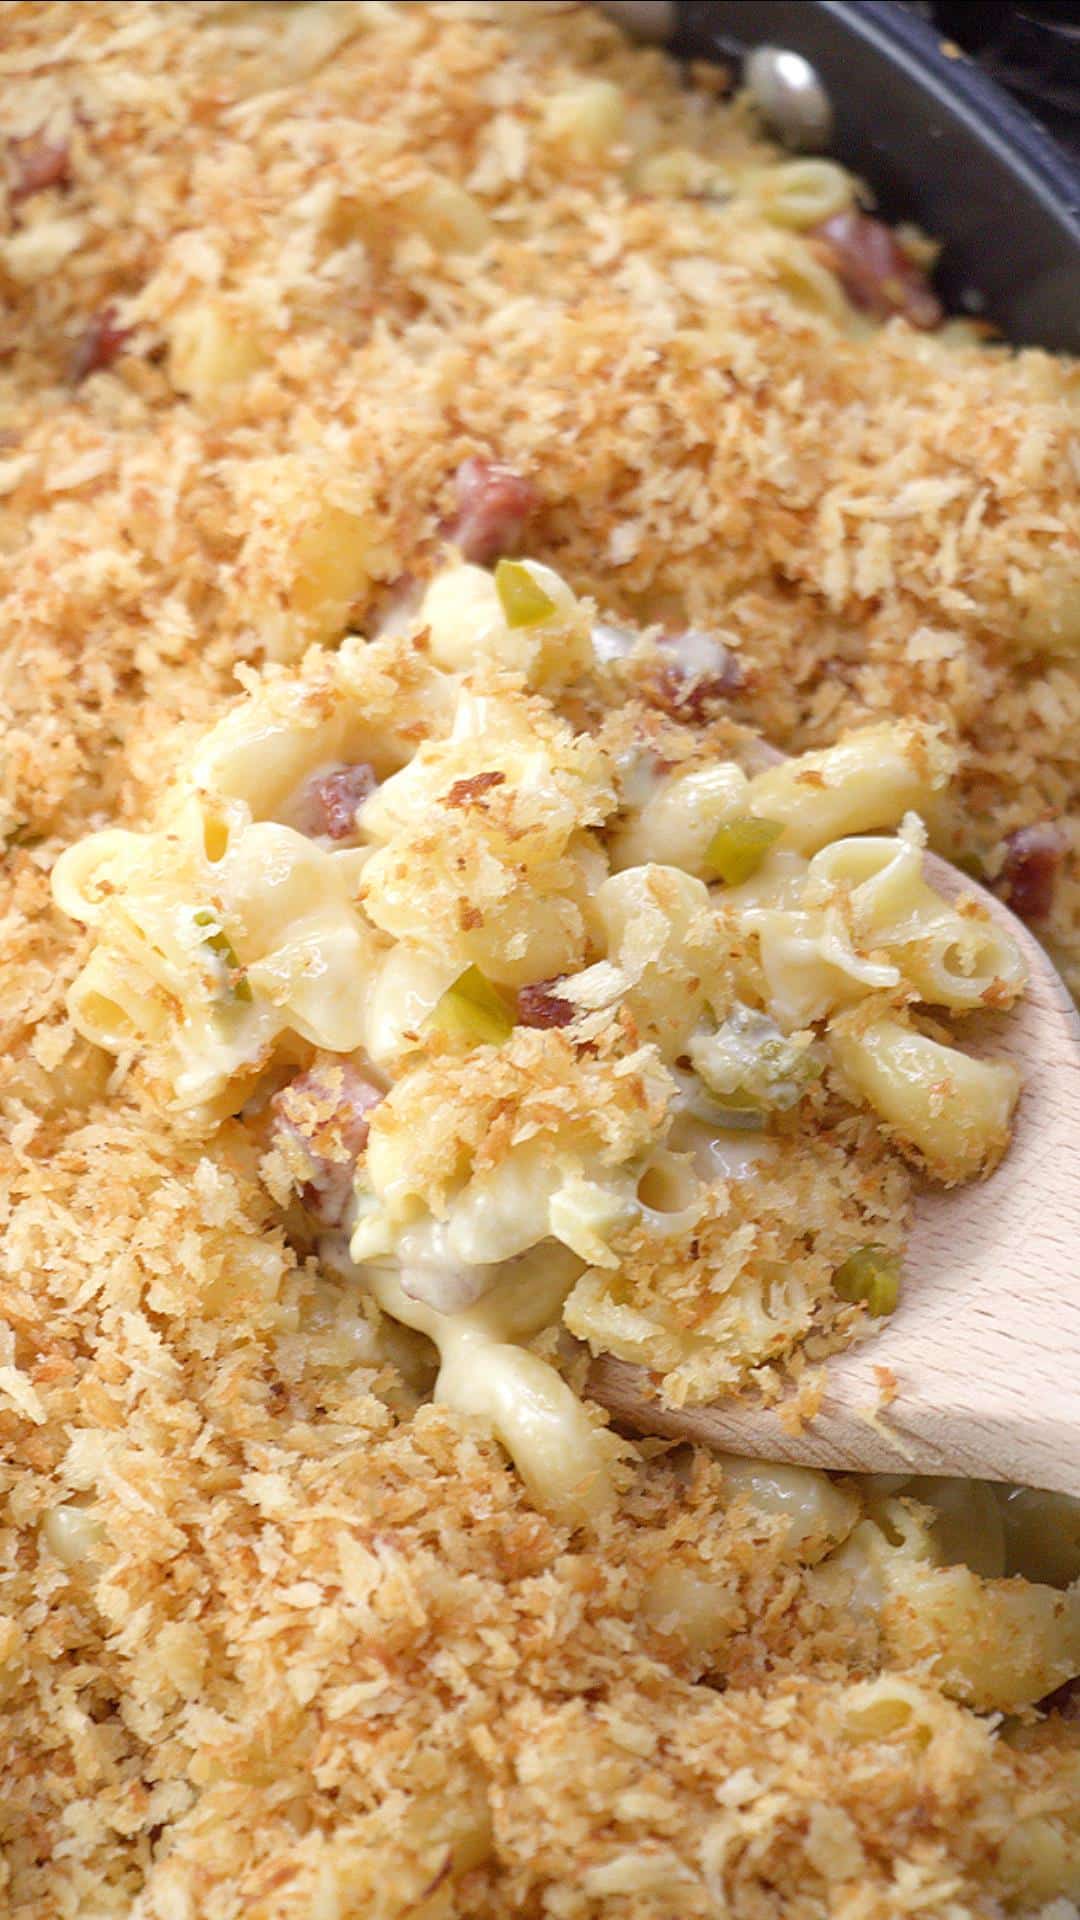
How to Make Green Chile Mac and Cheese
Making this delicious mac and cheese is easier than you might think! Here’s the simple process:
First, cook your pasta according to package directions and crisp up the bacon. While that’s happening, make a creamy cheese sauce by creating a roux with butter and flour, then slowly whisking in milk until smooth. Next, add your cheeses gradually until melted and creamy, then stir in the roasted green chiles and crumbled bacon. Toss everything together with the cooked pasta, top with buttery toasted panko breadcrumbs, and serve immediately.
The whole process takes about 50 minutes from start to finish, and it’s all made on the stovetop – no oven required!
Pro Tips for Making Perfect Green Chile Mac and Cheese
Before you head to the recipe card, here are some helpful tips I’ve learned from making this dish many times:
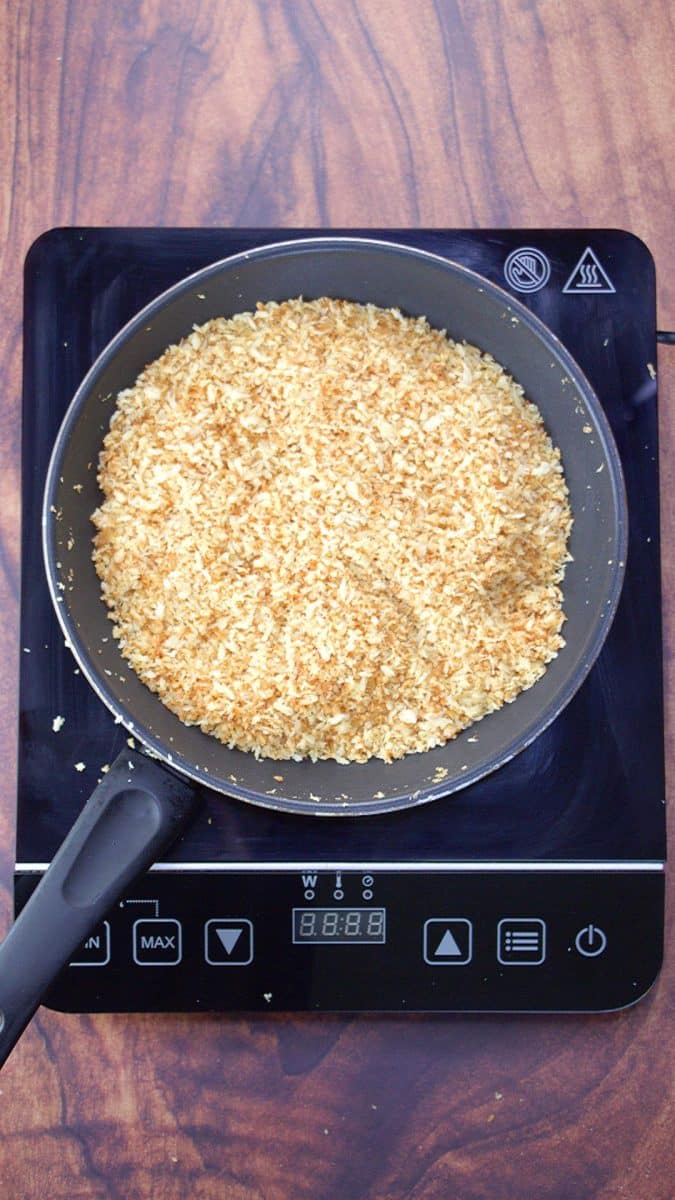
Don’t Skip the Panko: Toast the panko breadcrumbs in butter before topping – they add the perfect crunch to balance all that creaminess.
Roasting the Chiles: (If you choose to roast them yourself) Roast them on the grill or under the broiler until the skins are blackened and blistered. Let them steam in a plastic bag for 15 minutes, then the skins will peel right off.
Don’t Add Oil to Pasta Water: That oil will fill the ridges in the pasta and prevent them from holding onto the amazing cheese sauce.
Make a Proper Roux: Cook the flour and butter together for 2-3 minutes to get rid of the raw flour taste before adding the milk.
Low and Slow Cheese Addition: Add the cheese gradually and keep the heat low to prevent the sauce from breaking or becoming grainy.
Want to save this recipe?
I'd like to receive more tips and recipes from Hostess At Heart!
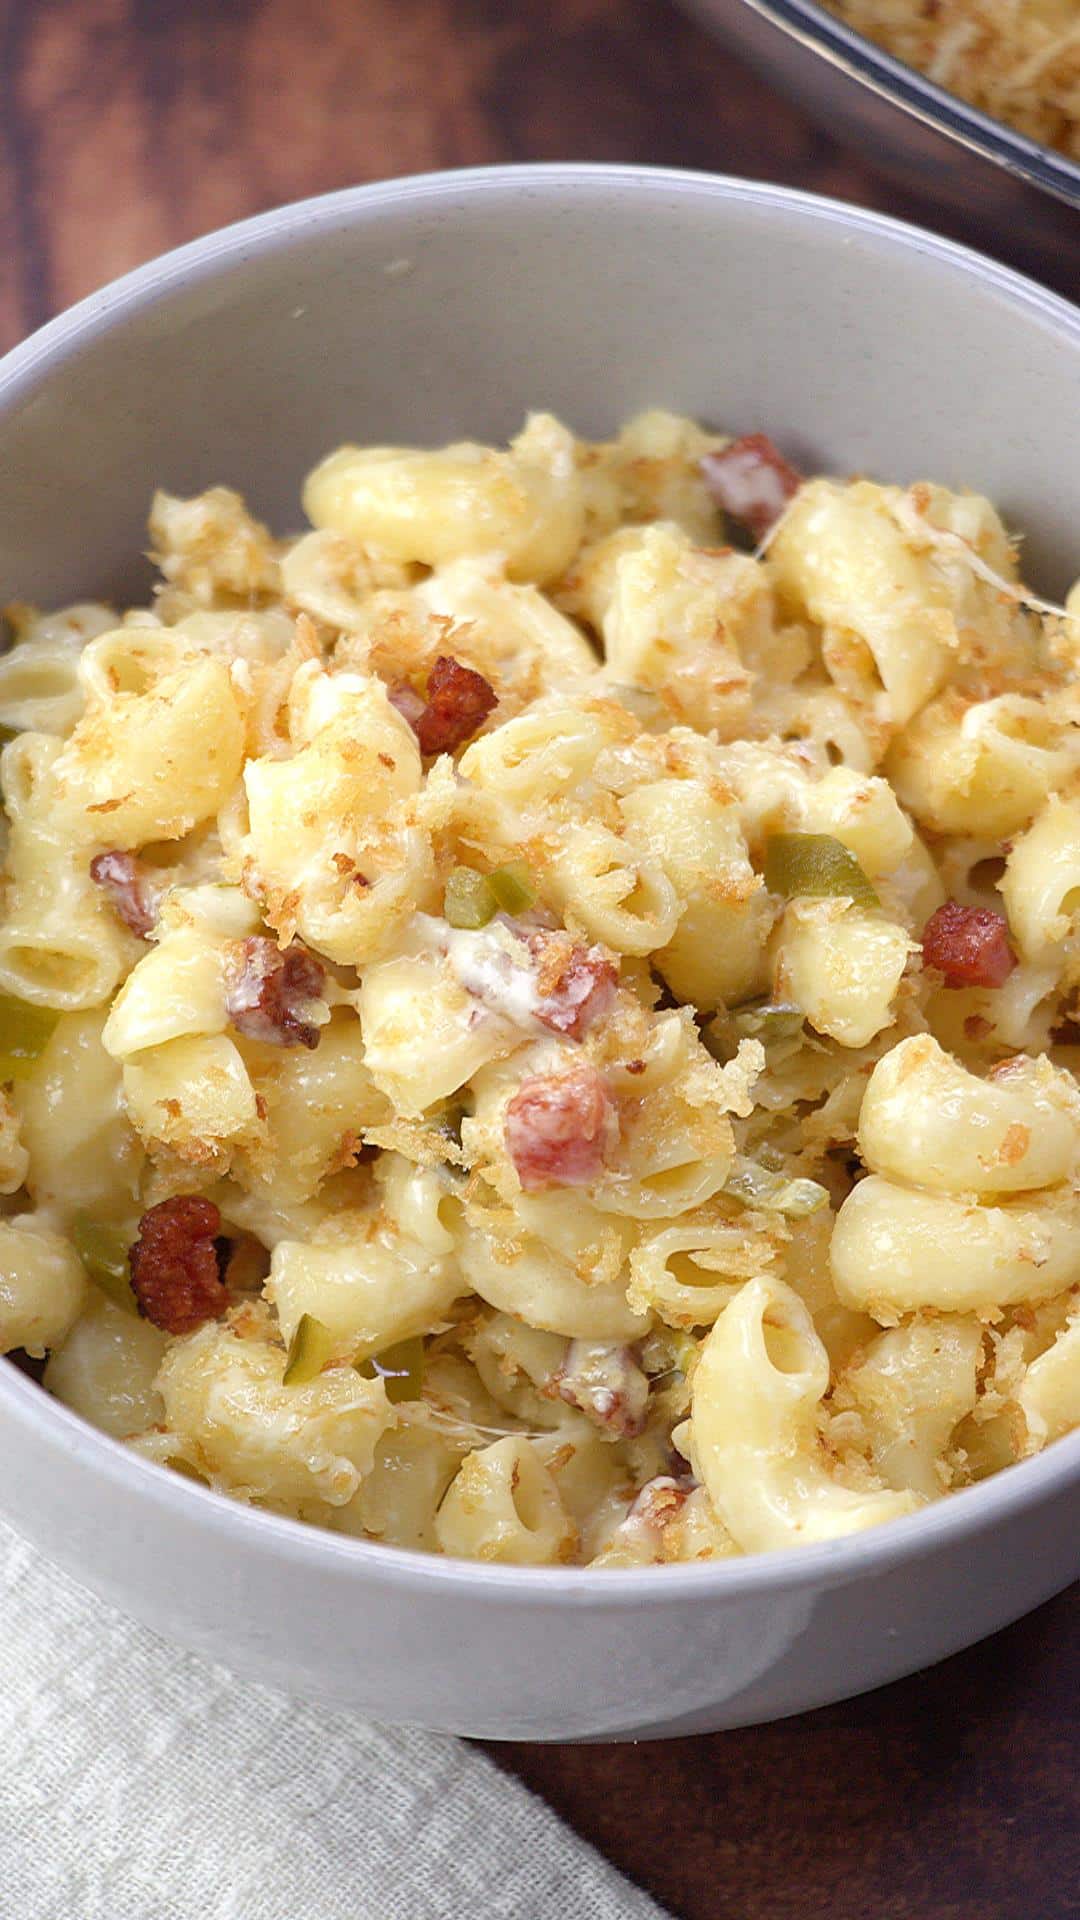
Serving Suggestions
This Green Chile Mac and Cheese can be served as a side dish or as the main meal. It pairs wonderfully with grilled brisket, barbecue ribs, or roasted chicken. For a complete meal, I like to serve it with a cool and creamy fruit cocktail salad, simple Italian caprese salad, or a fresh orange salad, and some no-knead crusty bread.
Storage and Leftovers
This dish will keep well in the fridge for 3-4 days stored in an airtight container. To reheat, simply add a splash of milk and warm gently on the stovetop, stirring frequently. You can also reheat in the microwave in 30-second intervals.
If you want to prep ahead, you can make the entire dish up to the baking step, then cover and refrigerate for up to 2 days. Just add an extra 10 minutes to the baking time if starting from cold. This recipe does not freeze well due to the cream sauce.
Variations to Try
Mexican Street Corn Style: Add roasted corn, cotija cheese, and a squeeze of lime juice.
Spicier Version: Use hot hatch chiles or add a diced jalapeño to the roux for extra heat!
Vegetarian Option: Skip the bacon and add roasted corn kernels for sweetness and texture.
Different Cheeses: Try a mix of sharp cheddar and pepper jack, or add some cream cheese for extra richness.
Add Protein: Stir in some shredded rotisserie chicken or cooked ground turkey for a heartier main dish.
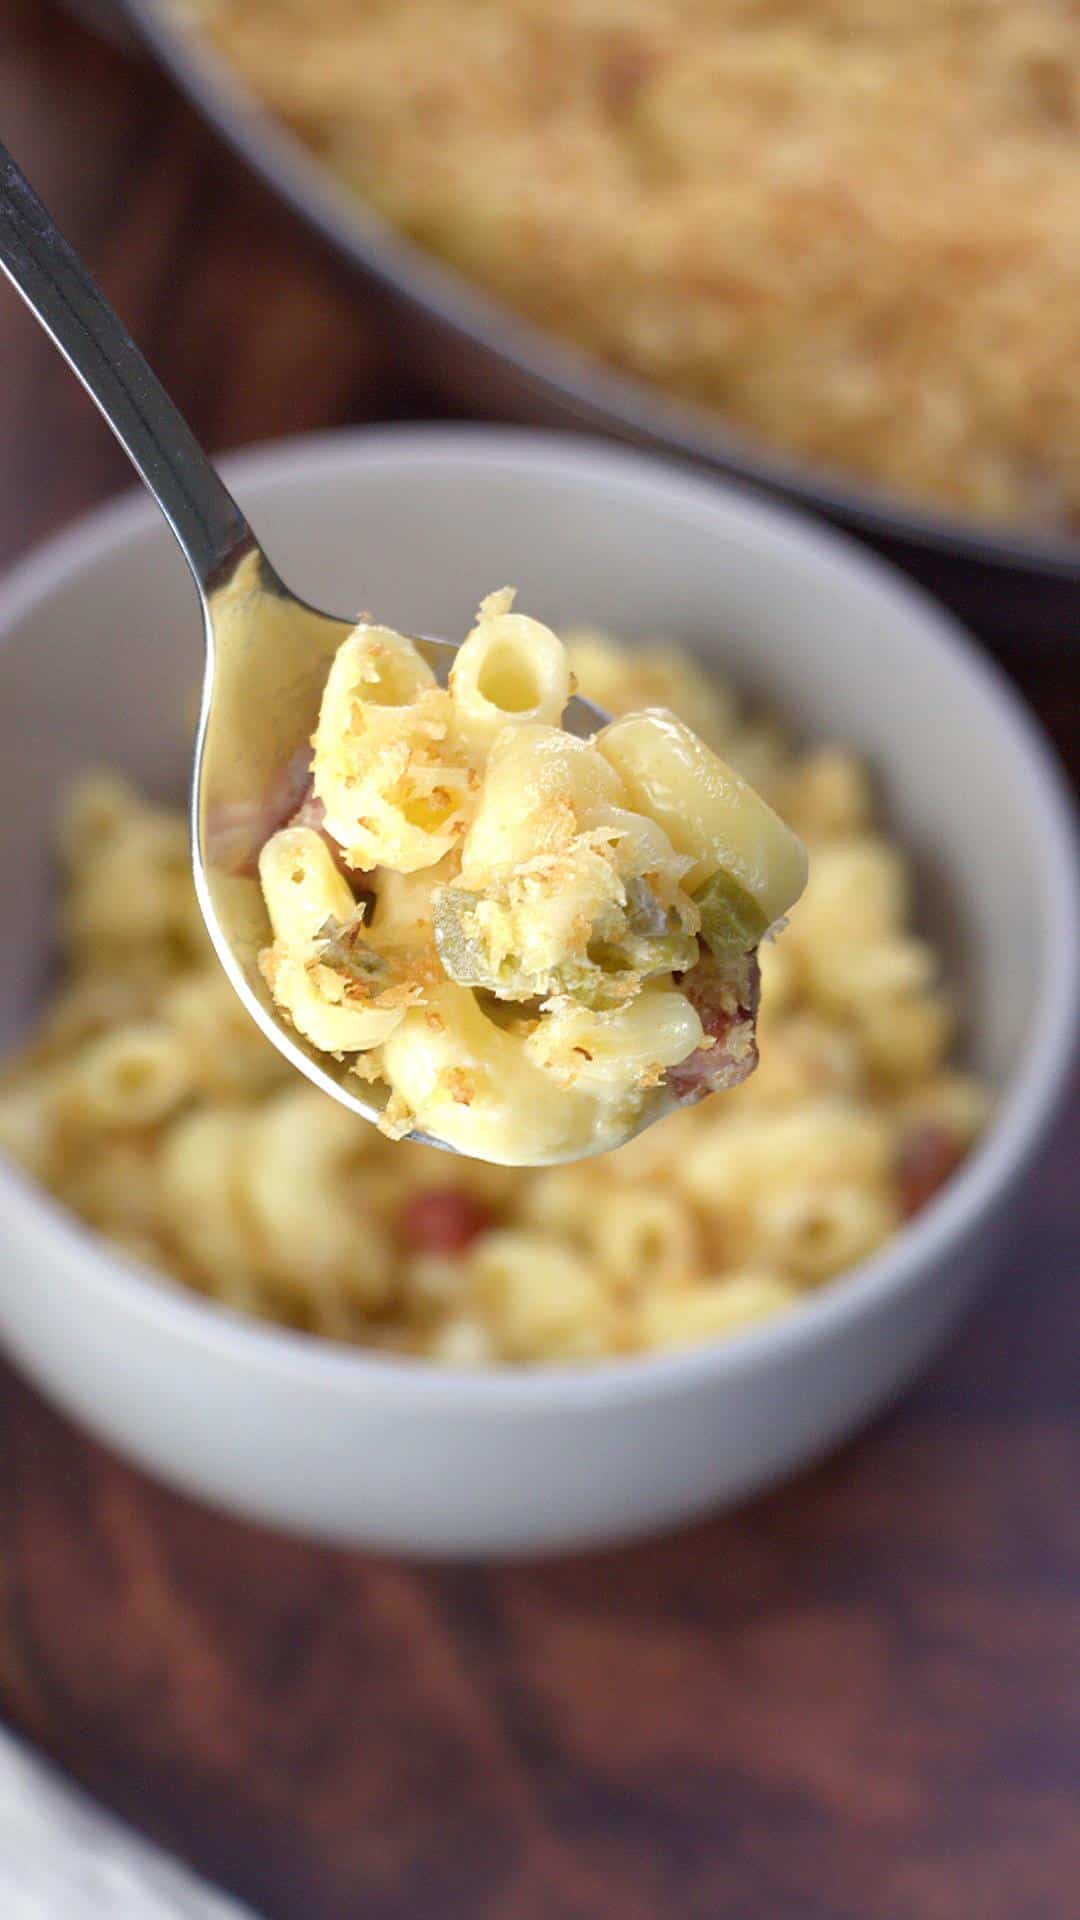
Did you Make It?
This Hatch Chile Mac and Cheese has become one of my most treasured recipes, and I hope it becomes a favorite in your home too! The combination of smoky heat and creamy comfort makes it stand out from other mac and cheese recipes.
Please let me know in the comments if you try it and what you think! I love hearing how my recipes turn out in your kitchens. If you enjoyed this recipe, I’d be so grateful if you could leave a 5-star review – it really helps other home cooks find these delicious recipes!

Green Chile Mac and Cheese with Bacon
Ingredients
- 1 lb Cavatappi pasta cooked al dente. Retain 1/2 cup pasta water
- 12 oz Gruyere or Wisconsin Grand Cru Alpine-style cheese, rind removed and grated
- 1 quart heavy cream
- 3/4 cup roasted Hatch chiles
- 1/2 pound thick smoked bacon fried crisp and drained
- 2 cups Panko bread crumbs
- 6 teaspoons butter
- Salt and pepper to taste
Instructions
- In a large skillet, bring cream to a boil. Continue boiling until reduced in half.
- Stir in cheese, bacon, chiles and cooked pasta. Add 1/4 cup pasta water, and stir until cheese is melted and smooth. Add more pasta water if necessary. Cover and remove from heat.
- In another skillet, melt butter and stir in Panko bread crumbs. Stir continuously until browned.
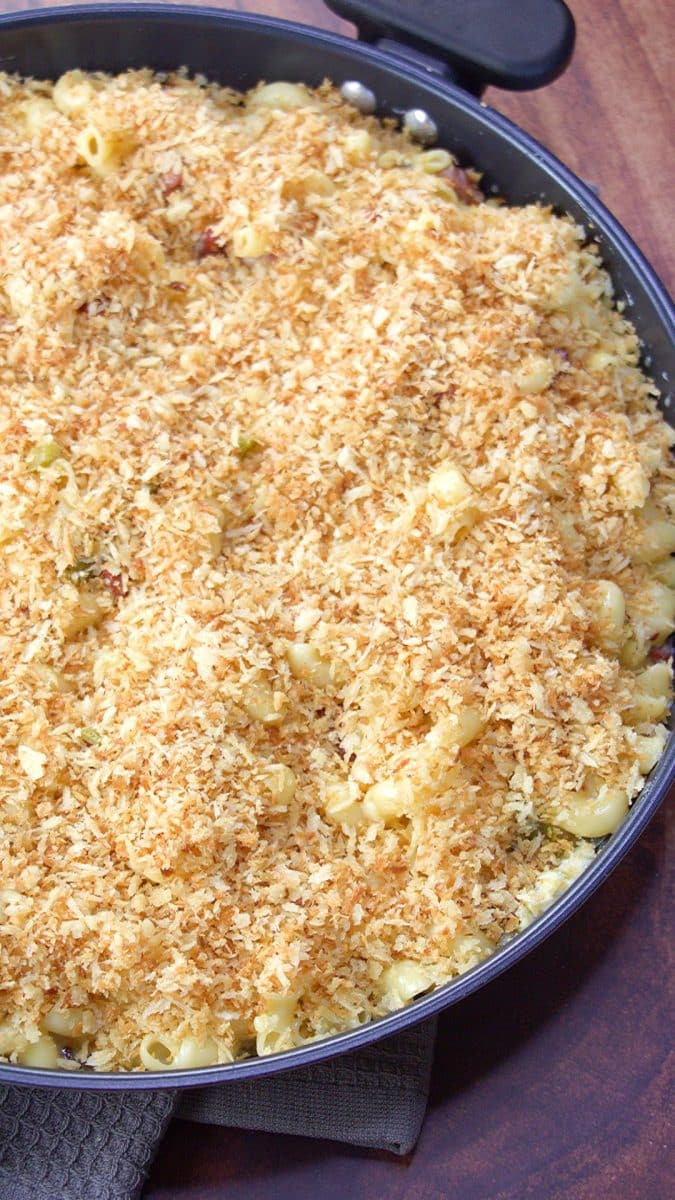
- Garnish pasta with toasted Panko bread crumbs and serve immediately.
Notes
Nutrition
Nutritional Disclaimer
This recipe was calculated using the exact brands and measurements I used to make this recipe. If you are following a strict diet please note changing anything will cause the nutritional info to change. My calculations are intended as a guide only.
Related Recipes You’ll Love
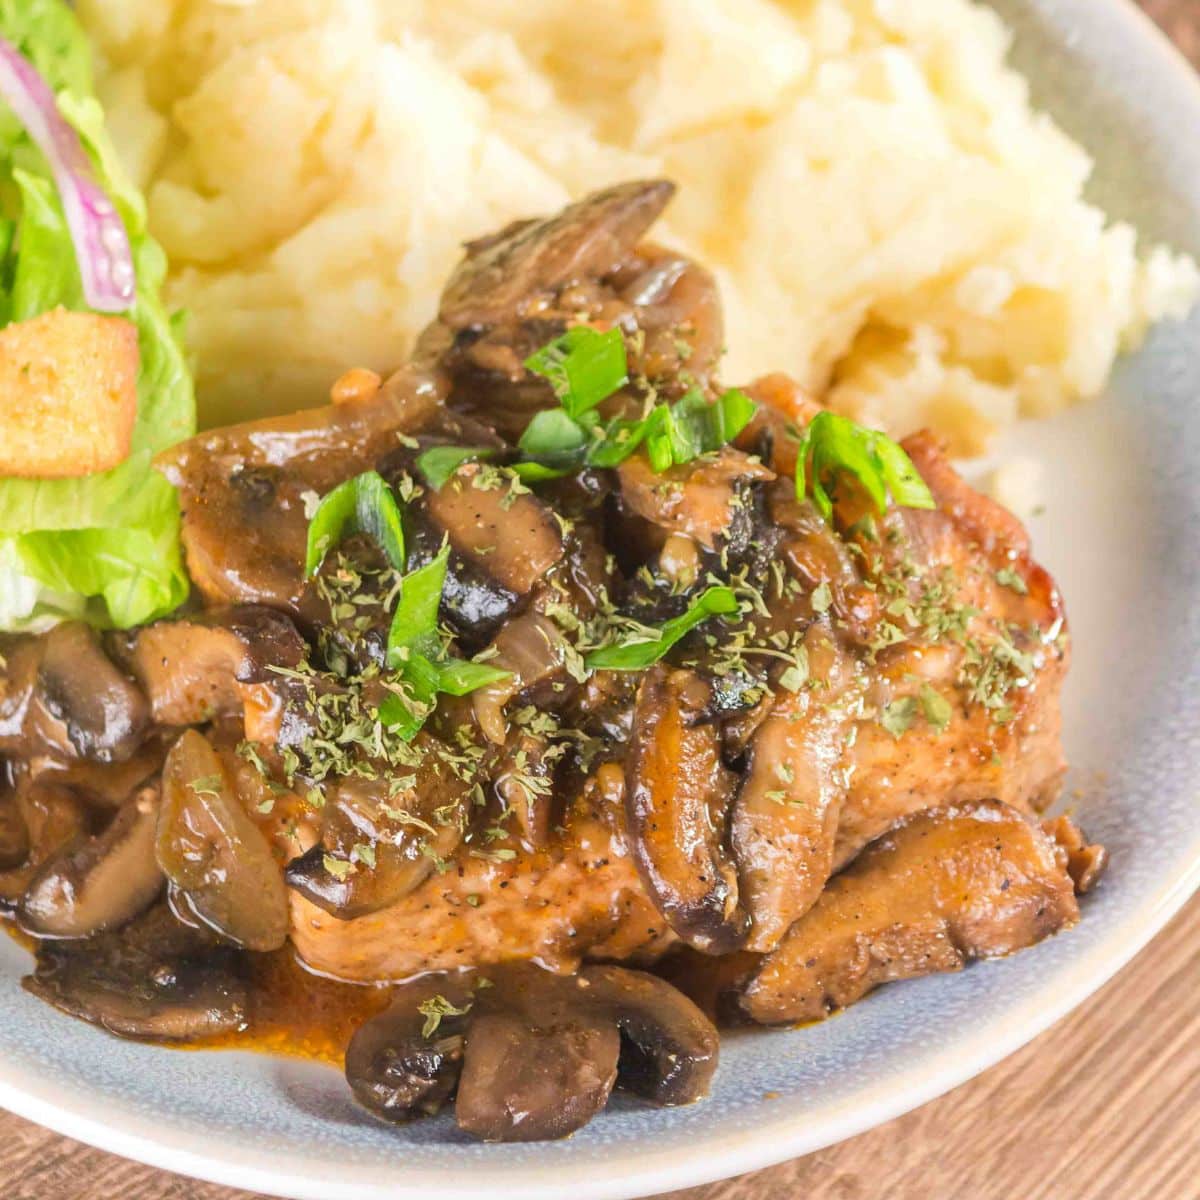
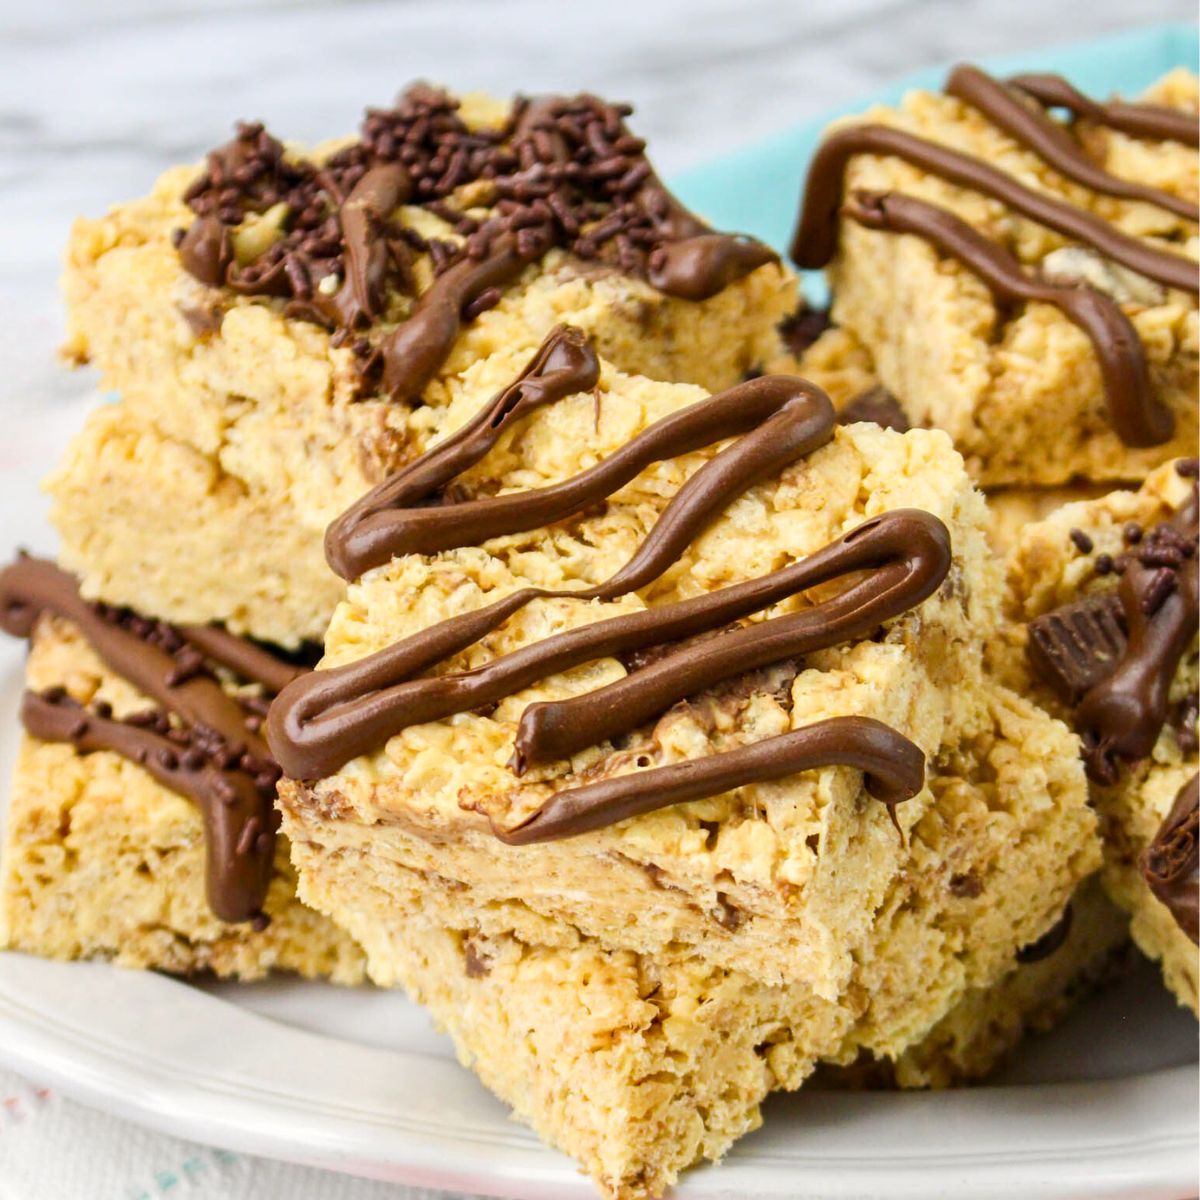
If you enjoy this Green Chile Mac and Cheese, I bet you’ll also love some of my other creamy pasta favorites! My Creamy Shrimp Pasta with Tomato and Spinach uses many of the same techniques but with succulent shrimp and fresh vegetables. Another meatless meal is our Classic Tuna Casserole. The kiddos love it and we love how easy it is. For a protein-packed option, try my One-Pot Garlic Parmesan Chicken Pasta which comes together in just 30 minutes. And if you love lighter pasta dishes, my Chicken Asparagus Pasta is always a hit with its fresh flavors and optional poached egg!
Did you enjoy this recipe? Don’t forget to pin it for later and follow me on Pinterest for more delicious recipes like this one!
This green chile mac and cheese recipe was first released on September 9, 2015, and has been updated to enhance our readers’ experience. No changes were made to the actual recipe.

To make this ridiculously creamy, just heat the cream (or even just milk) to a simmer and add 12 grams (about 2-1/2 teaspoons) of sodium citrate (Amazon) and stir until dissolved. Then add only the cheese and whisk until smooth and creamy. Then add the other ingredients.
It’ll have a texture that will blow you away.
Sodium citrate is totally natural. It is formed when you mix citric acid and baking soda. You can actually make it with lemon juice and baking soda but it’s easier to buy it and won’t have a lemony taste.
I’m making a similar recipe tonight for a friend’s dinner party. Half cheddar, half gouda but no bacon.
I’ve never used sodium citrate. Anyone else?
I have a new mantra: When life gives you green chilies, make Green Chili Mac and Cheese. It’s transformative.
I like how you roll!
Hi Julie! I never thought of adding hatch chilis to mac and cheese, looks delicious. I am going to give this a try. Adding them to the roux would be easy! 🙂
Thank you Michael! I never eat mac and cheese and up until now it wasn’t a big deal. I find myself craving this stuff!
I have used hatch chili’s on sliders, honestly never thought to grill and use in Mac ‘n cheese love the idea Julie! Cheryl
Thank you Cheryl! Happy Friday!
Hi Julie have a great weekend. Are you and John doing any special?
Thanks Cheryl! We are having 6 people over for grilling tomorrow night and have a charity action on Sunday night, so it’s a busy weekend but a good one. I hope you have a great weekend too!
Thank you – and enjoy your activities Julie!
Oh Julie I wanted too mention I started another web site #8 go to https://thewisercook.wordpress.com and remember to check growing list of Food Bloggers https://wegrazetogether.wordpress.com. Cheryl
#8! Heavens girl. You are definitely plugged in! I have been checking wegrazetogether, but haven’t had the chance to dig in yet.
HA-true! In 14 days we graze together has had 279 views/every blog average 5 views thus far. Pretty cool considering its only 2 weeks so far.
I have never heard of hatch chiles but I have lots in the greenhouse and what a recipe to try them on. I absolutely adore mac & cheese and could eat it most days of the week! It sounds delicious with the roasted chiles, bacon and the panko breakcrumbs! Wow! 🙂
Thank you Petra! You can use any chile with as much heat as you enjoy. If you make this, the recipe needs twice as much breadcrumbs as you will need. I froze the extra, but you could just cut that ingredient in half.
Curse that lying super market person! I know that cough. It’s no joke.
I’ve been seeing hatch chiles in the blogosphere of late and my curiosity is definitely piqued. I am simultaneously in love with, intimidated by and mystified by peppers. There are so many different kinds! So much to learn. Thanks for linking up at #SaucySaturdays.
Thank you Christine! I agree that peppers can be daunting because there are so many darned many of them! I like most of them but want to taste the dish not survive spontaneous combustion! 🙂
I’ve only given guests dessert to take home! This looks delicious- I love the idea of adding a little heat to a rich & cheesy dish. Yummy! 🙂
Thank you Josette!