Rustic Pumpernickel Bread Recipe: Quality Bread at Home
This post may contain affiliate links. Please read our Disclosure Policy.
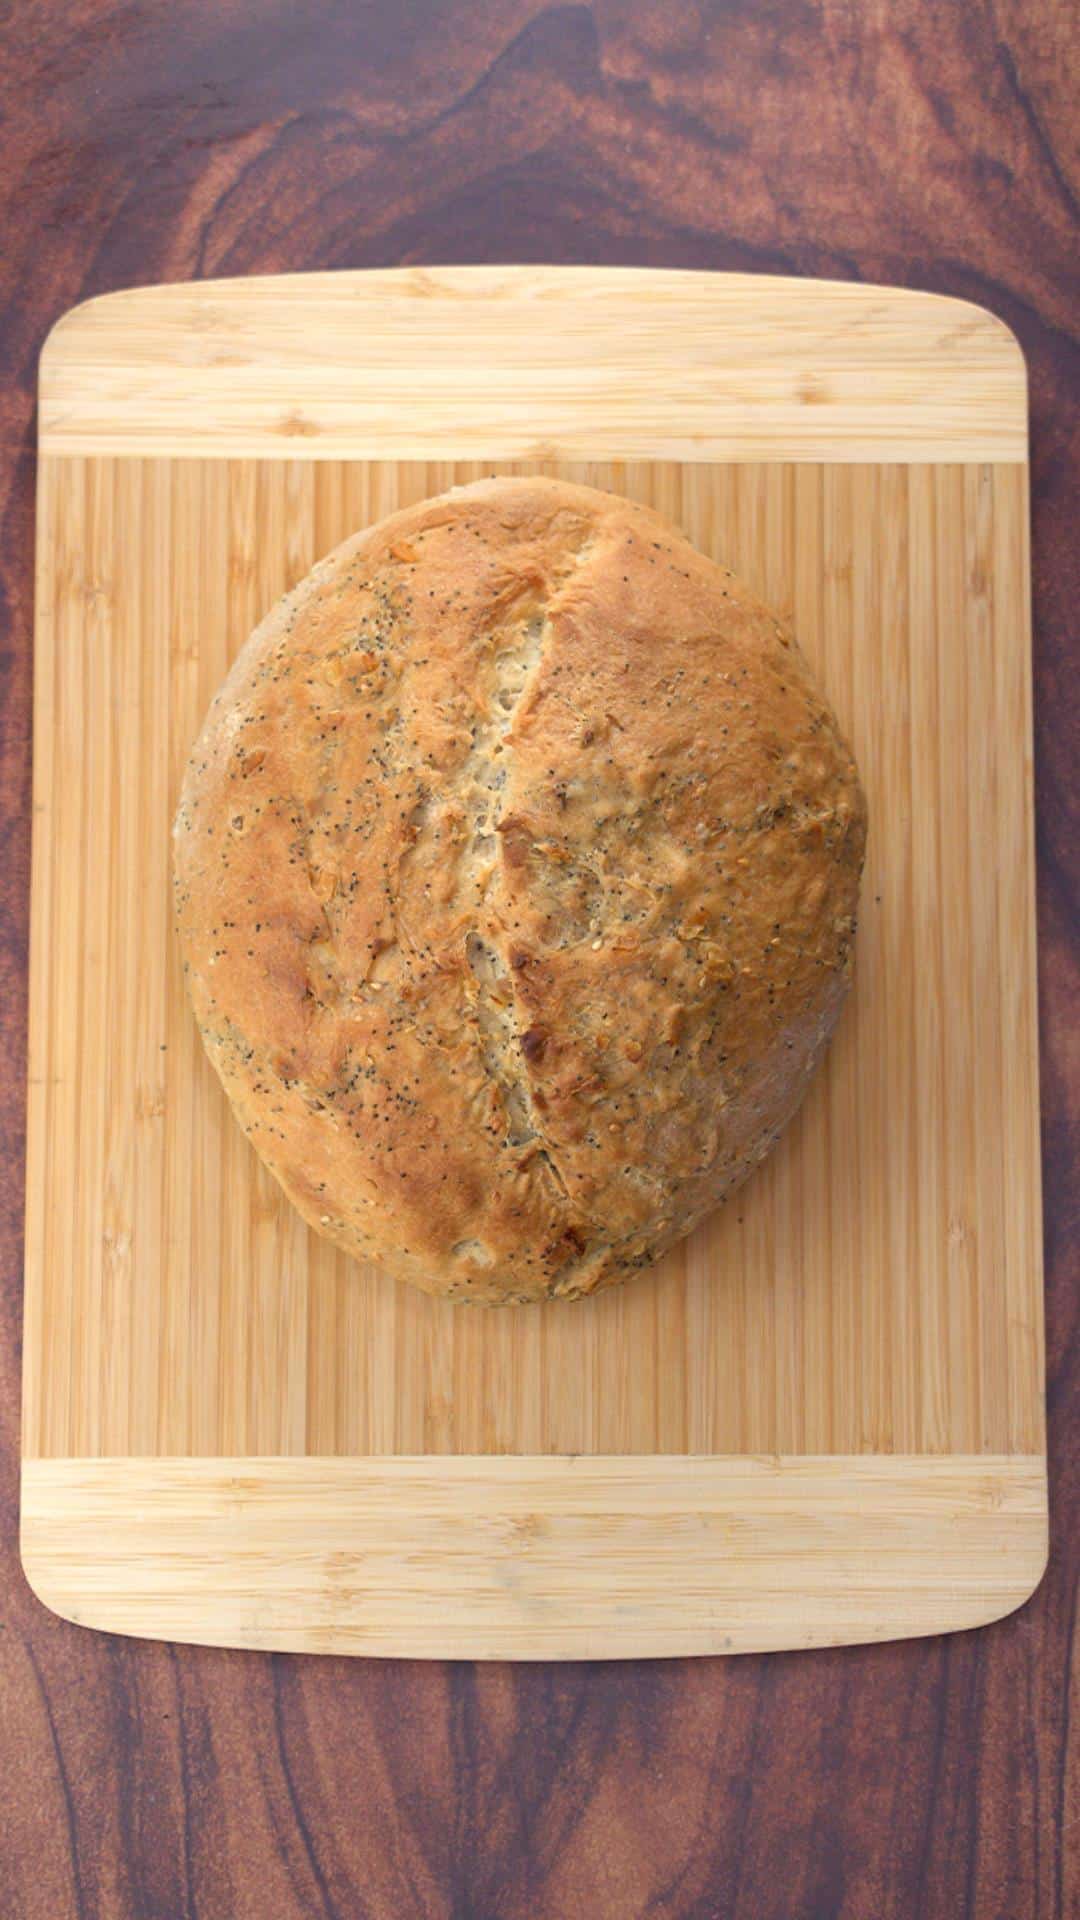
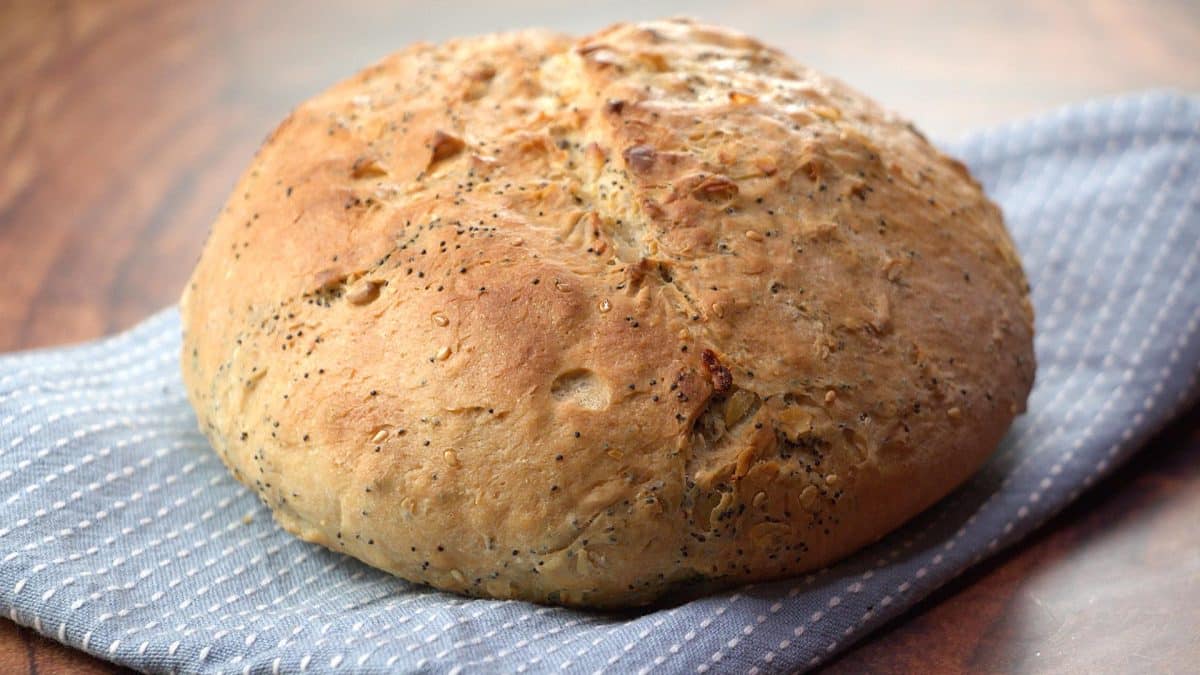
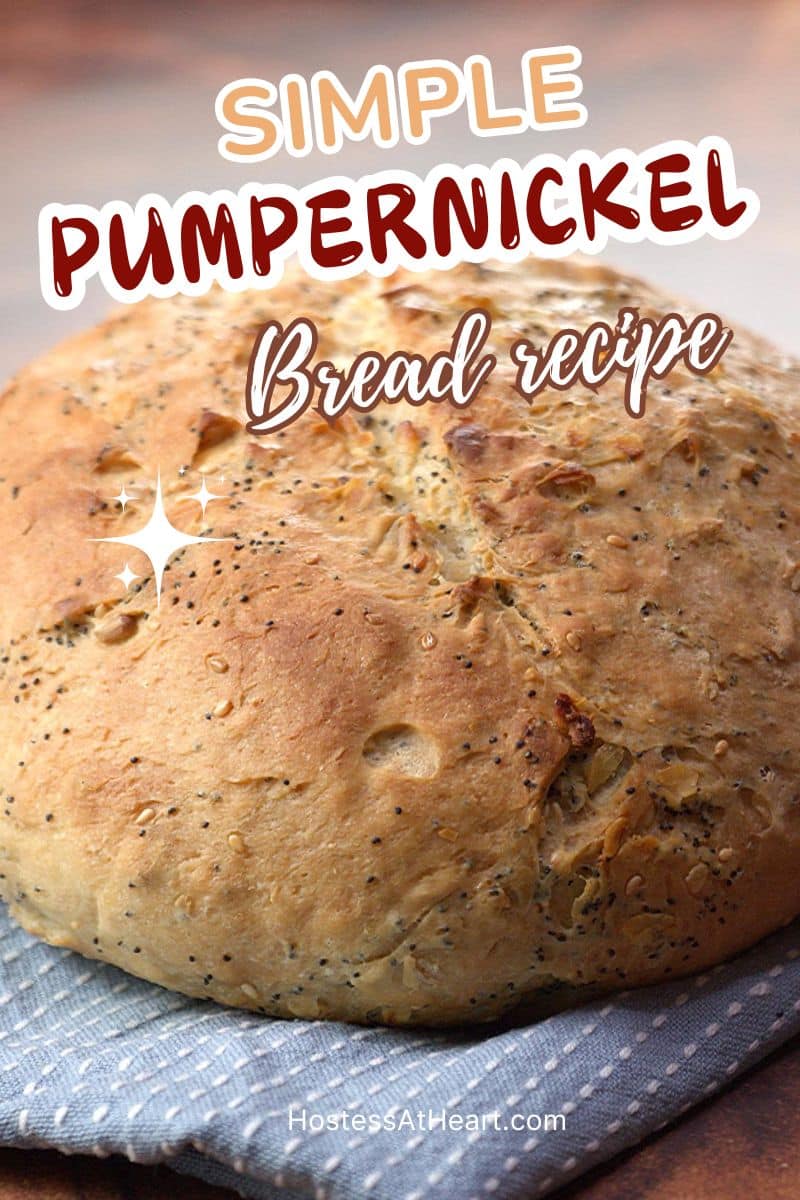
This Rustic Pumpernickel Bread recipe yields a loaf of hearty, artisan-style bread with a gorgeous bakery-style crust and a tender, flavorful crumb, making it stand out from any store-bought loaf.
I first tried making this Rustic Pumpernickel Bread when I joined a bread baking group and challenged myself to work with a flour I’d never used before. My family immediately fell in love with it because it has that gorgeous bakery-style crust on the outside but stays incredibly soft and moist on the inside.
What makes this recipe so special is the overnight sponge method that develops incredible flavor without any complicated techniques. I’ll explain all about it and make this homemade pumpernickel a recipe that you can feel confident about making too.
I wish I’d known how easy it was to create something this special. Our recipe for pumpernickel bread has become our go-to bread for cozy weekend mornings. The best part? Even though it takes time to rise, the actual hands-on work is only about 20 minutes!
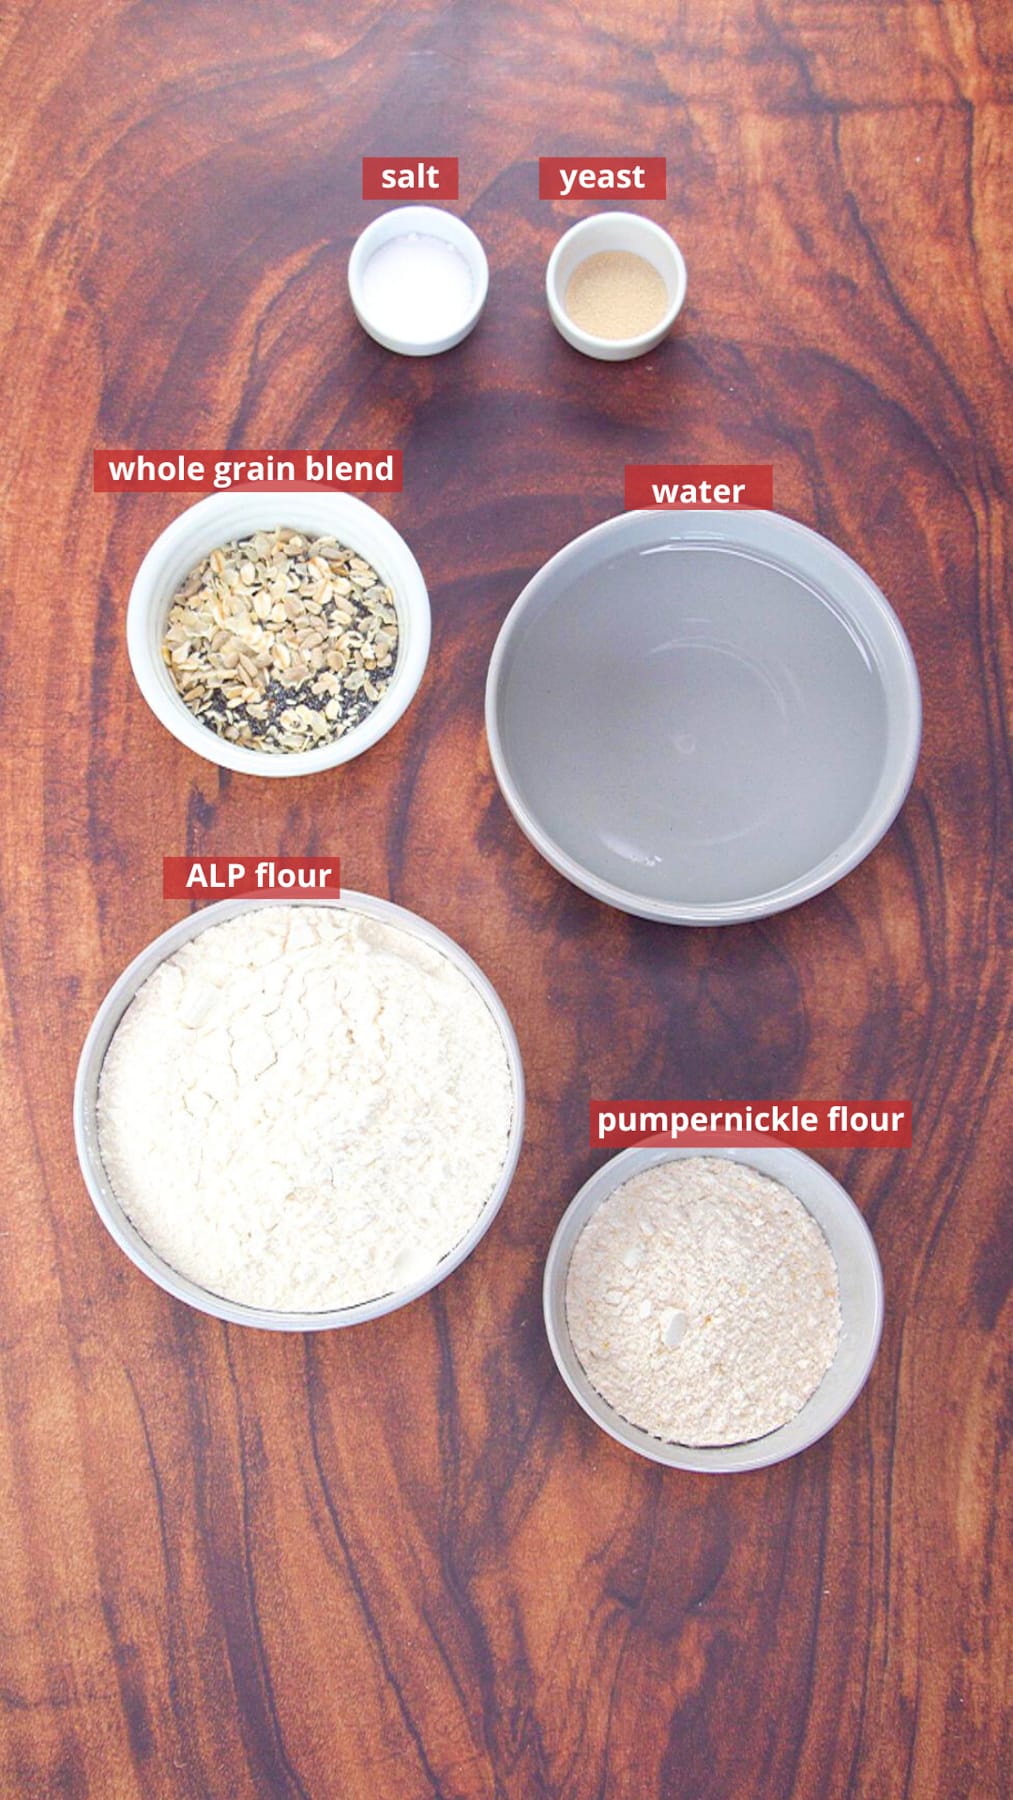
Key Ingredient Notes
While you’ll find the full ingredient list in the recipe card below, I wanted to highlight a few important ingredients:
Filtered Water: If your tap water is heavily chlorinated, use filtered or bottled water since chlorine can hurt the yeast’s ability to work properly.
Pumpernickel Flour: Don’t worry if you’ve never used it before! You only need a small amount, and it adds a subtle earthy flavor and beautiful color. King Arthur Flour and Amazon sell it online if you can’t find it locally.
Bread Flour: This gives the loaf its perfect chewy texture and helps it rise beautifully. You can substitute all-purpose flour, but bread flour works best.
Active Dry Yeast: Make sure your yeast is fresh! Check the expiration date – old yeast won’t give you that gorgeous rise.
How To Make Pumpernickel Bread
 Combine Ingredients
- Sponge
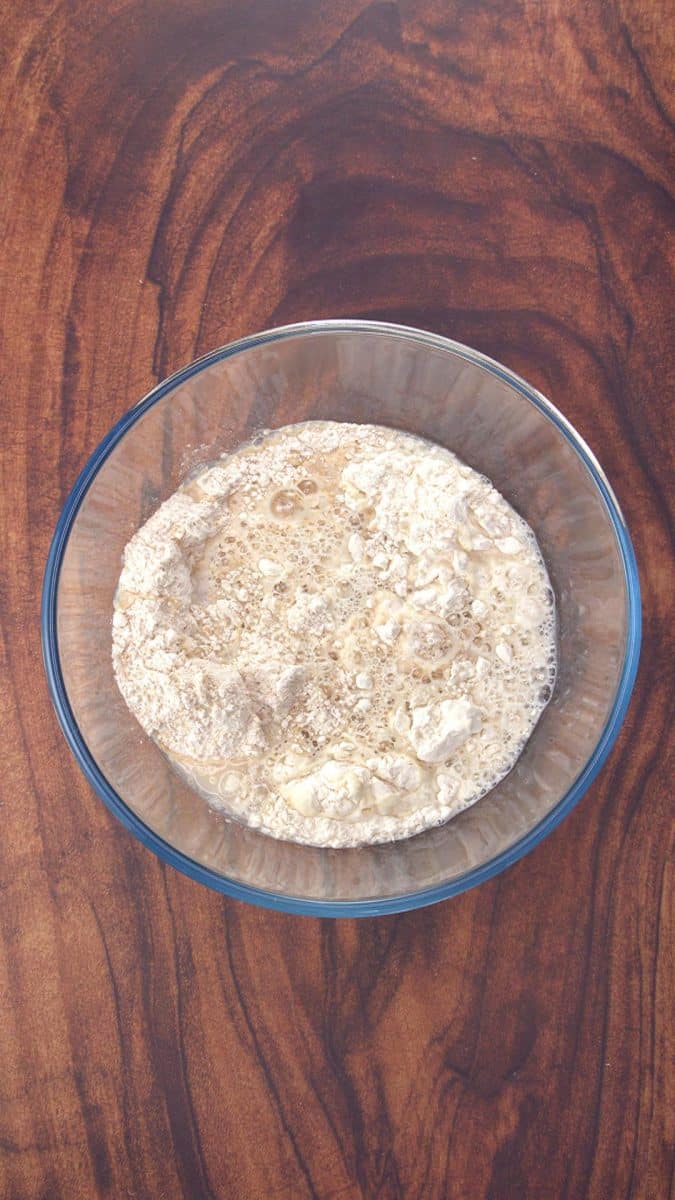
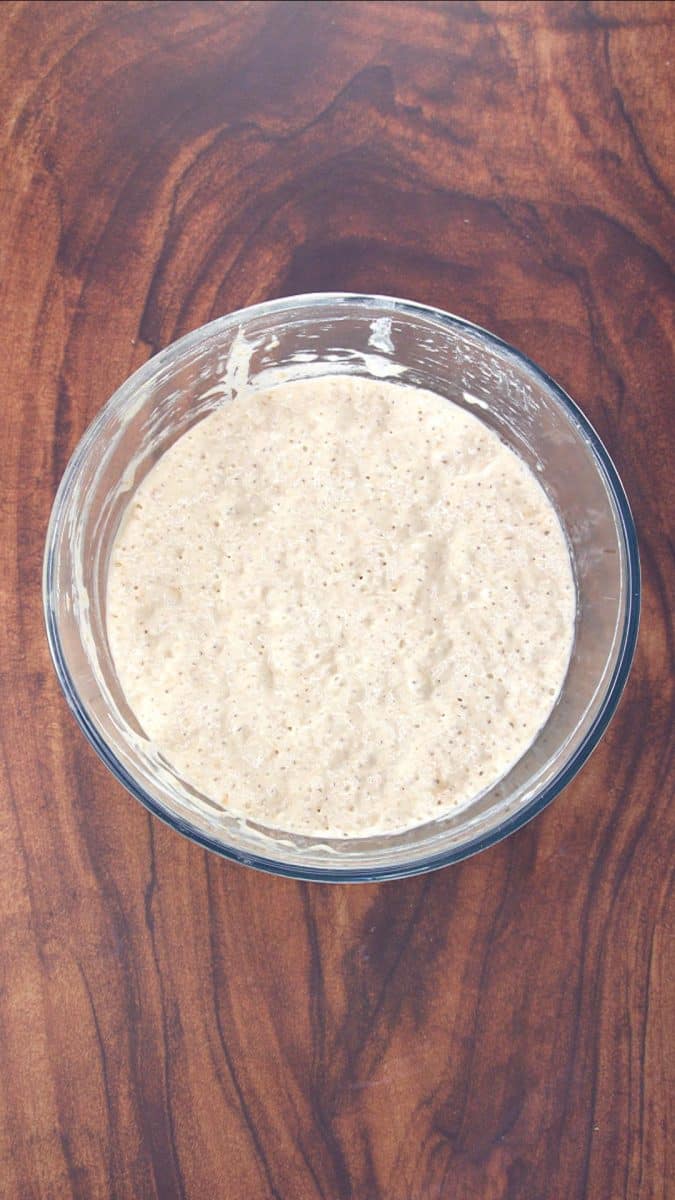
- Start with the Sponge: The sponge is what makes this bread special. It adds flavor and gives our yeast superpowers. We mix it the night before and let it get active on our counter, but you can shorten this time to 4 to 5 hours if you want to bake it the same day.
- Add inclusions
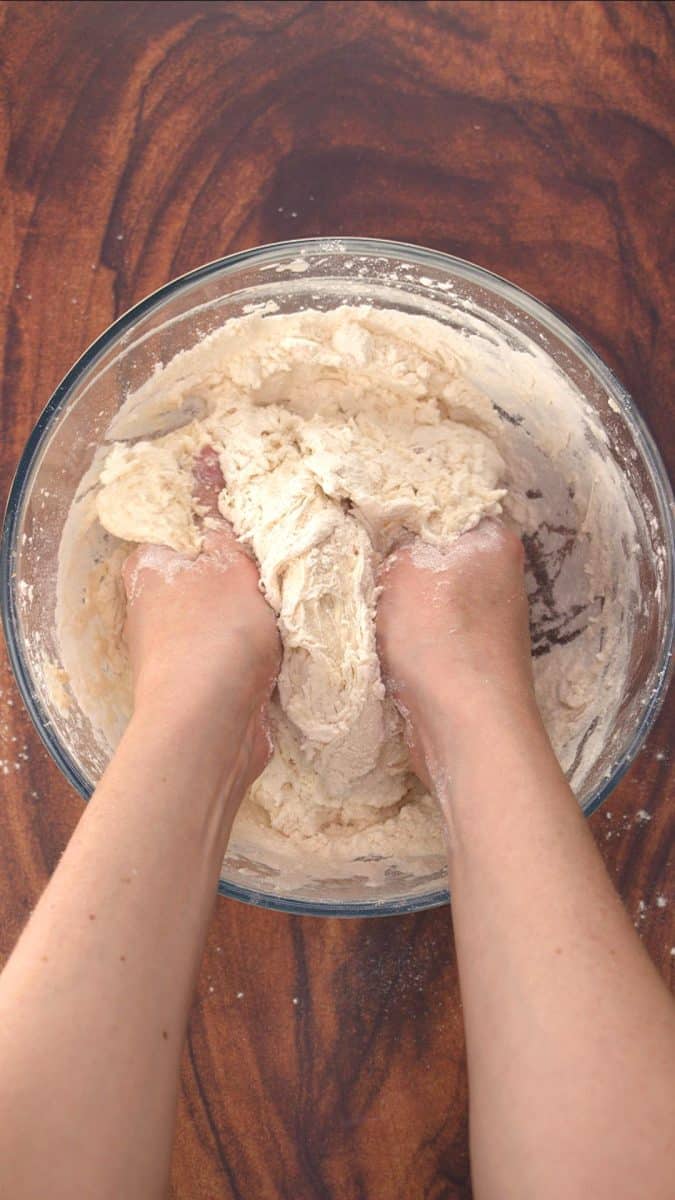
- Mix dough with sponge
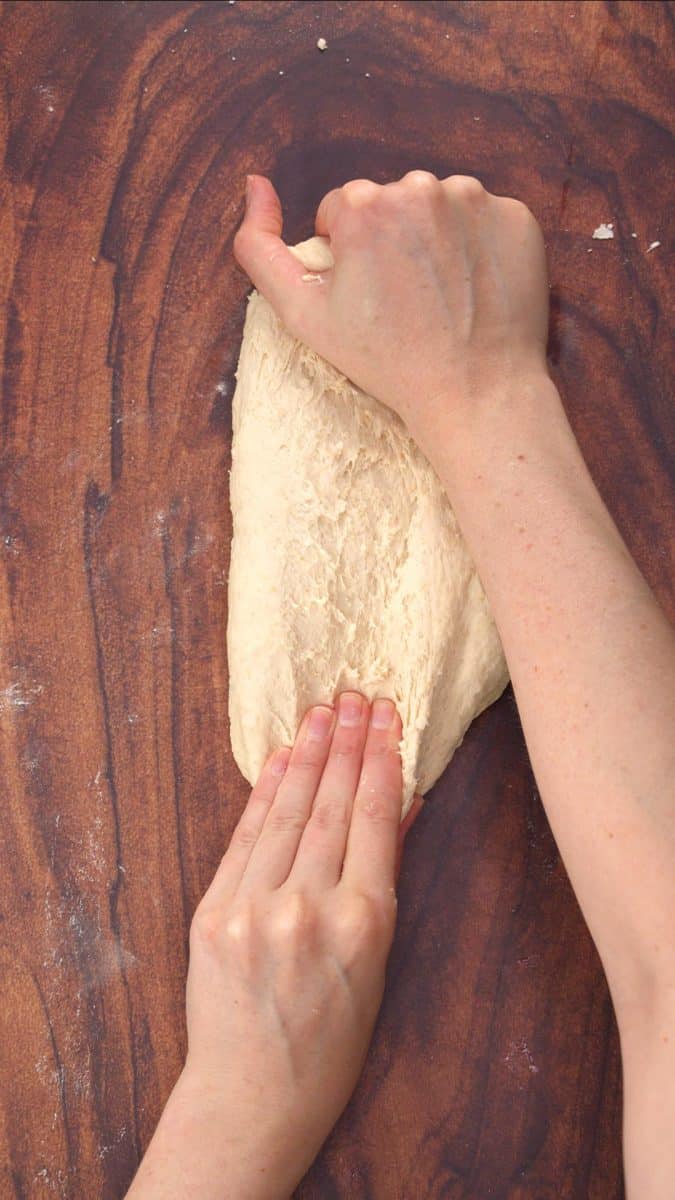
- Knead dough
- Let dough rise
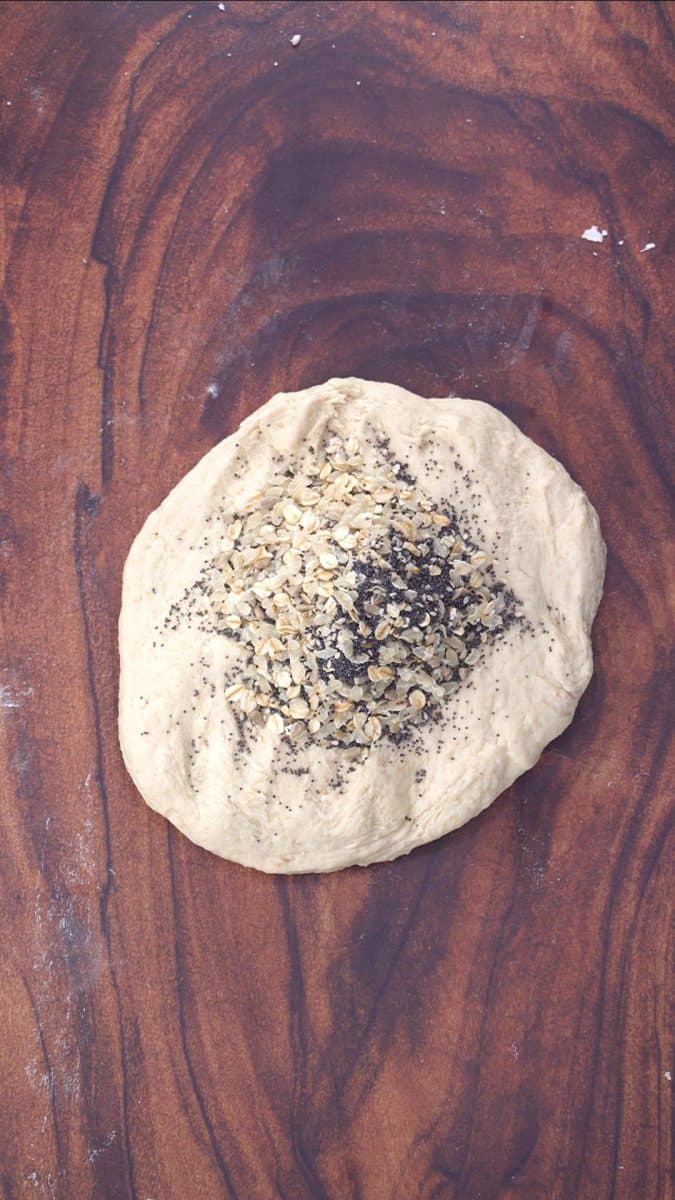
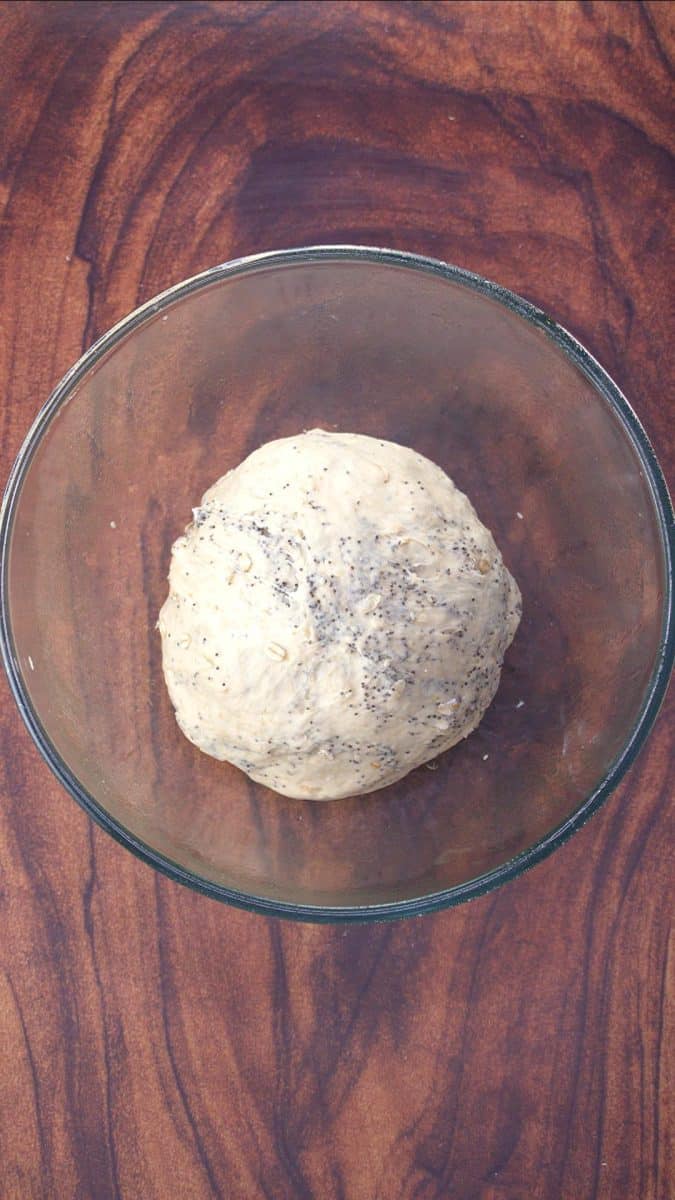
- The day of baking, we make our dough. Now is the time to add any seeds, grains, or herbs. Let it rise in an oiled bowl for 90 minutes to 2 hours.
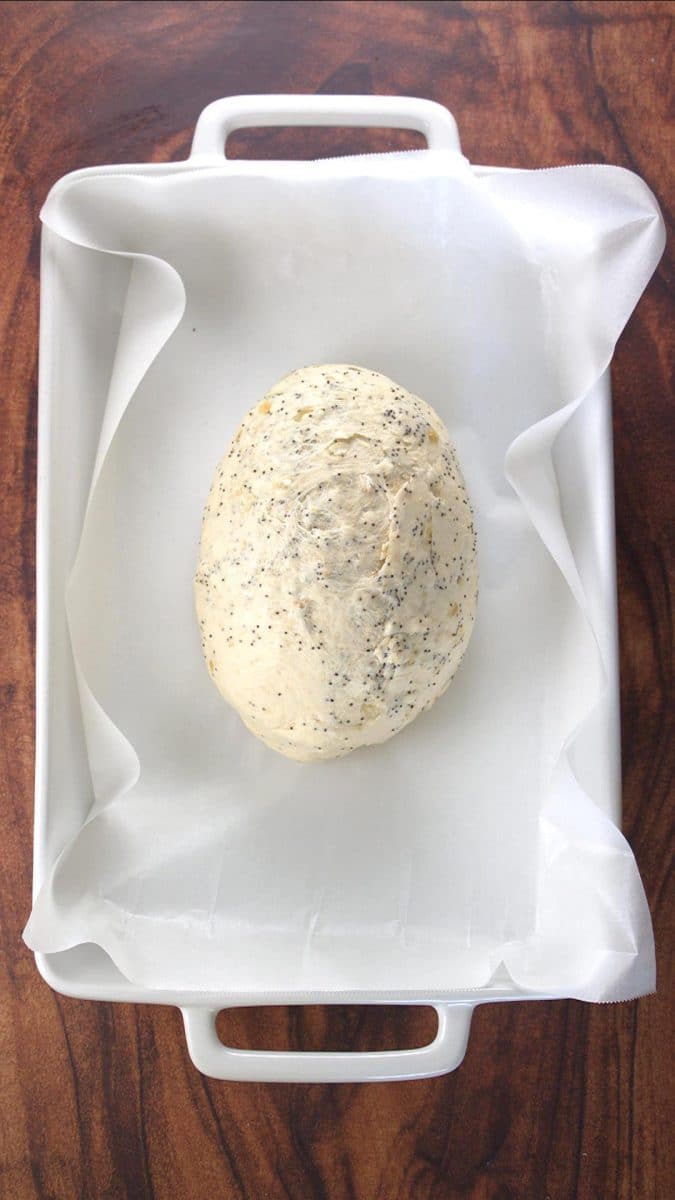
- Shape loaf
- Score raised loaf
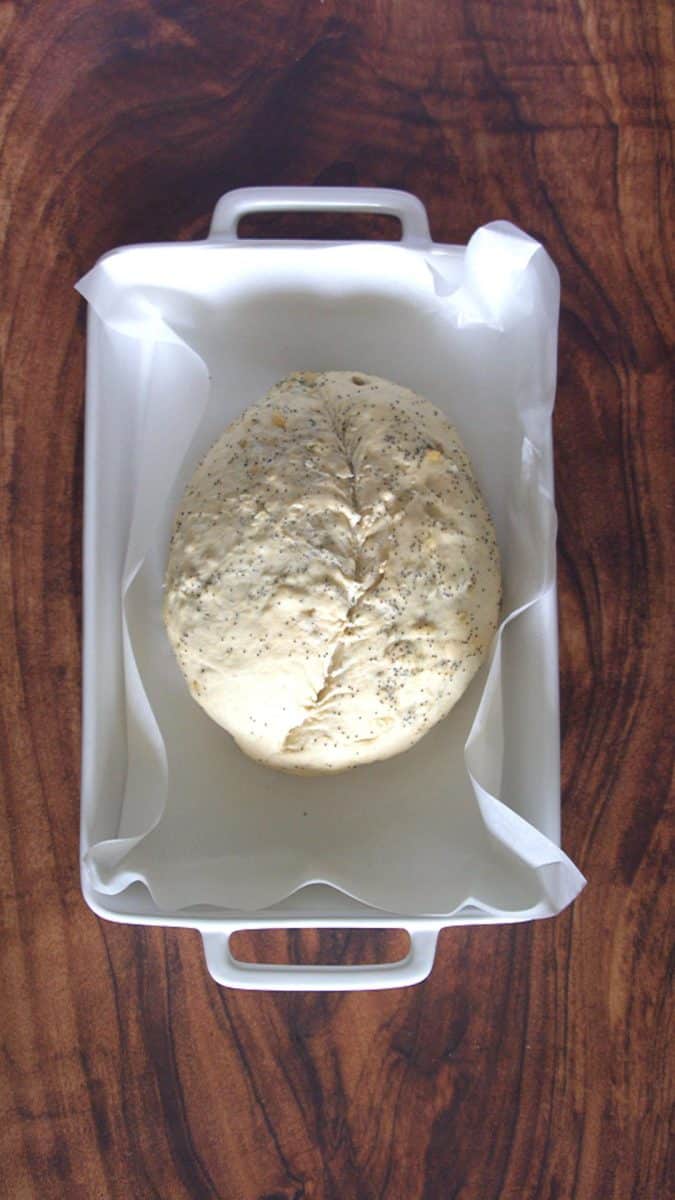
- Shape the dough and let it rise one more time for 1 hour. Score the bread and bake.
- We spritz the top of our bread with water before baking it. That helps create that beautiful artisan crust.
- We score our bread using a razor blade or a sharp knife, gently over the top. This gives the steam a place to escape.
Variations to Try
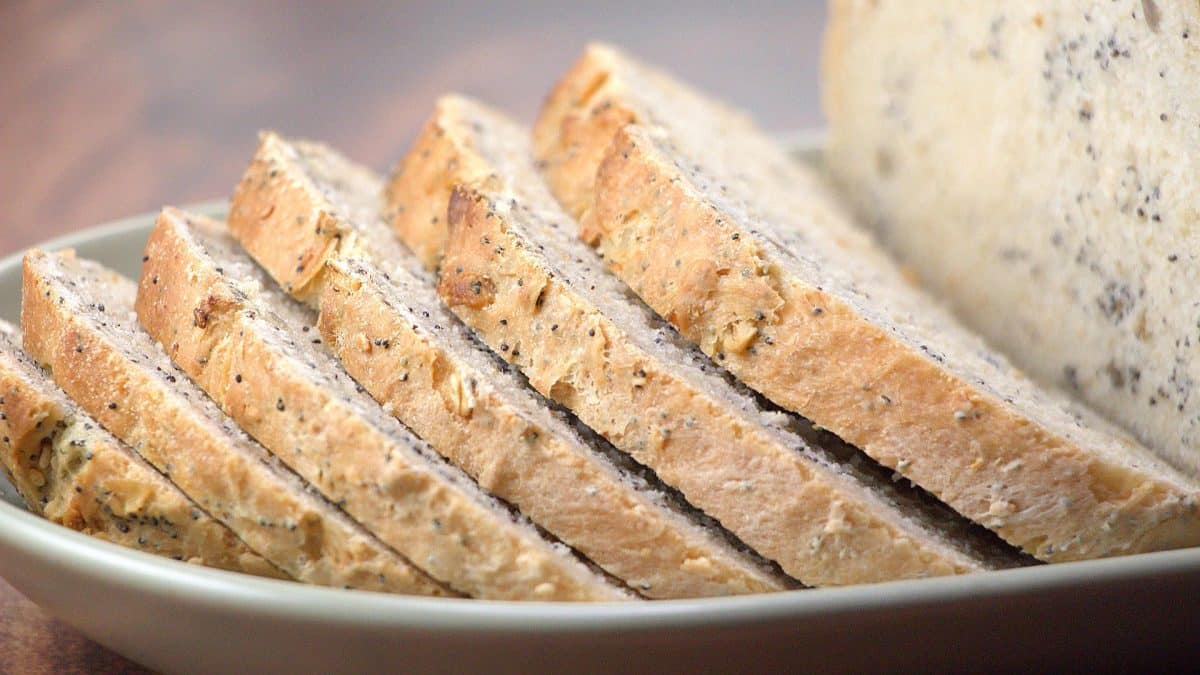
- Seeded Rustic Bread: Add 2 tablespoons of mixed seeds (sunflower, pumpkin, sesame) to the dough for extra crunch! We use our favorite homemade whole grain mix.
- Darker Pumpernickel: Increase the pumpernickel flour to 1 cup and decrease the bread flour accordingly for a more intense flavor.
- Herb Rustic Bread: Add 2 tablespoons of dried herbs like rosemary or thyme for a savory twist.
Pro Tips
Knead the bread until it’s smooth, about 10 minutes. Place the heel of your hand into the dough and push it away from you, turning as you go.
Test for Doneness. The bread is done when it sounds hollow when you tap the bottom, or when an instant-read thermometer reads 200-210°F.
Want to save this recipe?
I'd like to receive more tips and recipes from Hostess At Heart!
Don’t slice the bread until it’s completely cool. That’s the hardest thing about this recipe! Just place it on a cooling rack and let it cool for about 2 hours.
Storage and Leftovers
This bread will keep well at room temperature for 3-4 days stored in a paper bag or bread box (avoid plastic, which makes the crust soggy). To reheat day-old bread, pop slices in the toaster or warm the whole loaf in a 350°F oven for 5-10 minutes.
If you want to prep ahead, you can make the sponge up to 24 hours in advance – just keep it covered on your counter. This recipe also freezes beautifully! Wrap the cooled loaf tightly in plastic wrap and foil, then freeze for up to 3 months. Thaw overnight at room temperature.
FAQ’s
What is the difference between rye bread and pumpernickel bread?
Rye bread is made mostly with rye flour and usually has a lighter color and tangy flavor. Pumpernickel bread gets its dark color and rich, slightly sweet flavor from pumpernickel flour (coarsely ground whole rye berries). This recipe gives you authentic pumpernickel flavor in an easy way!
What is a sponge in bread making?
A sponge is flour, water, and yeast mixed together and left to sit for hours or overnight. Think of it as giving your yeast a head start! It should look bubbly and smell yeasty when ready. This method creates much better flavor than mixing everything at once.
Why do we combine pumpernickel flour with bread flour?
Pure pumpernickel flour makes very dense, heavy bread that doesn’t rise well. By mixing it with bread flour, we get the best of both worlds – that rich pumpernickel flavor and color, plus a light, airy texture that’s perfect for slicing and toasting!
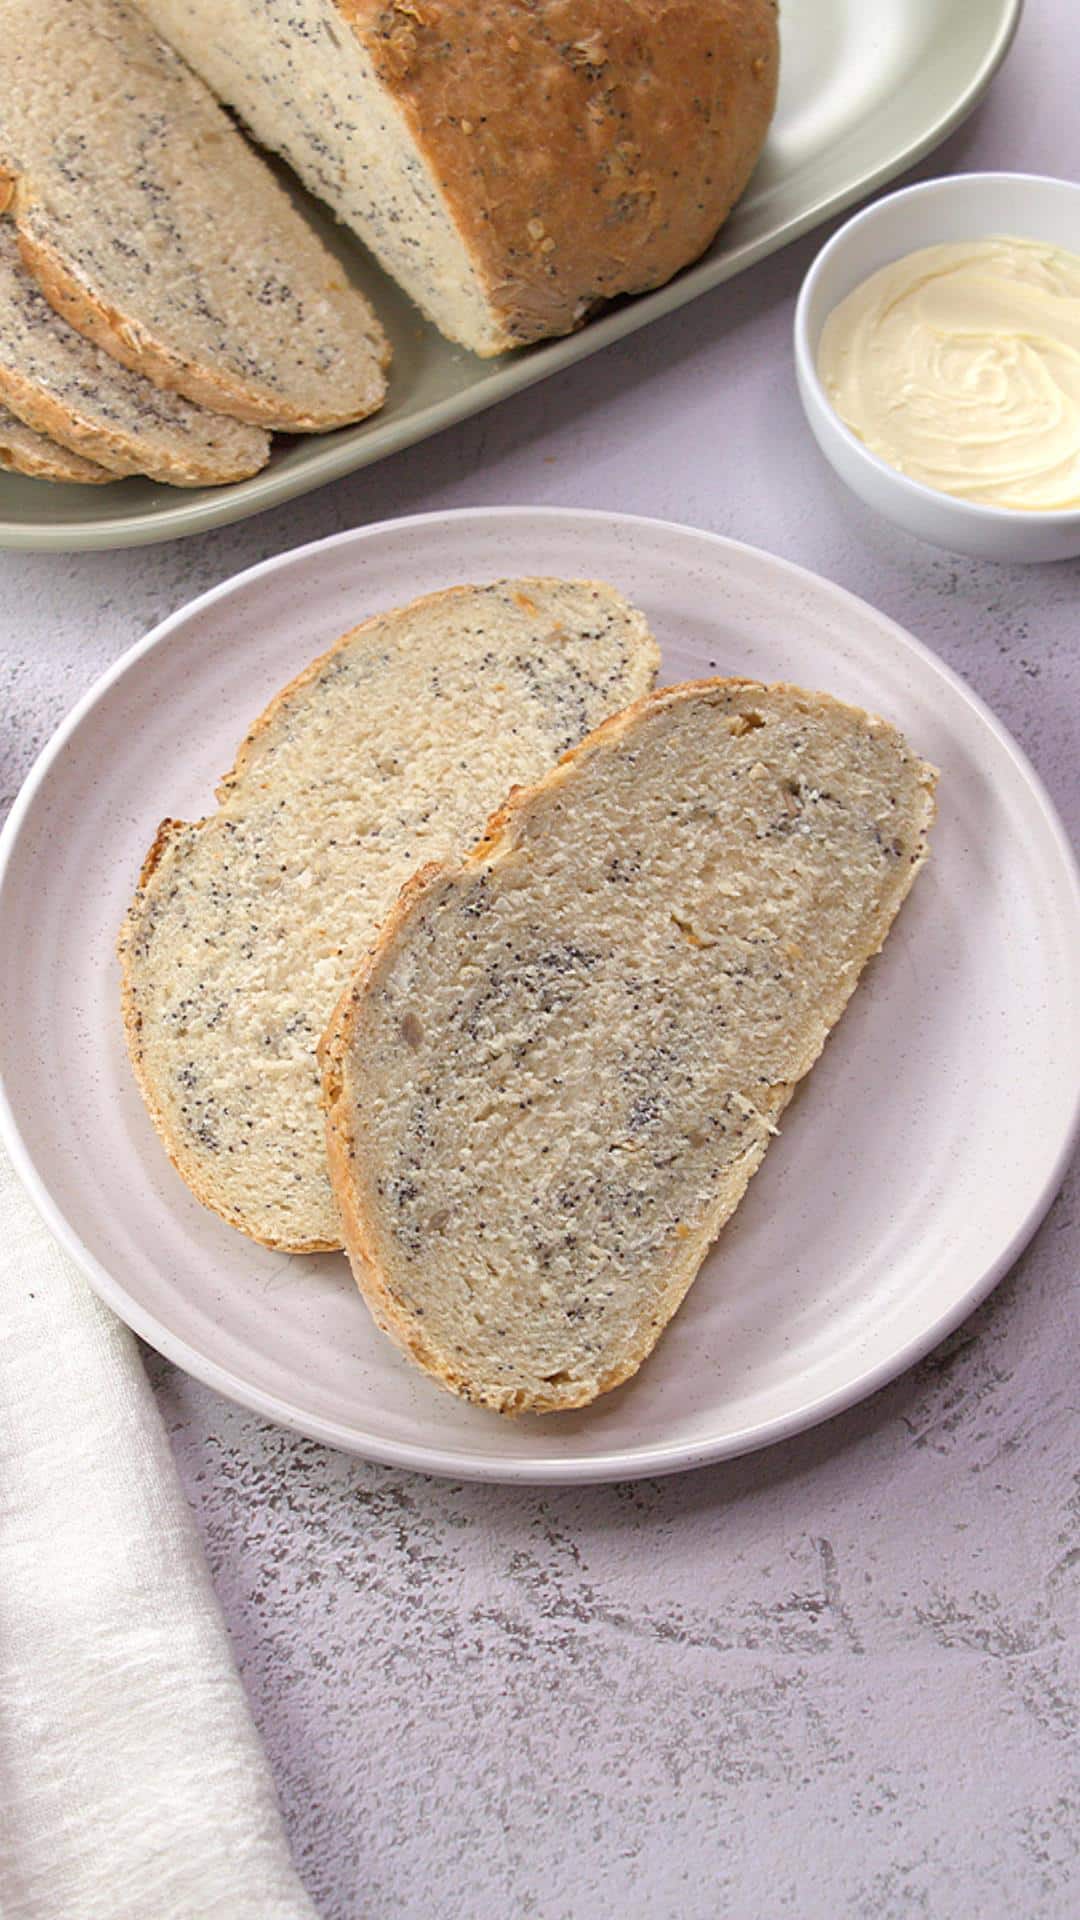
Serving Suggestions
This Rustic Pumpernickel Bread pairs wonderfully with a hearty bowl of hamburger vegetable soup. And, there’s nothing better than making an amazing corned beef sandwich. If you’re making this for a dinner party, try slicing it and serving it with some gorgonzola cheese dip.
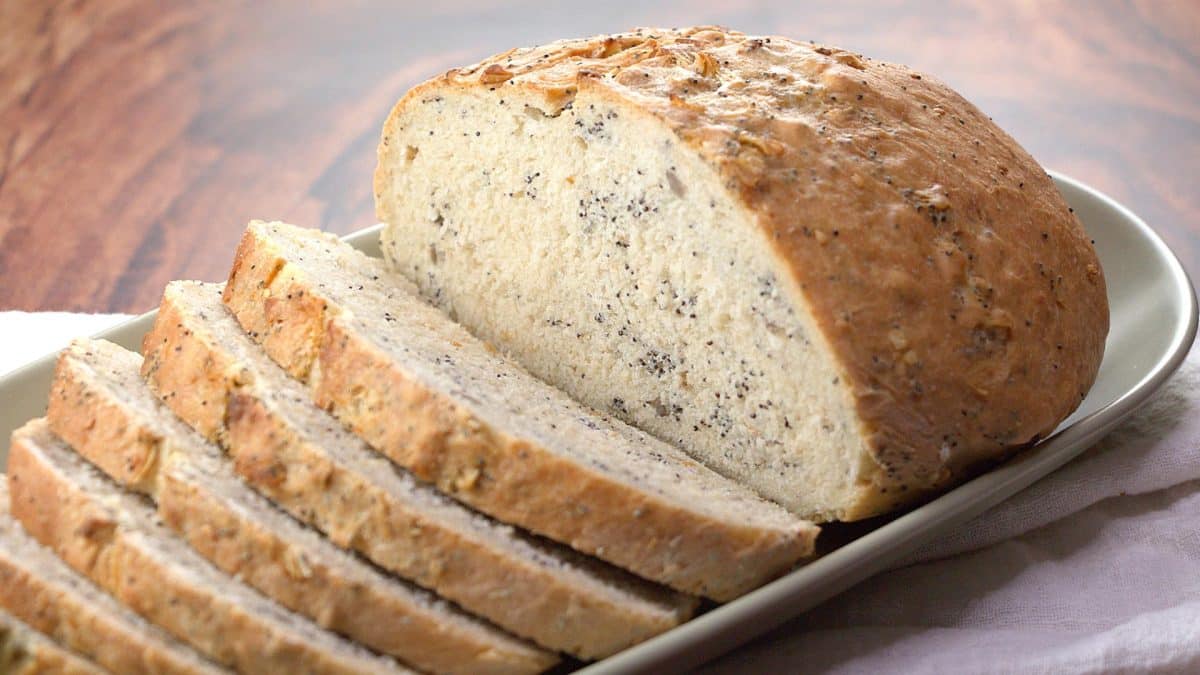
To serve, simply slice with a sharp serrated knife and watch everyone’s faces light up when they see that perfect soft crumb inside the crusty exterior.
Related Recipes You’ll Love
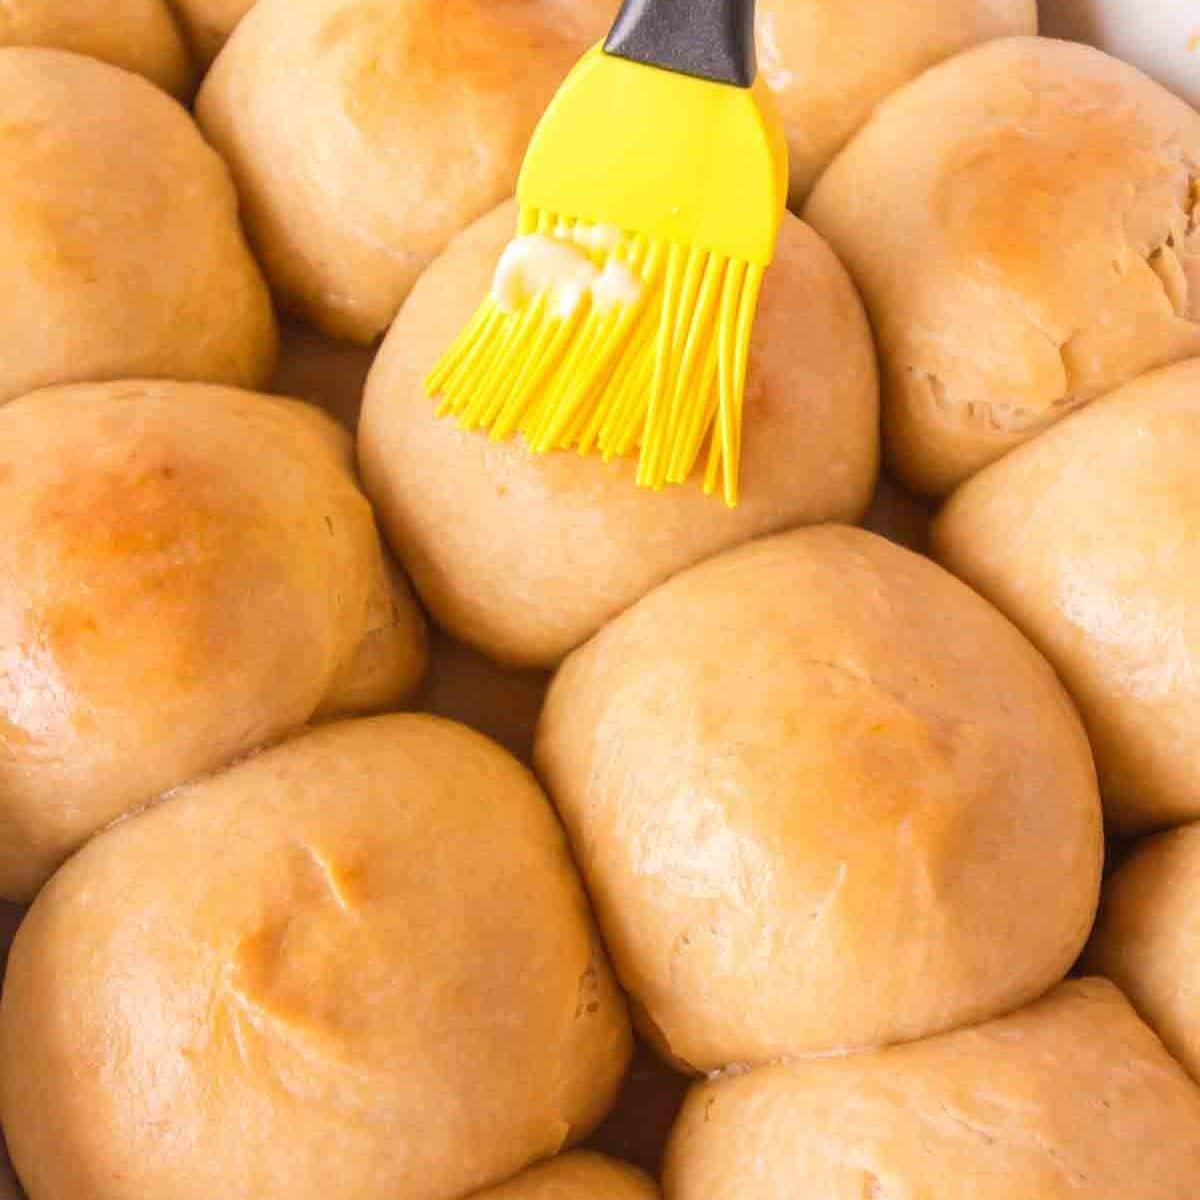
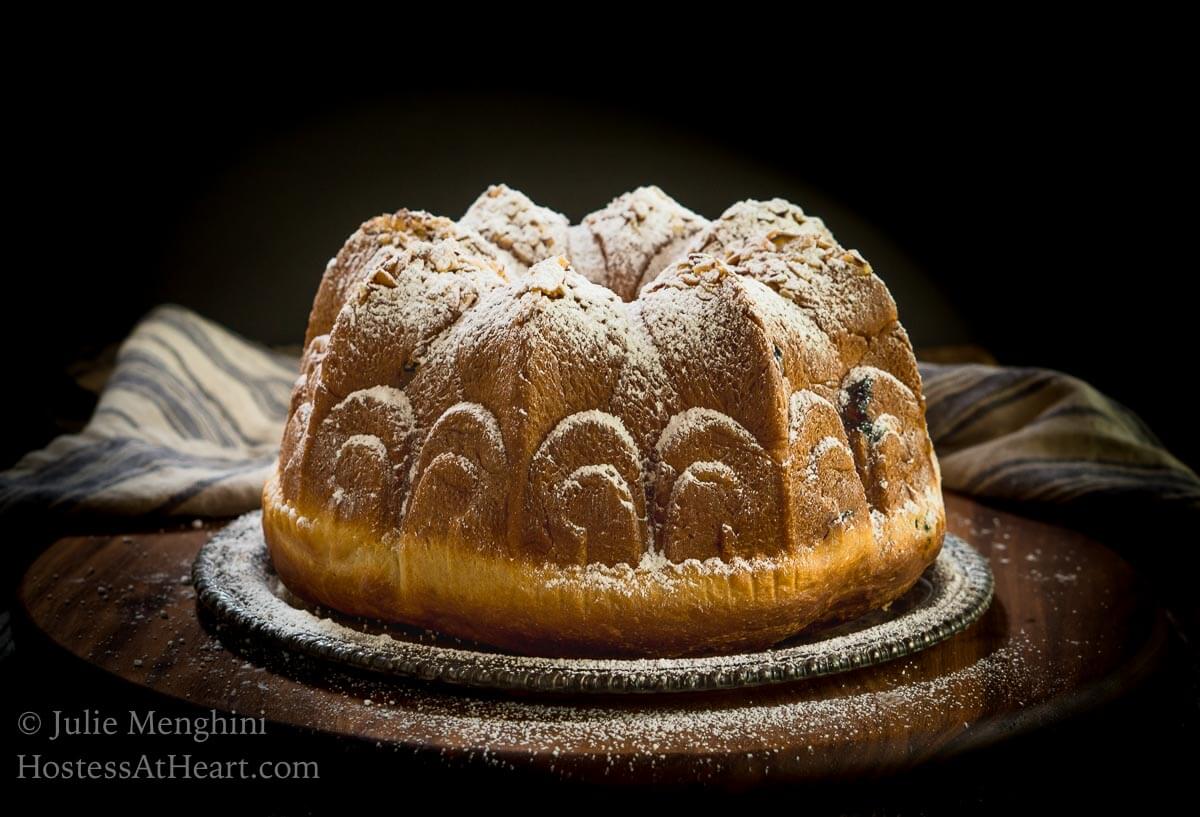
If you enjoy this Rustic Pumpernickel Bread, I bet you’ll also love some of my other homemade bread recipes! My Classic Italian Bread that’s perfect for beginners. For a quicker option, try my No-Knead Artisan Bread which comes together in just 5 minutes of mixing. And if you’re feeding a crowd, my Potato Rolls are always a hit at gatherings and potlucks!
This Rustic Pumpernickel Bread has become one of my most treasured recipes, and I hope it becomes a favorite in your home too! Please let me know in the comments if you try it and what you think! I love hearing how my recipes turn out in your kitchens, especially when someone tackles bread baking for the first time.
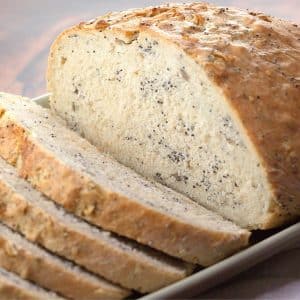
Easy Pumpernickel Bread Recipe
Ingredients
Sponge
- 1½ cups water
- 1 tsp instant yeast
- 1½ cups All Purpose Flour I use unbleached
- ½ cup pumpernickel flour
Dough
- 2 tsp salt I use fine sea salt
- 2¼ cups Unbleached All-Purpose flour
Instructions
To make the sponge
- Mix the sponge ingredients together. Cover and let it sit at room temperature 3 to 4 hours or overnight.
Dough
- Stir down the sponge. In a large bowl, combine dough ingredients together and stir in the sponge.
- Add seeds, grains, or herbs of your choice. Knead the dough until smooth and elastic, approximately 10 minutes.
- Shape the dough into a ball and put it into a large, well oiled bowl. Turn once to coat both sides. Cover and allow to rise for 1 1/2 to 2 hours.
- Lightly grease a baking sheet, or cover it with parchment paper. Turn the dough out onto the baking sheet, and form it into a ball. Gently cover the dough with oiled plastic wrap or a kitchen towel. Allow it to rise for 1 more hour. Preheat the oven to 450 °F.
- Gently but firmly score the dough across the top and then spritz it with water. Bake the bread for 30 to 35 minutes, or until it's golden brown or until it registeres 205 to 210 °F when tested with an instant-read thermometer.
- Remove the loaf from the pan and allow t tto cool completely on a cooling rack prior to slicing.
Notes
Nutrition
Nutritional Disclaimer
This recipe was calculated using the exact brands and measurements I used to make this recipe. If you are following a strict diet please note changing anything will cause the nutritional info to change. My calculations are intended as a guide only.
Did you enjoy this recipe? Don’t forget to pin it for later and follow me on Pinterest for more delicious recipes like this one!
Our monthly bread baking party is no longer active, but you can still enjoy many of their recipes as I do!
60% Kamut Sourdough Bread from Karen’s Kitchen Stories
Coconut Flour Zucchini Bread from CulturEatz
Rustic Loaf using Pumpernickel Flour from Hostess At Heart
This simple Pumpernickel Bread recipe was first published on January 5, 2016. It has been updated to make it better for our readers. No changes were made to the actual recipe.


Is it just me or does homemade bread make everything better? We would love this bread!
This just looks perfect! I love how rustic it looks on the outside and how soft and tender on the inside. I have a question. Where do you purchase your flours like the pumpernickel and the King Arthur one. Do you have to order it online? I haven’t made bread so was wondering about this. I would love to try it. I’ve had so many recipe fails lately, though, that maybe I should wait awhile! 🙁
Thanks Shari, it really is soft and made great toast. I think next time I would mix the spelt with bread flour at maybe a 30/70 ratio to see if I can get it to hold the raise a bit more. Either that or raise the spelt only once for 30 minutes, because I did like the flavor. I know about the fails, seems like they group themselves together for some reason. Very frustrating! I did buy my pumpernickel and rye flour directly from King Arthur They also have a seed/grain mix that I love and I put it in a wheat bread recipe that I make regularly. I bought my spelt in my grocery store in the health market area. I believe it’s Bob’s Red Mill flour.
Baking bread from scratch is one of my goals for this year. I have NEVER done it even though I’ve had packets of yeast sitting in my cupboard for at least six months. Does yeast go bad? I better hop to it! Happy 2016 Julie and thanks for linking up at #SaucySaturdays!!
Good for you Christine, let me know if you have any questions. Your yeast has a expiration date on it. I’d replace it if that date is long gone but chances are it’s still fine.
Julie, all that hard work has really paid off! Another absolutely gorge loaf!! Thanks for linking up to Throwback Thursdays!
Delicious looking rustic bread there! I bet it doesn’t last very long if not already eaten up! Nice photos as well!
Thank you Gerard! I really enjoyed that bread and will make it again. Thank you for the nice comments on the photos. That is a work in progress for me!