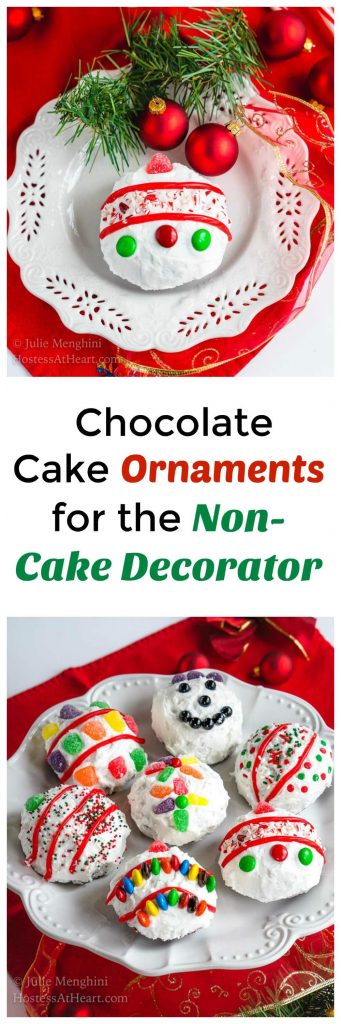
Chocolate Cake Ornaments for the Non-Cake Decorator
This post may contain affiliate links. Please read our Disclosure Policy.
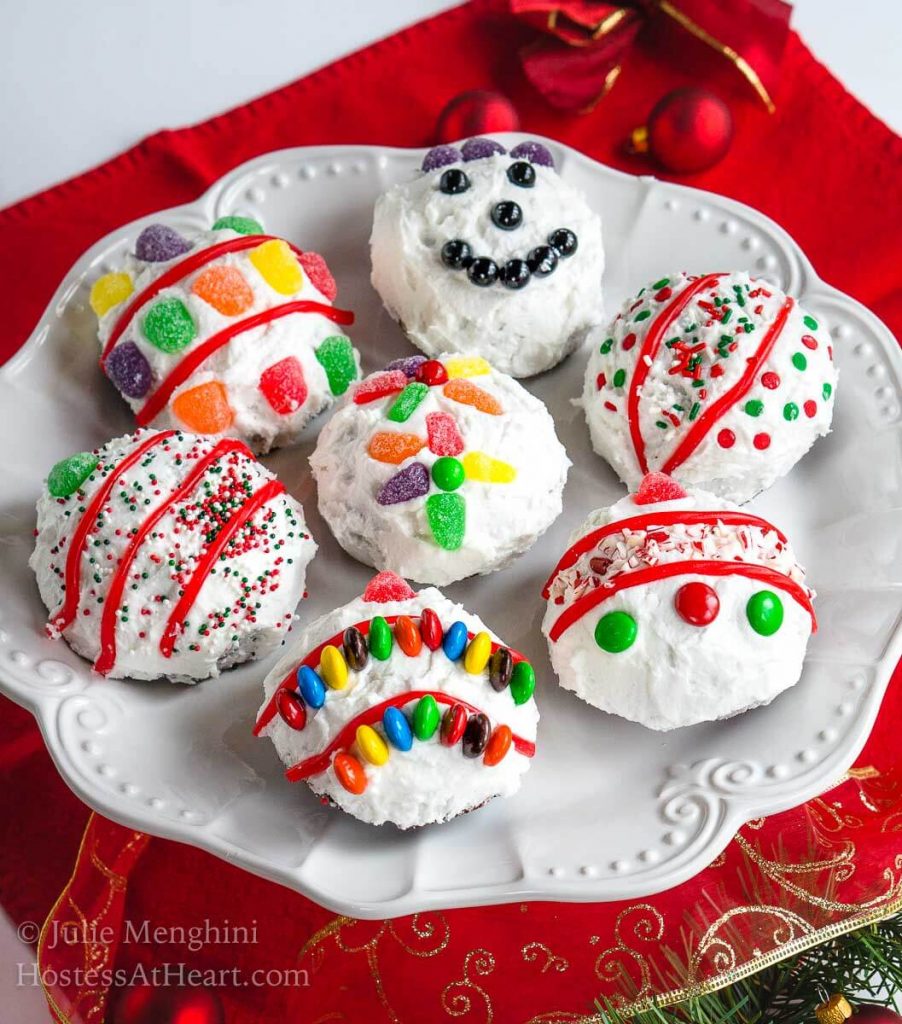
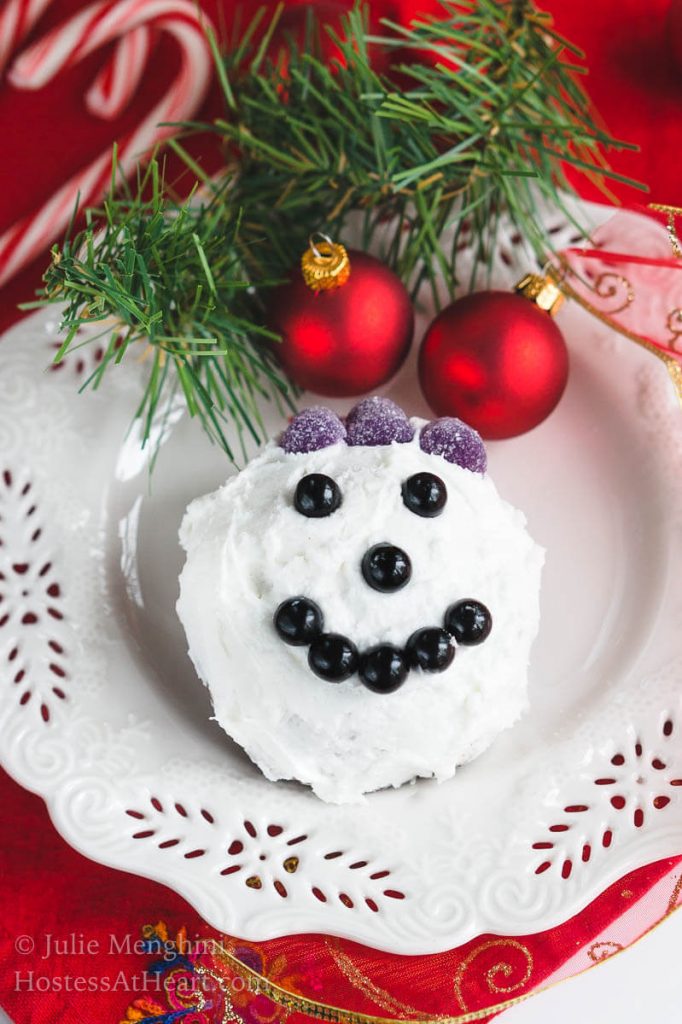
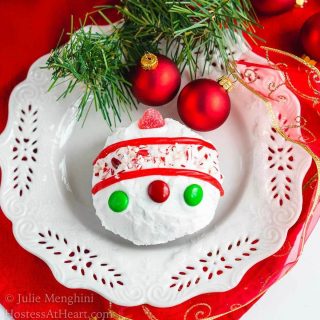
If you aren’t into cake decorating but love the results, these Chocolate Cake Ornaments are for you! They’re also a fun activity that the Kiddos would love help making.
I’ve wanted to learn cake decorating since I was a child. These Chocolate Cake Ornaments would have been a great way to start.
They’re fun and easy enough that either the non-cake decorator or the youngsters can help too.
I get it, cake decorating isn’t for everyone or you just don’t have the time.
I made my first attempt when I was about 12 years old. It was indeed a masterpiece in my mind. That was in the days when dinosaurs roamed the earth and there weren’t computers let alone google.
I don’t even remember that many cookbooks in our house.
My mother wasn’t into cooking that much and my Grandmother made everything off the top of her head.
Somewhere I came up with a magazine that had some very elementary skills and I taught myself to pipe stars.
I piped an entire cake with stars. The only problem was my frosting recipe was for royal frosting.
You needed a hammer and chisel to break into that cake. But hey, it looked good.
We use a simple chocolate cake recipe and added crushed candy canes. You can add chocolate chips or peanut butter chips too. It’s very versatile.
You could definitely make these into cupcakes too. You can even buy the cupcakes and frosting and they’ll be adorable anyway. It’s all about having fun.

HOMEMADE CHOCOLATE CAKE RECIPE INGREDIENTS
- Butter – We used unsalted butter.
- If you use salted butter, only use 1/2 tsp of salt in the recipe or eliminate it altogether.
- Sugar – white granulated sugar
- Eggs – We always buy large eggs for consistency in or baking
- Flour – All-purpose flour, bleached or unbleached.
- Cocoa – Baking Cocoa was used in this recipe. We recommend always sifting and then measuring cocoa.
- Baking soda and Baking powder – These are leaveners that make your cake rise up nice and fluffy.
- Salt – We like fine sea salt because of its blend-ability but any will do.
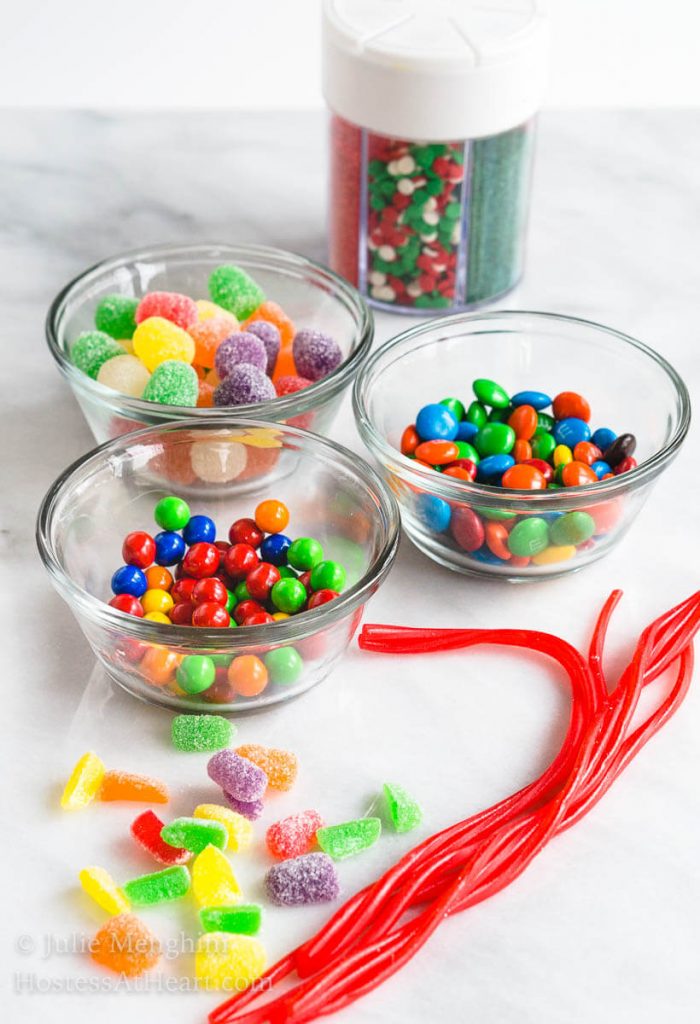
- Peanut Butter, chocolate chips, or crushed peppermint – optional
Supplies you may need
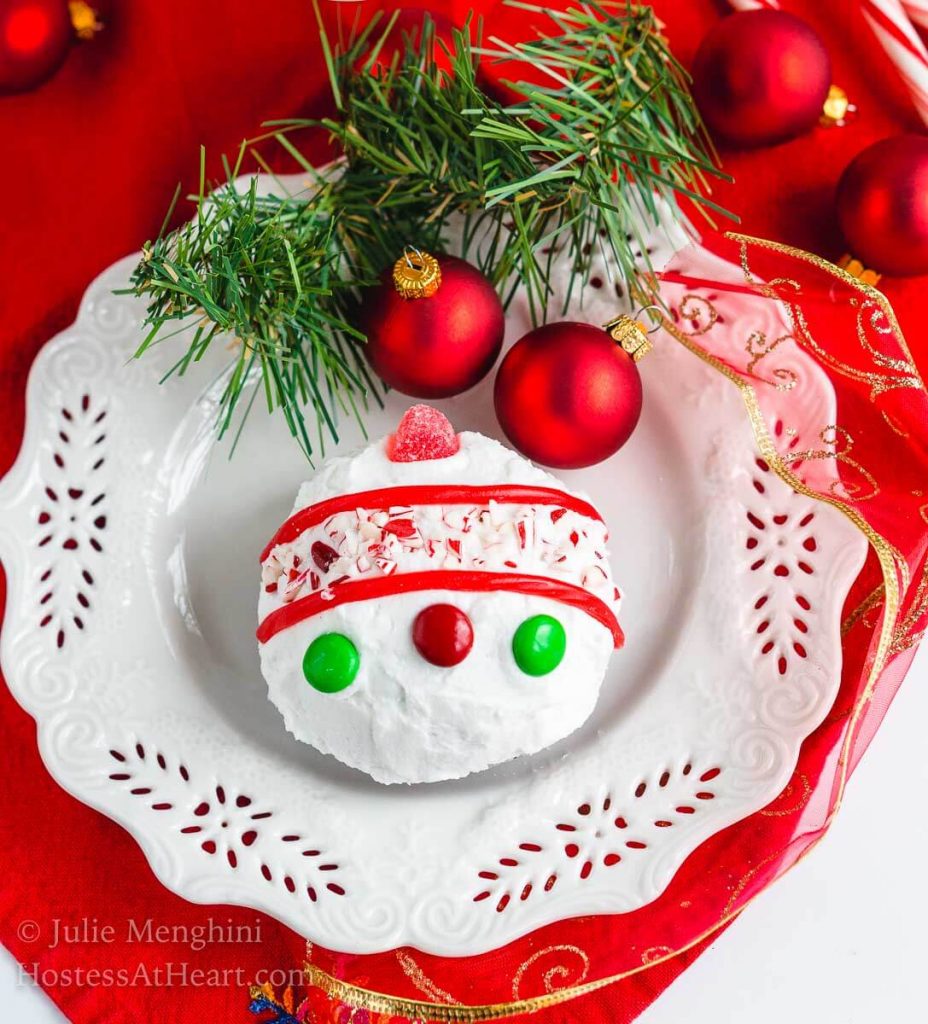
We used a Wilton Mini Ball Pan because I liked the round shape that it gave my cute little Pumpkin Faces.
Want to save this recipe?
I'd like to receive more tips and recipes from Hostess At Heart!
HOW TO MAKE THIS RECIPE FOR HOMEMADE CHOCOLATE CAKE
- Using an electric stand mixer, cream the butter, sugar, and eggs together until they are fluffy and lighter in color.
- Ingredients will whip together better if they are all at room temperature.
- In a separate bowl, combine the flour, sifted cocoa, baking soda, baking powder, and salt. Whisk to combine.
- With the mixer on LOW, gradually add the dry ingredients alternating with the milk to the butter mixture. Mix until combined.
- With the mixer on low, sprinkle in the peanut butter or chocolate chips if desired.
- Bake
BAKING TIPS AND VARIATIONS
You can make these cute little chocolate cake ornaments in a muffin tin. There isn’t any need to buy another pan if you don’t have one. (I’m hyperventilating as I say this. I may have a pan problem LOL!)
Any pan should be greased or sprayed with non-stick cooking spray.
You should also check the doneness of the cake before the least amount of cooking time is up. Ovens and pans cook at different rates.
The cake is done when a cake tester or toothpick is inserted into the thickest part of the cake and has very few crumbs sticking to it when removed. It doesn’t need to be completely without crumbs.
- Muffins – Fill 2/3 full and bake 22 to 25 minutes.
- 2- 9″ round cake pans – bake for 30 to 35 minutes
- 9×13 cake pan – bake for 35 to 40 minutes
- Bundt Pan – bake 45 to 55 minutes.
Simple cake decorating recipes
If you’re catching the cake decorating bug, here are a few more techniques to try!
Don’t have time to make them now? Pin it for later!
SOME OF OUR MOST POPULAR CAKE RECIPES
- Black Russian Cake
- Chocolate Trifle
- Spice Cake with Peanut Butter Frosting
- Mahogany Cake
- Peanut Butter Coffee Cake
The holidays are all about having fun, and I love it when we can share the fun with children. What is your favorite kitchen activity with the kiddos?
Chocolate Cake Ornaments for the Non-Cake Decorator
Ingredients
- 2/3 cup butter
- 1 2/3 cups sugar
- 3 eggs
- 2 cups all-purpose flour
- 2/3 cup cocoa
- 1 1/4 tsp baking soda
- 1/4 tsp baking powder
- 1 tsp kosher salt
- 1 1/3 cups milk
- 1/2 cup peppermint pieces (optional) I used crushed candy canes
Instructions
- Preheat oven to 350°F. Spray pan with non-sticking spray.
- Cream butter, sugar, and eggs until fluffy. Beat on high for 3 minutes.
- Reduce speed to low. Combine flour, sifted cocoa, soda, baking powder, and salt. Add dry mix alternating with the milk and mix until blended.
- Fold in peppermint candy.
- Fill pan 3/4 full. Bake 30 minutes or until a toothpick tested in the center comes out clean.
- Cool 10 minutes and then remove from pan and cool completely.
Nutrition
Nutritional Disclaimer
This recipe was calculated using the exact brands and measurements I used to make this recipe. If you are following a strict diet please note changing anything will cause the nutritional info to change. My calculations are intended as a guide only.

Julie – these ornament cakes are absolutely adorable… I just love them! You always have such creative (and delicious!) ideas!
Thank you, Michele!
This is such a cute idea! I love how easy these are to make!
These are positively adorable!! I have one of those pans, I can’t wait to try these!!
Thank you, Michaela! I’m proud of myself for using it twice LOL!
This is exactly the kind of holiday decorating my kids enjoy!
Thank you, Lori! I wish I did more like this when my kiddos were young. The cookies took so long that they got bored before we were finished and I ended up doing it by myself and cleanup was a mess!
These are cute! I imagine having wine and friends over to decorate them. FUN! 😉
What a great idea! Skip the kids and bring in the adults! I wish you were my neighbor! We could get into serious trouble!
Right?!?! Me too!
Oh my word these are adorable! I took a couple of cake decorating classes when I was in high school and it was fun but I really didn’t have a knack for it :). These I think I could pull off though!
I bet you could definitely rock these, Kelsie! They were pretty quick and easy and my neighborhood kiddos loved getting the leftover candy.
These are the most adorable cookies! Perfect for Santa on Christmas Eve!!!
Thank you so much, Debra! They are my new favorite way to decorate!
Wow, these are just darling Julie – what a great way to entertain little kids and keep them busy! Great idea!
Thank you, Loretta! I love that they’re quick and not as messy as the million cookies we’ve decorated over the years!
These are so super cute!!! I love them!!!
Thank you so much, Deanna! They’re so quick and easy without the decorating mess.
Thank you so much, Deanna!
My niece is coming over this weekend… we usually do cookies, but I love cupcakes even better.. These will definitely Be a great memory! I just printed out the entire post so we can duplicate some of them! They are Darling!
Thank you so much, Michele! I hope you have a great time and will send me a pic or two!
OMG how cute! We always did Christmas cookies that were anatomically correct if you get my drift but we haven’t done them in years as my MIL started having Christmas Eve at her house after my kids were born. We need a new activity for the kids to do but I am not in the mood for a whole cake. This is perfect!!
Thank you, Jennifer! My sister-in-law and I used to do those anatomically correct cookies too. It was so much fun. We also changed our theme once the kids could have been scarred for life by our art work LOL!